AI Product Bundle Images That Show Exactly What’s Included
A bundle image can look convincing while quietly adding an accessory, hiding a duplicate item, or making a sample look full-size. This guide shows marketplace sellers how to use Seedream 4.5 for a styled setting while keeping every included product grounded in real photographs.
Table of contents
A better bundle photo starts with an exact inventory
A bundle image has a harder job than a single-product photo: it must look appealing and answer a buyer’s immediate question, What exactly will arrive? AI can make a gift set look polished, but it can also invent an extra jar, duplicate a tool, or turn optional styling props into apparent contents.
The safer approach is to photograph the actual components, use Seedream 4.5 to develop an empty setting, and assemble the final image from those verified product photos. This works for Shopify kits, Etsy gift sets, and marketplace multipacks without asking an image model to remember the contents of the box.
Define the bundle before designing the image
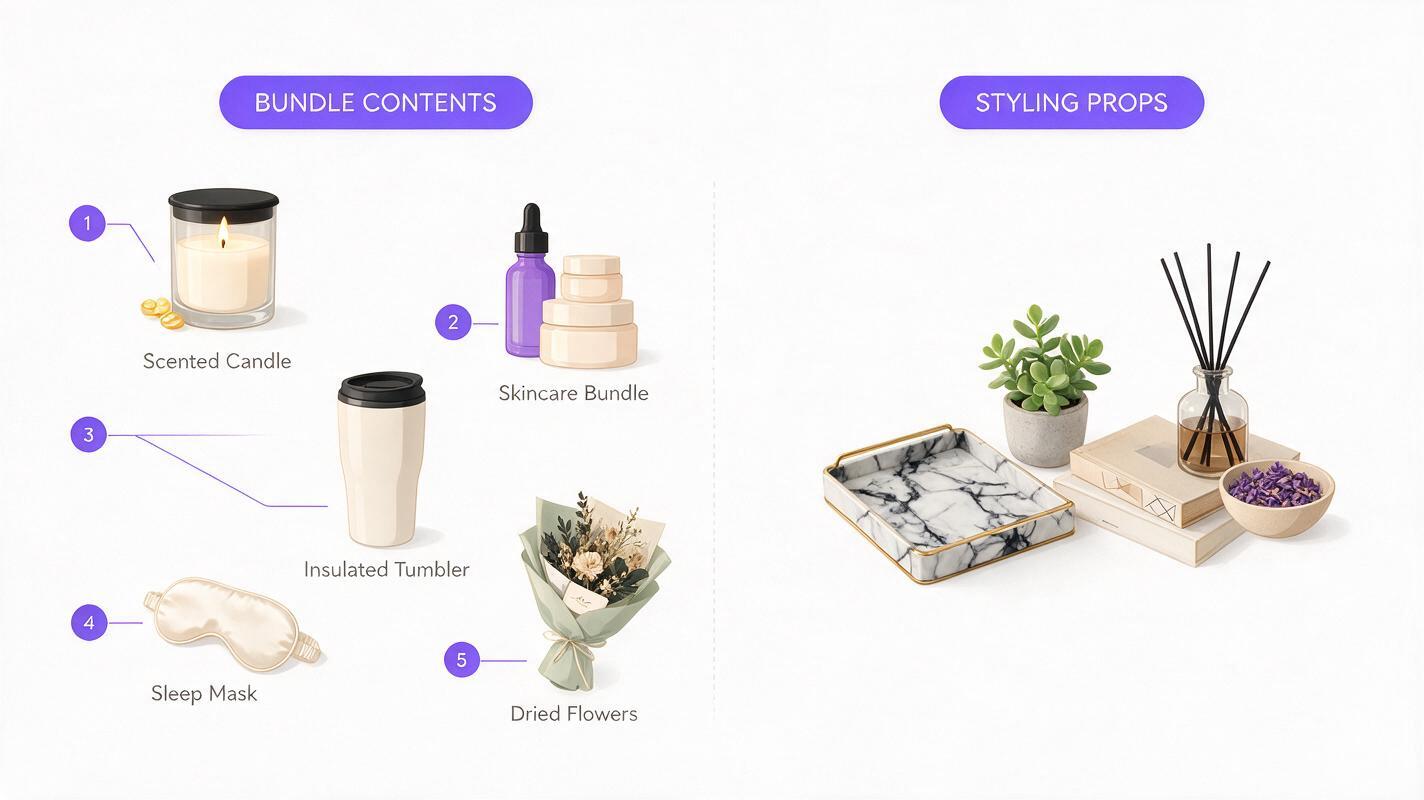
Write a contents list using the names and quantities on the product page. Include packaging only if it ships with the order. If a choice of color or scent is involved, decide whether the image represents one selectable variant or every item a buyer receives.
| Visual element | Decision to make | Example |
|---|---|---|
| Included products | Show each item at the correct count | Two full-size bottles, not one bottle and a sample |
| Packaging | Show it only if supplied | Include the gift box; omit decorative ribbon if it is not included |
| Props | Keep them visibly separate | A countertop may set the scene; an extra applicator could imply a bonus |
| Variant choices | Depict a valid purchasable selection | One photographed scent combination, clearly identified on the page |
This inventory is your image brief and your final quality-control list. If a proposed scene needs a product you cannot verify, change the scene rather than generating the missing item.
Photograph each component for a convincing composite
Capture a clean photo of every included item, preferably in the same lighting setup and at a similar camera angle. Photograph repeated items individually if their labels, fill levels, or packaging differ. A front view and a slightly elevated view give you options for a shelf scene or a flat lay.
- Keep labels and distinctive features in focus. Generated replacements can change wording, logos, closures, or product shape.
- Record a simple size reference, such as each item’s measured height, so the final arrangement does not make a miniature product look full-size.
- Take a separate photo of the actual box, pouch, or insert if buyers receive it.
- Save the originals. You will need them to check the finished image, even if you remove their backgrounds for compositing.
If you have only one photograph of the entire kit, use that intact for your most literal bundle image. Separating overlapping objects from a single shot may require manual cleanup; generating hidden sides is not a reliable shortcut.
Generate an empty scene, not a fictional bundle
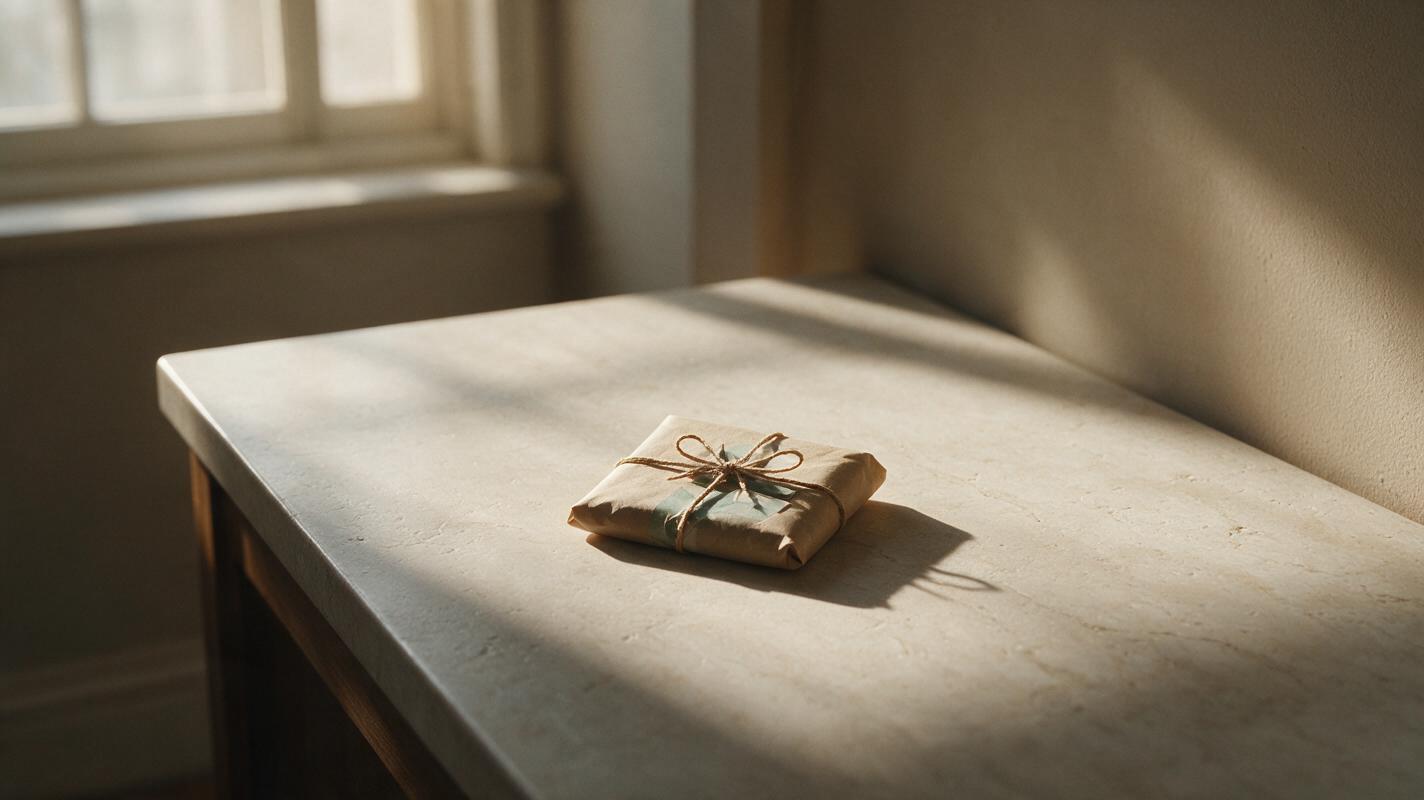
Use Seedream 4.5 as an ai image generator for the setting: a shelf, tabletop, or gift-ready surface with space reserved for your photographed components. Do not ask it to recreate the products. An empty scene gives you creative control without turning generated packaging into evidence of what you sell.
Editorial product photograph of an empty pale stone countertop beside a softly lit window, neutral warm background, realistic contact-light direction from upper left, generous clear space in the center for a set of five small products, subtle shadows, no products, no bottles, no boxes, no accessories, no labels, no text, no hands, landscape composition.Match the requested perspective to your source photos. For a flat lay, specify an overhead camera and an uncluttered surface; for upright bottles, request a front-facing shelf or countertop. Generate a few backgrounds, then choose the one whose lighting and camera angle require the least manipulation of the real items.
Useful constraint: If the background model adds a plausible-looking spoon, brush, pouch, or box, remove it unless that object clearly reads as a non-included styling prop. When in doubt, keep the set empty.
If you already have component photos ready, test this prompt yourself with an empty surface that suits their angle rather than changing the products to suit the generated scene.
Assemble the bundle without changing the contents
Cut out each photographed item and place it on the selected background in an image editor. Set relative sizes using your measurements or an existing group photo as a reference. Keep the label artwork from the source photo; avoid generative fill on product surfaces, seals, or printed packaging.
Build believable depth with modest contact shadows beneath the items. A floating bottle looks artificial, but an oversized shadow can make a small container appear heavier or larger than it is. If the scene has window light from the left, shadows should fall consistently to the right. Check that every item sits on the same apparent plane.
For a bundle of two identical units, show two actual units or use a duplicate photograph only when the units are genuinely visually identical. Never duplicate a single item to imply a quantity the customer will not receive. Likewise, keep tissue paper, greenery, or food styling from obscuring an included component.
Consider making two images with different jobs. A clean contents image shows every item unobstructed and can carry a concise, manually added label where the marketplace permits it. A lifestyle image can communicate the setting or gift occasion while remaining faithful to the same contents. Check each marketplace’s current image requirements before using text overlays, props, or a styled scene as a primary listing image.
Audit the finished image at listing size
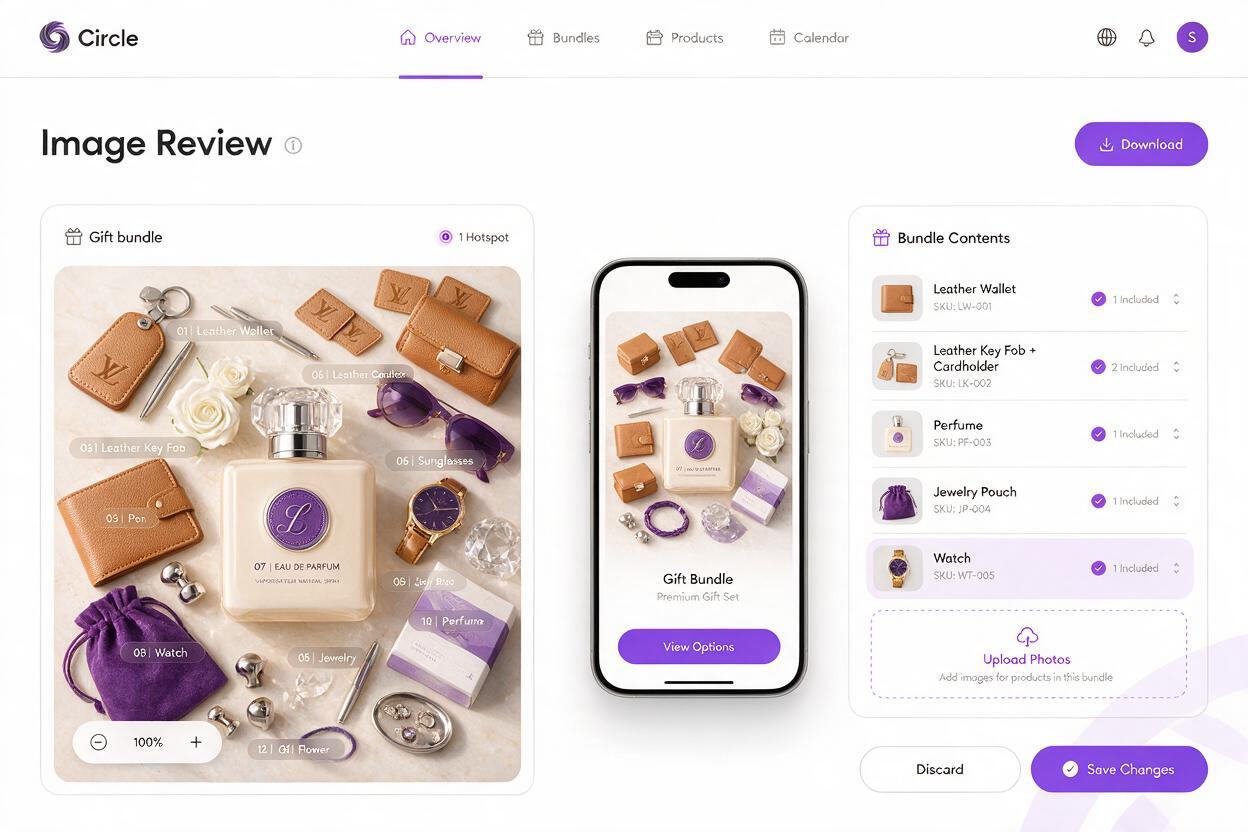
Compare the export against your inventory, not just against your design mockup. Count every included unit aloud. Then view the image at the size it will occupy in a mobile product grid: tiny labels and partially hidden items can make a correct composite look ambiguous.
- Count: Does the visible quantity match the purchasable bundle?
- Identity: Are colors, labels, shapes, and package formats from the real items?
- Scale: Do travel sizes, refills, and full-size products retain their true proportions?
- Inclusions: Could a buyer mistake any prop for an item in the order?
- Variants: Does the pictured combination correspond to a selection the customer can buy?
- Readability: Can a mobile shopper identify the contents without zooming?
If the styled version fails any check, use the straightforward group photograph until you can correct it. The goal is not merely a beautiful image; it is a beautiful image that sets the right expectation.
Final checklist
- List the exact included items, quantities, and packaging before creating the scene.
- Use real photographs for products and Seedream 4.5 for the empty setting.
- Keep product details, relative size, and visible counts intact.
- Separate optional styling from anything that could look included.
- Check the final image on mobile and against current marketplace requirements.
Keywords
ai product bundle images, product bundle photography, shopify bundle images, etsy gift set photos, amazon product images, seedream 4.5, product listing images