How to Previsualize an AI Action Scene From a Script
Learn how to convert an action sequence into a geography-first AI storyboard before generating video clips. This tutorial covers beat extraction, screen direction, camera coverage, motion prompts, continuity checks, and edit planning.
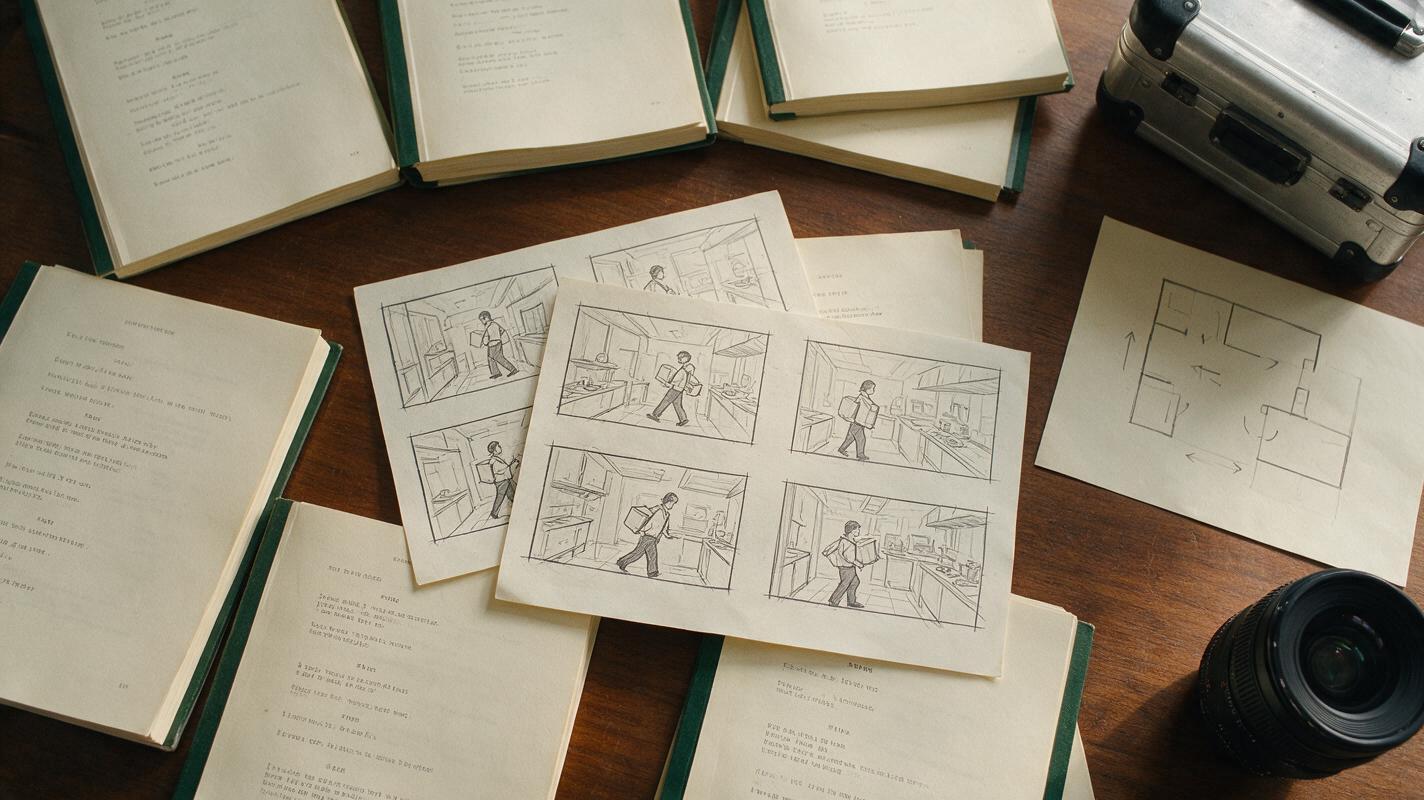
Table of contents
Build the action scene before you animate it
The safest way to create an understandable AI action scene is to map its geography, movement, and edit points before generating video. Instead of sending an entire sequence to a script to video AI tool, turn the scene into visual beats, assign each beat a camera purpose, and test the resulting frames as a silent storyboard.
This tutorial uses a simple example: a courier enters a closed restaurant kitchen, retrieves a metal case, avoids a hovering security drone, and escapes through a service door. The same method works for chases, rescues, escapes, discoveries, and other movement-heavy scenes.
The key rule: if the action is unclear in six to twelve still frames, adding motion will not make it clearer.
Step 1 — Rewrite the scene as visible action beats
Begin by removing information the camera cannot directly show. Internal thoughts, backstory, and broad phrases such as “a frantic struggle follows” do not provide enough direction for an AI storyboard generator.
Break the sequence into beats that each contain three elements:
- A subject: the person, vehicle, creature, or object driving the moment.
- A visible action: something with a clear start and finish.
- A change: new information, a changed position, or a new obstacle.
For example, replace “The courier evades the drone and escapes” with:
- The courier enters from the left and sees the case beneath a preparation table.
- A drone descends through the damaged skylight behind her.
- She slides across the floor and pulls the case free.
- The drone blocks the service door.
- She throws a metal tray toward the opposite wall.
- The drone turns toward the sound.
- She exits through the service door with the case.
Each beat now gives the camera one important event to communicate.
Step 2 — Draw a geography map before choosing shots
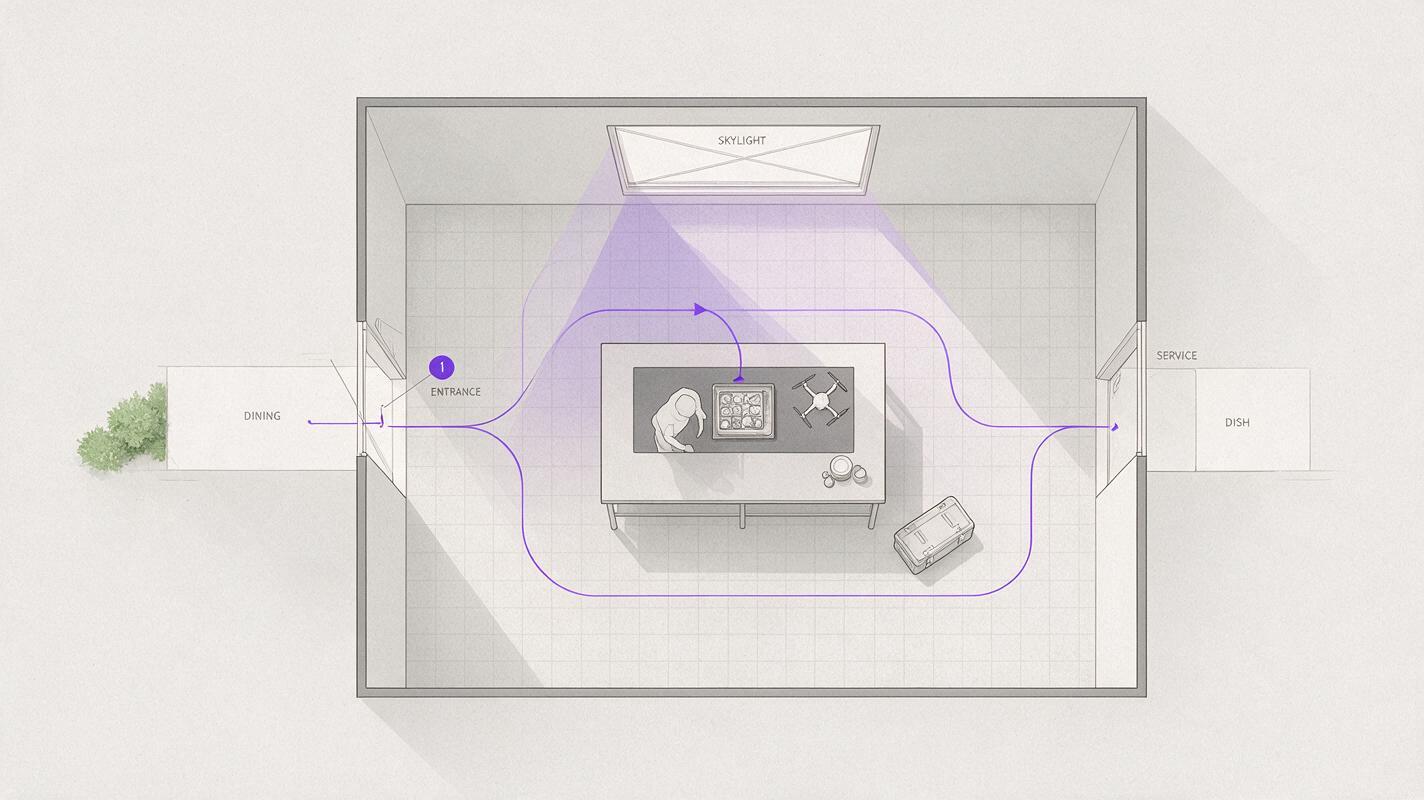
Action becomes confusing when doors, obstacles, characters, and travel directions appear to move between shots. Make a simple overhead map of the location before requesting cinematic frames.
Mark the courier’s entrance, the case, the preparation table, the skylight, the drone’s arrival point, and the service door. Then draw the courier’s route through the room. Keep this map beside every prompt you write.
| Element | Fixed screen position | Story function |
|---|---|---|
| Main entrance | Left side of room | Establishes the courier’s starting point |
| Metal case | Center, beneath table | Creates the first movement objective |
| Skylight | Upper rear of room | Introduces the drone behind the courier |
| Service door | Right side of room | Defines the escape direction |
Choose a dominant direction for the sequence. In this example, the courier travels from screen left to screen right. Preserve that direction in wide shots, medium shots, and inserts unless a deliberate reversal is part of the story.
Step 3 — Assign one job to every storyboard frame
Do not choose shots only because they look dramatic. Give each frame a specific editorial job: establish space, reveal danger, show a decision, clarify movement, emphasize an object, or confirm the result.
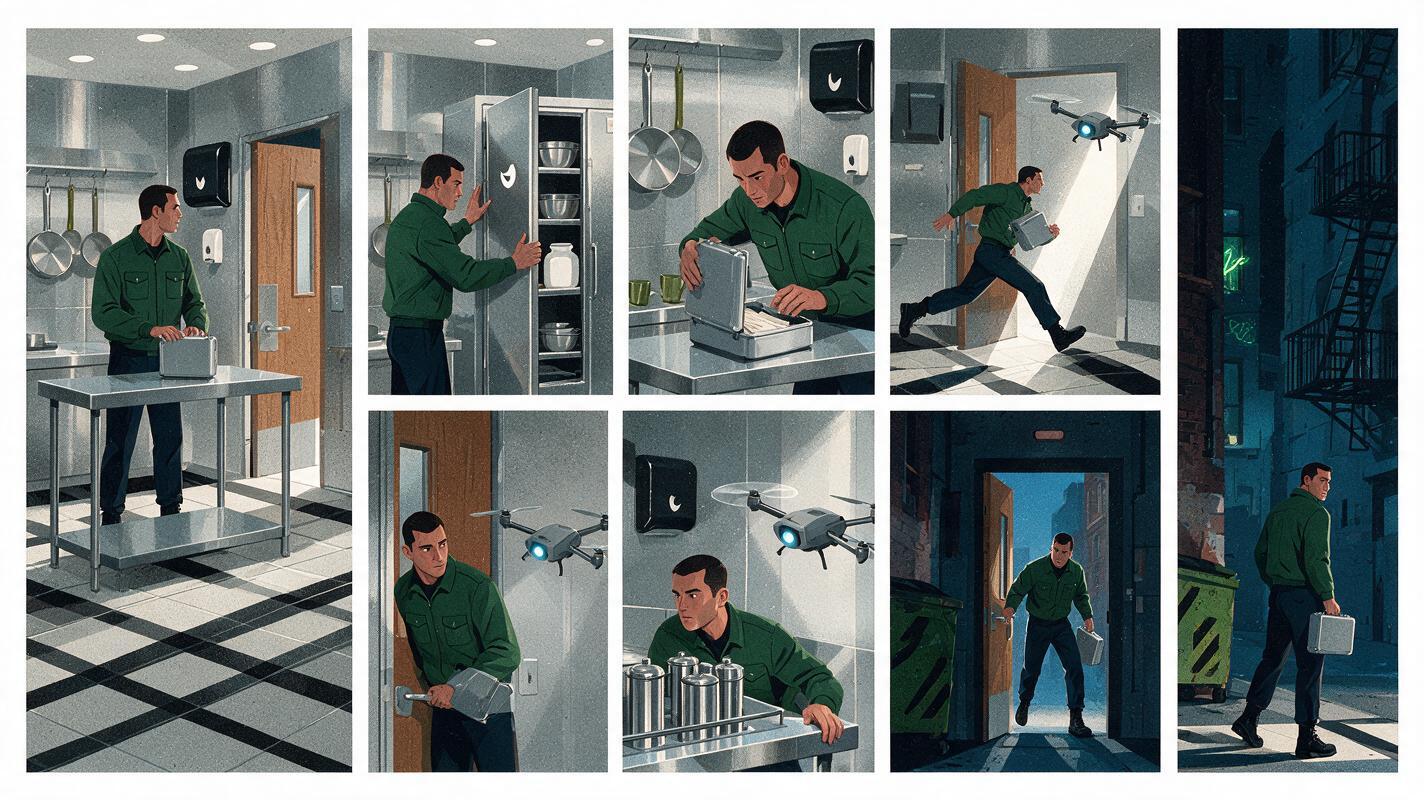
A compact storyboard for the example scene could use this coverage:
| Frame | Shot | Purpose | Essential information |
|---|---|---|---|
| A | Wide establishing shot | Define geography | Entrance left, case center, exit right |
| B | Medium profile | Start movement | Courier travels left to right |
| C | Low-angle wide shot | Reveal obstacle | Drone descends behind courier |
| D | Close insert | Confirm objective | Courier grips the case handle |
| E | Wide side view | Show changed route | Drone blocks the service door |
| F | Close shot | Show decision | Courier notices a loose tray |
| G | Medium action shot | Deliver diversion | Tray travels away from the exit |
| H | Wide exit shot | Resolve movement | Courier crosses right and escapes |
The wide shots protect spatial clarity. The close shots emphasize information that could be missed at a distance. This alternation also gives the eventual edit natural changes in scale.
Step 4 — Generate a consistent AI storyboard
Write frame prompts with stable descriptions for the character, location, lighting, costume, and major props. Change only the action and camera instructions required for that frame.
Start with a reusable continuity block:
CONTINUITY BLOCK
Location: closed stainless-steel restaurant kitchen at night, long central preparation table, damaged skylight at the rear, blue moonlight mixed with warm emergency lighting
Courier: athletic woman in her early thirties, short black hair, dark green delivery jacket, charcoal trousers, worn white sneakers
Object: compact brushed-metal case with black corner guards
Drone: small matte-gray security drone with one circular front sensor
Visual style: grounded live-action thriller, realistic proportions, practical lighting, restrained color palette, 16:9
Then attach a frame-specific instruction:
STORYBOARD FRAME C
Use the continuity block exactly.
Low-angle wide shot from beside the central preparation table. The courier is moving from screen left toward screen right, looking toward the metal case. Behind her, the security drone descends through the damaged skylight. Keep the entrance visible on the left and the service door visible on the right. Clear spatial staging, deep focus, no motion blur, no extra people or objects.
Generate the full board as still images first. When the shot map is locked, you can open a script-to-video workspace and use the approved frames as references for clip creation.
Keep a “do not change” line in every prompt for details that carry across cuts: costume, case design, travel direction, room layout, and lighting source.
Step 5 — Test the storyboard without dialogue
Place the frames in sequence and inspect them without captions or narration. A viewer should be able to answer four questions:
- Where did the courier enter?
- What does she want?
- Where did the drone come from?
- Which direction leads to safety?
If an answer is uncertain, revise the board rather than explaining the gap with dialogue. Common repairs include adding a wider shot, restoring a visible landmark, showing the character’s eyeline, or inserting a reaction before the next movement.
Also check the frame edges. If the courier exits the right edge of one frame, she should normally enter from the left edge of the next. This creates continuous forward travel. A sudden same-side entrance can make it appear that she reversed direction.
Step 6 — Convert frames into motion-specific prompts
A storyboard prompt describes a composition. A clip prompt must describe what changes over time. Preserve the frame’s visual anchors, then specify subject motion, camera behavior, pace, and an end state.
CLIP PROMPT FOR FRAME G
A grounded live-action thriller shot in the same restaurant kitchen. The courier remains on the left side of frame and throws one loose metal tray toward the far-left wall, away from the service door. The drone begins near the right-side exit, pivots toward the flying tray, and moves two feet left. The courier stays low and prepares to run right. Locked medium-wide camera, one continuous action, realistic weight, restrained movement, no camera orbit, no location change. End with the path to the service door visibly clear.
The end state matters because it determines whether the next clip can begin cleanly. For every clip, record:
- The subject’s final position and facing direction.
- The prop’s final location.
- The camera’s final angle and distance.
- Whether an entrance or exit crosses the frame edge.
- The visual detail that motivates the next cut.
Avoid packing several independent actions into one generation. If the courier throws the tray, the drone turns, she sprints, a shelf collapses, and the door closes in the same prompt, the result becomes harder to control and edit. Separate the sequence at visible decision points.
Step 7 — Build the rough cut around action matches
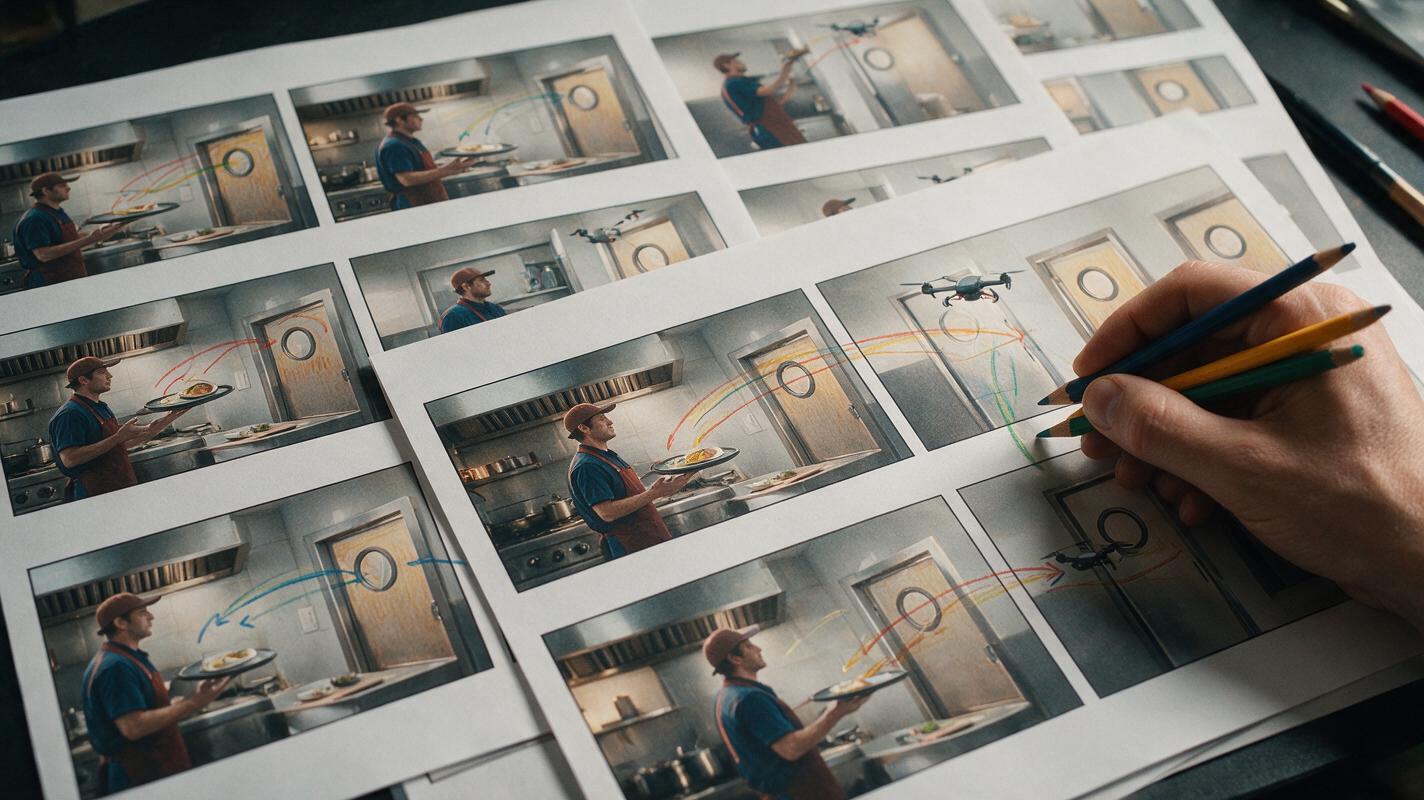
Assemble a rough cut before adding music, sound effects, or elaborate transitions. Cut when motion, attention, or information passes from one shot to another.
- Movement match: cut from the courier beginning her slide to a wider view of the same slide.
- Eyeline match: cut from the courier looking down to the case beneath the table.
- Cause-and-effect cut: show the thrown tray, then the drone reacting.
- Exit-and-entrance match: let the courier leave one frame and continue into the next in the same direction.
Trim pauses that weaken urgency, but keep enough preparation for important actions to read. The viewer should see the decision to grab, throw, duck, or run—not only its result.
After the silent cut works, add sound to strengthen events already visible: the skylight cracking, the case scraping, the tray striking the wall, the drone changing direction, and the service door closing. Sound should reinforce geography rather than conceal unclear staging.
FAQ
How many storyboard frames does an AI action scene need?
Use enough frames to show every meaningful change in objective, obstacle, direction, or location. A short scene may need only six to twelve key frames, while a more complex sequence may require additional inserts and transition frames.
Should I generate wide shots or close-ups first?
Generate the master wide shots first because they establish the room, travel direction, and relative positions. Create medium shots and close-ups only after that geography is stable.
Can one prompt generate the entire action sequence?
A single prompt can describe the sequence, but dividing it into short shots usually gives you clearer edit points and more direct control over staging. Treat each clip as one readable action with a defined end state.
What should stay identical across storyboard prompts?
Repeat the character description, costume, key props, environmental layout, lighting logic, aspect ratio, and dominant screen direction. Camera angle and action can change, but continuity anchors should not.
How do I fix a confusing AI storyboard?
Return to the overhead geography map. Add or revise a wide frame that shows the subject, objective, obstacle, and exit in their correct positions. Then regenerate dependent close shots from that corrected spatial plan.
Sources
- Adobe — How to Make a Storyboard
- StudioBinder — How to Make a Shot List
- StudioBinder — The 180-Degree Rule Explained
Final checklist
- The script has been divided into visible action beats.
- The location map fixes entrances, exits, obstacles, and objectives.
- The protagonist keeps a consistent screen direction.
- Every storyboard frame has one editorial purpose.
- Character, prop, location, and lighting descriptions remain stable.
- Each motion prompt defines a clear start and end state.
- The silent storyboard communicates the complete action.
- The rough cut uses movement, eyeline, and cause-and-effect matches.
Keywords
script to video AI, AI storyboard generator, create AI video from script, direct an AI short film, AI movie maker, AI clip maker
Decision: PUBLISH — The article provides a distinct, execution-focused workflow for staging spatially coherent AI action scenes.