Why AI Anime Energy Auras Melt Characters—and How to Fix It
Anime aura animation often distorts the character because the generator treats the body, glow and background as one moving subject. This guide uses PixVerse, effect-zone planning and constrained motion prompts to create pulsing energy without melting faces, costumes or silhouettes.
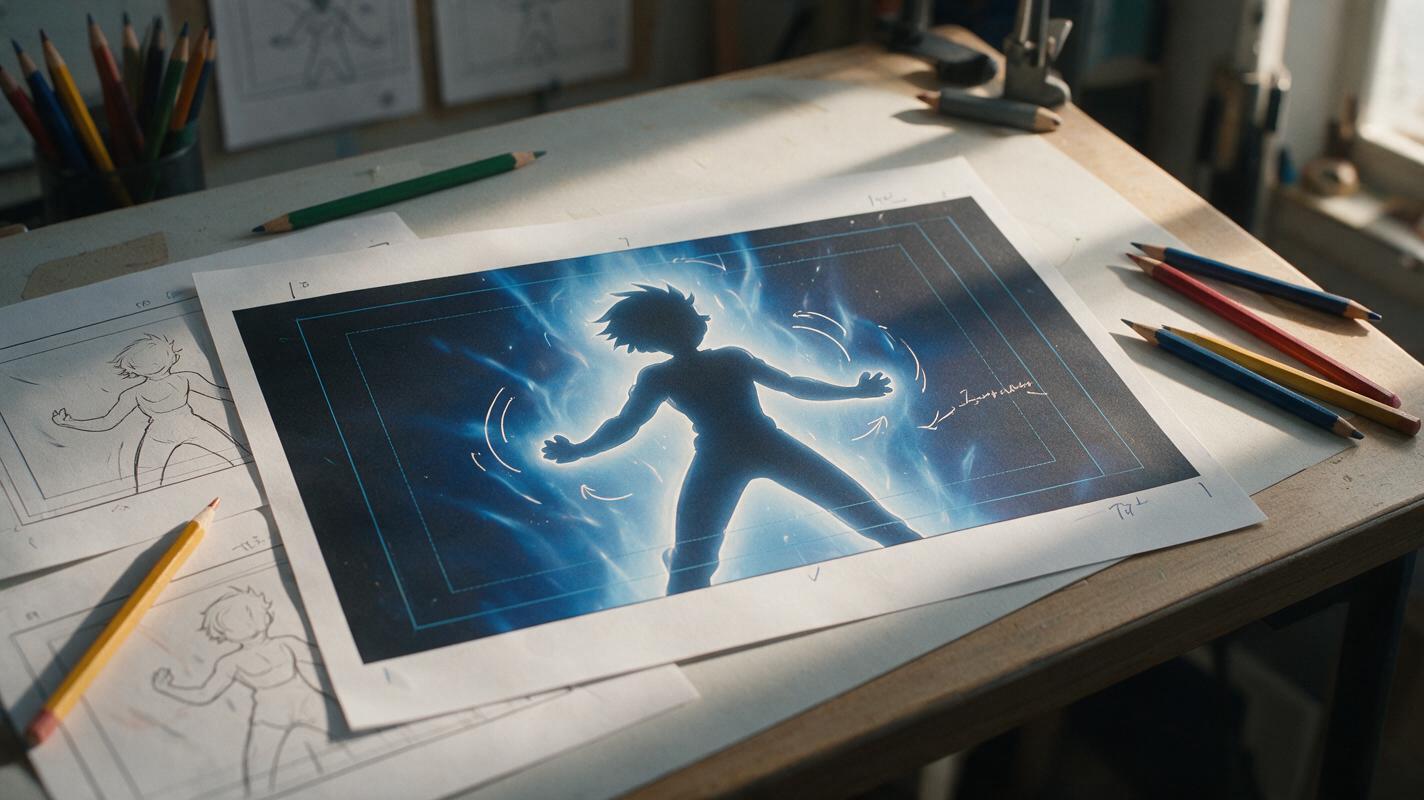
Table of contents
Keep the character solid while the energy moves
An anime energy aura should make a character feel powerful, not make their face, hair and costume dissolve. The most reliable fix is to treat the character as a protected drawing and the aura as a separate motion system with its own location, speed and intensity.
This method is designed for short power-up shots, magical transformations, charged attacks and anime music video inserts. It uses PixVerse for controlled animation from a finished illustration, but the same source preparation and prompt logic can help with other reference-based video models.
Why aura prompts deform the character
A broad prompt such as “the character powers up with a huge glowing aura” describes the desired mood but not the visual boundaries. A video model may interpret “powers up” as permission to move every bright edge in the frame. Hair highlights crawl, costume seams pulse, eyes change shape and the body expands with the glow.
Three ambiguities cause most failures:
- Unclear effect ownership: the prompt does not say whether the light belongs behind, around or on top of the body.
- No protected regions: the face, hands, costume symbols and silhouette are never identified as stable elements.
- Too many simultaneous actions: aura expansion, camera shake, hair motion, cloth motion, particles and pose changes compete within one short clip.
The aura may change brightness and shape, but the character design should not become the material from which the aura is generated.
The first test should therefore contain only one dominant effect. Add camera movement, debris or aggressive secondary motion after the character remains stable in a simpler generation.
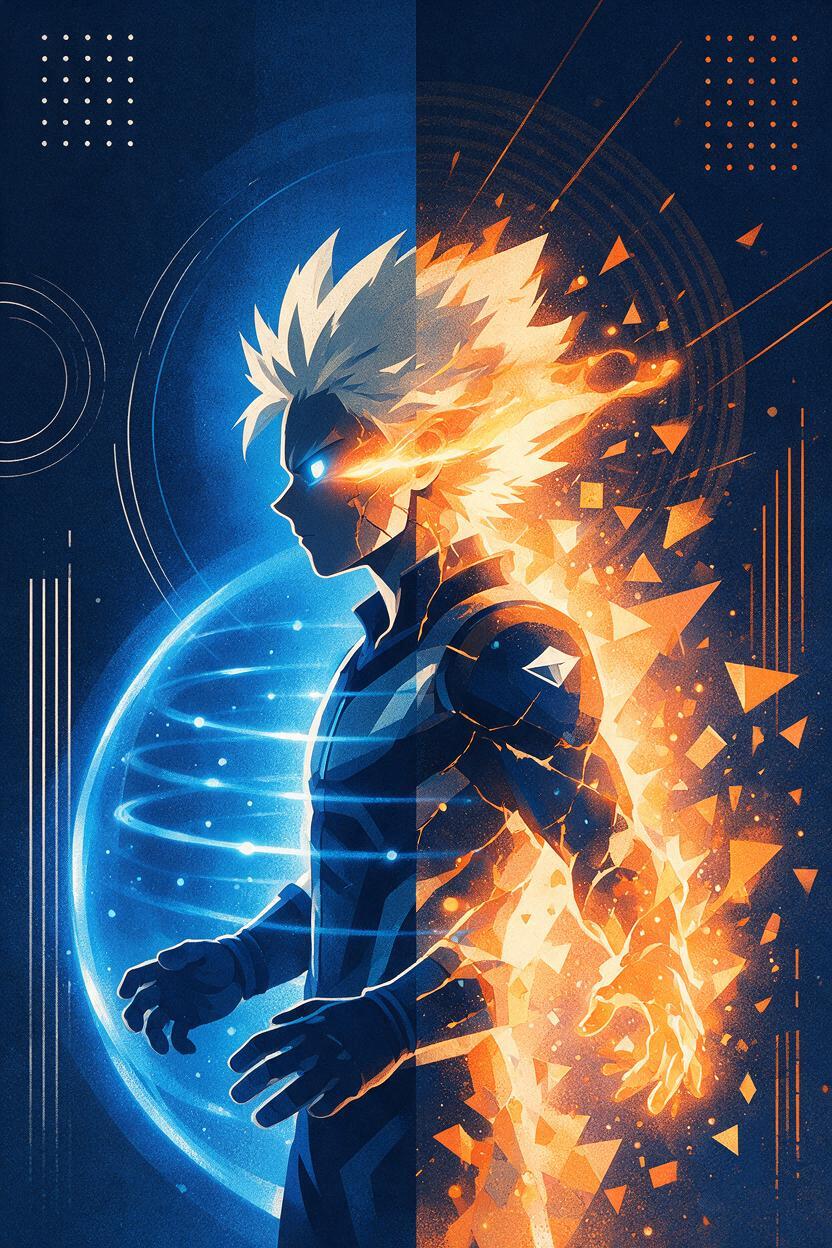
Build an aura-safe source frame
Start with a clean illustration in which the full body or upper-body silhouette is easy to read. Avoid placing bright smoke, bloom or particles directly across the eyes, fingers and costume emblems. Those details can obscure the boundary that the model needs to preserve.
A strong source frame usually has:
- A clearly defined face with symmetrical eyes and an unobstructed mouth
- Readable outer contours around the hair, shoulders, arms and legs
- A stable pose that does not require the model to invent hidden anatomy
- Open negative space around the body for the aura to occupy
- Moderate lighting without an already overexposed glow
If the original art already includes an aura, make its structure intentional. Place the brightest energy behind the character, leave a narrow separation around important contours and reserve foreground sparks for areas that do not cover the face or hands.
| Source-frame choice | Likely result | Better alternative |
|---|---|---|
| Glow painted over the face | Features flicker or merge with the light | Keep facial planes visible and move bloom behind the head |
| Aura touches every body edge | Silhouette expands and contracts | Leave a small dark or midtone separation zone |
| Hands hidden inside energy | Finger count and grip drift | Show a readable hand shape before adding sparks |
| Complex action pose | The model invents pose motion | Use a held anticipation pose for the charge shot |
Map protected and animated zones
Before writing the motion prompt, divide the image into conceptual zones. You do not need a visible mask to benefit from this plan; it gives you precise language for describing what may move.
- Protected core: face, body proportions, costume construction, hands and weapon design
- Secondary-motion zone: hair tips, scarf ends, ribbons or loose fabric
- Aura zone: luminous shapes surrounding and behind the silhouette
- Particle zone: sparks, dust and small energy fragments in open space
- Background zone: environment and lighting response
Keep the protected core still during the first generation. Give the secondary-motion zone low amplitude. Let the aura carry most of the visible motion, while particles provide directional accents.
Choose image to video for this task because the finished illustration should remain the visual authority. Starting from text alone asks the model to design the character and animate the effect at the same time, which introduces unnecessary identity drift.
Prompt the effect as a separate motion system
PixVerse prompts become easier to control when they describe subject stability before effect motion. State what remains fixed, locate the aura in depth, define a limited pulse and finish with exclusions.
Locked medium shot of the same anime character holding the original power-up pose. Preserve the exact face, eyes, hairstyle, body proportions, costume seams, colors, hands and silhouette. A luminous blue energy aura moves behind and around the character without replacing or reshaping the body. The aura completes one slow outward pulse, then settles. Small sparks rise through the open space beside the shoulders. Hair tips and scarf ends react with subtle secondary motion only. Stable line art, restrained bloom, fixed camera, no pose change, no facial change, no costume morphing, no extra limbs.The phrase “behind and around” establishes depth. “One slow outward pulse” gives the effect a countable action instead of endless turbulence. The preservation sentence names details that must not participate in the transformation.
For a fiery aura, change the effect material and movement rather than rewriting the character:
Orange-red flame aura rising behind the silhouette in tapered tongues, low-amplitude heat shimmer outside the body contour, sparse embers drifting upward, steady facial features, unchanged costume and anatomy, no fire crossing the eyes or hands.For psychic or magical energy, use smoother motion:
Soft violet energy bands orbit slowly behind the character, one gentle brightness pulse, tiny particles following curved paths, crisp unchanged character drawing, stable facial identity, no camera movement and no body deformation.Control intensity before adding spectacle
A short aura shot usually needs less motion than expected. If every element reaches maximum intensity immediately, the clip has no visual hierarchy and the character becomes difficult to inspect.
Use a restrained progression:
- Begin with a visible but compact aura.
- Allow one controlled expansion or brightness pulse.
- Hold the strongest shape briefly.
- Let the energy settle without changing the pose.
This is not a full transformation sequence. It is a held performance shot in which the effect communicates force while the drawing remains recognizable. For an edit, two or three stable variations are more useful than one chaotic clip with constant escalation.
Camera shake should be added cautiously. If it is necessary, prefer a brief impact vibration near the peak rather than continuous shaking. Constant shake makes it harder to distinguish genuine character deformation from frame displacement.
Diagnose the first broken frames
Do not judge only the opening and final frames. Scrub through the clip and find the earliest moment when a canonical feature changes. That frame usually reveals which instruction or source detail was too ambiguous.
| Failure | Probable cause | Prompt or source correction |
|---|---|---|
| Face brightness changes eye shape | Bloom crosses facial features | Move the brightest aura behind the head and request restrained facial lighting |
| Hair becomes flame | Aura and hair share color or contour | Protect the hairstyle and separate the glow with contrasting value |
| Torso inflates with each pulse | Pulse is attached to the body | Specify that only the surrounding aura expands |
| Costume symbols flicker | High-frequency detail is affected by light | Request unchanged emblems and reduce bloom intensity |
| Hands dissolve into sparks | Particles originate from hidden fingers | Keep particles beside the hands or use a readable closed-fist silhouette |
When a clip fails, remove one motion category before changing everything. First disable camera movement. If deformation remains, remove hair and cloth motion. If the body still pulses, simplify the aura to a slow glow with sparse particles. This reduction process identifies the instruction causing instability.
Extend the shot without regenerating the character
Once you have a stable base clip, build intensity in editing rather than asking the model to perform every effect. Duplicate the aura layer, adjust its blend and opacity, add separately generated particles, or introduce a short exposure flash at the impact beat. Sound design can also make a restrained visual feel much stronger.
If a later shot requires an attack release, cut away from the held power-up pose. Use a new source frame for the action instead of forcing one generation to charge, rotate the body, move the camera and launch the attack. Separating anticipation from release protects character consistency and gives each shot a clearer purpose.
PixVerse can serve as the ai video generator for the controlled motion pass, while compositing handles the most aggressive glow, flashes and particles. This division keeps the model focused on motion it can perform without redesigning the illustration.
Final checklist
- The source illustration has a clear, unobstructed silhouette.
- The face, hands, costume details and body proportions are explicitly protected.
- The aura is located behind or around the body rather than inside it.
- The first generation uses one pulse and a fixed camera.
- Hair and fabric move with lower amplitude than the energy effect.
- Particles avoid covering identity-critical features.
- The clip is checked frame by frame for the earliest sign of drift.
- Extra flashes, debris and shake are added only after the base character is stable.
Keep the first test simple, preserve the drawing and make the aura perform the motion. When your source frame is ready, test this prompt yourself before adding heavier effects.
Keywords
anime aura animation, AI anime video, PixVerse anime, animate anime image, character animation, 2D animation AI, anime energy effect