Why AI Anime Back Views Lose Costume Details—and How to Fix Them
AI-generated back views often preserve a character’s colors while inventing seams, accessories, hair shapes, and garment construction. This troubleshooting guide shows how to define hidden costume logic, use reference-guided editing with Nano Banana Pro, and verify a back view before adding it to a character sheet or animation pipeline.
Table of contents
The back-view problem
A recognizable face cannot save a turnaround when the back of the costume looks like it belongs to another character.
AI anime back views commonly preserve broad features such as hair color and jacket color but improvise everything the front reference does not reveal. Shoulder straps move, coat panels merge, bows disappear, hair ornaments switch sides, and weapons attach to impossible places.
The solution is not simply adding “same character from behind” to a prompt. A reliable back view requires you to define the character’s hidden construction, remove visual ambiguity, and generate the new angle as a controlled design edit rather than a fresh interpretation.
Why the model invents the hidden side
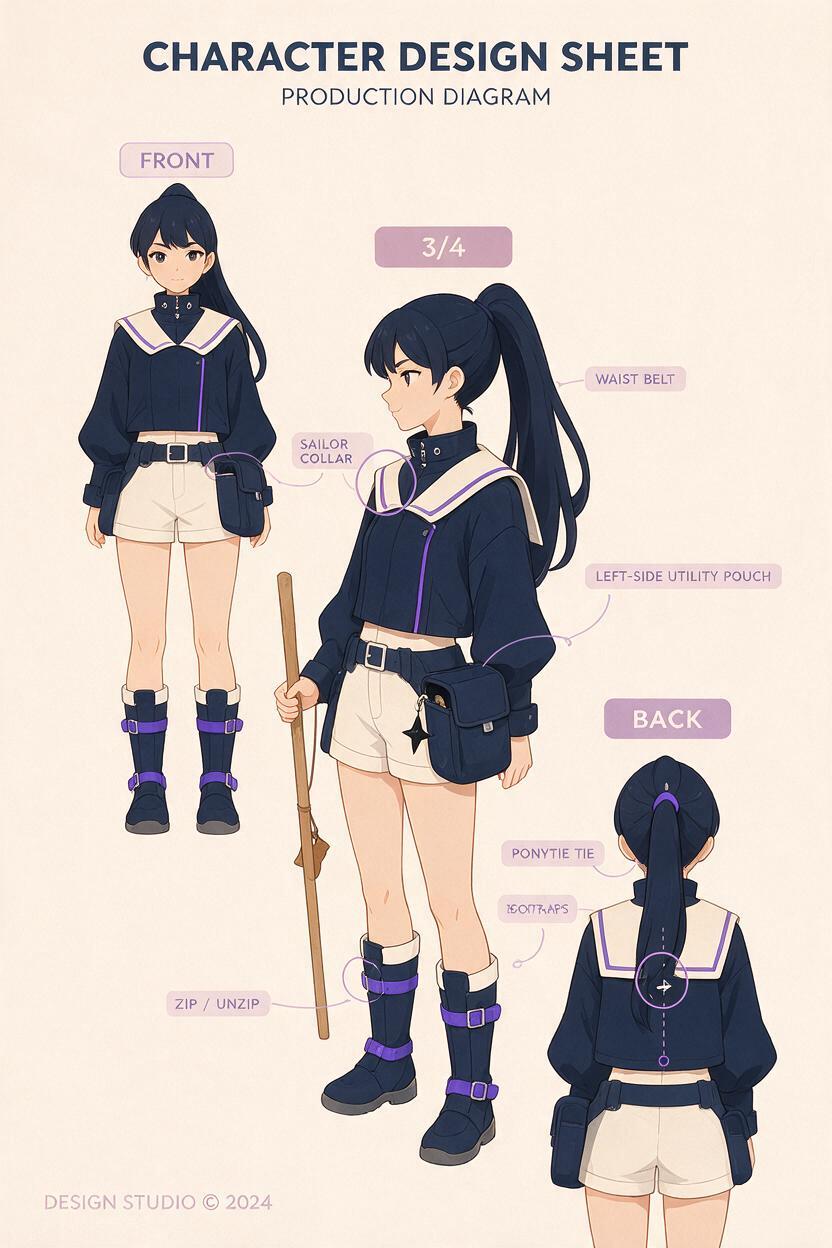
A front-view illustration contains incomplete evidence. The model can see a collar, belt, cape edge, or ribbon, but it cannot know exactly how those elements continue around the body. When several constructions are plausible, it selects one that looks visually convincing—even when that choice contradicts your intended design.
Back-view drift usually comes from four kinds of uncertainty:
- Occlusion: long hair conceals the collar, shoulder blades, straps, and upper garment.
- Unresolved construction: a front buckle may connect to a belt, harness, sash, or decorative panel.
- Asymmetry without labels: the model may mirror a one-sided glove, pouch, earring, or hair clip.
- Style pressure: a request for a dramatic pose can override the quieter goal of preserving costume geometry.
Treat every hidden detail as an unanswered design question. If you do not answer it, the model will.
Build a back-view specification before generating
Start by describing what continues around the body. This specification should be short enough to inspect quickly but concrete enough to reject an attractive yet incorrect result.
| Design area | Question to resolve | Example specification |
|---|---|---|
| Hair | What is hidden behind the head? | Low ponytail begins below the occipital line; red tie remains visible. |
| Collar | Does it continue, split, or close? | White sailor collar forms one triangular flap centered on the back. |
| Outer garment | Where are the seams and openings? | Jacket has one center-back seam and no rear zipper. |
| Accessories | Which side is canonical? | Utility pouch remains on the character’s left hip. |
| Footwear | What changes behind the leg? | Boot straps cross once above each heel. |
Draw uncertain details as simple flat shapes if prose is not enough. A rough diagram showing where a strap ends is more useful than a polished front portrait that leaves the same area hidden.
Prepare references that expose construction
Use the cleanest neutral front view available. Add a three-quarter view if it reveals the side seam, hair volume, belt path, or accessory attachment. Crop unrelated characters and decorative backgrounds because they can introduce colors and shapes that reappear on the costume.
A practical reference board can contain:
- A full-body front view at neutral eye level.
- A left or right three-quarter view.
- Small close-ups of asymmetrical accessories.
- A flat palette strip for costume colors.
- A rough back diagram with labels for hidden details.
Keep the front and back poses mechanically comparable: upright torso, relaxed arms, level shoulders, parallel feet, and minimal perspective. A reference-guided editor such as nano banana pro is most useful here when the task is framed as preserving an established design while changing the viewing angle.
Prompt the angle change as a design edit
Separate identity constraints, camera direction, costume construction, and presentation. Avoid asking for action, atmosphere, cinematic lighting, or a complex environment in the same generation. Those instructions compete with design fidelity.
Edit the supplied anime character reference into a full-body orthographic back view.
Preserve the exact character identity, body proportions, cel-shaded line style,
hair color, costume palette, garment lengths, and accessory scale.

Back construction:
- low ponytail tied with one red band
- white sailor collar forms a centered triangular back flap
- navy jacket has one vertical center-back seam
- brown utility pouch stays on the character's left hip
- belt continues at the same height around the waist
- black boots have one strap crossing above each heel

Neutral turnaround pose, arms slightly separated from the torso,
feet parallel, eye-level camera, plain light background.
Do not mirror asymmetrical accessories. Do not add logos, buckles,
weapons, fabric panels, jewelry, or decorative seams.
If the result repeatedly mirrors an accessory, replace “left” with a visual relationship such as “on the same side as the blue glove shown in the reference.” Left and right can become ambiguous when instructions mix character-relative and viewer-relative directions.
Generate construction before personality
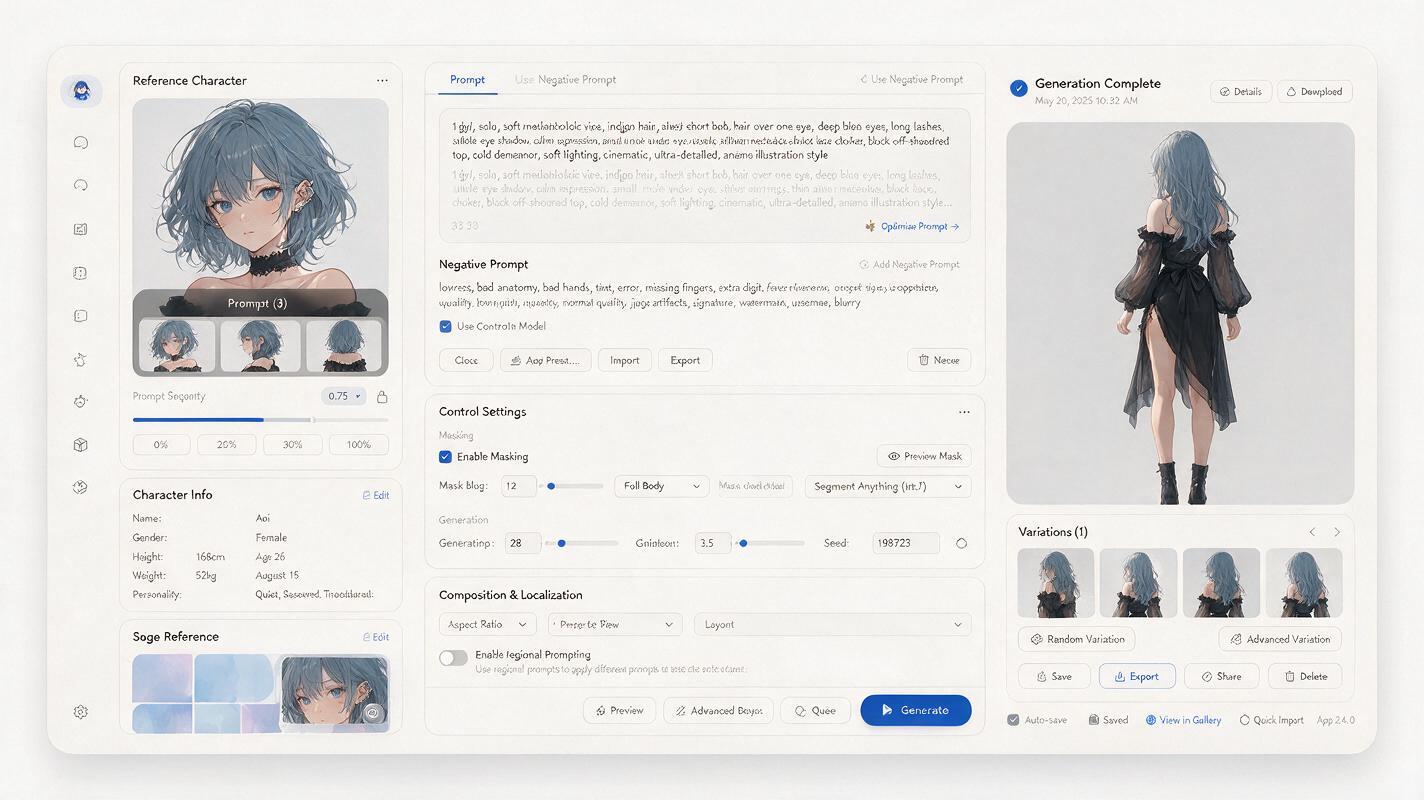
Your first successful output should look more like a production model sheet than finished key art. Neutral lighting and a plain background make continuity errors easier to see. They also keep shadows from masquerading as new seams or garment layers.
Generate several restrained candidates, but do not choose the most dramatic one. Select the image that best preserves:
- The outer silhouette of the hair and clothing.
- The vertical position of the waist, hem, knees, and footwear.
- The correct side for every asymmetrical object.
- The number and location of straps, folds, panels, and fasteners.
- The original line weight and cel-shading complexity.
If none pass, simplify the task. Remove the cape, weapon, or long hair temporarily to establish the torso construction, then restore the occluding element in a localized edit. This is often more reliable than repeatedly regenerating the entire character with every layer visible.
Repair one region without redesigning the body
Once the pose and silhouette are correct, protect them. Mask or crop only the defective area and state what must remain unchanged outside it. An ai image generator with reference-based editing can help correct a collar, belt, hair tie, or boot without discarding an otherwise usable back view.
Modify only the upper-back clothing region.
Replace the current collar with one white triangular sailor-collar flap,
centered between the shoulders and matching the front reference.
Keep the head, hair silhouette, arms, torso proportions, jacket color,
center-back seam, waist, background, and line style unchanged.
Do not add folds, symbols, clasps, or extra trim.
Repair large structural errors before small decorative ones. Fixing a badge first is wasted effort if the jacket length, shoulder width, or belt path will later require a broader edit.
Use a continuity audit instead of visual memory
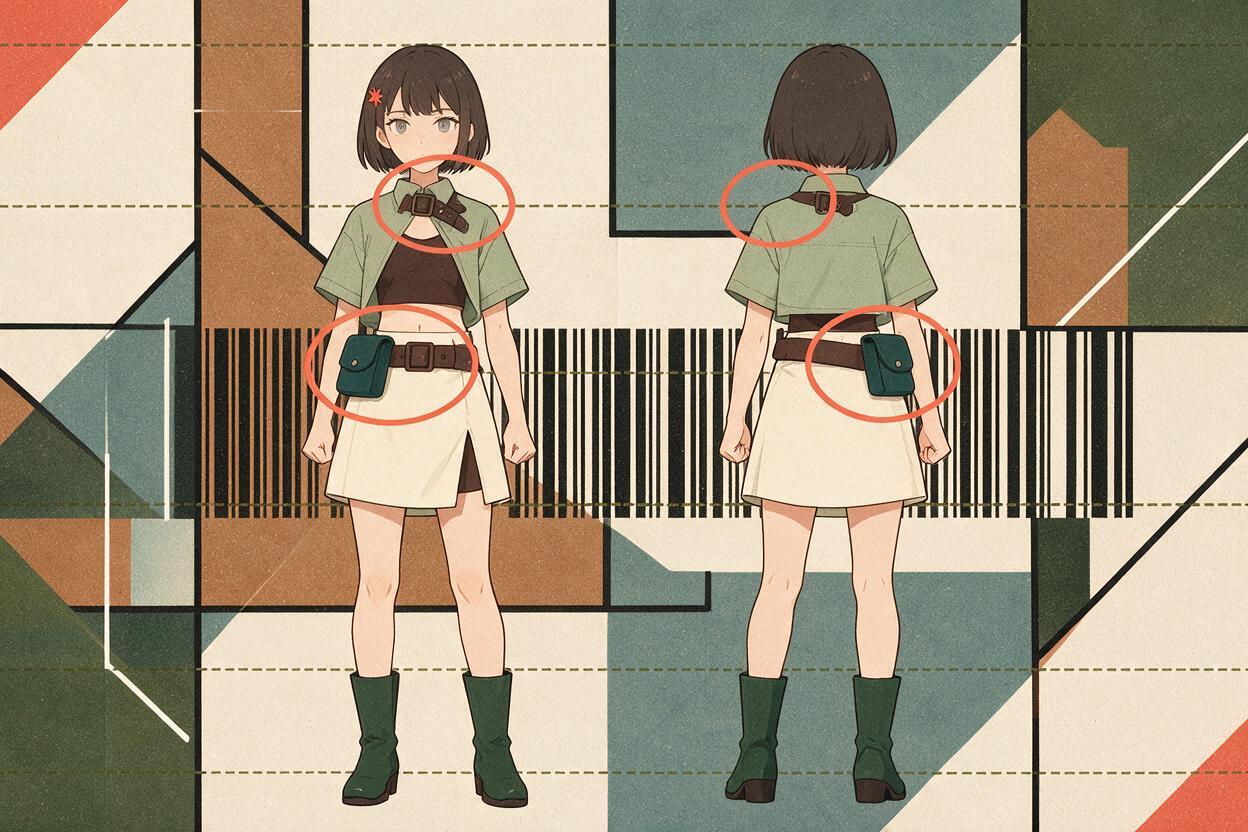
Place the approved front and candidate back views at the same height. Draw horizontal guides through the crown, chin, shoulders, waist, hem, knees, and soles. This reveals proportion drift that can be difficult to notice when images are viewed separately.
Then perform three passes:
- Silhouette pass: compare hair volume, shoulder width, garment length, and footwear shape.
- Construction pass: trace every collar edge, seam, strap, belt, pouch, and overlap from front to side to back.
- Style pass: compare outline thickness, shadow count, highlight shape, palette, and detail density.
Flip the sheet horizontally during inspection. This can expose leaning torsos, uneven shoulders, misplaced ponytails, and accidental asymmetry. Flip it back before checking canonical left-right details.
Know when a back view is animation-ready
A beautiful image is not automatically useful for character animation. The design must remain understandable when cropped, scaled, or moved between poses. Hair and clothing layers also need clear overlap relationships.
| Check | Ready | Needs repair |
|---|---|---|
| Hair overlap | Ponytail and back garment can be separated visually. | Hair merges into the collar or jacket outline. |
| Accessories | Attachment points are visible and plausible. | Pouch, weapon, or ribbon appears to float. |
| Garment logic | Front features continue around the body consistently. | Belts terminate, seams multiply, or layers reverse. |
| Proportions | Landmarks align with the approved front view. | Torso, legs, head, or shoulders change scale. |
| Readability | Major forms survive at storyboard size. | Essential details depend on tiny textures. |
Approve the neutral back view as a canonical reference before requesting walking, fighting, turning, or wind effects. Motion generation should inherit a solved design rather than being asked to solve the hidden costume and animate it simultaneously.
Final checklist
- Define every hidden seam, strap, closure, and accessory attachment.
- Use neutral turnaround poses and minimal perspective.
- Label asymmetrical details with an unambiguous visual reference.
- Generate the structural back view before adding cinematic styling.
- Repair isolated regions instead of regenerating a strong base image.
- Compare front and back landmarks at identical scale.
- Approve one canonical back view before creating animated shots.
When your reference board and back-view specification are ready, test this prompt yourself and judge the result by construction accuracy—not by polish alone.
Keywords
ai anime back view, anime character consistency, nano banana pro, anime character sheet, costume reference, ai image editing, 2d character animation