How to Make AI Anime Fight Animation That Feels Fast and Clear
Learn how to create an AI anime fight animation with readable choreography, stable characters, convincing impacts, and clean shot continuity. This practical workflow breaks one fight into short image-to-video clips that can be generated, repaired, and edited independently.
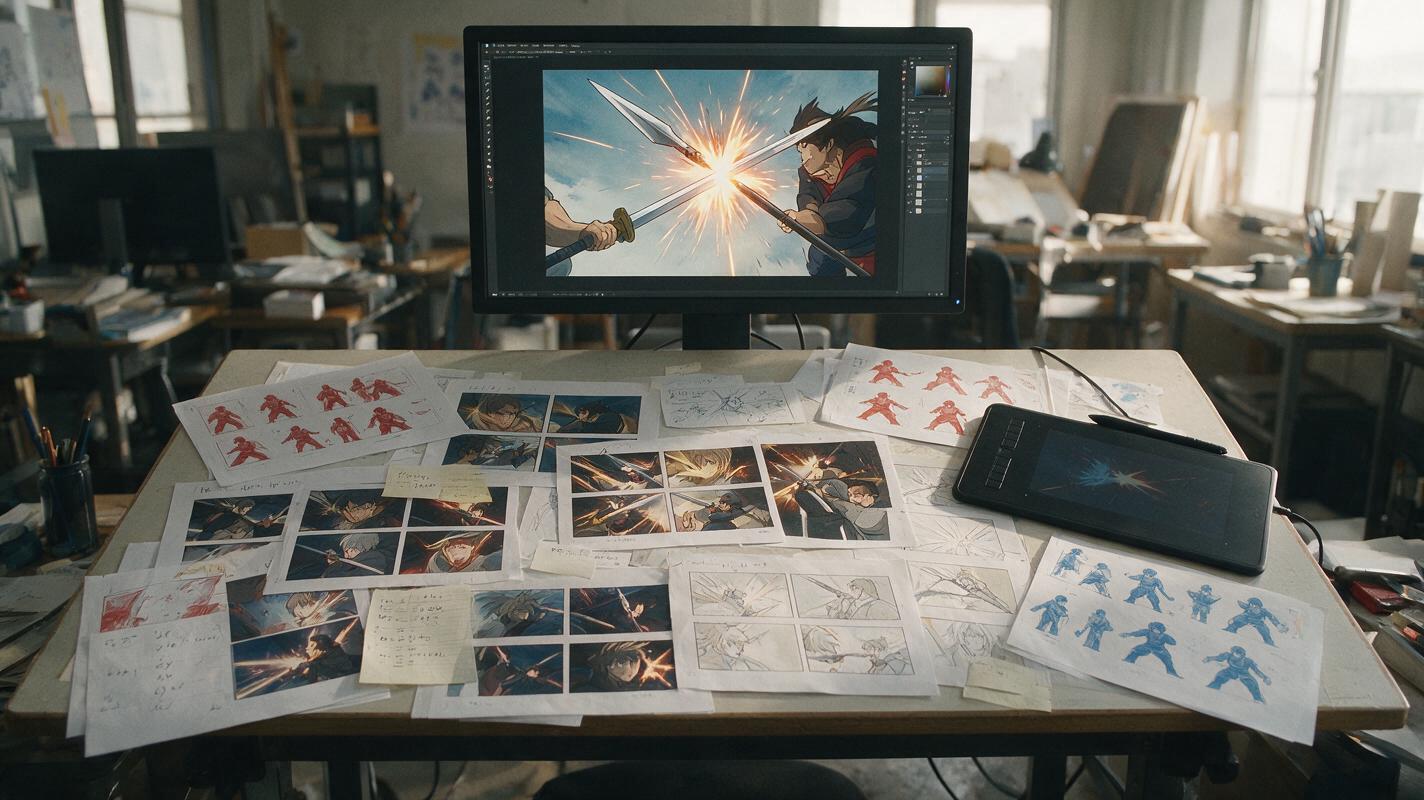
Table of contents
Create a Fast Anime Fight Without Creating a Visual Mess
The easiest way to ruin an AI anime fight is to ask for the entire battle in one prompt. Characters merge, attacks lose direction, and the camera moves faster than the audience can understand. A stronger method is to design the fight as six to ten short actions, create a clear keyframe for each one, and animate those images as separate clips.
This tutorial shows how to turn two character designs into a coherent 15-to-25-second fight. The method works with reference-based tools from model families such as Kling, Seedance, and Runway, but it does not depend on a specific model or version.
Step 1 — Define the Fighters and the Winning Condition
Before planning attacks, decide what the scene needs to communicate. A fight is not simply a collection of punches. It is a short story built from advantages, reversals, and consequences.
Write one sentence for each fighter:
- Fighter A: what they want, how they move, and what visual trait must remain recognizable.
- Fighter B: what makes their fighting style different and how they respond under pressure.
- Ending: who gains the advantage, escapes, transforms, or reveals a hidden ability.
For example, Fighter A might be an impatient swordswoman who attacks in straight lines, while Fighter B is a calm spear user who redirects her momentum. That contrast gives the generator—and the editor—specific visual logic to follow.
Keep the objective small: one exchange, one reversal, and one decisive final image are enough for a short AI fight.
Create a compact reference sheet for each character. Include a neutral full-body pose, a face close-up, front and back costume views, the weapon, and three fixed color swatches. If your source designs are still exploratory, use a reference-capable ai image generator to produce the missing views before animation.
Step 2 — Turn the Fight Into Six Readable Beats
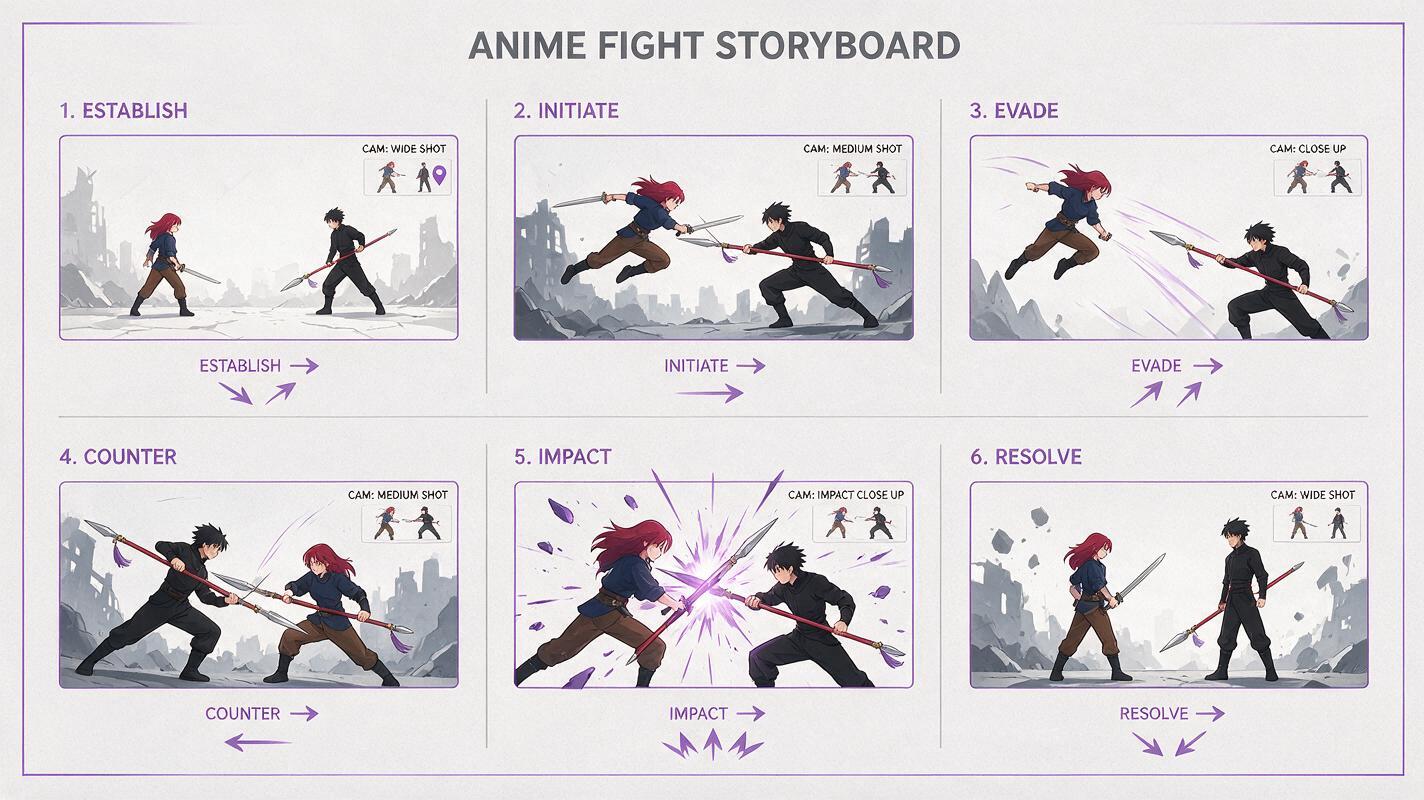
Break the action into beats that can each be understood from a single paused frame. A useful six-beat structure is:
- Establish: show distance, location, and facing direction.
- Initiate: one fighter makes the first committed move.
- Evade: the opponent dodges, blocks, or redirects.
- Counter: control of the fight changes hands.
- Impact: a hit, weapon clash, or supernatural attack lands.
- Resolve: show the physical result and the new power balance.
Assign one dominant action and one camera instruction to every beat. Do not combine a sprint, flip, sword strike, explosion, and orbiting camera in the same generation. Each additional event creates another opportunity for anatomy or screen direction to fail.
| Beat | Dominant action | Useful framing | Target length |
|---|---|---|---|
| Establish | Fighters measure distance | Wide locked shot | 1–2 seconds |
| Initiate | Swordswoman dashes right | Side tracking shot | 1 second |
| Evade | Spear user pivots away | Medium shot | 1 second |
| Counter | Spear sweeps low | Low three-quarter angle | 1–2 seconds |
| Impact | Blade and spear collide | Tight impact frame | Under 1 second |
| Resolve | Dust clears after separation | Wide silhouette shot | 2 seconds |
Step 3 — Draw Keyframes With Stable Screen Direction
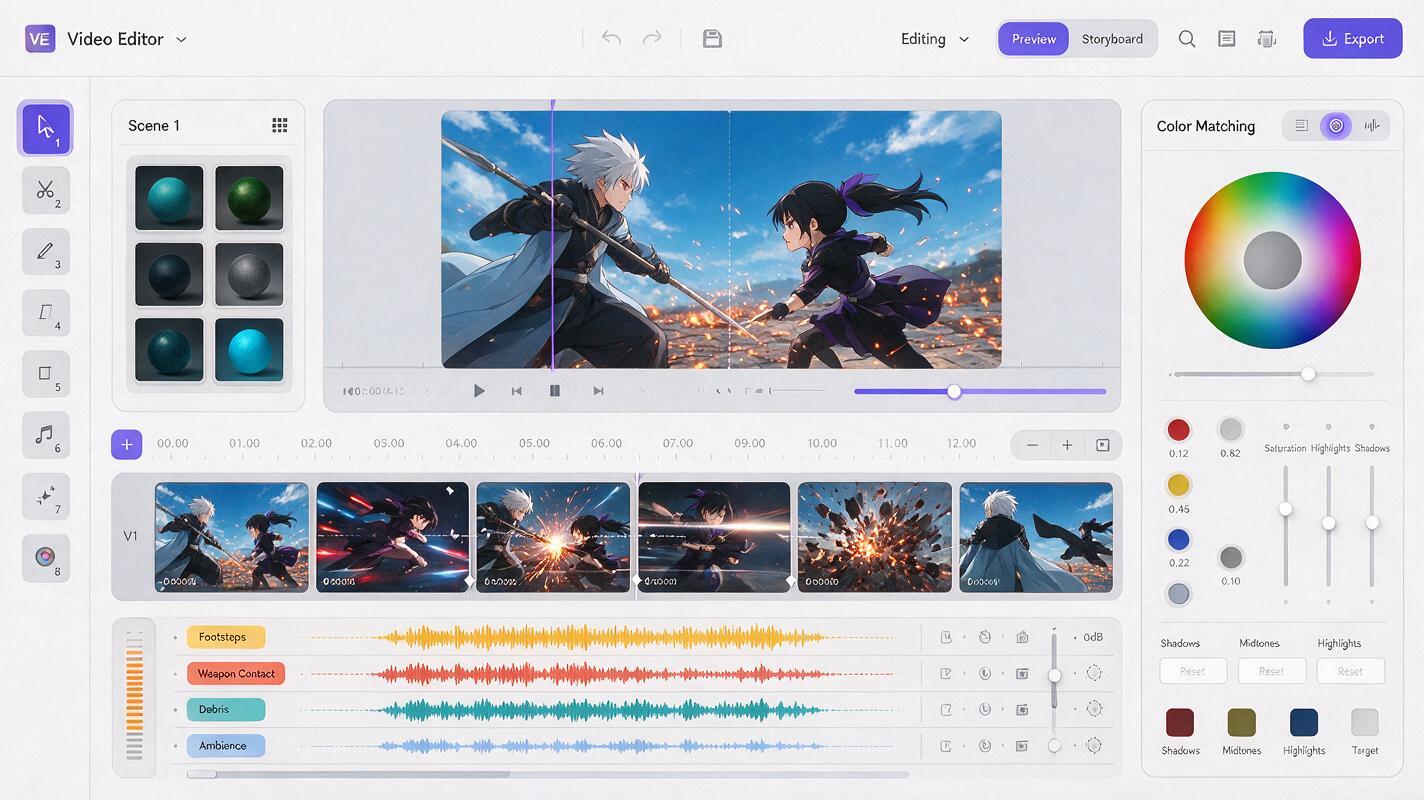
Generate or draw one keyframe for the beginning of each beat. Keep Fighter A on the same side of the frame until a visible movement shows them crossing Fighter B. If a character suddenly changes sides between clips, the audience may read an attack as retreating.
For every keyframe, verify five continuity anchors:
- Hair silhouette and facial markings
- Costume layers, closures, and sleeve lengths
- Weapon shape and which hand holds it
- Light direction and shadow color
- Background landmarks and floor perspective
Use the same character references for every keyframe, but change the pose description and framing. A reusable keyframe prompt can look like this:
Anime action keyframe, side view inside an abandoned train depot.
The red-haired swordswoman is on frame left, lunging toward frame right.
The dark-haired spear fighter remains on frame right, turning his torso to evade.
Preserve both reference costumes, facial designs, weapon proportions, and height difference.
Strong readable silhouettes, grounded feet, diagonal speed lines behind the attacker,
cel-shaded 2D animation finish, restrained background detail, no motion blur on faces.
When a pose is almost correct, edit that frame instead of regenerating the entire composition. Repair the hand, weapon, or face locally while protecting the pose and camera angle that already work.
Step 4 — Animate Impact Without Breaking Anatomy
Use image to video for the most identity-sensitive shots. The starting image establishes the character design, composition, and weapon placement; the motion prompt should describe only what changes.
A strong motion prompt separates subject movement, camera behavior, secondary motion, and restrictions:
Action: the swordswoman completes one short horizontal slash while the spear fighter
leans backward and deflects the blade once.
Camera: quick lateral tracking from left to right, no orbit, no zoom.
Secondary motion: coat hems snap, loose dust moves across the floor, brief sparks at contact.
Timing: rapid approach, two-frame-feeling impact hold, immediate separation.
Preserve: faces, costume colors, weapon shapes, finger count, body proportions.
Avoid: extra attacks, spinning, morphing weapons, duplicated limbs, camera rollover.
Generate several short variations rather than one long clip. Compare candidates at normal speed and frame by frame. The best result is not necessarily the most dramatic one; choose the clip in which viewers can identify the attacker, target, direction, and result.
Impact also depends on timing. Try this simple pattern:
- Anticipation: a brief pause or weight shift before the strike.
- Acceleration: rapid movement with controlled directional blur.
- Contact: one highly readable pose, spark, flash, or camera bump.
- Recovery: clothing, hair, debris, and bodies continue moving after contact.
Do not ask the model to simulate every in-between frame. A sharp key pose followed by a reaction often feels more animated than continuous soft motion. When your impact keyframe is ready, turn your image into a video and test at least three motion strengths before changing the artwork.
Step 5 — Choose the Generation Mode Shot by Shot
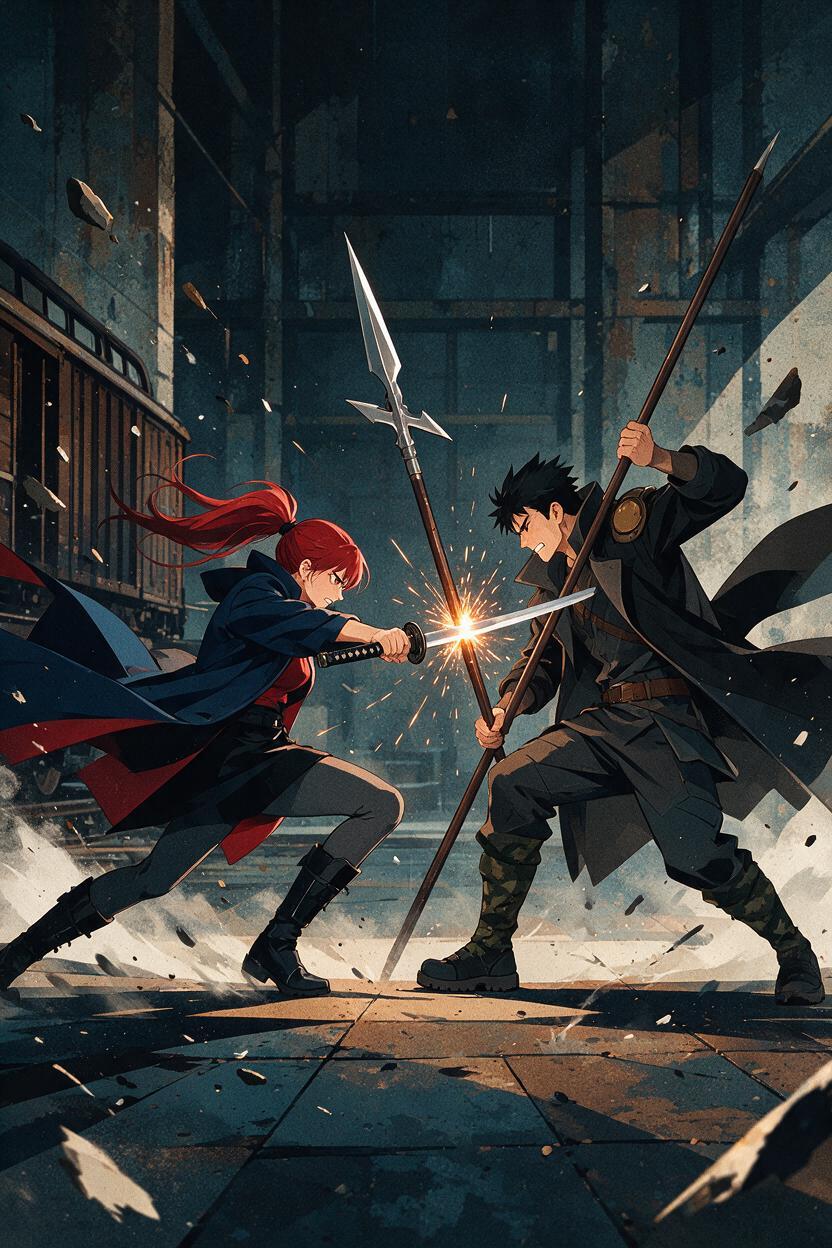
No single generation method is ideal for every part of the fight. Select the mode according to the shot’s continuity risk.
| Shot type | Recommended mode | Reason |
|---|---|---|
| Face close-up | Reference image to video | Protects identity and facial design |
| Weapon clash | Keyframe-led image to video | Locks contact position before motion |
| Fast environmental insert | Text to video | Useful when no hero face is visible |
| Transformation pose | Start and end keyframes | Defines both visual states |
| Damaged costume close-up | Edited still, then animation | Keeps damage placement consistent |
When comparing Kling, Seedance, Runway, or another anime video generator, run the same keyframe and motion prompt through each candidate. Judge identity preservation, action readability, unwanted camera movement, weapon stability, and usable frame count. This controlled test is more useful than choosing a model from an unrelated demonstration.
Step 6 — Edit the Clips Into One Continuous Fight
Arrange the clips according to movement rather than generation order. Cut during fast action, sparks, foreground wipes, dust bursts, or close passes by the camera. These transitions hide small continuity differences while preserving momentum.
Use three layers of sound to strengthen the animation:
- Preparation sounds: foot slides, cloth tension, weapon handling, and breathing.
- Impact sounds: separate the weapon contact, low body hit, and environmental response.
- Aftermath sounds: falling debris, ringing metal, dust movement, or a delayed echo.
Avoid cutting every shot to the same duration. Hold the establishing frame long enough to understand the space, compress the exchange, freeze or nearly freeze the decisive impact, and then give the result room to register.
Color matching is equally important. Apply a shared contrast curve, shadow tint, and grain treatment after assembling the clips. Small differences in rendering style become less distracting when the sequence shares one finishing pass.
Step 7 — Troubleshoot the Most Common Fight Failures
The characters merge during contact
Shorten the clip and begin closer to the impact pose. Describe one contact point, such as blade against spear shaft, instead of requesting a complex exchange.
The weapon changes shape
Increase its size and clarity in the source keyframe. Remove heavy motion blur around the weapon, reinforce its material and silhouette in the prompt, and avoid rotations that hide its defining features.
The action feels slow
Reduce travel distance, cut out weak middle frames, and contrast a short anticipation with a rapid strike. Speed comes from timing and shot selection, not constant camera shaking.
The fight is fast but confusing
Return to a wide orientation shot before the next exchange. Keep screen direction stable and remove simultaneous background events that compete with the main attack.
The face changes after every cut
Use fewer close-ups during the fastest actions. Reserve identity-critical frames for anticipation and aftermath, where controlled movement gives the model less opportunity to redesign the face.
Final Checklist
- Give each fighter a distinct goal, silhouette, and movement style.
- Break the fight into six to ten single-action beats.
- Lock screen direction before generating motion.
- Use reference-led keyframes for faces, weapons, and impact poses.
- Prompt one action and one camera move per clip.
- Evaluate readability before spectacle.
- Hide minor inconsistencies with motivated cuts and effects.
- Finish the sequence with unified color and layered sound.
Keywords
ai anime fight animation, anime image to video, character animation, anime fight prompts, 2d animation ai, anime video generator, character consistency