AI Anime Transformation Prompts That Prevent Costume Drift
A single AI-generated transformation clip often melts faces, swaps costume details, and produces an unreadable blur. This guide uses PixVerse, locked before-and-after designs, short motion prompts, and concealed cuts to create a cleaner anime transformation sequence.
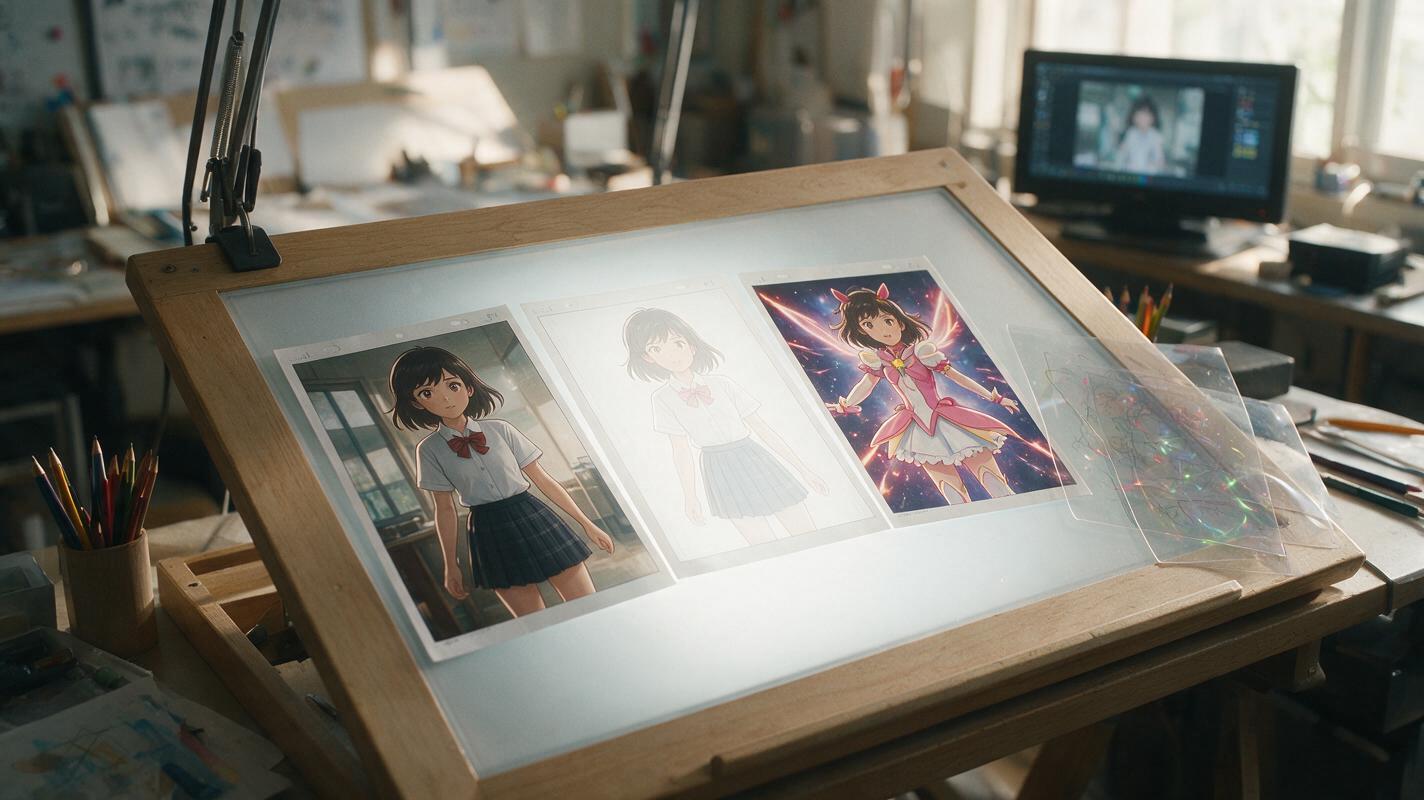
Table of contents
Stop asking one clip to perform the entire transformation
An AI anime transformation usually fails when one prompt asks the model to preserve a face, replace an entire costume, create spinning effects, move the camera, and finish in a precise hero pose. The result is often a melting intermediate character with unstable hair, duplicated limbs, and costume details that never settle.
A more reliable method is to treat the transformation as an edited sequence. Lock the character’s ordinary and transformed designs as separate images, generate several short clips in PixVerse, and place the difficult costume change behind light, smoke, ribbons, particles, or a deliberate cut.
The key principle: animate stable poses and controllable effects. Do not rely on a long, literal morph to invent every intermediate costume state.
Build a three-shot transformation instead of one long morph
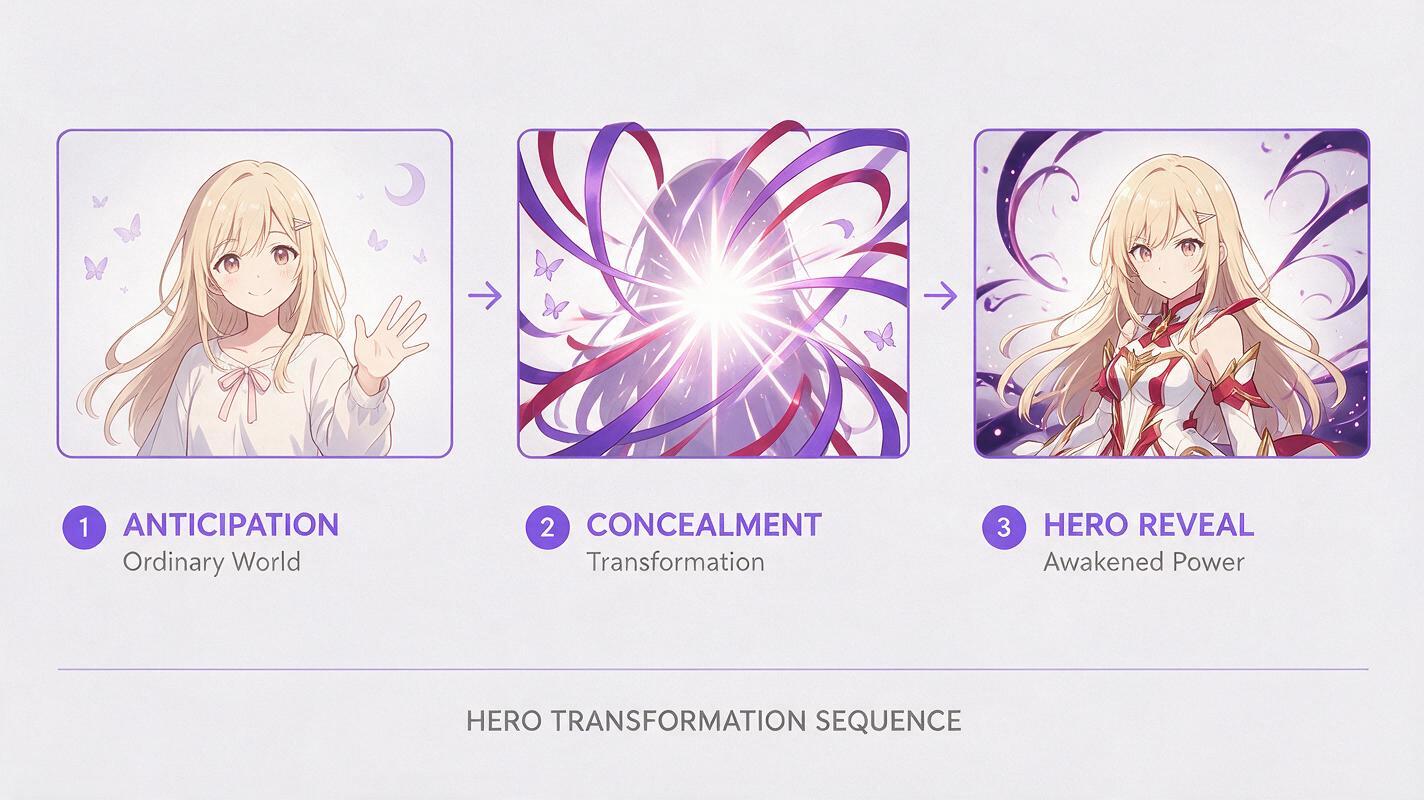
A concise transformation can be assembled from three distinct visual jobs: anticipation, concealment, and reveal. Each shot has one clear subject and one dominant motion, which gives the video model fewer opportunities to redesign the character.
| Shot | Visual purpose | What should remain stable | Suggested duration |
|---|---|---|---|
| Anticipation | The ordinary character triggers the transformation | Face, hair, hands, original clothing | 1–2 seconds |
| Effect insert | Light or another graphic element hides the design change | Silhouette and screen direction | 0.5–1.5 seconds |
| Hero reveal | The transformed character completes a signature pose | New costume, accessories, face, body proportions | 2–3 seconds |
This structure does not require the last frame of one generation to become the first frame of the next with perfect mathematical precision. The flash and cut create a brief continuity bridge, while music, sound effects, and matching motion persuade the viewer that the change happened continuously.
Lock the two costume states before adding motion
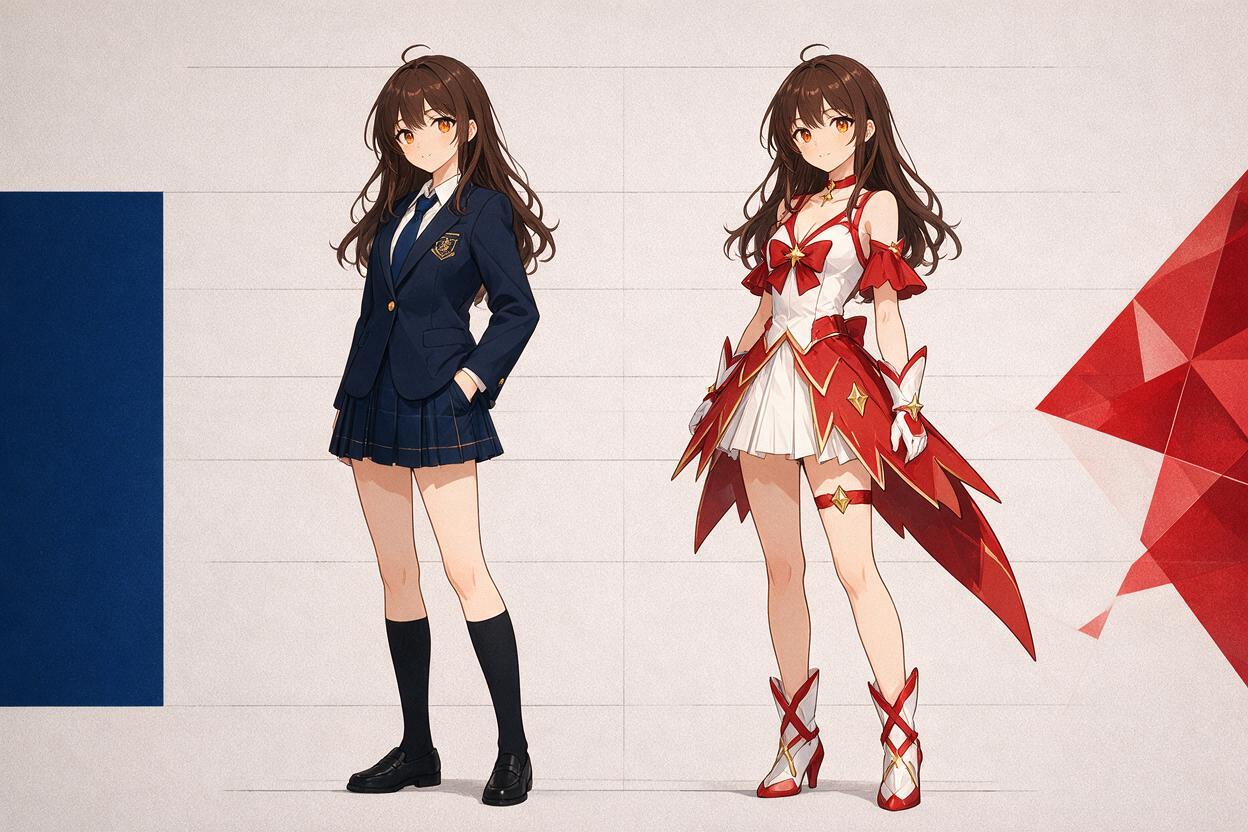
Prepare one clean image of the ordinary character and one of the transformed character. Match their framing, body proportions, face angle, eye color, hairstyle silhouette, and lighting direction. The costume can change dramatically, but the identity should not.
Keep the character centered with visible space around the arms, hair, cape, and effects. Avoid cropped hands, crossed limbs, unreadable accessories, or a background with lines that merge into the silhouette. A plain or softly painted background is easier to animate than a crowded scene.
Use a compact identity note beside both images:
IDENTITY LOCK
teen anime heroine, oval face, amber eyes,
short black bob with one red side clip,
small beauty mark below the left eye,
slim athletic proportions, same facial structure

ORDINARY STATE
navy school jacket, white shirt, red ribbon tie

TRANSFORMED STATE
white-and-crimson battle dress, gold shoulder emblems,
red gloves, crescent brooch, short translucent cape
Do not describe the transformed costume differently in every prompt. Choose exact terms for its colors, materials, symbols, and accessories, then reuse those terms without synonyms. Calling the same object a “crescent brooch,” “moon jewel,” and “gold chest gem” can encourage visual variation.
Write prompts around visible actions, not abstract change
Words such as epic, beautiful, and powerful transformation describe a mood, but they do not tell the model what should move. A useful motion prompt names the subject action, effect behavior, camera behavior, timing, and visual constraints.
Anticipation prompt for the ordinary character
Anime transformation anticipation shot. The heroine raises her right hand
from chest height to above her head in one clean motion. Her face and school
uniform remain unchanged. Her red ribbon and hair tips react gently to the
upward movement. A small warm light forms inside her raised palm and grows
brighter. Locked camera, medium shot, stable anatomy, crisp 2D linework,
no costume change yet, no camera orbit, no extra fingers.
The phrase no costume change yet is important because this clip only establishes the action. If clothes begin changing early, the edit loses its clean boundary.
Effect insert prompt that conceals the cut
Graphic anime transformation insert. A crescent-shaped ribbon of white and
crimson light sweeps upward through the frame, expanding until it completely
covers the character and background. Bright center, clean curved edges,
gold spark particles following the arc, rapid acceleration, full-screen white
flash at the end. No visible face, no visible hands, no readable costume,
no camera movement.
This shot is intentionally character-light. Its purpose is to reach a fully obscured frame that can hide the switch from the ordinary source image to the transformed one.
Hero reveal prompt for the transformed design
Anime transformation hero reveal. Begin with intense white light covering
most of the frame. The light contracts into gold particles, revealing the
heroine already wearing her white-and-crimson battle dress, crescent brooch,
red gloves, gold shoulder emblems, and short translucent cape. She lowers her
raised right arm into a confident diagonal pose. Her face, amber eyes, short
black bob, red side clip, and body proportions remain unchanged. Gentle cape
settle, subtle hair motion, slow camera push-in, crisp 2D animation, no costume
morphing, no accessory changes, no camera orbit.
Begin the reveal after the costume is already complete. The particles can expose the new design progressively, but they should not construct it piece by piece unless that assembly is the central visual idea.
Use PixVerse for short, controlled clips
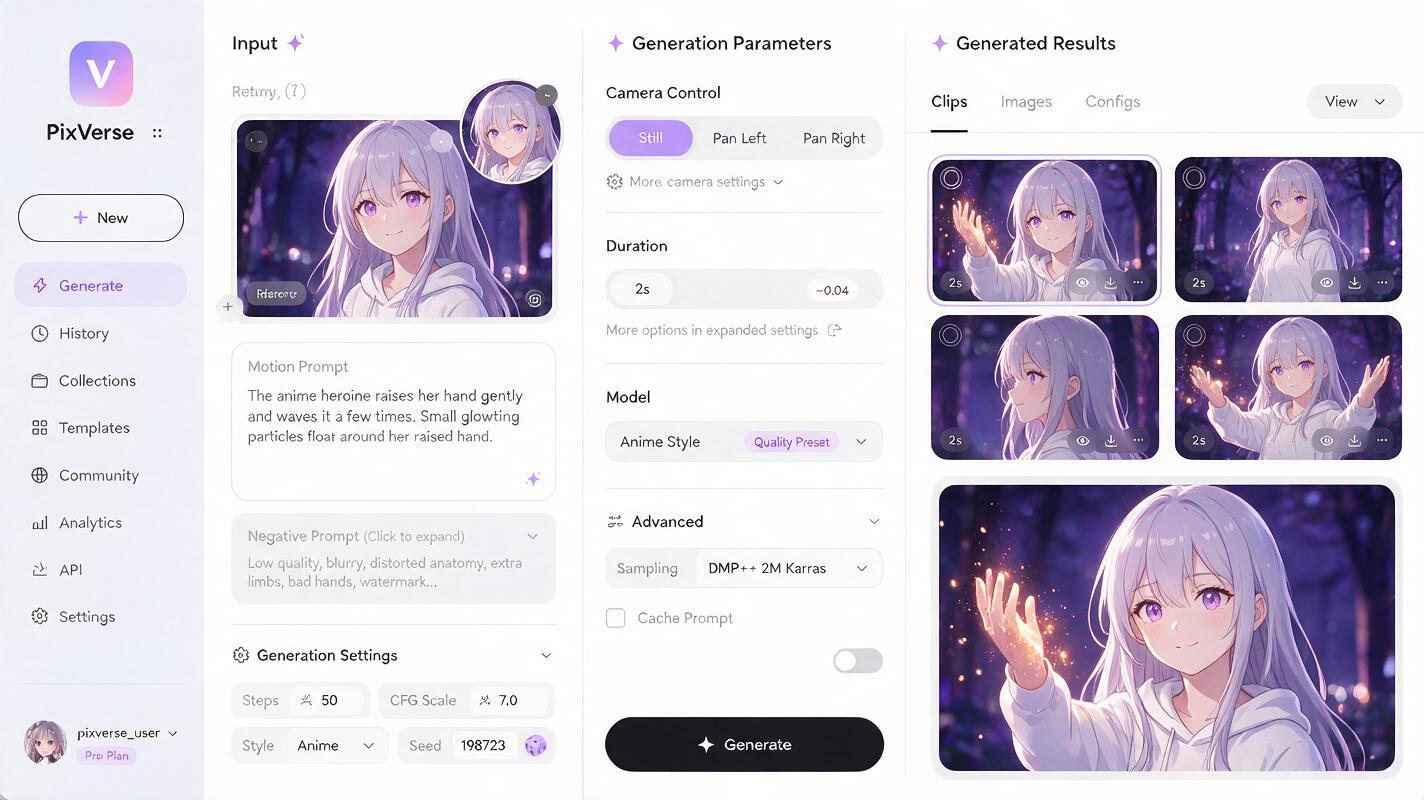
Load the ordinary character image into PixVerse for the anticipation shot and the transformed image for the reveal. This is an image to video workflow: the source frame carries the design, while the prompt concentrates on motion. Generate the effect insert separately because it does not need to preserve facial identity.
Available controls can differ by interface, so treat these as practical targets rather than fixed product settings:
| Control | Safer starting choice | Reason |
|---|---|---|
| Clip length | Short | Reduces the time available for costume and facial drift |
| Camera motion | Locked or slow push-in | Keeps the silhouette and facial structure easier to follow |
| Subject action | One major gesture | Avoids conflicting limb trajectories |
| Effects | Localized, then full-screen | Creates an intentional point for hiding the edit |
| Variations | Several small batches | Makes comparison easier without changing the prompt repeatedly |
Judge the first batch by structural stability rather than spectacle. Select the clip with the cleanest face, hands, costume edges, and movement arc. Effects can be strengthened later in editing; broken anatomy is much harder to repair.
If you already have both character states, test this prompt yourself with a restrained arm motion before attempting a spin, jump, or moving camera.
Hide the design change inside motivated occlusion
A white flash is useful, but it is not the only transition device. Choose an occlusion that belongs to the character’s world and move it in the same direction across both sides of the cut.
- Energy ribbon: sweep it from lower left to upper right in the anticipation and reveal shots.
- Smoke burst: let the cloud cover the torso first, then reveal the new silhouette as it disperses.
- Spinning cape: end the ordinary shot on fabric crossing the lens and begin the hero shot with transformed fabric clearing it.
- Magic circle: enlarge a bright symbol until its center fills the frame, then reverse the motion over the reveal.
- Foreground object: pass a weapon, sleeve, wing, or environmental object close to the camera to create a natural wipe.
Match three properties across the edit: direction, brightness, and speed. A clockwise ribbon should not become a counterclockwise particle stream after the cut. A dim blue effect should not abruptly become a saturated red flash unless the color change is clearly intentional.
Repair the failures that break the illusion
| Failure | Likely cause | Better correction |
|---|---|---|
| The face changes during the arm raise | Motion is too large or the camera also moves | Lock the camera, reduce head rotation, and shorten the clip |
| The new costume keeps mutating | The reveal prompt asks the model to construct it | Start from a completed transformed reference and reveal it with particles |
| Hands duplicate near the flash | Fast overlapping arm motion becomes ambiguous | Use one readable arm path and obscure the hand before maximum speed |
| The transition feels like an unrelated cut | Effect direction or pose does not match | Align the raised arm, silhouette, screen direction, and flash position |
| The result looks static | Every element stops after the reveal | Add cape settling, drifting particles, hair follow-through, and a slight push-in |
| Too much glow erases the artwork | Effects remain overexposed for the full reveal | Use full brightness only at the cut, then contract it quickly |
If one region fails but the rest of the shot works, cut away before the error appears. A reaction close-up, emblem insert, boot landing, or hand clench can preserve momentum while removing unstable frames.
Edit the clips into one convincing transformation
Place the anticipation first and cut when the effect covers the face or most of the body. Insert the full-screen flash for only as long as needed to mask the design switch. Begin the hero reveal with matching light, then let the transformed pose breathe long enough for viewers to read the costume.
Sound sells the continuity. Build the audio around a rising charge, a sharp transition accent, and a lower impact or musical resolution on the final pose. Add a brief cloth movement or accessory chime after the reveal so the character does not feel frozen.
For a more elaborate sequence, insert close-ups between the concealment and reveal: brooch activation, glove snap, boot landing, or eye reflection. Generate each as a separate stable composition instead of forcing PixVerse to preserve one continuous full-body morph.
Final checklist
- Ordinary and transformed images depict the same face, hair, proportions, and lighting direction.
- Costume names, colors, symbols, and accessories remain identical across prompts.
- Each clip has one dominant character action and restrained camera movement.
- The ordinary clip does not begin changing the costume prematurely.
- The transformed clip starts with the final costume already complete.
- A flash, ribbon, smoke cloud, or foreground wipe fully conceals the edit.
- Effect direction and body pose match across the transition.
- The final shot includes secondary motion and enough screen time to read the design.
Keywords
ai anime transformation, anime transformation prompts, PixVerse anime animation, anime image to video, costume consistency, 2D character animation, anime video generator