Why AI Campaign Mockup Reels Warp Key Visuals (and 3 Fixes With Veo)
AI-generated campaign mockup reels can save brand designers hours of manual After Effects work, but most tools warp key visuals, mismatch lighting across touchpoints, and throw off brand colors. This article breaks down three common causes of brand drift in AI campaign reels and shares actionable fixes using Veo’s image-to-video capabilities, plus reusable prompt templates for consistent, client-ready results.
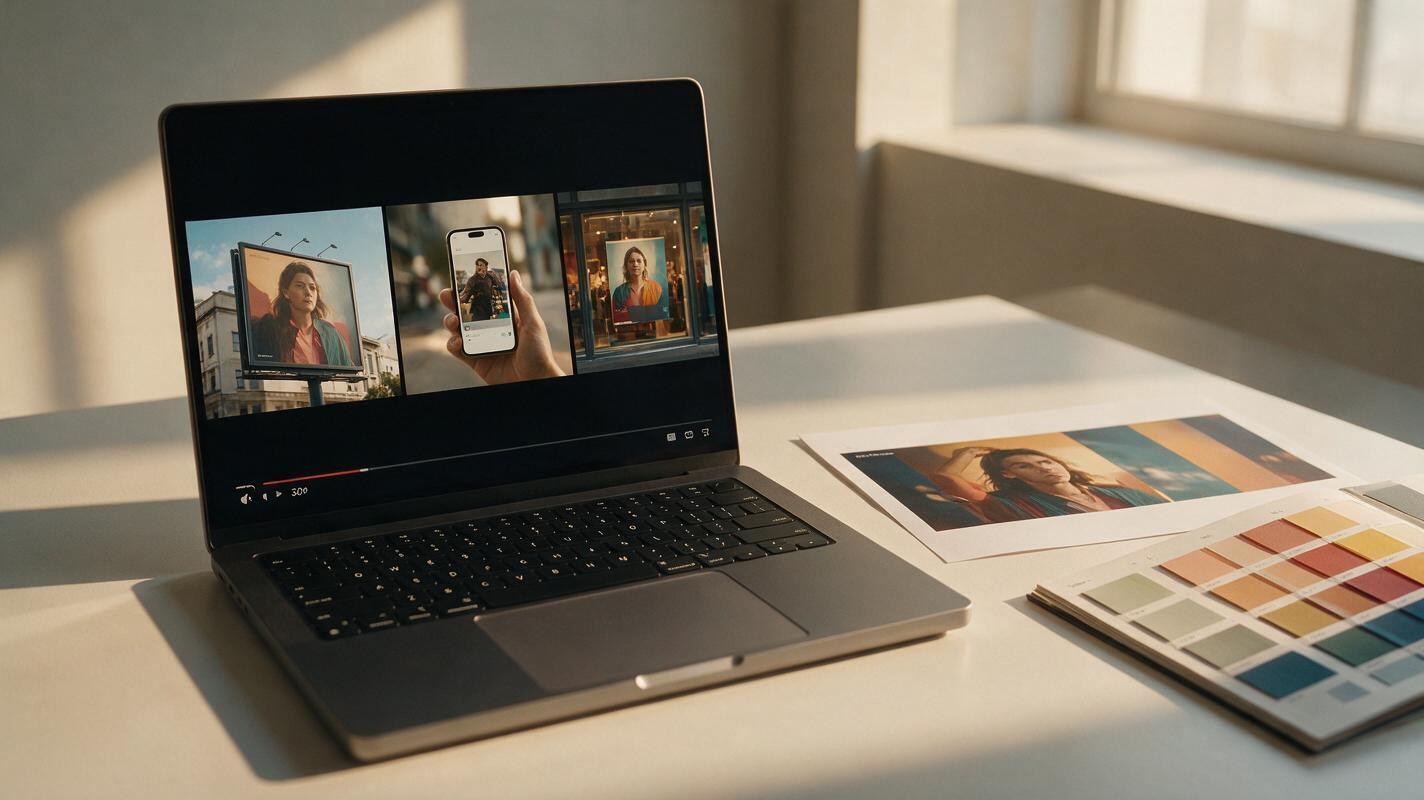
Table of contents
Why your AI campaign reels don’t look brand-ready
When pitching a new campaign concept, a 30-second reel showing your key visual across billboards, social feeds, store windows, and packaging can sell the vision faster than any static slide. But building that reel manually in After Effects takes 4+ hours of tracking surfaces, matching lighting, and adjusting perspective for every touchpoint.
AI video tools promise to cut that time to minutes, but most brand designers run into the same three problems: warped key visual artwork, mismatched lighting across scenes, and brand colors that shift from clip to clip. The issue isn’t that AI can’t make good mockups—it’s that most generic prompts don’t prioritize brand asset integrity over flashy motion.
As an ai video generator built for high-fidelity scene rendering, Veo handles realistic lighting and surface textures better than many lighter tools for mockup work. With a few targeted adjustments to your workflow, you can generate a cohesive, on-brand campaign reel without frame-by-frame edits.
Lock your key visual as a reference before generating
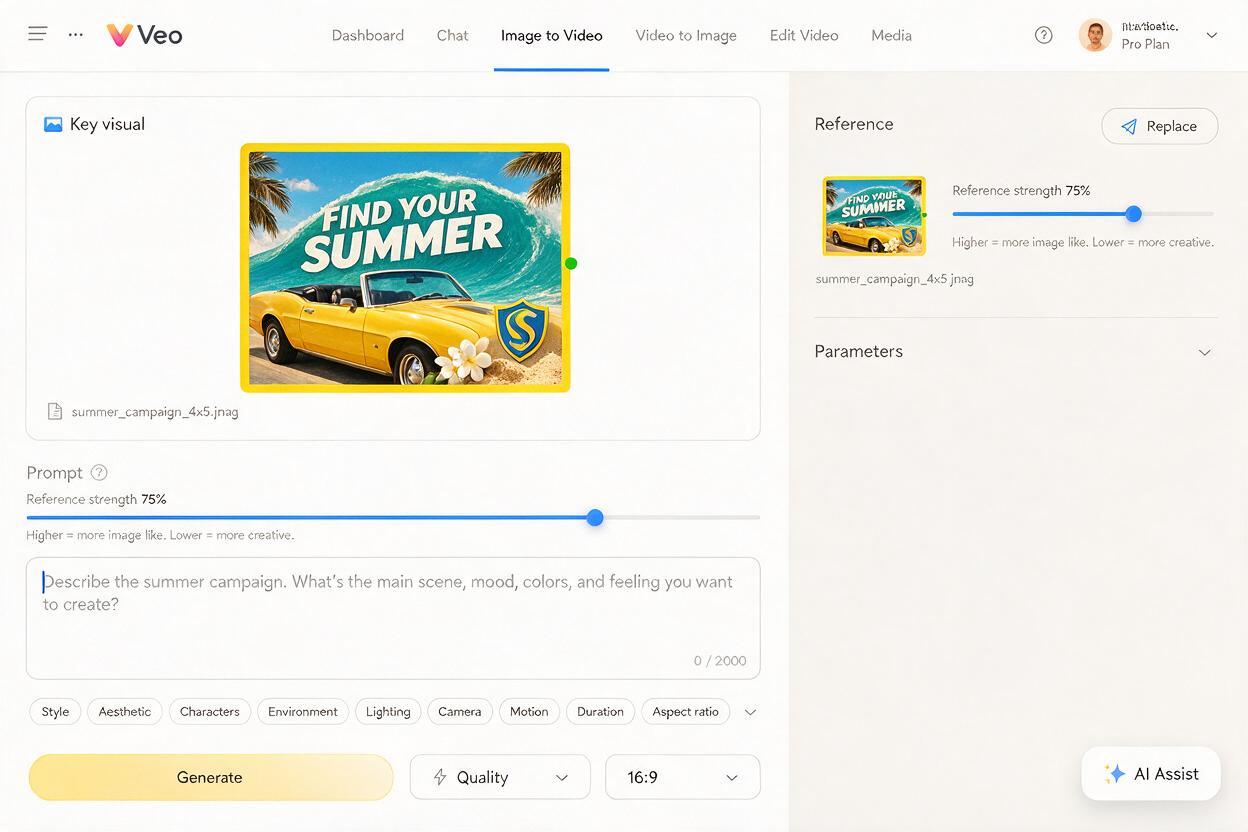
The #1 cause of brand drift in AI mockup reels is relying solely on text prompts to describe your key visual. Even the most detailed description can’t capture the exact color gradients, illustration details, and layout proportions of your finished artwork. Veo’s image to video feature lets you use your finished key visual as a structural reference for every scene, so the core artwork stays consistent across every touchpoint.
To set this up correctly, start with a high-resolution, flattened version of your key visual (remove any mockup frames or background clutter first). Upload it as a reference image in Veo, then set the reference strength to 70–80%. Too high, and the AI will try to stretch the entire key visual to fit every surface, warping edges and ignoring perspective. Too low, and the artwork will drift into a generic design that doesn’t match your campaign.
Your text prompt should describe the context of the mockup, not the artwork itself. Avoid phrases like “red campaign poster” and instead focus on the environment, surface, and motion. For example, a billboard prompt might reference the artwork but let the AI handle the scene:
Static billboard on a busy city street at golden hour, soft warm sunlight hitting the face of the billboard, slight camera pan left to right over 4 seconds, photorealistic, 4K, preserve exact artwork from reference image, no text distortion, sharp edgesPro tip: If you’re working with a text-heavy key visual, use a text-free version of the artwork as your reference. You’ll get cleaner edges and avoid warped typography, and you can overlay the final text in post in 2 minutes.
Standardize lighting and environment across all scenes
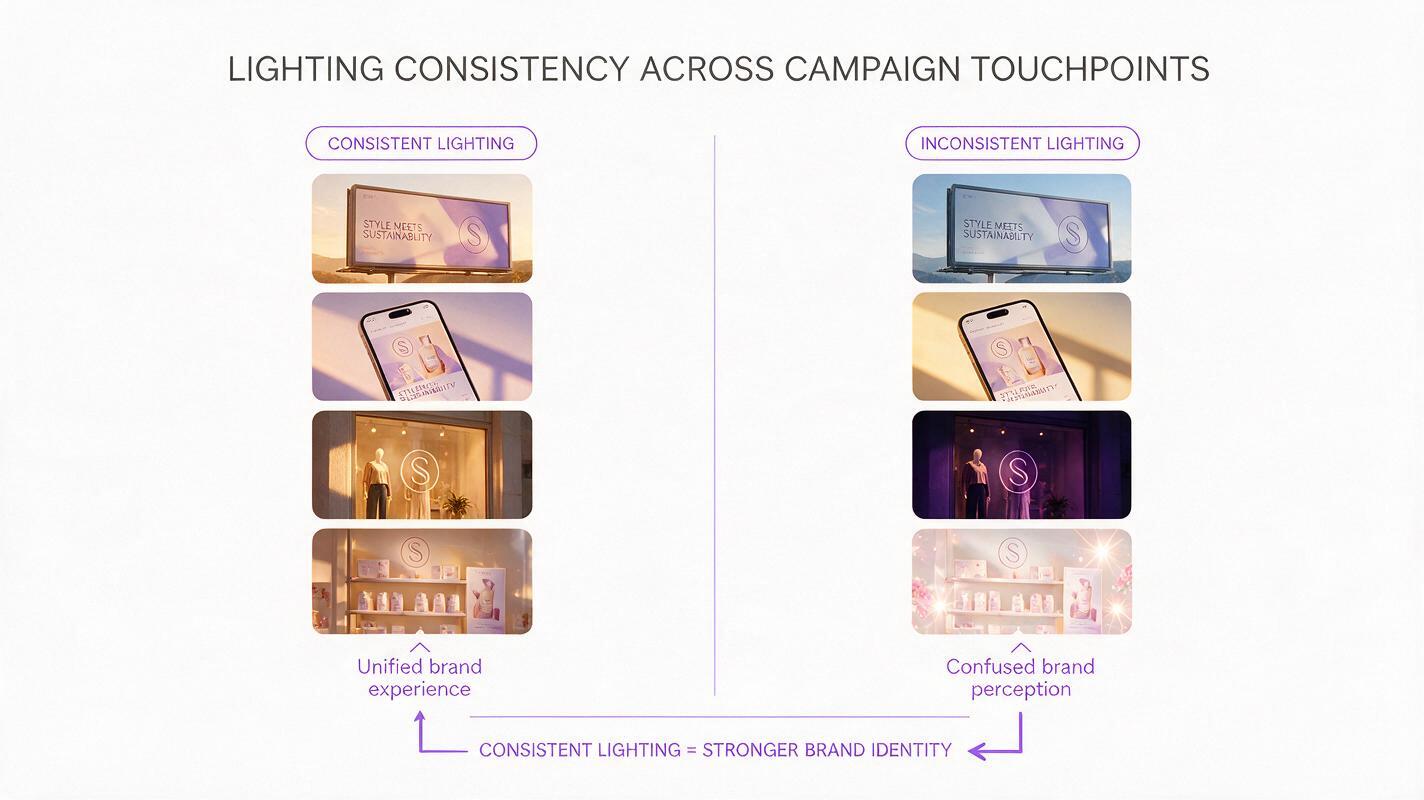
Even if your key visual stays intact, inconsistent lighting across clips will make your reel feel disjointed and unprofessional. A billboard lit by warm sunset light next to a phone screen lit by cool indoor light will look like two different campaigns, even if the artwork is identical.
The fix is to create a master lighting snippet that you copy-paste into every single prompt for your reel. This ensures the same light direction, color temperature, shadow softness, and ambient brightness carry across every touchpoint. Veo’s training on real-world lighting makes it especially good at adhering to consistent lighting parameters when they’re explicitly stated.
Your master lighting snippet should include these four details, tailored to your campaign’s mood:
- Light source direction: e.g., “soft warm sunlight from the upper left”
- Color temperature: e.g., “2700K warm golden tone” or “6500K cool overcast daylight”
- Shadow hardness: e.g., “soft diffused shadows” or “sharp crisp shadows”
- Ambient brightness: e.g., “bright midday exposure” or “dim evening street light”
For example, a warm, summery campaign might use this master snippet:
soft warm golden sunlight from upper left, 2700K color temperature, soft diffused shadows, bright mid-afternoon exposure, photorealistic, 4KAdd this snippet to the end of every prompt, no matter the touchpoint. You’ll notice that the lighting feels cohesive across clips, making the reel look like it was shot on the same day by the same crew.
Composite text and logos separately for zero distortion
Even with reference locking, AI video tools will occasionally warp thin typography or delicate logo marks. This is because AI models prioritize overall scene realism over pixel-perfect text rendering—especially when text is on a curved or angled surface like a product bottle or a store window.
The most reliable fix takes 5 minutes per clip and eliminates text distortion entirely: generate your mockup scenes with a text-free version of your key visual, then overlay the vector text and logo in your preferred editing tool (Figma, Premiere Pro, or even Canva work for this).
To do this with Veo, first create a text-free copy of your key visual (keep the background imagery, illustrations, and color blocks, just remove all typography and logo marks). Use this as your reference image, and add “no text, no logos” to your negative prompt to ensure the AI doesn’t add random text to the scene.
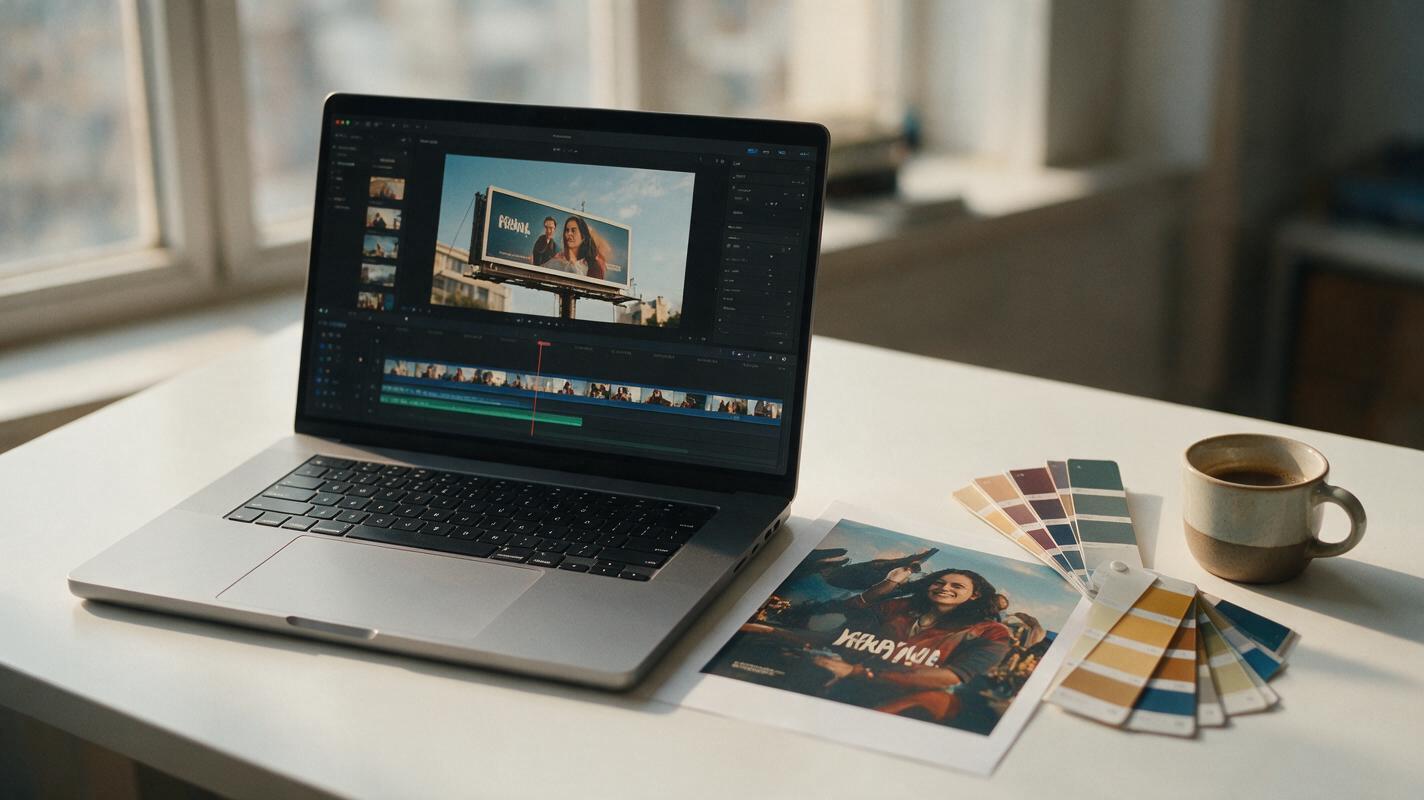
Once you generate the clip, import it into your editing tool and add your vector text and logo on a new layer. Use the corner pin or perspective warp tool to match the angle of the surface, then adjust the blend mode and opacity to match the lighting of the scene. For glossy surfaces like phone screens, use a “screen” blend mode; for matte surfaces like paper billboards, use “normal” with a slight shadow.
Why this works: Vector text and logos stay perfectly sharp at any resolution, and you only have to adjust the perspective once per clip, instead of fixing warped text frame by frame. For a 5-clip reel, this adds 10–15 minutes of work, but the result looks far more professional than AI-generated text.
Reusable Veo prompts for common campaign touchpoints
Below are four ready-to-use prompts for the most common campaign touchpoints. Just swap in your master lighting snippet and adjust the reference strength to match your artwork.
Outdoor billboard
Large static billboard mounted on a brick building in a downtown city street, slight slow camera dolly forward over 5 seconds, pedestrians and cars passing by in the foreground (blurred, out of focus), [paste your master lighting snippet], preserve exact artwork from reference image, no text distortion, sharp edges on artwork, photorealistic, 4KInstagram post on a smartphone
Close-up of a person’s hand holding a smartphone, thumb scrolling past an Instagram feed, your campaign post appears in the center of the screen, slight natural hand movement, soft focus background of a coffee shop table, [paste your master lighting snippet], preserve exact artwork from reference image, sharp screen display, no text distortion, photorealistic, 4KStore window display
Storefront window display with your campaign artwork printed on a large vinyl banner, mannequins and product displays in the window behind the banner, slight camera pan from left to right over 4 seconds, reflections of the street in the glass (subtle, not obscuring the artwork), [paste your master lighting snippet], preserve exact artwork from reference image, photorealistic, 4KProduct packaging on a retail shelf
Row of product boxes on a retail store shelf, your campaign packaging design on the front of the center box, slight slow camera push-in toward the center product, other products on the shelf are blurred in the background, [paste your master lighting snippet], preserve exact artwork from reference, sharp packaging print, no text distortion, photorealistic, 4KReady to test these prompts with your own campaign assets? try these models for free to generate your first mockup reel in minutes.
Final checklist
Before you export your final reel, run through this checklist to ensure it’s brand-ready:
- Key visual artwork matches your original file exactly (no color shifts, no missing details, no warped edges)
- Lighting is consistent across all clips (same color temperature, same shadow direction, same brightness level)
- All text and logo marks are sharp, correctly proportioned, and match your brand’s approved assets
- Each clip is 3–5 seconds long, with enough hold time to see the artwork clearly
- Transitions between clips are subtle (crossfades or quick cuts work best for campaign reels)
- All clips are exported at the same resolution and frame rate (1080p 30fps is standard for client presentations)
Keywords
veo, campaign mockup reel, brand drift, ai video generator, image to video, brand design, campaign key visual