Why AI Costume Swaps Redesign Your Character—and How to Stop It
AI costume edits often change the character’s face, proportions, pose, or drawing style along with the clothes. This workflow uses Seedream 4.5, identity anchors, garment construction notes, and localized editing to create reliable outfit variants for comics and webtoons.
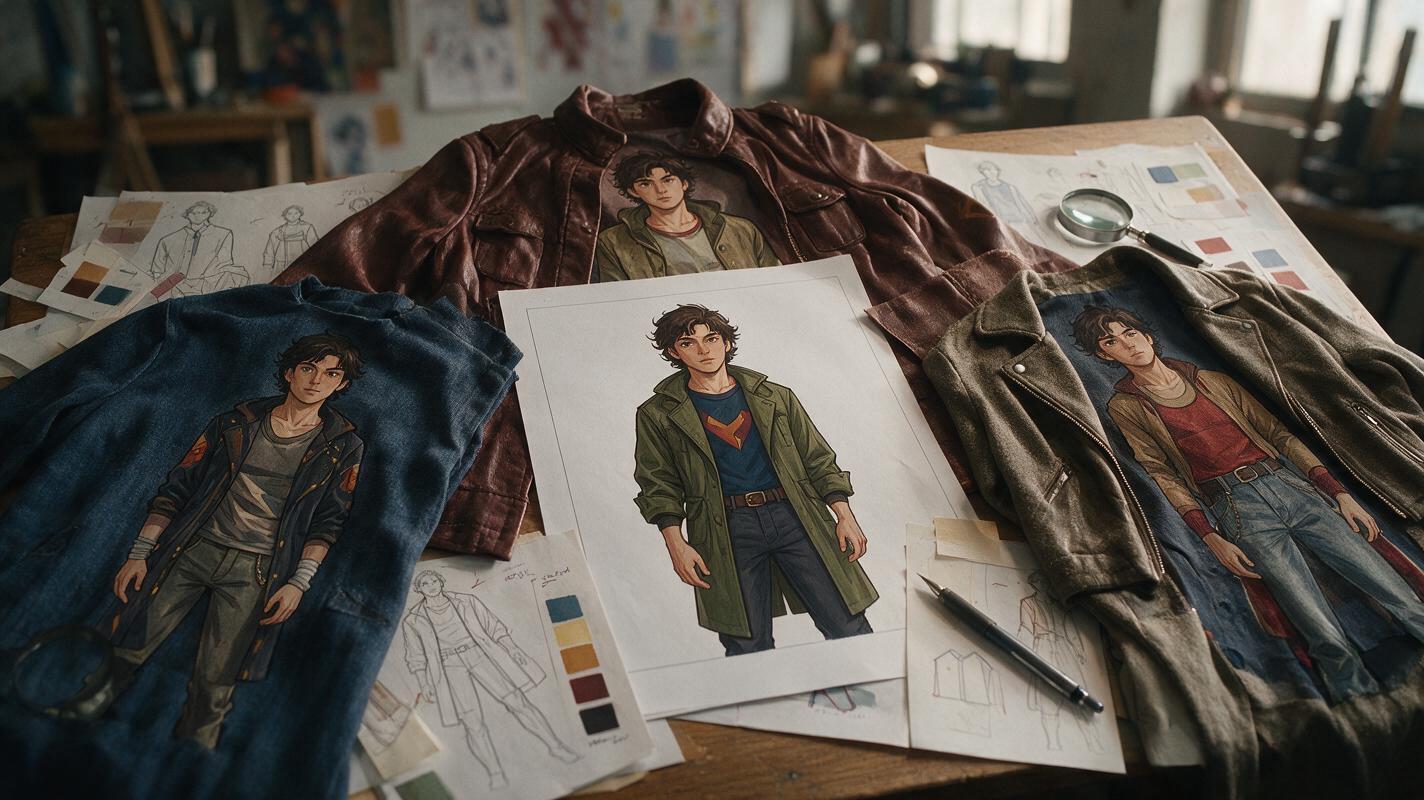
Table of contents
Change the clothes, not the character
A successful costume swap should look like the same character changed clothes between scenes—not like a new actor was cast for the role. Yet image models often alter the face, body proportions, hairstyle, pose, or rendering style while replacing an outfit. The problem becomes especially visible in comics and webtoons, where readers compare the character across consecutive panels.
The reliable solution is to treat wardrobe as an editable layer while explicitly protecting identity, anatomy, composition, and style. The following workflow uses seedream 4.5 for reference-based image editing, but the underlying method applies to any model that accepts an existing illustration as its visual source.
Do not ask the model to recreate the whole character in a new outfit. Ask it to preserve the existing illustration and replace only a defined clothing region.
Why a simple outfit prompt changes everything else
A prompt such as “put her in a winter coat” leaves most visual decisions unresolved. The model must infer the coat’s cut, length, material, closures, layering, silhouette, and relationship to the pose. During that reconstruction, it may also reinterpret the torso, shoulders, hands, hair, or face.
Character drift usually comes from four kinds of ambiguity:
- Identity ambiguity: the prompt describes a general character type instead of protecting the person in the reference.
- Garment ambiguity: the requested outfit lacks construction details, so the model invents a different silhouette on every attempt.
- Body ambiguity: loose clothing hides anatomical landmarks and encourages the model to change proportions.
- Edit ambiguity: the prompt does not define which pixels may change and which must remain untouched.
More adjectives are not necessarily the answer. The prompt needs boundaries: what is fixed, what is editable, and how the new garment is physically constructed.
Separate identity from wardrobe
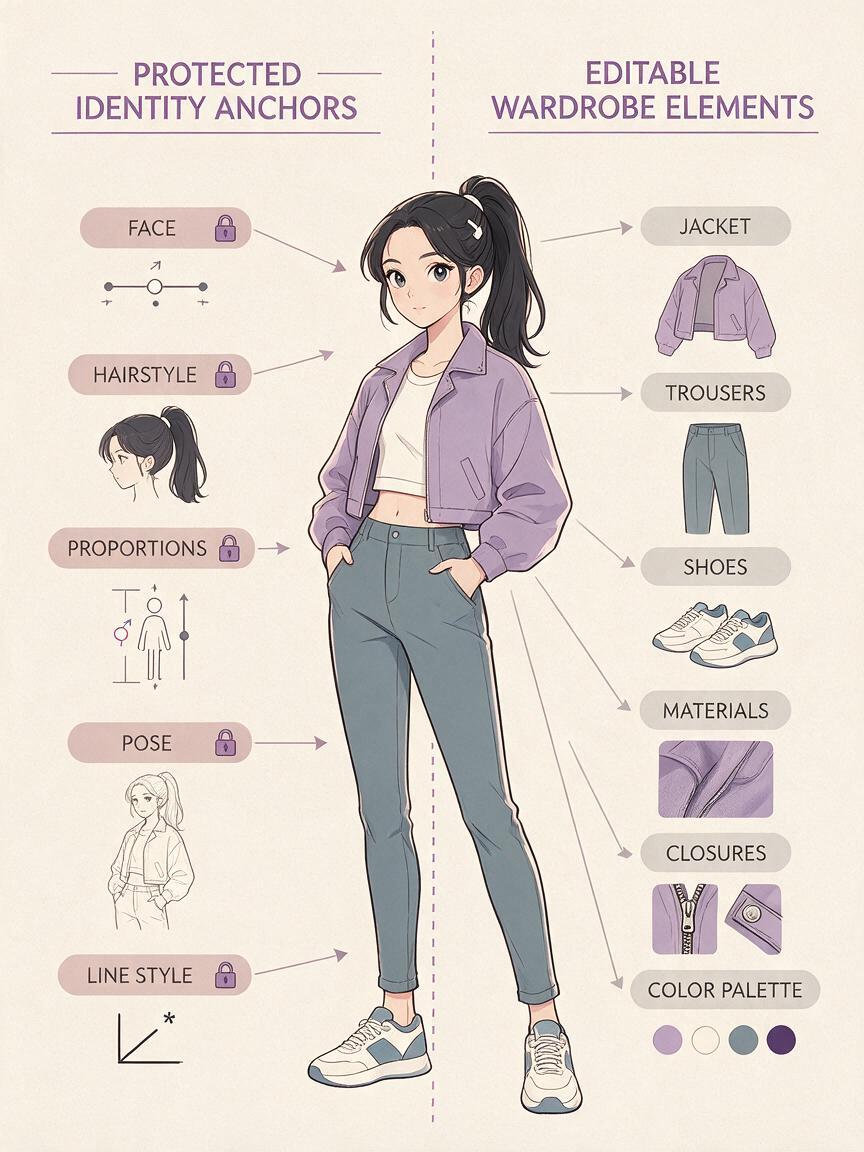
Before generating an outfit variant, divide the character description into two lists. The first contains permanent identity anchors. The second contains replaceable wardrobe features.
| Protected identity | Editable wardrobe |
|---|---|
| Face shape, eyes, nose, mouth | Jacket, shirt, dress, armor, uniform |
| Hairline, hairstyle, hair color | Fabric, closures, trim, accessories |
| Height and body proportions | Sleeve and trouser length |
| Pose, gesture, and expression | Footwear and removable headwear |
| Line weight and rendering style | Costume-specific color palette |
Keep these categories separate in the prompt. If “short silver hair” appears inside the wardrobe paragraph beside “blue military coat,” the model may treat both as redesignable styling choices.
For recurring cast members, save a compact identity block that can be reused without variation:
IDENTITY LOCK:
Preserve the exact same character from the reference image.
Keep the face, facial proportions, silver bob haircut, amber eyes,
body build, height, age, expression, pose, hand position,
and original ink-and-cel-shading style unchanged.
A short, repeatable identity block is usually easier to control than a long biography. Include only features that can actually be verified in the supplied image.
Build a costume-only edit instruction
Describe the replacement costume as a constructed object rather than a mood. “Elegant fantasy clothing” is interpretive; “hip-length fitted jacket with a high collar, two rows of brass buttons, narrow cuffs, and a split back hem” gives the model visible decisions it can follow.
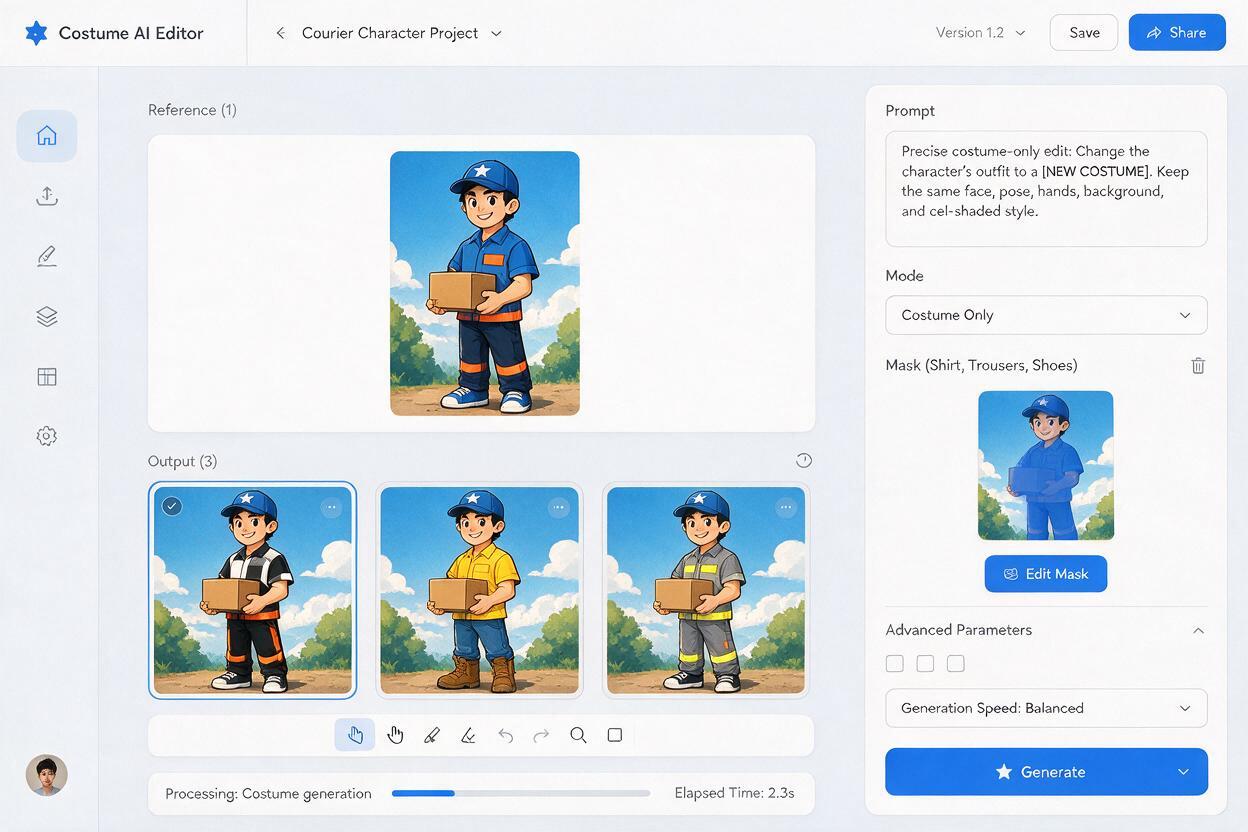
A strong costume-only prompt has four components:
- Edit boundary: name the garments that may be replaced.
- Construction: define length, fit, collar, sleeves, closures, layers, and material.
- Physical behavior: explain where fabric overlaps, folds, or disappears behind the body.
- Preservation clause: repeat that anatomy, pose, face, hair, background, and art style remain unchanged.
Edit only the character's current shirt, trousers, and shoes.
Replace them with a practical courier uniform: a waist-length rust-red
canvas jacket, stand collar, dark fitted undershirt, asymmetrical shoulder
strap, charcoal tapered trousers, and ankle boots with simple buckles.

The jacket follows the existing torso and shoulder position. Sleeves follow
the existing bent arms without changing their length. Preserve all visible
hand shapes and finger positions. Keep the exact face, hair, expression,
body proportions, pose, camera angle, background, line art, and cel shading.
Do not add weapons, bags, jewelry, text, or extra costume decorations.
This is still ai image generation, but the intended operation is controlled editing rather than open-ended character creation. The reference image should carry composition and identity; the prompt should define only the requested difference.
Protect anatomy beneath loose clothing
Long coats, capes, robes, and oversized sleeves produce more drift because they conceal the body structure used by the source illustration. A model may widen the shoulders, lengthen the torso, move the waist, or replace a hand that should remain visible.
Anchor the garment to anatomical landmarks already present in the panel:
- State that shoulder seams sit on the existing shoulders.
- Specify that the waistline remains at the existing waist.
- Tell sleeves to follow the current arm bends.
- Define whether hands remain fully visible, partly covered, or inside pockets.
- Describe the coat hem relative to the hips, knees, or ankles.
If the costume radically changes the silhouette, generate an intermediate fitted version first. Confirm the face, pose, and body proportions, then edit that result into the larger outer garment. Two restrained edits are often safer than one total transformation.
Generate difficult views before a full scene
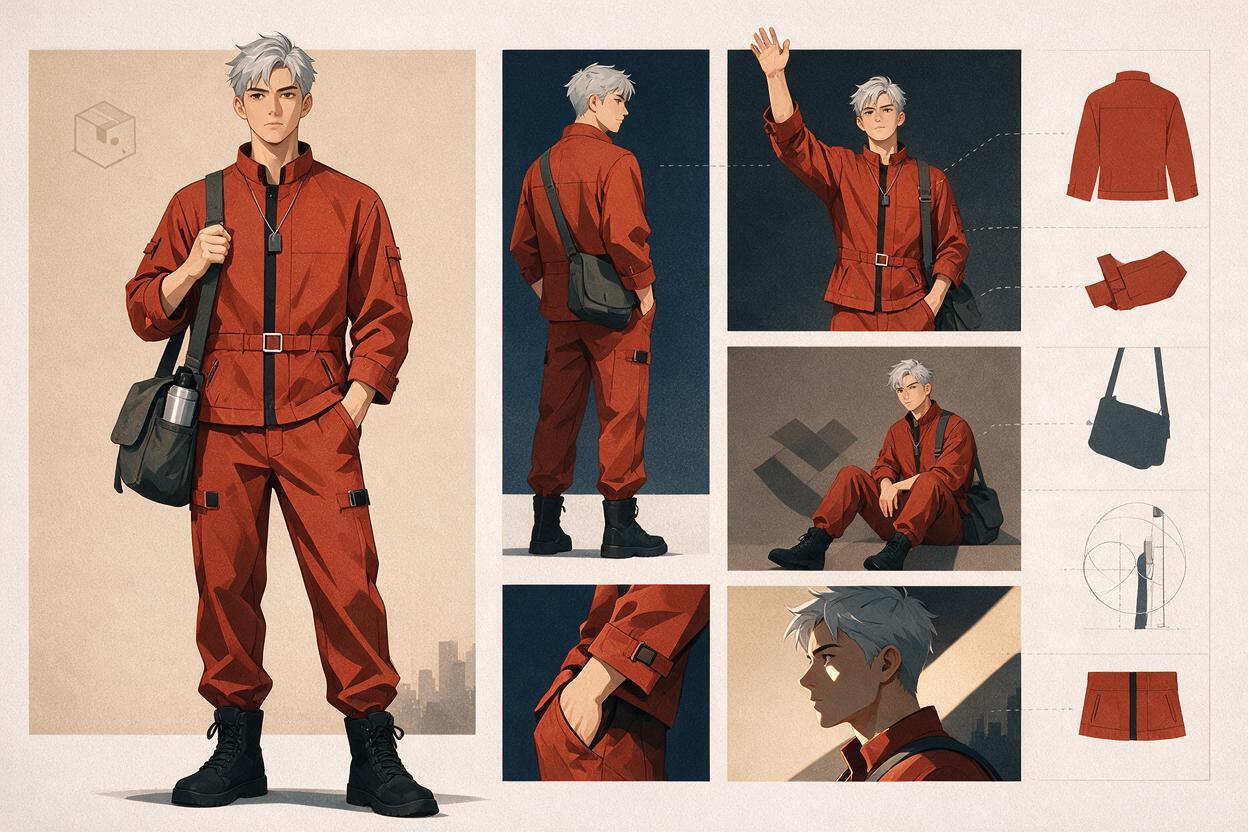
A costume that works in a front-facing portrait may fail from behind or in a seated pose. Before using the design throughout an episode, test the views that expose unresolved construction.
| Test image | What it reveals |
|---|---|
| Rear three-quarter view | Back seams, cape attachment, straps, and jacket length |
| Raised-arm pose | Sleeve construction and shoulder continuity |
| Seated pose | Coat tails, skirt folds, belt placement, and trouser shape |
| Close-up with hands | Cuffs, gloves, jewelry, and hand preservation |
| Strong side lighting | Material response without unwanted palette drift |
These tests are not additional costume concepts. They are continuity checks for one approved design. Keep the garment description identical and change only the requested view or pose.
Repair drift without regenerating the whole panel
When an edit is mostly correct, identify the smallest incorrect region. Regenerating the complete image can sacrifice a successful face, hand, or background while attempting to fix one button or sleeve.
Use narrow repair instructions such as:
Repair only the left jacket sleeve from shoulder seam to cuff.
Match the right sleeve's rust-red canvas, narrow cuff, line weight,
and cel-shaded lighting. Follow the existing arm anatomy and elbow bend.
Do not alter the hand, torso, face, hair, background, or any other clothing.
Inspect repaired regions at panel-reading size as well as full resolution. Tiny trim inconsistencies may disappear in a vertical scroll, while a changed jawline or shifted eye remains immediately noticeable.
Accept harmless fold variation. Repair features that affect identity, garment construction, story information, or continuity across neighboring panels.
Keep a wardrobe record for future panels
Once an outfit is approved, record its fixed construction instead of relying on the final image alone. A useful wardrobe record includes:
- A front and rear reference.
- A compact prompt describing construction and materials.
- Exact local colors for major garments.
- Rules for removable accessories.
- Details that must appear in close-ups.
- Details that can be simplified in distant panels.
For episode production, label outfits by story state rather than vague visual names. “Courier uniform—jacket closed” and “Courier uniform—jacket torn after chase” communicate continuity better than “red outfit version two.” This also prevents damage, dirt, and missing accessories from appearing before the plot causes them.
Final checklist
- Use an existing approved character illustration as the primary reference.
- Separate permanent identity anchors from editable wardrobe details.
- Describe garment construction, not only genre or mood.
- Lock the face, hair, proportions, pose, hands, camera, and art style.
- Anchor loose clothing to shoulders, waist, elbows, hips, or knees.
- Test rear, seated, raised-arm, and close-up views before episode production.
- Repair isolated errors instead of regenerating a successful panel.
- Save approved outfit prompts and references in a wardrobe record.
When your identity block and costume specification are ready, try these models for free and compare a fitted outfit, a layered outfit, and a difficult rear-view edit before committing the design to a full comic sequence.
Keywords
ai character costume swap, consistent character ai, seedream 4.5, comic character outfits, webtoon character design, ai illustration editing, costume variation prompts