Why AI Photos of Clear Bottles Look Fake—and How to Fix Them
Clear and translucent packaging is difficult to place in AI-generated product scenes because its edges, reflections, and apparent color depend on the surroundings. This guide shows ecommerce sellers how to plan a scene, photograph a reliable source image, and inspect the finished listing creative without altering what shoppers will receive.
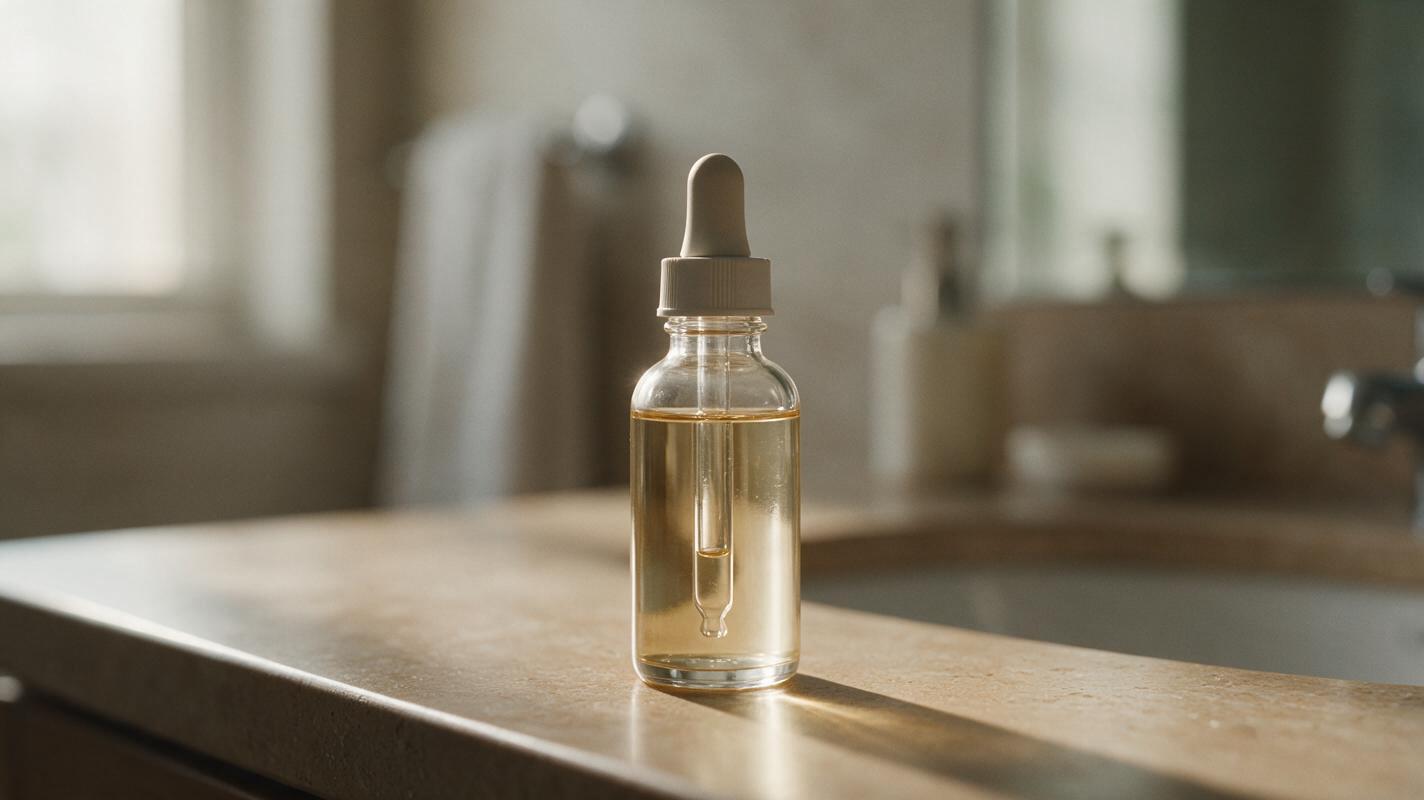
Table of contents
Clear packaging needs more than a clean cutout
A transparent serum bottle can look convincing in a studio photo and strangely opaque in an AI lifestyle scene. The usual culprits are not the label or the backdrop alone: the bottle’s edges contain reflections and colors from the room where it was photographed. Move those pixels into a different setting, and the glass may acquire a dark halo, a white outline, or liquid that appears to change color.
For Shopify, Etsy, and other product galleries, the safest approach is to treat the photographed bottle as evidence of the product and the generated scene as presentation. Nano Banana Pro can help develop a suitable empty setting through an ai image generator, but the real bottle should remain the reference for its shape, label, fill level, and contents.
Why transparent bottles expose the edit
An opaque box hides most of its surroundings. A clear bottle does the opposite: its rim, shoulders, liquid, and curved walls show light from behind and beside it. A simple background-removal mask can isolate the silhouette, but it cannot automatically replace every reflection inside the glass with reflections that belong to a new room.
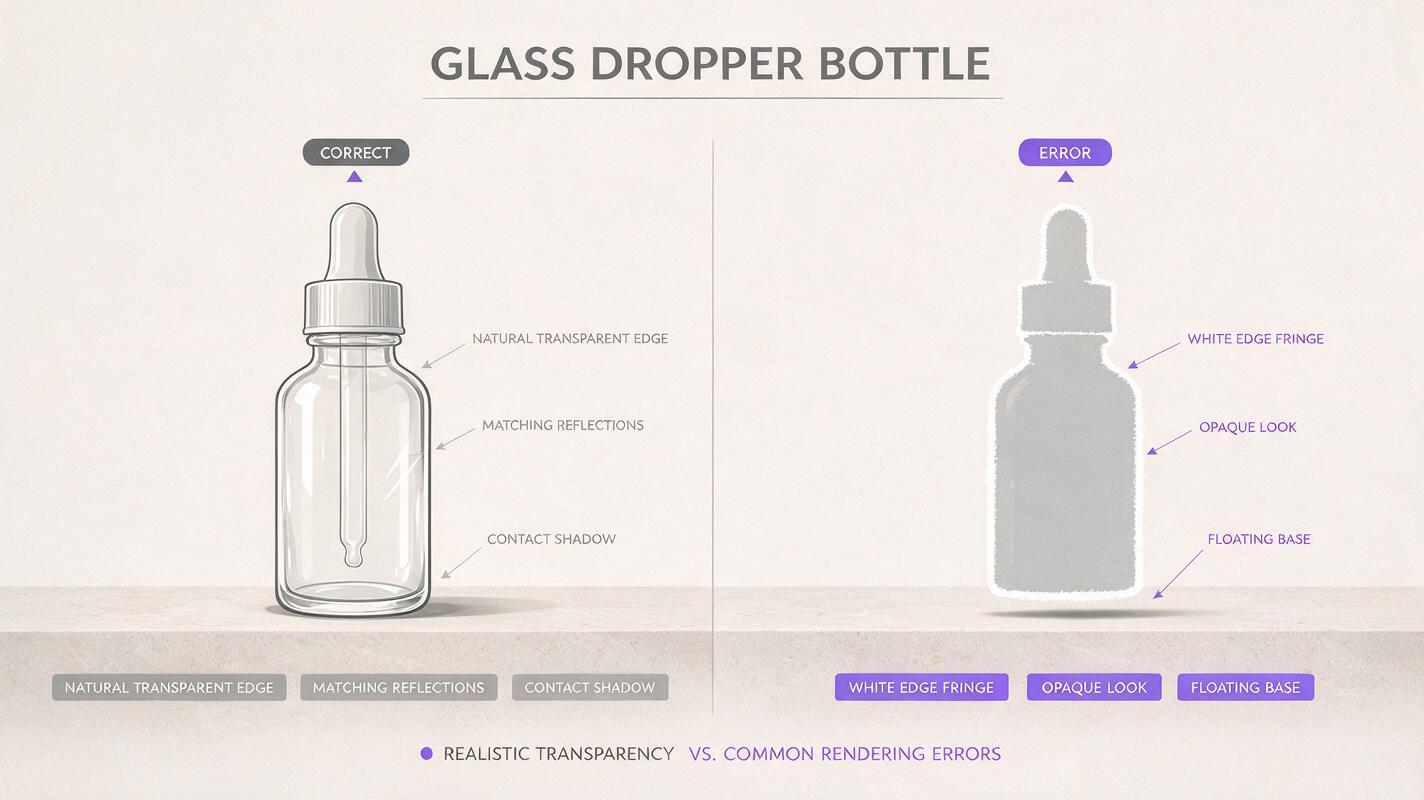
Look for these telltale failures before committing to a scene:
- White fringe: pale pixels from a white source backdrop remain around the cap or glass edge.
- Black fringe: a dark source backdrop makes the bottle look outlined against a bright new setting.
- Painted-on transparency: the new backdrop is visible outside the bottle but not through its clear areas.
- Impossible lighting: the generated scene is lit from one side while the bottle’s strongest highlight comes from the other.
- Changed contents: generated or heavily edited liquid appears to have a different shade or fill level.
If the product is transparent, a perfect silhouette is not enough. The scene must also make visual sense through the product.
Choose a scene your source photo can support
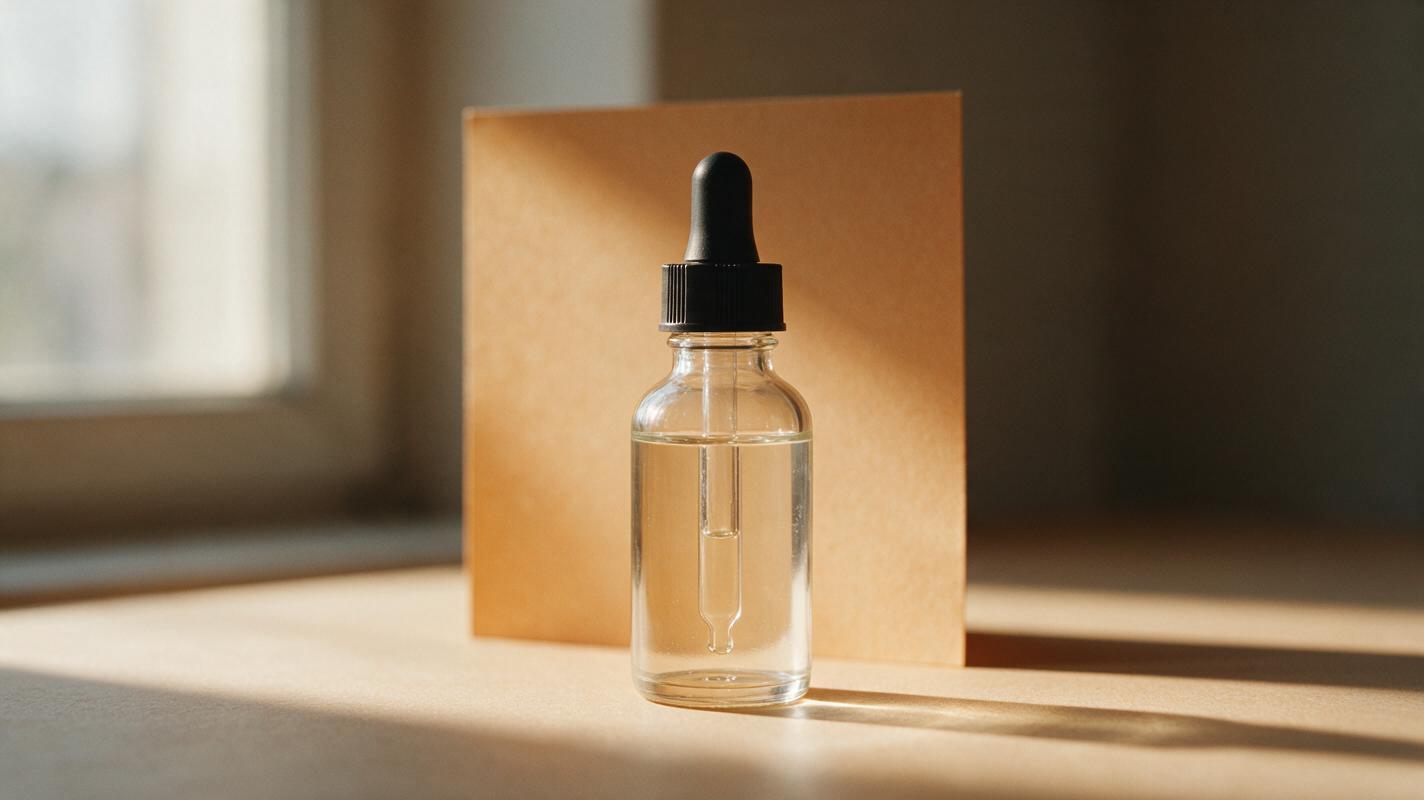
Start with an accurate photograph of the exact sellable bottle and variant. Note its camera angle, light direction, backdrop brightness, contact shadow, and the color visible through its clear areas. Then choose a lifestyle setting that works with those characteristics rather than forcing a dramatic mismatch.
For a bottle photographed against a warm, light backdrop with soft light from the left, a pale stone vanity near a left-side window is a more plausible destination than a dark, neon-lit shelf. A restrained scene also gives shoppers a better view of the product.
Generate the setting without a bottle in it. This avoids asking the model to invent a look-alike package that may alter the pump, logo, label, or contents. Leave a clear landing area where the real product photo will be placed.
Create a photorealistic empty bathroom vanity scene for a premium skincare product photograph. Pale warm stone countertop, soft daylight entering from the left, subtle natural shadows, quiet neutral wall, realistic materials. Leave an uncluttered open area in the center foreground for a clear glass dropper bottle to be added later. No bottle, packaging, label, writing, hands, or extra skincare products. Camera at countertop height, straight-on three-quarter view.Use the result as a scene candidate, not as proof that the real bottle will composite cleanly. Check the apparent camera height and where the bottle’s base would touch the surface before refining further.
Photograph for the intended destination
If you can reshoot, build the bottle photograph around the scene rather than relying on a difficult cutout. Place the real bottle against a backing close in brightness and hue to the intended destination. Light it from the same side as the generated setting, and photograph it at a similar camera height. Keep a little space around the product so the cap, shoulder, and shadow are not clipped.
Take two useful source frames if your setup allows it: one with the bottle in place and one with the bottle removed, without changing the camera or lighting. The empty frame can help a photo editor distinguish background from transparent edges. It does not eliminate every reflection, but it is more informative than a single image taken against an unrelated wall.
For particularly clear glass, consider photographing the bottle on a real surface similar to the final scene and retaining its natural contact shadow. The less of the transparent perimeter you must rebuild, the less likely the finished image is to look pasted together. Do not change the actual liquid color or remove features, such as an air gap, that are present in the sellable product.
Inspect the composite where shoppers will notice it
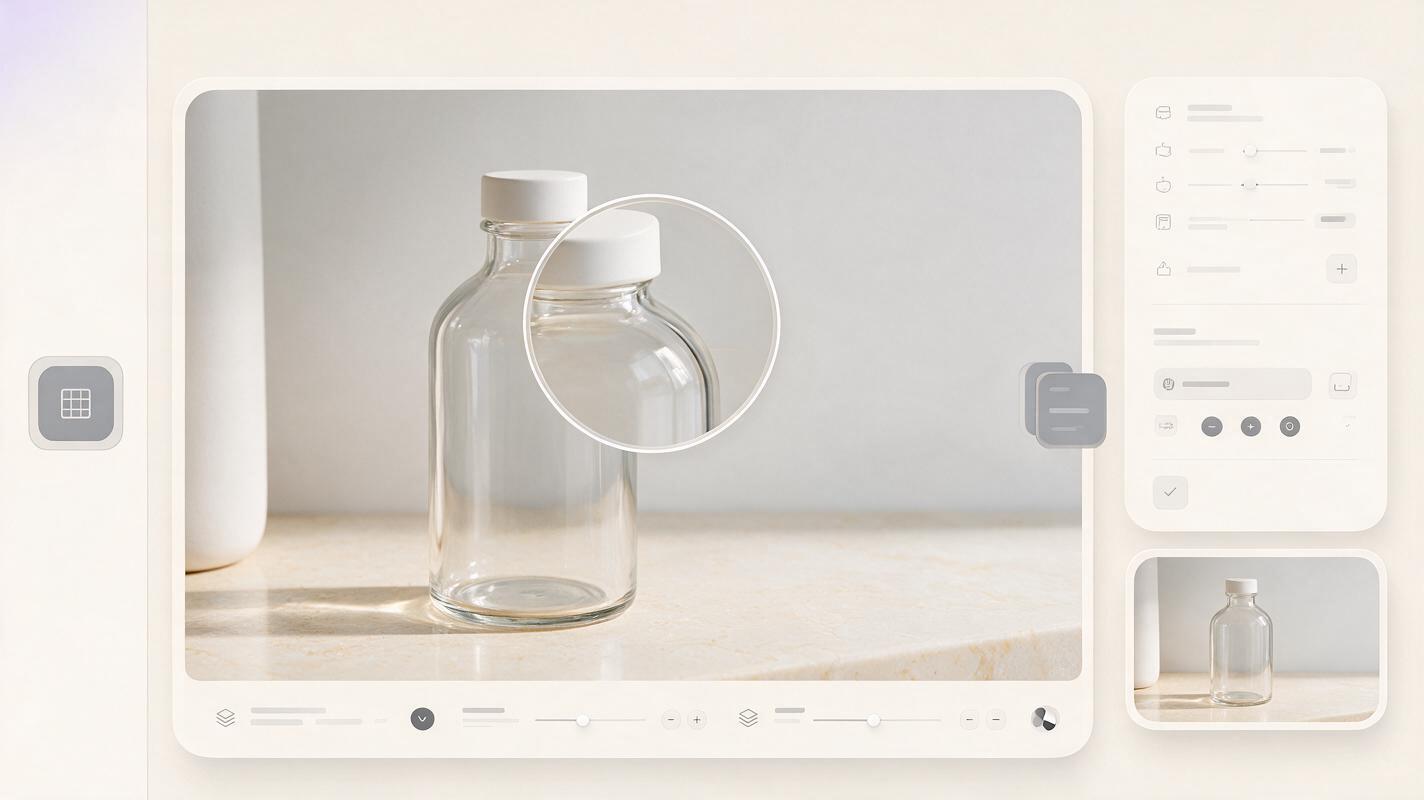
Place the verified bottle photo into the empty scene and match its scale to the countertop. Inspect the result both enlarged and at the small size a shopper might see in a product grid. At full size, check the cap edge, bottle shoulders, dropper tube, label border, base, and contact shadow. At grid size, ask whether the product still reads clearly and whether the composition looks credible without close examination.
| If you see this | Try this correction |
|---|---|
| A pale or dark outline | Refine the edge mask and use a source photo with a backdrop closer to the final scene. |
| A solid-looking clear area | Use a better-matched source photograph; do not simply lower the opacity of the entire bottle and label. |
| A floating base | Align the bottle to the surface and preserve or add a restrained contact shadow consistent with the scene lighting. |
| Conflicting highlights | Choose a different generated scene or reshoot with light from the matching side. |
| An altered label or fill level | Return to the original product photograph rather than accepting a generated replacement. |
Some source photographs will not survive a large scene change. If the bottle contains strong reflections of a dark studio, a bright sunlit bathroom may remain unconvincing even after careful masking. Choosing a closer environment—or making a new product photograph—is often faster than trying to paint away every inconsistency.
Use each image for the right job
A lifestyle image can show a clear bottle in a setting that suits the brand. It should not be the only place shoppers can inspect its actual details. Keep a clean, accurate product photograph available in the gallery so the label, cap, contents, and included items are easy to assess. Check the image rules of the marketplace and placement where you intend to publish; do not assume a styled image is appropriate for every listing slot.
Once you have a scene direction that matches your real bottle photograph, test this prompt yourself with an empty setting first. Add the photographed product only after you have checked the light, perspective, and landing area.
Final checklist
- The bottle, label, cap, liquid color, and fill level match the product being sold.
- The generated scene contains no invented copy or substitute packaging.
- Light direction, camera height, and surface contact agree with the source photograph.
- Clear edges have no obvious fringe, and transparent areas do not look painted over.
- The product remains legible at both full size and thumbnail size.
- The finished image is suitable for its intended marketplace placement.
Keywords
ai product photography, clear bottle product photos, transparent product packaging, product lifestyle image, product photo editing, shopify product images, nano banana pro