AI Fabric Product Renders: Fix Plastic-Looking Texture and Oversized Weave
Fabric-wrapped product concepts often lose their material character in AI renders: the weave becomes an oversized pattern, a glossy plastic surface, or a distorted product feature. This guide shows industrial designers how to use a fixed product reference, a material swatch, and targeted image editing to make textile texture believable without redesigning the object.
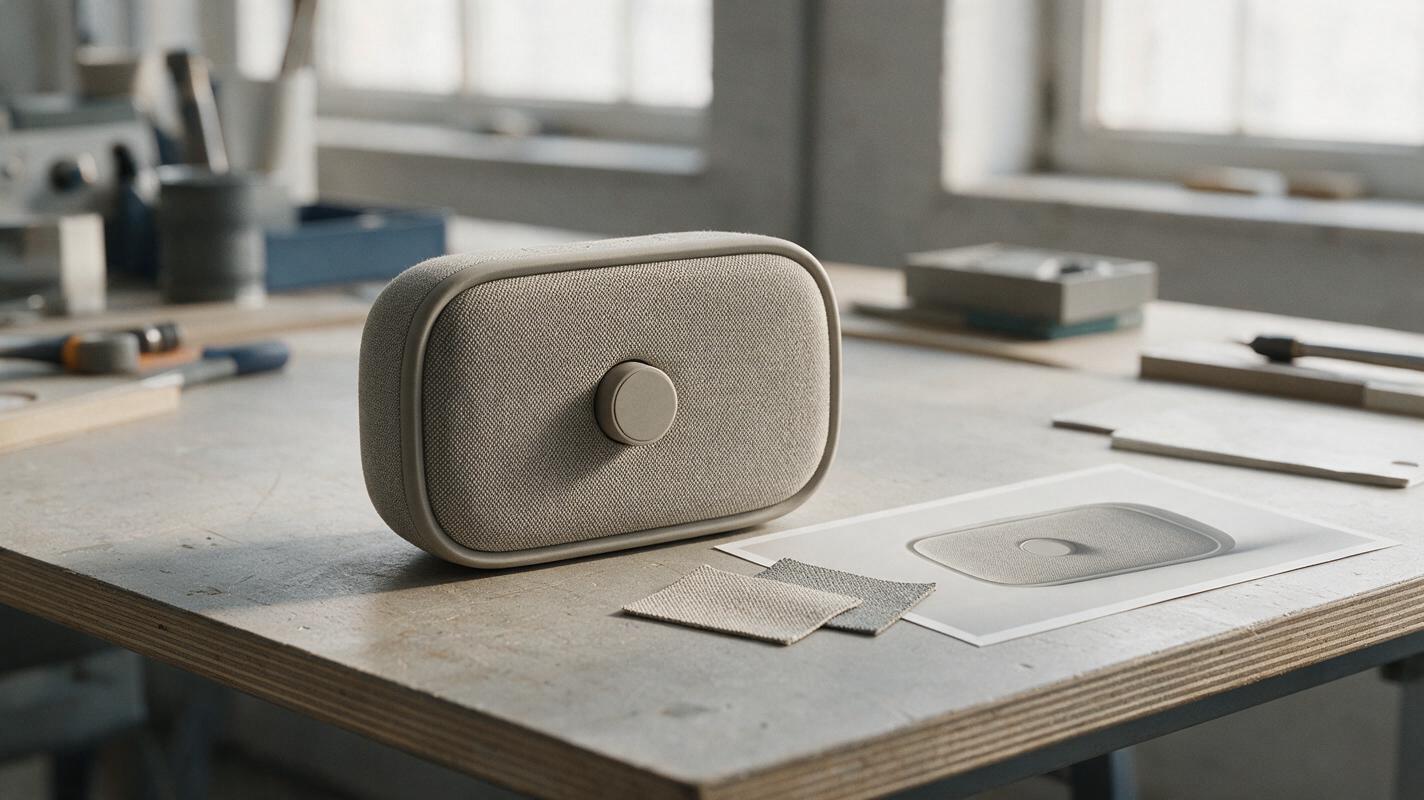
Table of contents
Fabric should read as fabric, not a printed pattern
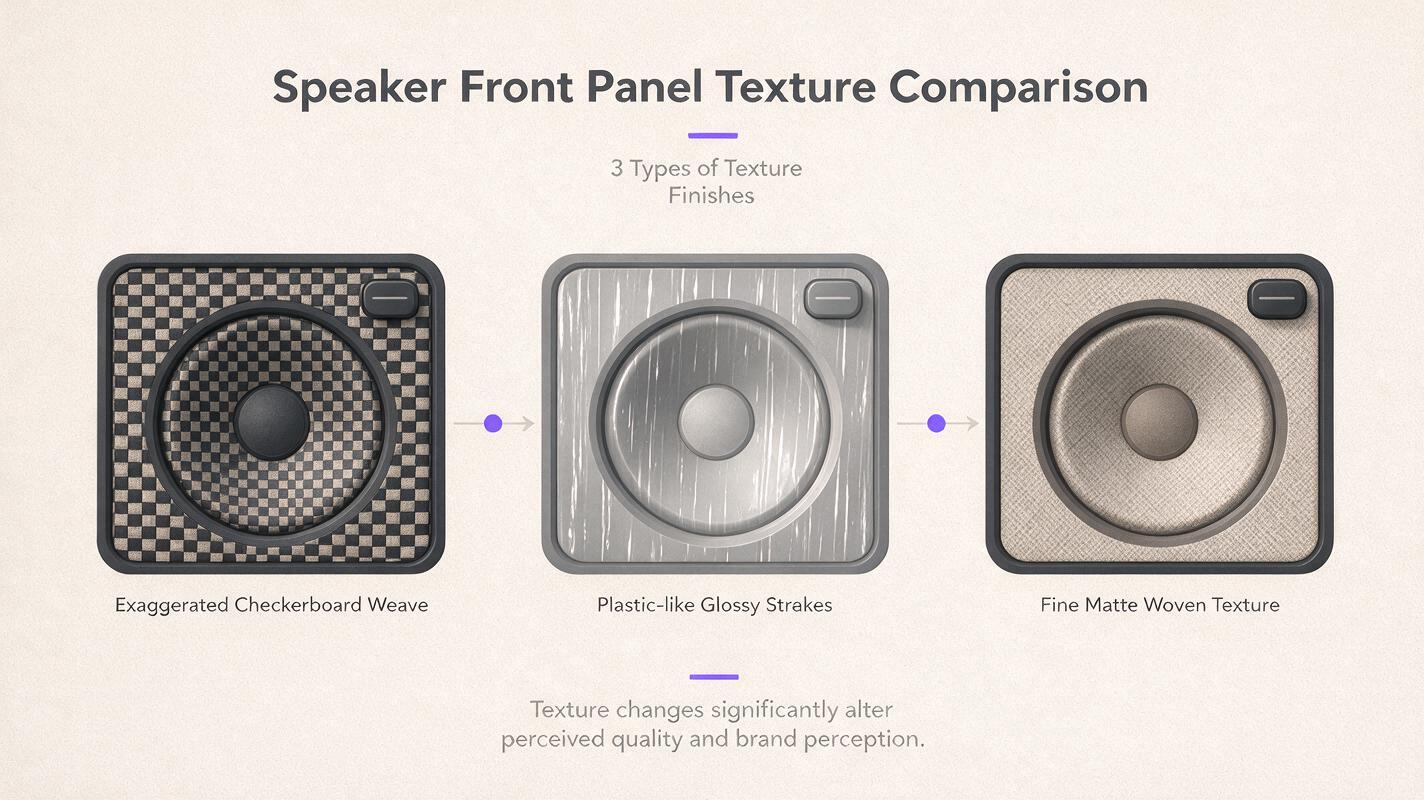
A fabric-wrapped speaker can look convincing at thumbnail size and fall apart the moment you zoom in. AI may turn the weave into chunky checkerboard squares, give the textile a molded-plastic shine, or let its pattern spill across the rubber surround. The fix is to treat the fabric as a controlled material edit—not a request to redesign the whole product.
The example below uses a portable speaker with a rectangular textile panel, a rubber perimeter, and one control knob. The same method applies to textile-covered lamps, desk accessories, and soft-sided hardware concepts. Use the resulting images to communicate material direction, not to certify construction or performance.
Why fabric turns into plastic in an AI render
“Fabric texture” leaves too much for an image model to invent. A broad prompt may produce a repeated surface pattern without the softer, low-gloss response that makes woven material recognizable. At other times, the model changes the speaker’s silhouette to accommodate an imagined wrap or moves its seam to a more visually convenient location.
Three failures are especially worth separating:
- Oversized weave: individual strands read as a decorative grid rather than a fine textile at the intended viewing distance.
- Wrong light response: broad, sharp highlights make the panel appear coated or injection-molded.
- Boundary drift: texture crosses onto the knob, surround, or housing, making a material edit look like a new product design.
Each calls for a different correction. Sharpening will not fix an oversized pattern, and a better textile description will not rescue a panel whose boundary has moved.
Build a reference that separates weave from shape
Start with an approved view of the product. Mark the textile region, its perimeter, and every feature that must remain untouched. If the concept has a visible fabric-to-housing junction, decide where that line belongs before generating variants; do not ask the model to work out the construction for you.
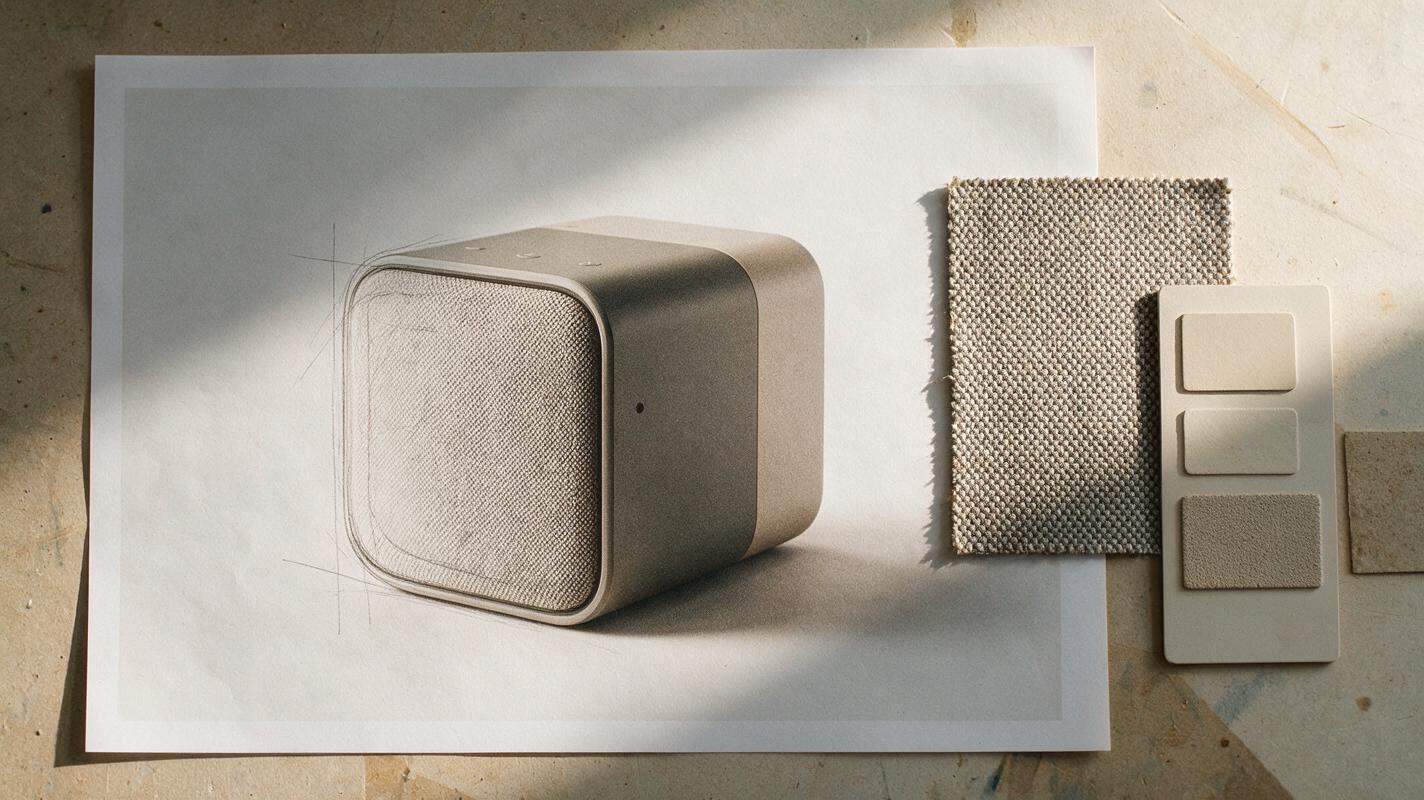
Add a close, evenly lit photograph of the intended textile or a representative sample. A swatch helps communicate weave character, but it does not prove how the material will stretch, wrap, or perform on the actual product. Keep the swatch and product reference distinct: one defines the surface direction, while the other defines the object.
Reference rule: If a seam, fastener, or wrap detail is unresolved in the design, keep it visually understated rather than letting AI present an invented construction as a decision.
Choose one camera view and one neutral lighting setup for the first edit. A dramatic hero image can come later; a restrained view makes it easier to judge whether the texture is doing the right work.
Prompt Nano Banana Pro to edit the textile only
Use Nano Banana Pro for a reference-led image edit, supplying the approved product view and material swatch if your editing interface supports both. If you are starting from a written concept rather than an existing render, use an ai image generator to establish a base view first, then treat that selected image as the fixed product reference.
Give the model a bounded task. Name the editable panel, describe the texture at normal presentation distance, and explicitly protect adjacent features:
Reference A is the approved portable-speaker concept. Reference B shows the desired woven textile character. Edit only the rectangular front textile panel in Reference A. Give it a fine, low-contrast woven surface inspired by Reference B, with subtle thread variation and a matte light response. Keep the weave visually fine at full-product viewing size; do not enlarge it into a grid or printed motif. Preserve the exact outer silhouette, panel boundary, rubber perimeter, control knob, camera angle, proportions, and background. Do not add seams, logos, openings, buttons, or visible internal parts. This is a material-direction render, not a construction or acoustic-performance claim.If the interface provides a mask or region-selection control, confine the edit to the panel with a small safety margin inside its boundary. Without one, expect to inspect the perimeter closely and composite the best textile result back into the approved image if necessary.
Judge the weave at the size your team will actually see
Inspect both a full-product view and a close crop. The close crop reveals accidental patterns and boundary errors; the full view tells you whether the textile still reads as fabric in a presentation slide.
| What you see | Likely issue | Better revision |
|---|---|---|
| Bold checkerboard across the panel | Weave scale is too large | Ask for finer, lower-contrast threads that merge at product-view size. |
| Hard white streaks on the fabric | Light response is too glossy | Request a matte surface with broad, subdued highlights; retain the established lighting direction. |
| Weave on the knob or rubber edge | Edit crossed the material boundary | Reduce the edit region or composite only the acceptable panel texture. |
| Perfectly uniform noise with no textile character | Texture has been flattened | Use a clearer swatch and request subtle thread variation without increasing contrast. |
Do not judge a single generation in isolation. Place the approved source and candidate side by side at the same size. Check the panel corners, knob center, housing edge, and any known seam against the source. If those landmarks have shifted, the candidate is not a clean material variation, however attractive its texture may be.
Compare variants without changing the speaker
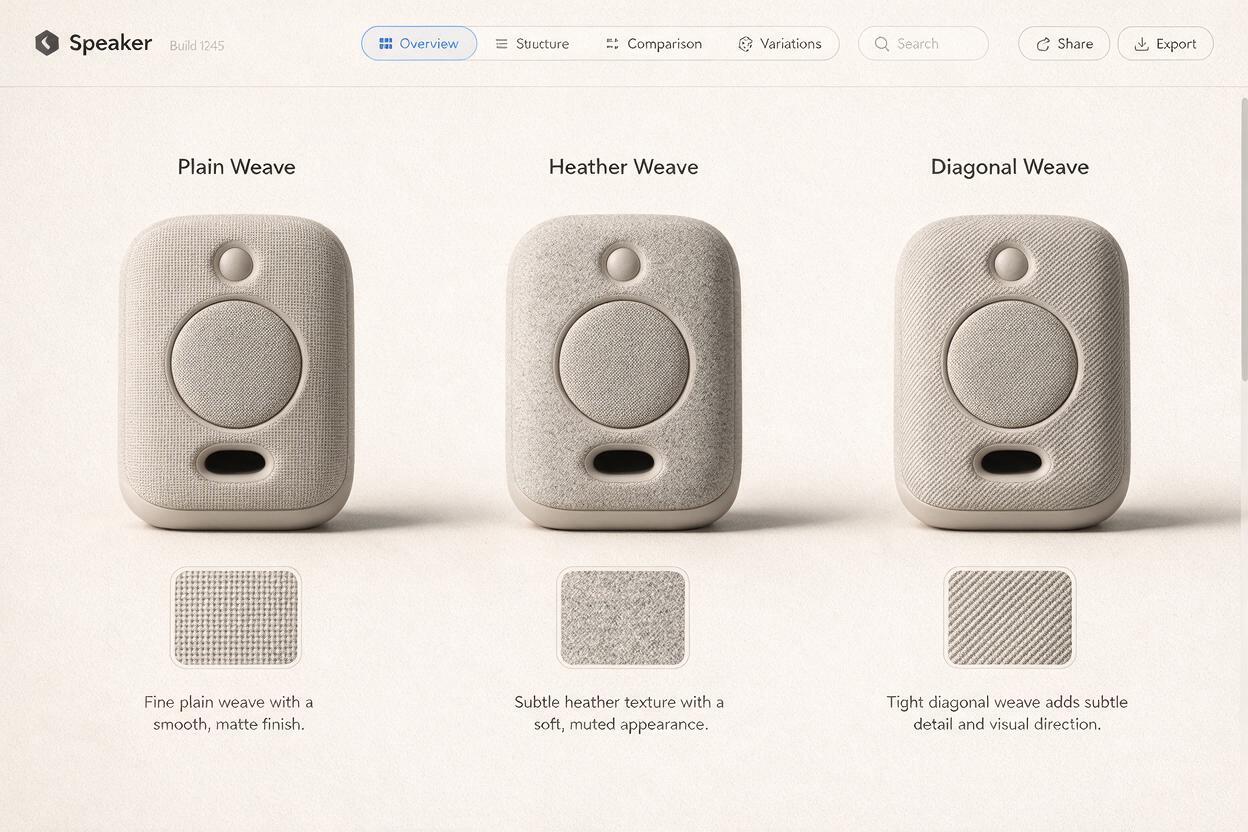
For a useful material review, make a small set of distinct textile directions—such as a fine plain weave, a restrained heather, and a tighter diagonal weave—while keeping the same product reference, crop, color family, and lighting. Change one material instruction at a time. Otherwise, a brighter scene or altered silhouette may win the comparison instead of the fabric itself.
Show the full product alongside a matched panel crop for each option. Label them as visual concepts rather than sampled production finishes. Generated images cannot establish thread count, durability, cleanability, or acoustic transparency; those decisions need physical samples and appropriate testing.
Once a variant holds up in both views, test this prompt yourself with your approved product image and a swatch from your own material library. Keep the original render available so every proposed change can be checked against it.
Final checklist
- The textile reads as fine fabric at the intended presentation size.
- Highlights feel consistent with a matte surface, not glossy plastic.
- The weave stays entirely inside the approved material boundary.
- Silhouette, controls, seams, crop, and lighting match the source view.
- Unresolved construction details and performance claims have not been invented.
- Variants differ in textile direction—not in product geometry.
Keywords
AI fabric product renders, fabric texture product rendering, industrial design AI, product visualization, material variation AI, Nano Banana Pro, product design prompts