AI Packaging Mockups for Hardware Concepts Without Fake Labels or Fit Claims
A convincing packaging mockup should show how a hardware concept might be presented without quietly changing the product, inventing box copy, or implying that the insert has been engineered. This guide separates the visual exploration from the approved artwork and fit checks that require human control.
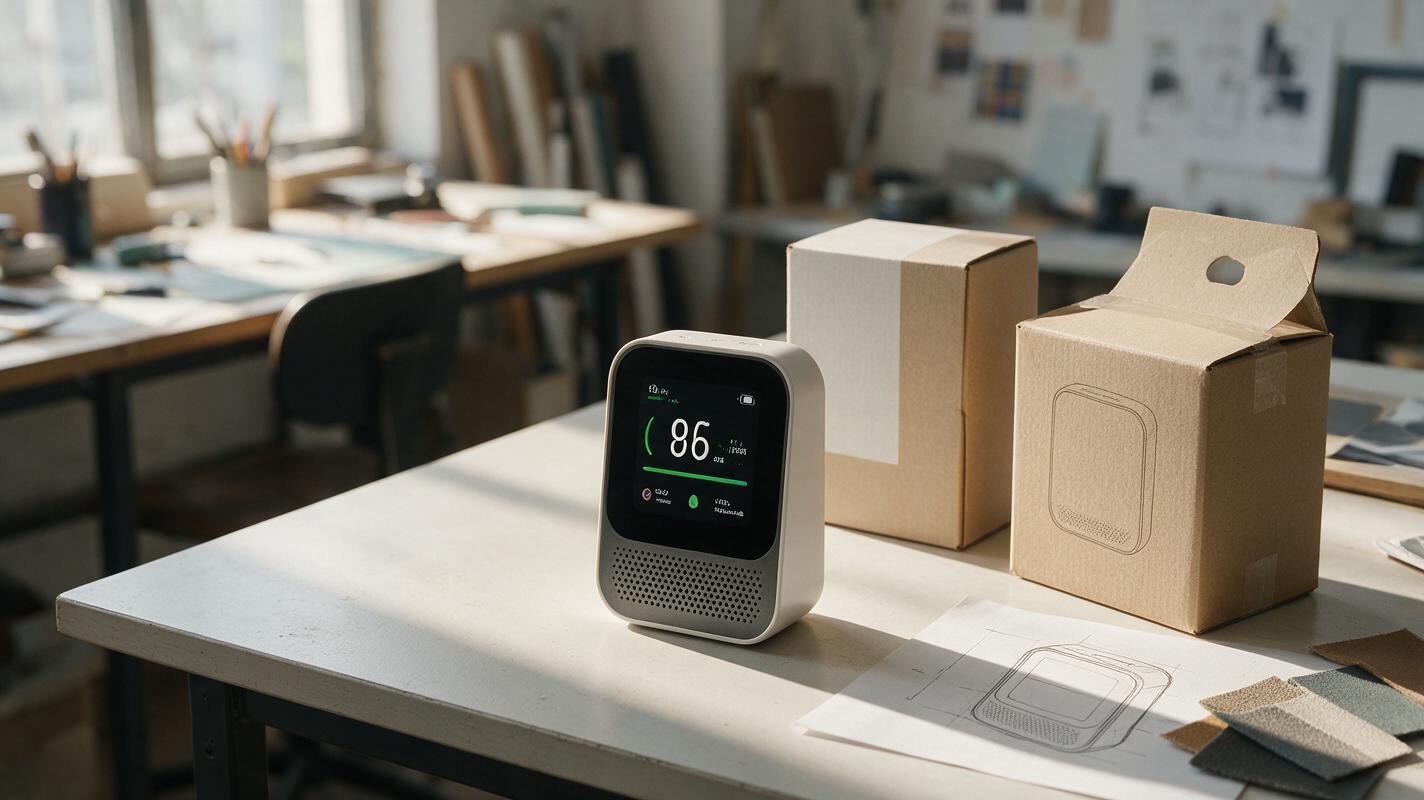
Table of contents
Show the packaging idea, not an invented finished product
A packaging mockup can make a hardware concept easier to review—but it can also add a nonexistent charging port, misprint a specification, or show a molded insert that could never hold the device. The safest approach is to give image generation the job of exploring the scene and packaging form while keeping product geometry, approved copy, and physical-fit claims under your control.
Consider a compact desktop air-quality monitor with an approved product render and a preliminary carton dieline. The team wants to compare two retail presentation directions before commissioning photography or engineering an insert. Nano Banana Pro can be used to explore those directions from visual references; the resulting images remain concept presentations, not evidence that the package has been manufactured or tested.
Give the model a packaging brief it cannot mistake for artwork approval
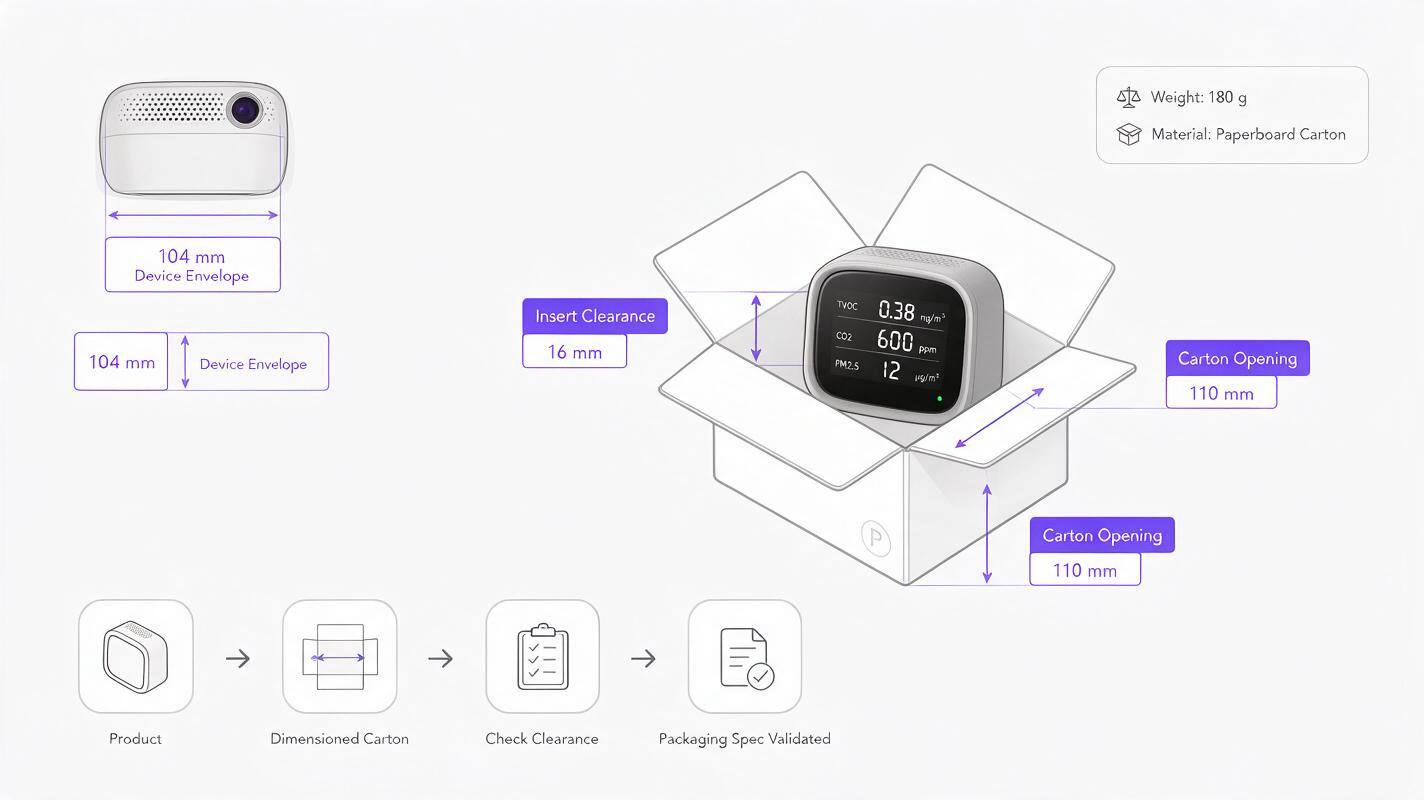
Start with two distinct references: a clear render of the product and a simple drawing of the intended box. The product reference should show the correct silhouette, display position, ports, controls, and finish. The box drawing should identify its approximate proportions and the faces visible in the proposed shot. If you have a dieline, mark it as a structural reference—not a texture the model is free to rewrite.
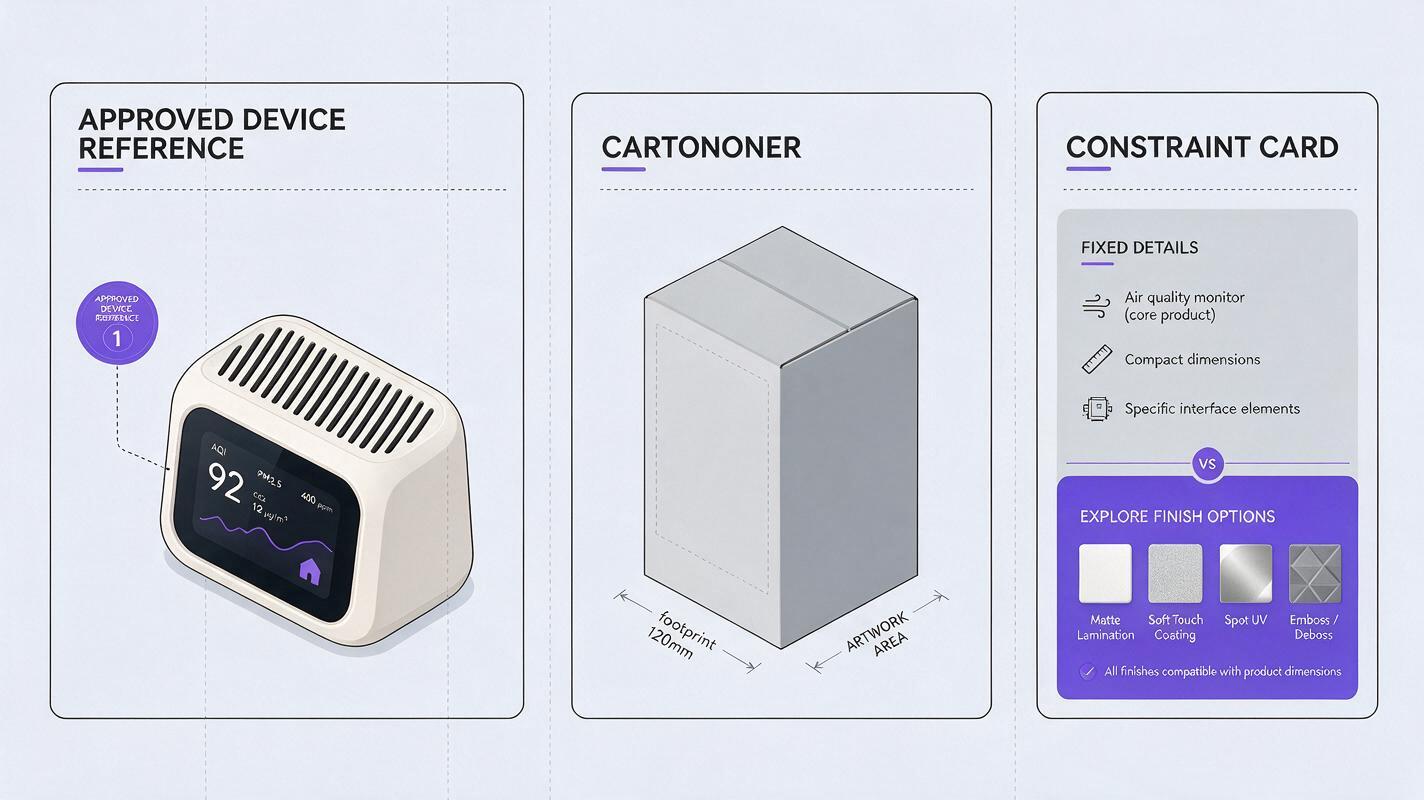
Make a short constraint sheet before generating. For the air-quality monitor, it might read:
- Keep: rounded rectangular housing, single front display, top ventilation slots, and one recessed rear power connector.
- Explore: outer-carton color, paper texture, photographic lighting, and the relationship between product and closed box.
- Do not invent: certification marks, performance figures, accessories, product features, or internal cushioning.
- Leave blank: the principal display panel of the carton, so approved typography can be added later.
The blank panel matters. Generated packaging copy can look plausible at presentation size while being inaccurate or illegible. Treat any small text, icon, or mark produced by the model as placeholder imagery.
Prompt for a closed-box concept first
A closed carton beside the device is a useful first image because it tests visual hierarchy without making claims about tray construction. In an ai image generator, supply the approved product render as the product reference and the carton sketch as the packaging reference. Ask for a view in which both can be inspected.
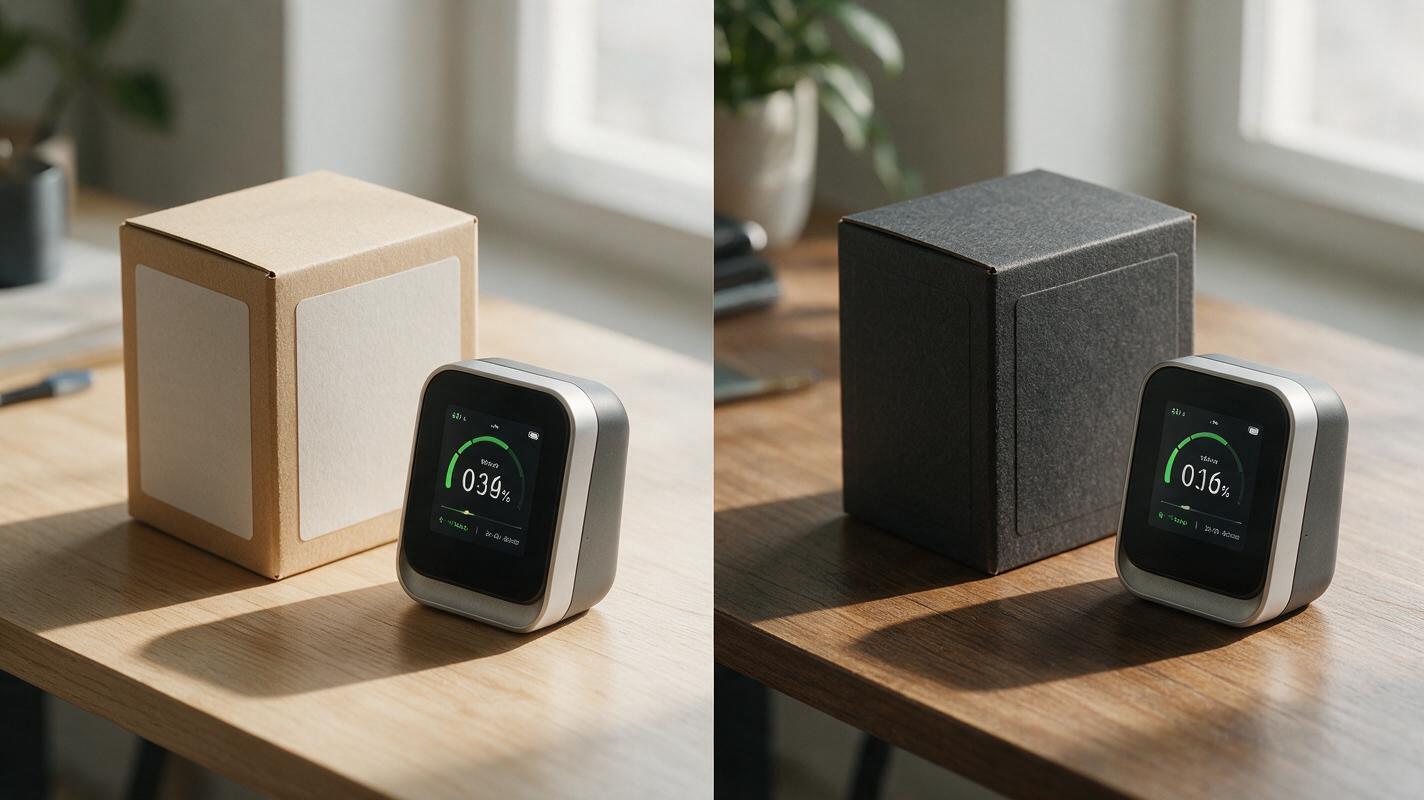
Use the supplied product render as the exact visual reference for the desktop air-quality monitor. Preserve its silhouette, front display position, top ventilation slots, single rear power connector, and housing color. Use the supplied box sketch for the approximate carton proportions. Create an editorial tabletop packaging concept showing the closed carton beside the device, photographed at a three-quarter angle in soft natural window light. Explore a warm uncoated-paper carton with one large, clean, blank front panel reserved for approved artwork. Keep the full product and all visible box edges in frame. No generated logos, specifications, certification symbols, accessories, extra controls, or alternate device designs.Generate more than one candidate and compare the product separately from the packaging direction. A beautiful paper texture does not compensate for a relocated ventilation slot. Likewise, an attractive box angle is not useful if the front panel is too foreshortened to carry the approved artwork.
Explore a second direction without changing the product
For a meaningful design review, vary the packaging treatment while holding the device and camera composition reasonably steady. Otherwise reviewers may prefer one image because of its lighting or product angle rather than its packaging.
Using the same approved product render and the same approximate carton proportions, create an alternative closed-box presentation at a similar three-quarter camera angle and similar product scale. Keep the device geometry, finish, display placement, vents, and connector unchanged. Change only the packaging direction: a restrained dark charcoal carton with a subtle embossed geometric pattern and a large blank area for separately supplied artwork. Maintain realistic paperboard thickness and natural tabletop shadows. Do not add printed claims, logos, labels, product features, accessories, or an open-box insert.Place the candidates side by side at the same displayed size. Ask reviewers whether the carton communicates the intended positioning, whether there is enough usable space for required information, and whether the product remains recognizable. Do not ask them to judge print accuracy from AI-generated pixels.
Keep approved graphics separate from the generated scene
Once the team chooses a direction, place real artwork onto the carton in a design or compositing tool. This is more reliable than repeatedly asking a model to reproduce exact product names, regulatory symbols, barcodes, or multilingual copy.
Ideally, the generated box has a flat, unobstructed panel. Match the artwork to that panel’s perspective, preserve its aspect ratio, and check the fold boundaries. If a flap crosses the artwork or a shadow makes required copy hard to read, revise the scene rather than distorting the approved layout to make it fit. Keep a source file with the scene and artwork on separate layers so packaging designers can update copy without regenerating the entire image.
Review boundary: A mockup with composited artwork shows a proposed appearance. It does not verify color matching, print registration, barcode scanability, legal compliance, or a production-ready dieline.
Show an open-box idea only when its uncertainty is explicit
An open-box image is tempting because it explains the intended unboxing experience. It is also where image generation is most likely to invent structural details. If insert geometry has not been designed, request an illustrative layout rather than a realistic engineered tray.
Create an illustrative open-box presentation using the approved desktop air-quality monitor render and the selected carton visual direction. Show the lid open and the device resting in a simple, unbranded paperboard cradle. Preserve the monitor's visible geometry and finish. Keep internal construction deliberately minimal: no hidden fasteners, cables, accessories, molded features, or claims about drop protection. Leave carton graphics blank. Frame the scene so the device, lid, and approximate placement are easy to understand. This is an unboxing concept image, not a manufacturable packaging drawing.Before sharing it beyond concept review, compare the image with actual device dimensions and the proposed carton envelope. If the product cannot fit at the depicted orientation, the image needs revision. Physical fit, material thickness, tolerances, and protection must be resolved with measured layouts and prototypes—not inferred from the render.
Review the mockup at presentation size and inspection size
A packaging image has two jobs: communicate the direction quickly and survive closer scrutiny. At slide size, check whether viewers can distinguish the device from its carton and read the intended visual hierarchy. At full resolution, check for common failures:
- Product drift: changed vents, connectors, buttons, display proportions, or housing seams.
- Box drift: inconsistent panel widths, impossible folds, or thickness that changes between edges.
- False information: invented labels, numbers, seals, certifications, or included accessories.
- Misleading fit: a device apparently passing through a smaller opening or hovering above its support.
- Artwork problems: copy stretched across folds or lost in shadows and reflections.
Reject an image that fails a fixed product-detail check; do not try to rescue it with a caption. For minor scene defects, a focused edit may be worthwhile. If the box structure is fundamentally implausible, return to the carton reference and generate a new candidate.
Final checklist
- The approved product reference, not the prompt alone, governs visible device details.
- Packaging color and finish may vary; unapproved copy and claims may not.
- Closed-box comparisons use similar product scale and camera angles.
- Approved artwork is placed and checked separately.
- Open-box imagery is identified as a concept until dimensions and protection are validated.
Have a product render and a carton sketch ready? test this prompt yourself with the closed-box direction first, then move only the strongest candidate into artwork and fit review.
Keywords
ai packaging mockups, hardware packaging concepts, product presentation, packaging visualization, nano banana pro, product design prompts