How to Generate AI LTO Food Photos That Match Your Restaurant Menu Style
Limited-time offer (LTO) dishes help restaurants drive foot traffic and test new menu ideas, but professional food photography for short-run items is often too slow and costly. This guide shows you how to use AI to generate new LTO food photos that perfectly match the lighting, background, plating, and color grade of your existing professional menu visuals. We include reusable prompts, reference image tips, and quality checks to keep your menu looking cohesive and on-brand.
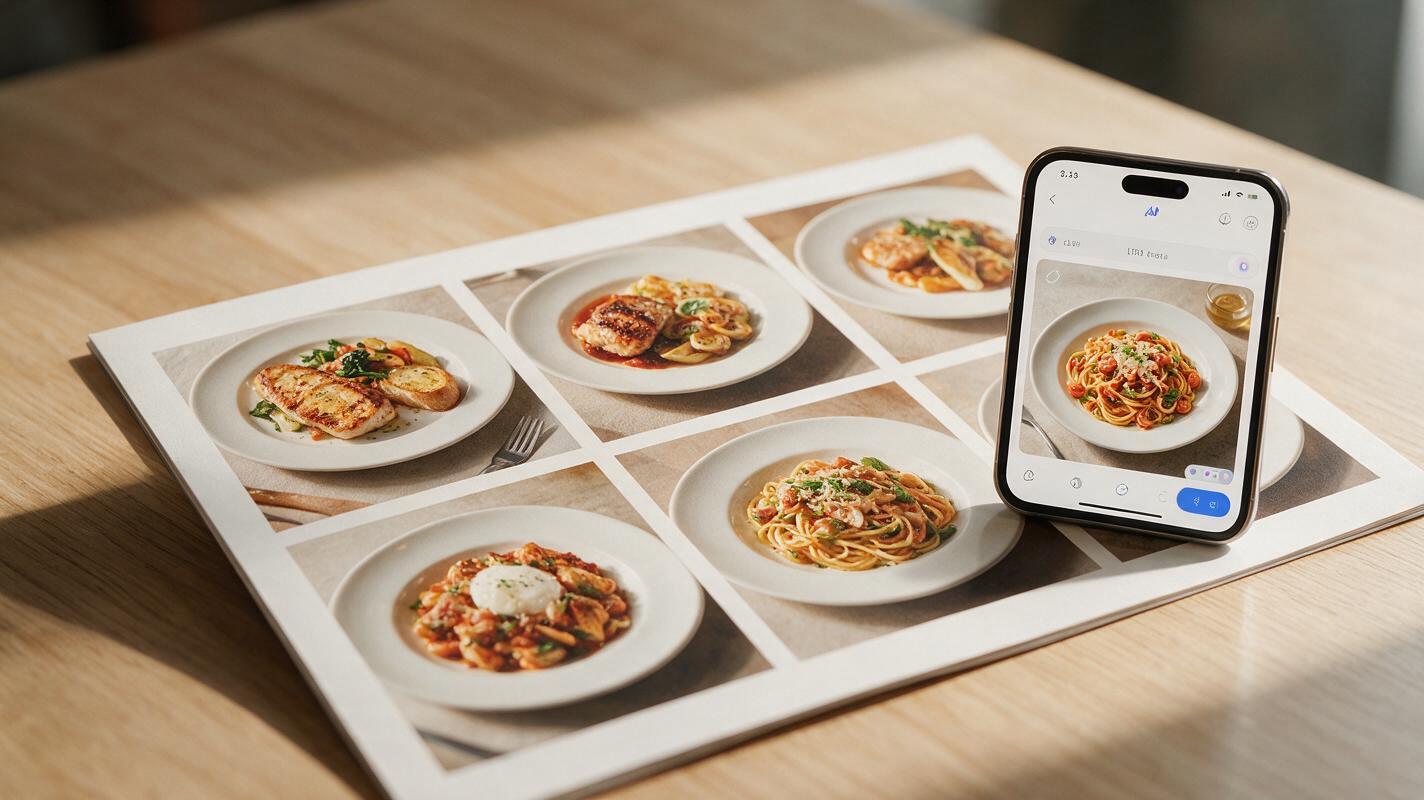
Table of contents
Why AI LTO food photos never match your existing menu
Limited-time offer (LTO) dishes are one of the most effective ways for restaurants to drive repeat visits, test new menu ideas, and capitalize on seasonal trends. But rolling out a new LTO often comes with a frustrating visual gap: your core menu has polished, consistent professional photos, but you can’t justify a $500+ photoshoot for a dish that will only be on the menu for 4-6 weeks.
For limited-time offer dishes, ai image generator offers a fast alternative to professional food photography — as long as you can make the results match your existing menu style. Many food marketers try AI only to end up with LTO photos that stick out like a sore thumb: different lighting, a random background, wrong plating angle, or a color grade that clashes with the rest of the menu.
A disjointed menu doesn’t just look unprofessional—it can also erode customer trust. If your LTO photo looks nothing like the rest of your menu, guests may assume the dish is low-quality, or that you cut corners on its preparation. The good news is you don’t have to choose between fast, affordable AI visuals and a cohesive menu look. With the right reference strategy and prompt structure, you can generate LTO food photos that blend seamlessly with your existing professional menu shots.
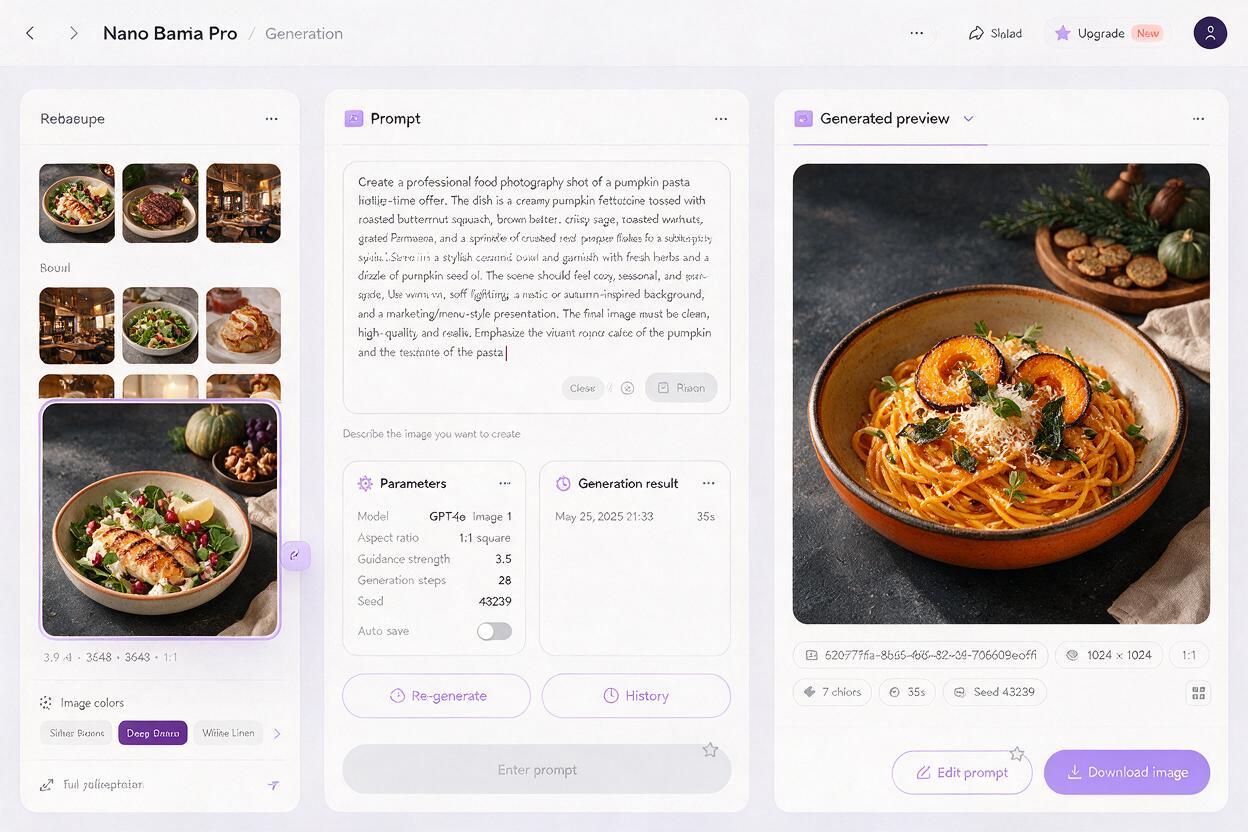
We’ll use nano banana pro as our primary tool here, thanks to its strong style reference capabilities and ability to render realistic food textures without over-editing.
Pick the right reference photo for style matching
The single biggest factor in getting menu-matching AI photos is choosing the right reference image from your existing menu library. A bad reference will lead to inconsistent results, no matter how good your prompt is. Look for a reference photo that checks these boxes:
- Same shot type: If your core menu uses close-up 45-degree angle shots, pick a reference with that exact angle. Avoid overhead shots if your menu doesn’t use them.
- Matching lighting: Choose a photo with the same lighting style (soft natural light, warm studio light, moody low light) as the rest of your menu.
- Identical background: Pick a reference with the exact background (wooden table, marble slab, neutral linen) used in your other menu photos.
- Similar plating style: If your menu uses white ceramic plates, minimal garnish, and a specific portion size, pick a reference that reflects that.
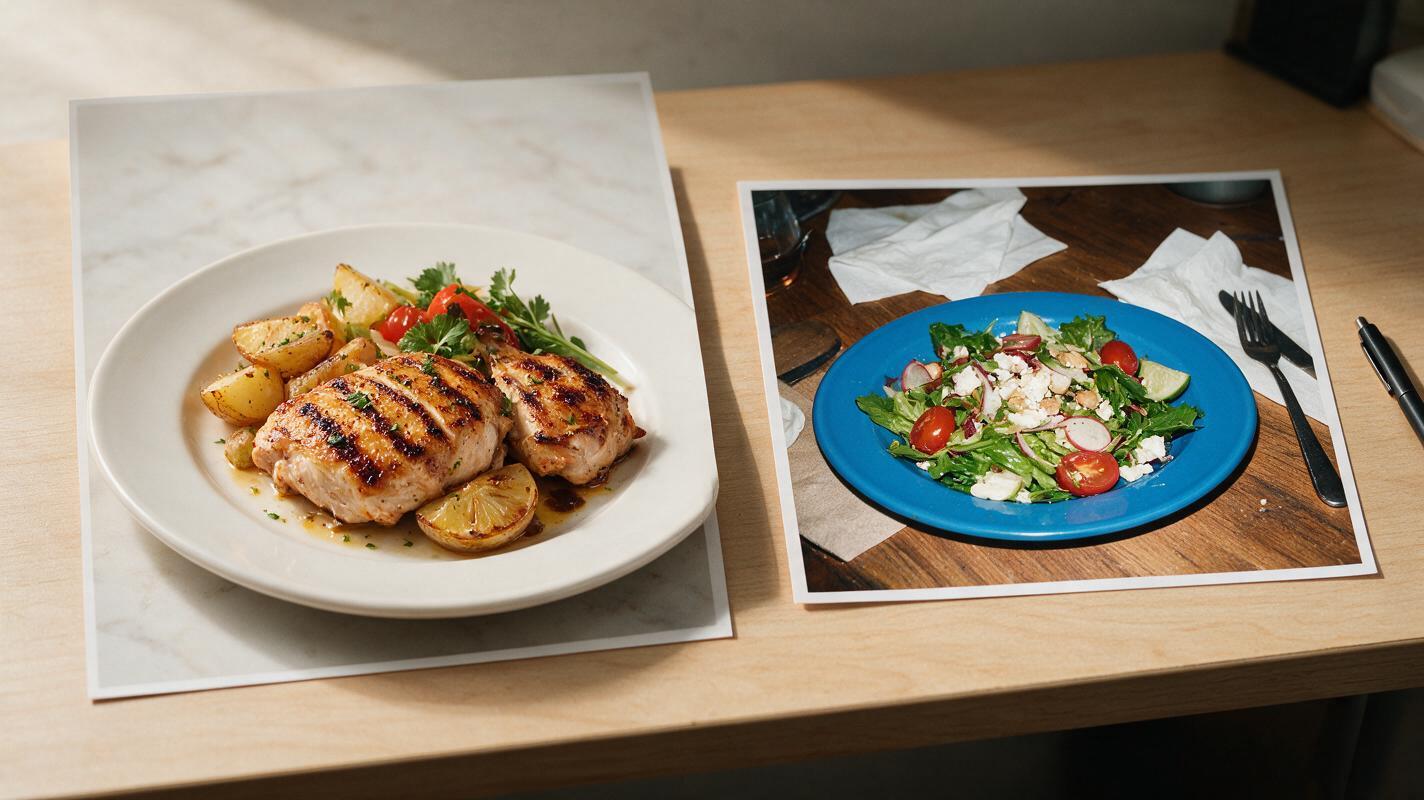
Avoid using photos with prominent text, logos, or unique props that are specific to the reference dish—these can accidentally bleed into your LTO photo. If your best reference has a branded napkin or a signature garnish from another dish, crop it out or use a simple inpainting tool to remove it before using it as a reference.
Prompt structure for menu-aligned LTO photos
The key to a menu-matching AI photo is balancing two critical details: a precise description of your new LTO dish, and explicit style cues tied directly to your reference photo. Vague prompts lead to generic results; specific, structured prompts lead to visuals that feel like they came from the same photoshoot.
Use this reusable prompt template for best results:
[Dish name and full visual description], exact portion size as served in restaurant, plated on [same plate type as reference]
45-degree close-up angle, [lighting style matching reference], [background matching reference], [plating/garnish style matching reference], sharp focus on the dish, shallow depth of field, color grade matching reference photo
No added ingredients, no exaggerated portions, realistic food photography, menu-ready
Let’s break down why this structure works: First, lead with a hyper-specific description of the LTO dish. Don’t just say “spicy pumpkin pasta”—list the key visual details: “creamy spicy pumpkin pasta with toasted sage leaves, crumbled goat cheese, and a drizzle of chili oil, served in a shallow white ceramic bowl”. The more specific you are about the dish itself, the less the AI will invent random ingredients.
Next, explicitly state the portion size matches what you serve in-restaurant. This helps avoid the common AI pitfall of over-stuffed, oversized portions that don’t match your actual dish (and can run afoul of truth-in-advertising rules).
Then, add the style cues that directly tie to your reference photo. List the angle, lighting, background, plating style, and focus explicitly—don’t assume the AI will pick up on every detail from the reference alone.
Finally, add guardrails to prevent unrealistic results: “no added ingredients, no exaggerated portions, realistic food photography, menu-ready”.
In nano banana pro’s settings, set the reference image weight to 0.7-0.8 for best results. A weight too high (above 0.9) will make the AI copy the reference dish instead of generating your new LTO. A weight too low (below 0.6) will ignore the style cues entirely, leaving you with a generic AI food photo.
Test this prompt yourself to generate your first menu-matching LTO photo in minutes.
Fine-tune results to fix small mismatches
Most first-pass AI LTO photos will have one or two small details that don’t match your menu style. These are easy to fix without regenerating the entire image, saving you time and ensuring perfect alignment.
- Wrong plate color or shape: Use inpainting to select the plate and replace it with the exact style from your reference.
- Off color grade: Adjust the brightness, contrast, and saturation to match your reference photo’s color profile. Most AI image tools have built-in color adjustment sliders, or you can use a free design tool for quick tweaks.
- Extra garnish or missing ingredients: Use inpainting to add or remove small details until the dish matches your actual LTO recipe.
- Unnatural texture: If the sauce looks too glossy or the bread looks too soft, use a subtle texture adjustment or regenerate just that section with inpainting.
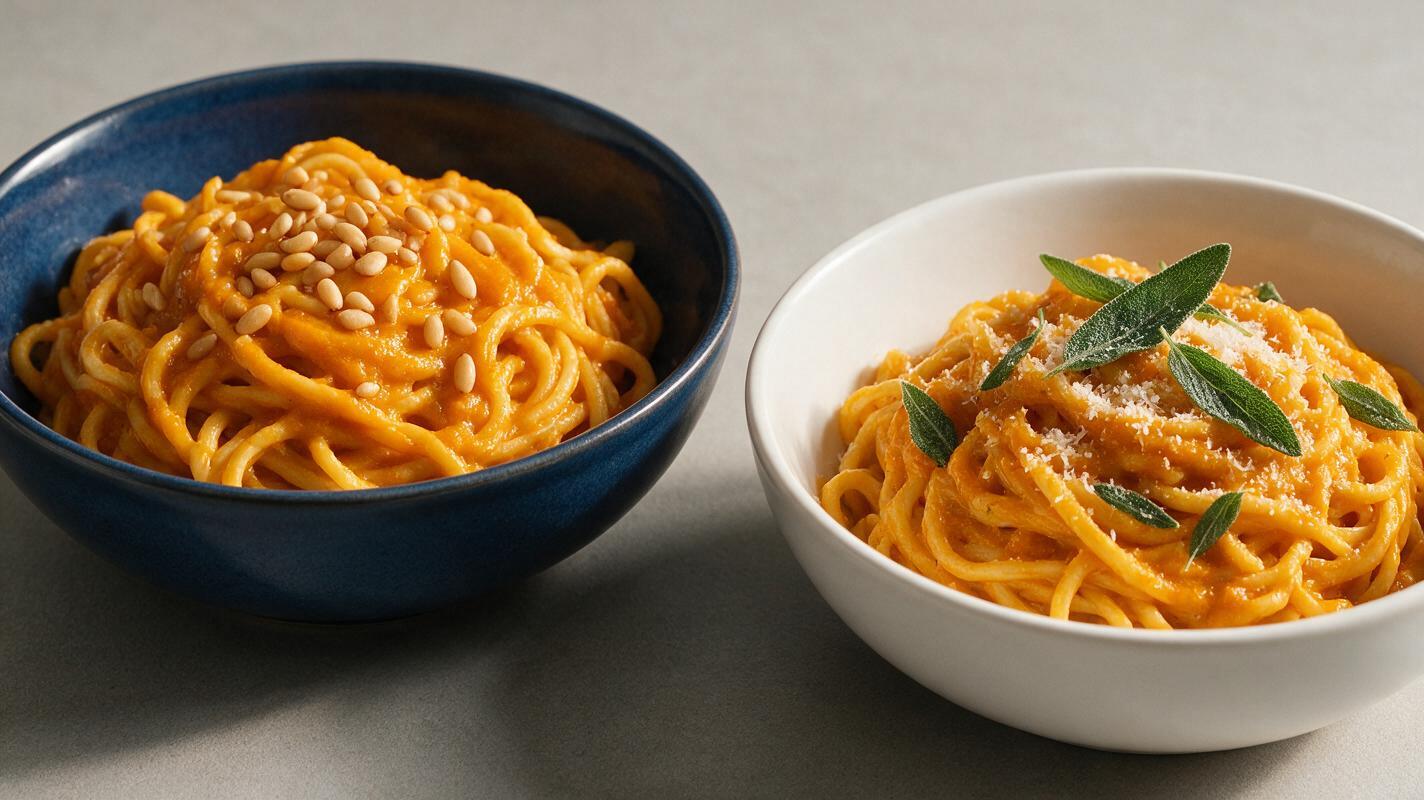
Always compare your generated LTO photo side-by-side with a core menu photo from the same shoot. Zoom out to see if it blends in at a glance—if you can immediately spot which one is AI, it needs more tweaks.
Final quality checklist for LTO menu photos
- Shot angle and framing match your core menu photos exactly
- Lighting and color grade blend in with your existing menu shots
- Background and plate style are identical to your reference photo
- Portion size matches the actual dish you serve in-restaurant
- No extra ingredients or garnishes that aren’t part of the LTO recipe
- Food textures look realistic (no soggy bread, flat sauce, or wilted greens)
- The photo passes the “squint test”: when you squint at a page of your menu, you can’t immediately tell which one is the AI-generated LTO
Keywords
ai food photography, lto food photos, restaurant menu visuals, food image generator, nano banana pro, brand consistent food content, limited time offer marketing