Why AI Manga Colorization Looks Wrong—and How to Fix It
AI manga colorization often replaces clean inkwork with muddy shading, incorrect costumes, and inconsistent character palettes. This guide shows manga artists how to use Seedream 4.5 as a controlled coloring assistant while preserving line art and preparing panels for animation.
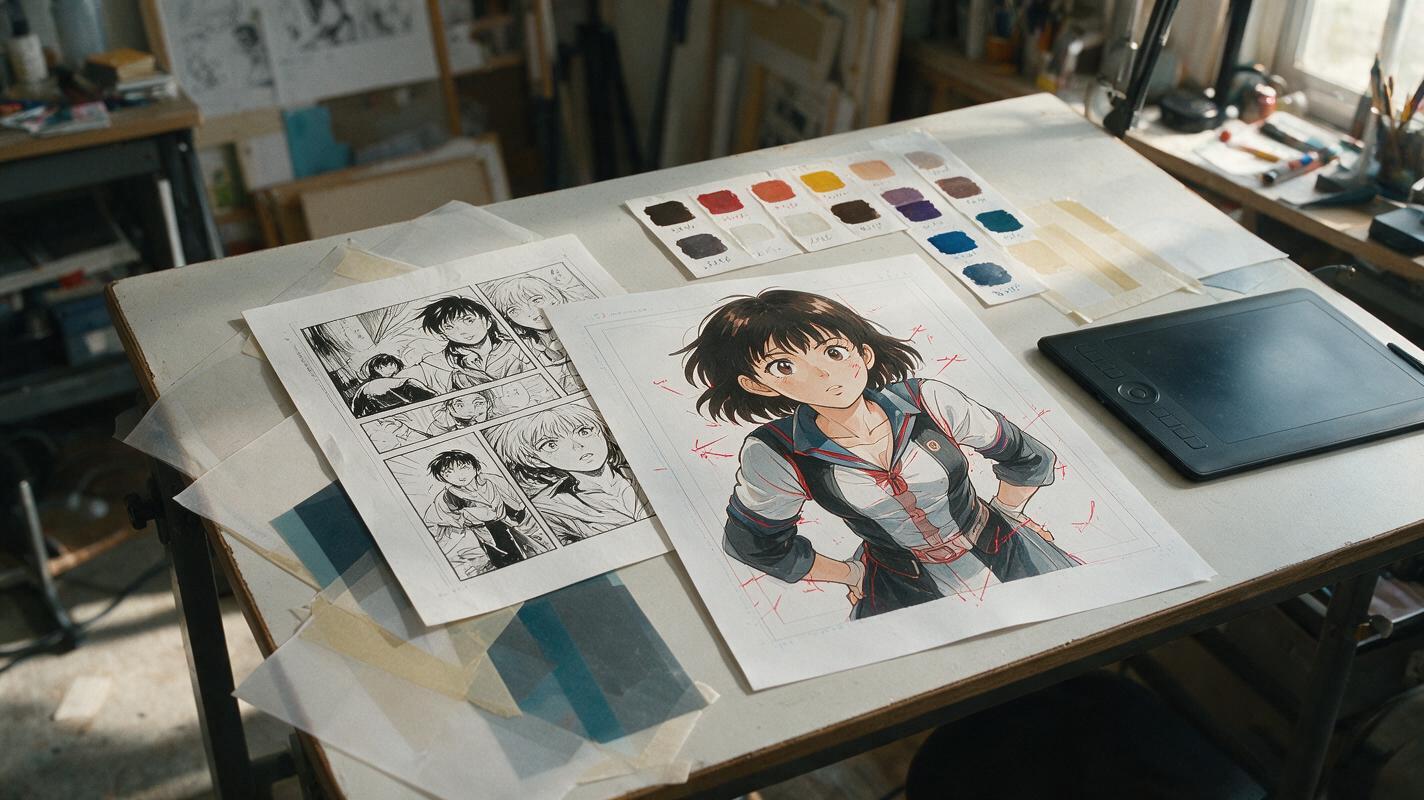
Table of contents
Turn black-and-white manga into animation-ready color art
A colored manga panel should still look like the original drawing. If the character suddenly has different hair, softened facial features, repainted clothing, or shadows covering the ink, the AI has redesigned the panel instead of coloring it.
The reliable approach is to treat colorization as a constrained image-editing task. Preserve the drawing first, define the palette separately, and introduce lighting only after the flat colors are stable. Seedream 4.5 is a practical choice for this workflow because it can be directed toward image generation and editing while using the original panel as the visual foundation.
The goal is not to generate a more detailed picture. The goal is to add controlled color without changing the artist's shapes, acting, composition, or line quality.
Preserve the drawing before adding color
Colorization problems often begin with a weak source image. Gray paper, compression artifacts, uneven screentones, and broken lines give the model too much freedom to reinterpret the artwork.
Prepare a clean master before generating anything:
- Scan or export the panel at the highest practical resolution.
- Correct the page so the paper is neutral white and the ink is dark.
- Remove dust, page shadows, speech bubbles, and scan borders when they are not needed.
- Keep intentional screentones, but reduce accidental moiré patterns.
- Do not crop through hair, hands, costume emblems, or important props.
Save this cleaned monochrome panel separately. Every later correction should be compared against it, because it remains the authority for anatomy, line placement, and composition.
Build a compact color bible
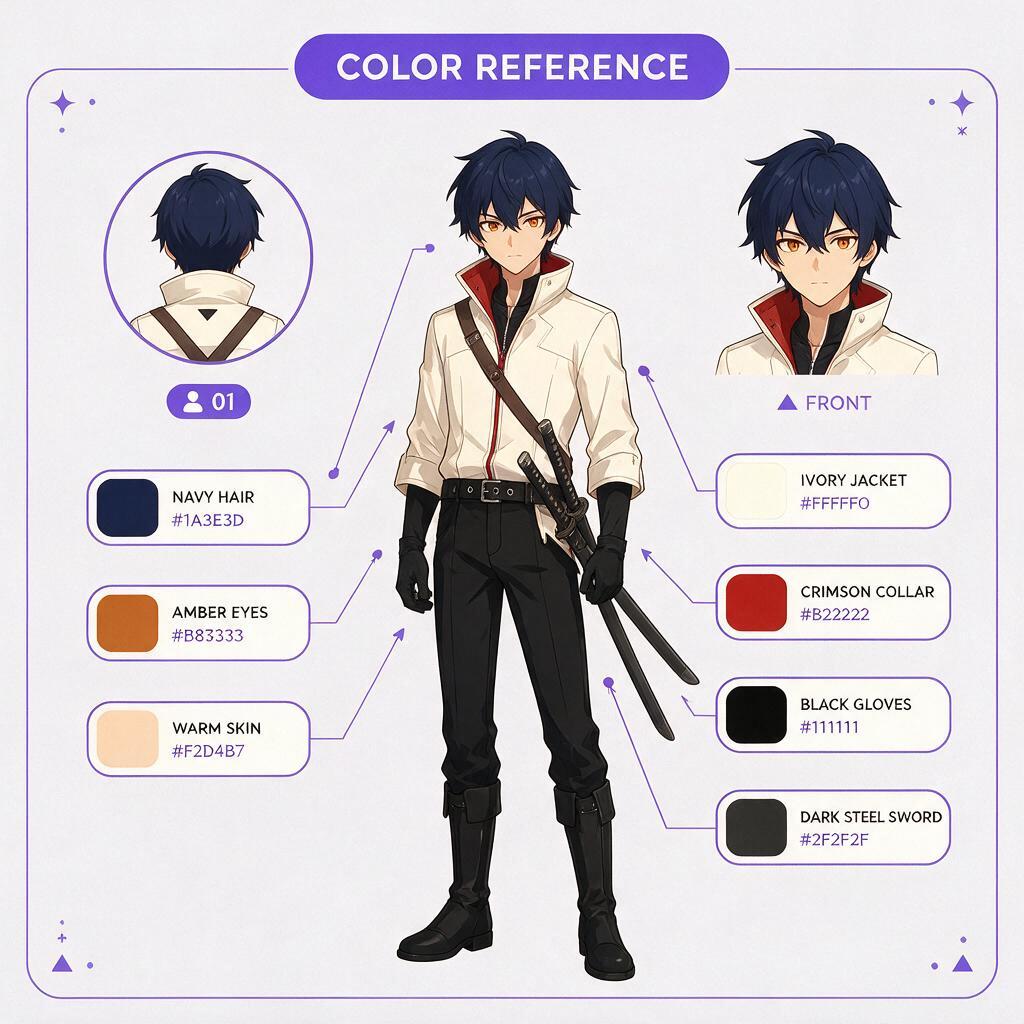
A model cannot preserve a palette that has never been defined. Before coloring a sequence, create a small reference containing only the information that must remain consistent.
| Element | Palette decision | Useful specification |
|---|---|---|
| Hair | Main color and highlight family | Deep navy with cool blue highlights |
| Eyes | Iris, pupil, and highlight | Amber iris, dark brown pupil |
| Skin | Base tone and blush strength | Warm light skin, restrained pink blush |
| Costume | Color assigned to each garment region | Ivory jacket, red lining, black gloves |
| Props | Material and accent colors | Dark steel sword, brass guard |
Use a flat swatch sheet, an approved colored illustration, or both. Avoid references with extreme sunset lighting, colored fog, or heavy bloom because those effects make the underlying palette difficult to read.
For recurring characters, describe colors by location rather than listing disconnected color names. “Red collar beneath an ivory jacket” is harder to misinterpret than “ivory, red, and black costume.”
Prompt Seedream 4.5 to color, not redesign
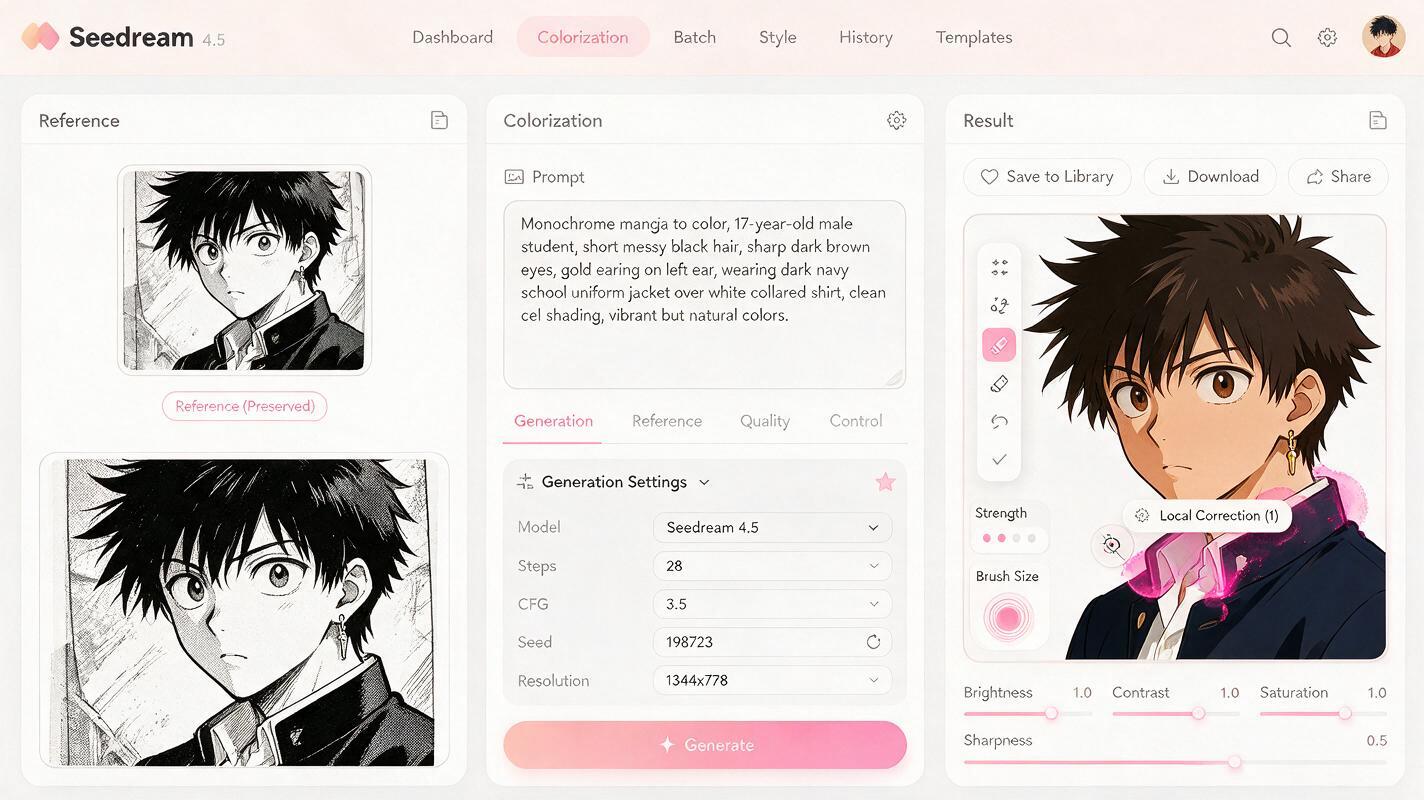
Load the cleaned manga panel as the principal image reference. Your instruction should establish a strict priority: retain the original drawing, apply the documented palette, and use restrained cel shading.
Base color prompt
Colorize this exact black-and-white manga panel as clean 2D anime production art.
Preserve the original composition, camera angle, facial proportions, expression,
pose, anatomy, hairstyle silhouette, costume construction, props, ink lines,
and panel details.

Character palette:
- deep navy hair with cool blue highlights
- amber eyes
- warm light skin with minimal blush
- ivory jacket with red inner collar
- black gloves

Use flat local colors with one simple cel-shadow shape per form.
Keep all black line art sharp and visible.
Treat screentones as guidance for value, not as new costume texture.
Do not add accessories, strands of hair, fabric seams, background objects,
or realistic skin texture. Do not repaint or soften the face.
This is an editing prompt, not a request for a new composition. If you use an ai image generator interface that allows reference control, prioritize the original panel over stylistic embellishment.
Correction prompt
Do not regenerate the entire panel when only one region is wrong. Crop or mask the affected area and give the model a narrow correction:
Correct only the jacket and collar colors in the selected area.
Keep the existing lines, folds, body position, hands, face, hair, background,
and lighting unchanged.
The outer jacket is ivory. The inner collar is muted crimson.
Preserve the exact boundary drawn by the original ink lines.
Naming both the editable region and the protected regions reduces accidental changes elsewhere.
Separate color decisions from lighting
Trying to establish palette, cinematic lighting, atmosphere, and material rendering in one generation usually produces muddy results. The model may confuse a blue shadow with blue fabric or turn a warm rim light into a permanent hair-color change.
First generate a neutral version with flat local colors and limited cel shading. Inspect the hair, eyes, skin, costume regions, and props. Only after those colors are correct should you create a lighting variation.
A lighting pass can use an instruction such as:
Keep every established local color and all original ink lines unchanged.
Add cool moonlight from the upper left and a restrained warm rim light
from the doorway behind the character. Use graphic anime cel shadows,
not soft photorealistic gradients. Do not recolor the costume or eyes.
This division also makes sequence work easier. Several panels can share one approved neutral palette while receiving different lighting based on location or time of day.
Repair drift with local edits
Even a strong result may contain a few errors: mismatched irises, a lost hair clip, skin-colored fingers merging into a face, or a jacket panel assigned the wrong color. Local corrections are safer than repeated full-panel generation.
- Wrong eye color: select only the irises and restate the approved color.
- Broken ink line: restore it from the monochrome master before recoloring that region.
- Costume color spill: mask within the original garment boundary and specify adjacent regions that must remain untouched.
- Overpainted screentone: request flat color while preserving the tone's original value pattern.
- Changed face: composite the original facial lines back into the result, then apply color beneath them.
If a correction repeatedly changes the character's design, stop prompting and reduce the editable area. A smaller edit is usually more controllable than a longer instruction.
Prepare the colored panel for animation
An attractive still image is not automatically ready for motion. Before moving from manga to anime, check whether important parts can be separated into clean layers.
Create distinct layers or masks for the character, hair fringe, face, eyes, mouth, foreground effects, and background whenever the shot requires independent movement. Reconstruct hidden areas only where motion will reveal them. For example, a head turn may expose hair and background that were never drawn in the source panel.
Keep the first animation test subtle: a blink, a small breath, moving smoke, drifting hair tips, or a restrained camera push. Large body movement asks the video model to invent too much unseen anatomy. Once the colored key art is approved, you can turn your image into a video and evaluate whether the palette, ink lines, and costume boundaries survive motion.
Export the neutral-colored master as well as the dramatic lighting version. The neutral image is valuable when later frames need repair, because it shows the character's actual colors without atmospheric contamination.
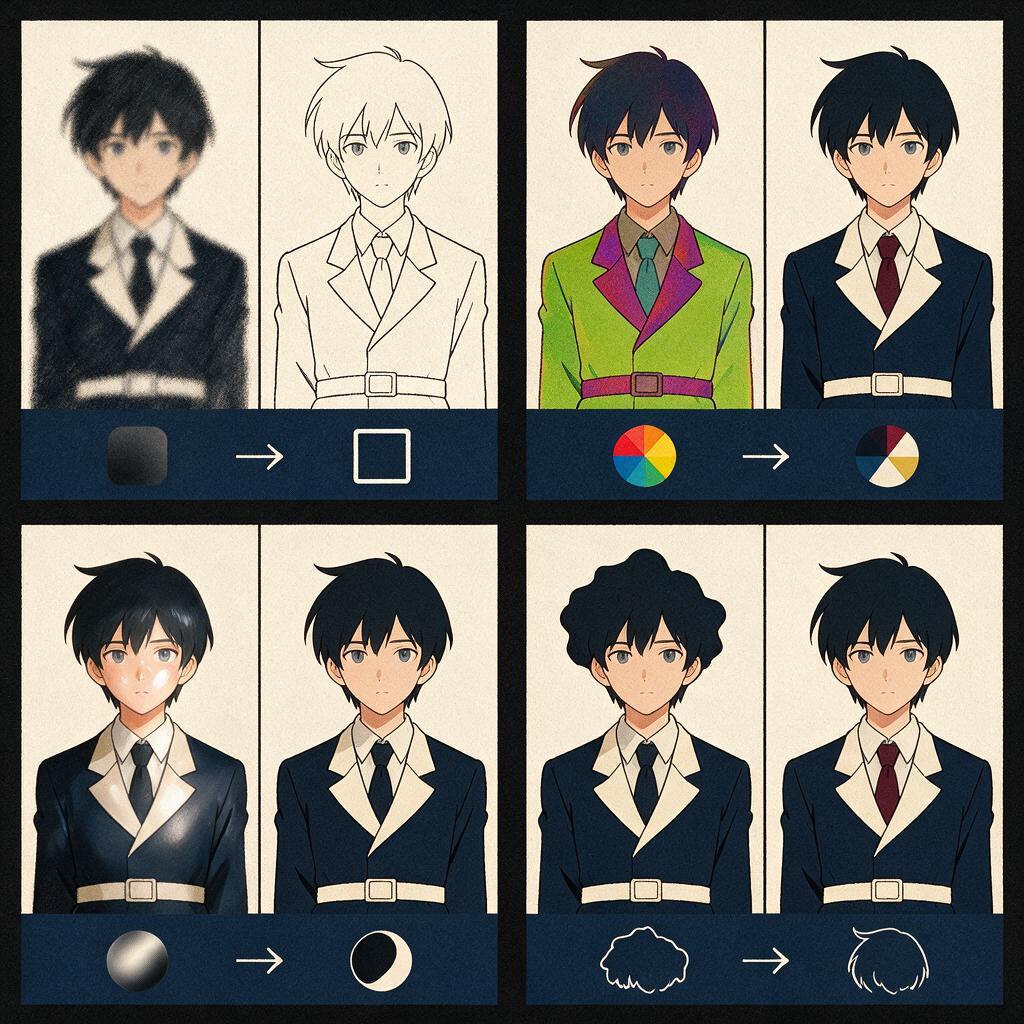
Diagnose the most common colorization failures
| Visible problem | Likely cause | Best correction |
|---|---|---|
| Ink becomes gray or blurry | The model is repainting instead of coloring | Restore original line art and request sharp line preservation |
| Costume colors swap between panels | Palette descriptions lack garment locations | Use a labeled color bible and region-specific wording |
| Skin looks glossy or realistic | Rendering language is too photographic | Request flat anime color and one hard-edged cel shadow |
| Hair gains extra strands or accessories | The prompt invites redesign or added detail | Lock the original silhouette and prohibit new elements |
| Night lighting changes local colors | Palette and lighting were generated together | Approve neutral colors first, then add a separate light pass |
| Different panels look like different characters | Each panel was treated as an independent generation | Reuse the same reference, palette language, and approved face details |
Judge outputs at both full-panel scale and close range. The full view reveals palette balance and readability; close inspection reveals eye drift, broken fingers, color spill, and softened linework.
Final checklist
- The colored result matches the original composition and pose.
- Facial proportions, expression, and hair silhouette remain unchanged.
- Every recurring costume region follows the same labeled palette.
- Original ink lines remain dark, sharp, and readable.
- Flat colors were approved before cinematic lighting was added.
- Errors were repaired with local masks instead of full regeneration.
- A neutral-color master was saved for future panels and animation fixes.
- Movable elements were separated before image-to-motion testing.
Keywords
ai manga colorization, manga to anime, Seedream 4.5, anime image generator, manga coloring prompts, anime character consistency, illustration to animation