Why AI Manga Colorization Flattens Ink—and How to Preserve It
AI manga colorization often erases screentones, weakens line weight, and makes every surface look equally smooth. This guide shows manga artists how to use Imagen with structure-aware prompts, restrained color layers, and targeted repairs while preserving the original drawing.
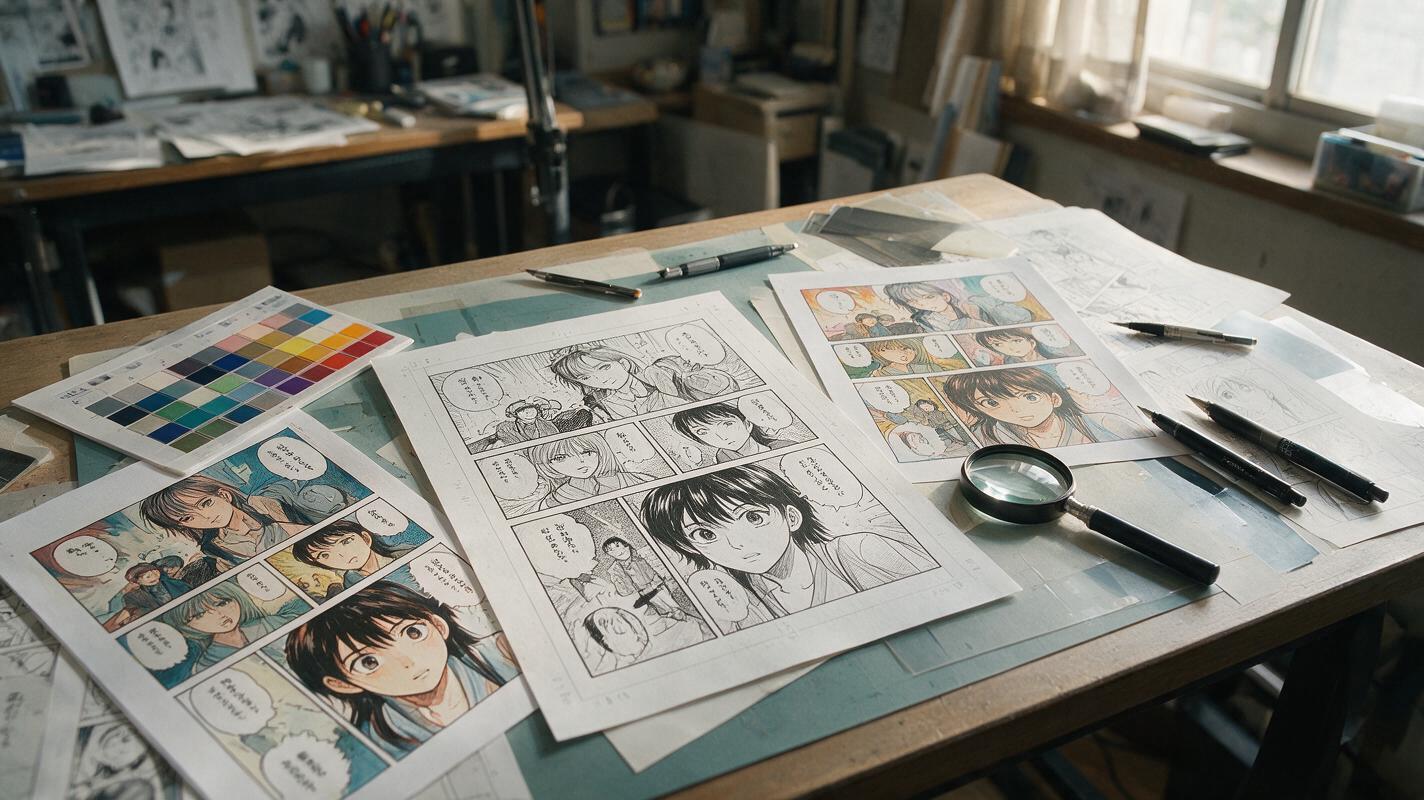
Table of contents
Color the manga without repainting the drawing
A successful manga colorization should still feel like the original artist’s work. The ink must remain authoritative, screentones should keep their texture, and color should clarify the scene rather than cover it. Yet AI tools frequently smooth away hatching, reinterpret shadows as objects, or replace expressive black shapes with glossy gradients.
The solution is not a longer list of style words. It is a controlled editing method that tells Imagen what must remain unchanged, assigns a limited purpose to color, and separates repair decisions from creative color choices.
The core rule: treat the manga panel as finished line art receiving color, not as a rough sketch waiting to be redrawn.
Why AI colorization damages manga texture
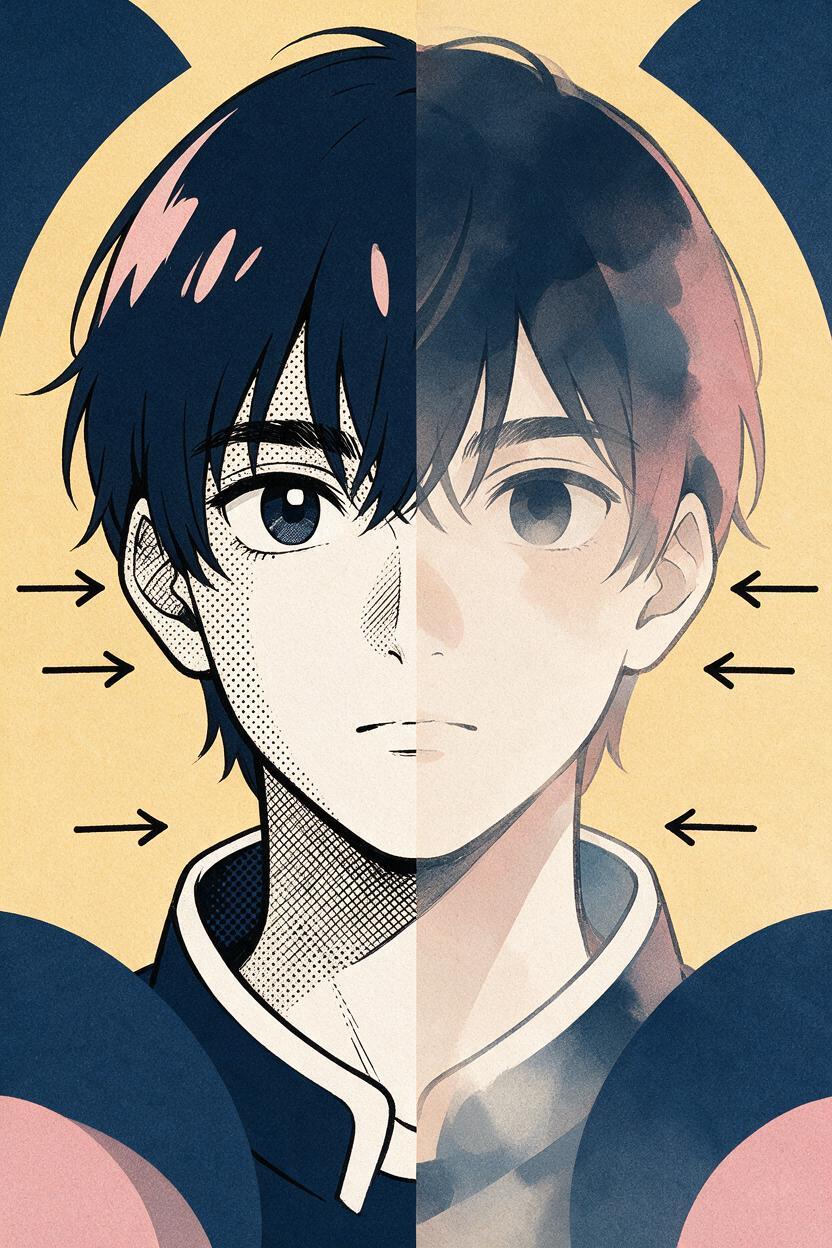
A monochrome panel contains several visual systems that can look ambiguous to a generative model. Solid black may represent hair, clothing, a cast shadow, negative space, or dramatic emphasis. Dots can be screentone, environmental texture, or image noise. Fine parallel lines might describe motion, form, fabric, or reflected light.
When the model is asked only to “color this manga panel,” it must guess the function of every mark. Common failures include:
- Erased screentones: dot patterns become smooth digital gradients.
- Weakened line weight: dark contours turn gray or become partially painted over.
- Invented rendering: flat manga shadows are replaced by glossy three-dimensional shading.
- False materials: hatching is interpreted as fur, wrinkles, scratches, or hair strands.
- Palette spill: skin, costume, hair, and background colors bleed across ink boundaries.
- Changed facial drawing: eye shapes, eyelashes, noses, and mouths are subtly reconstructed.
These failures are more likely when the input is small, compressed, skewed, or contaminated by paper texture. Clean preparation therefore matters as much as the prompt.
Prepare an ink-safe source panel
Start from the highest-resolution scan or export available. Crop away page edges, straighten the panel, and remove obvious dust without applying aggressive denoising. Heavy smoothing can destroy fine screentones before the model sees them.
Inspect the panel at full size and identify four categories:
- Protected ink: contours, facial features, hair outlines, costume seams, and solid black shapes.
- Protected texture: screentones, cross-hatching, speed lines, and hand-drawn shading.
- Color regions: skin, hair, costume pieces, props, sky, walls, and ground.
- Ambiguous marks: areas where the model may confuse shadow, material, and background.
If a critical region is unreadable to you, it will probably be unstable for the model. Correct broken lines and remove speech bubbles before colorization when they cover important artwork. Keep an untouched copy of the original panel for comparison and compositing.
Assign color roles before choosing colors
A palette becomes easier to control when every color has a narrative job. Instead of requesting “vibrant anime colors,” define a small hierarchy:
| Color role | Purpose | Example |
|---|---|---|
| Identity color | Keeps the protagonist recognizable | Muted red jacket |
| Supporting color | Separates secondary costume areas | Charcoal trousers |
| Environment family | Unifies the location | Cool blue-gray station |
| Accent color | Directs attention to one story detail | Amber train signal |
| Neutral reserve | Prevents every region from competing | Warm gray walls |
Limit the first pass to local colors and broad lighting. Complex bounce light, bloom, and cinematic grading can be added later. Trying to solve identity, materials, lighting, and atmosphere in one generation gives the model too much freedom to reinterpret the ink.
Use a preservation-first Imagen prompt
Imagen can be used through an ai image generator for image-guided color exploration. Give the model explicit preservation constraints before describing the palette. Place the most important restrictions near the beginning rather than hiding them after stylistic language.
Colorize this existing black-and-white manga panel without redrawing it.
Preserve every original contour, facial feature, line weight, solid black area,
screentone pattern, cross-hatched shadow, speed line, and costume seam.

Apply restrained cel-shaded anime color beneath the original ink.
Character: pale warm skin, dark auburn hair, muted red jacket,
charcoal trousers, brass jacket buttons.
Environment: cool blue-gray railway platform at dusk.
Lighting: one soft amber signal light from frame right.

Keep shadows aligned with the original black shapes and screentones.
Do not smooth, erase, replace, recolor, or reinterpret the ink.
No new accessories, no altered anatomy, no glossy 3D rendering,
no painterly brushwork, no text, and no added background objects.
The phrase “beneath the original ink” establishes a useful compositing relationship. Naming protected mark types is more precise than saying “keep the details.” The palette description also assigns colors to specific regions, reducing random variation.
Prompt ambiguous black areas by function
If the panel contains a large black region, tell the model what it represents. For example:
The solid black shape behind the character is a cast shadow on the wall,
not hair, clothing, smoke, or a new object. Preserve its exact silhouette.
For screentones, describe both their location and purpose:
Preserve the circular dot screentone on the coat as printed shadow texture.
Do not convert it into fabric dots, stains, or a smooth gradient.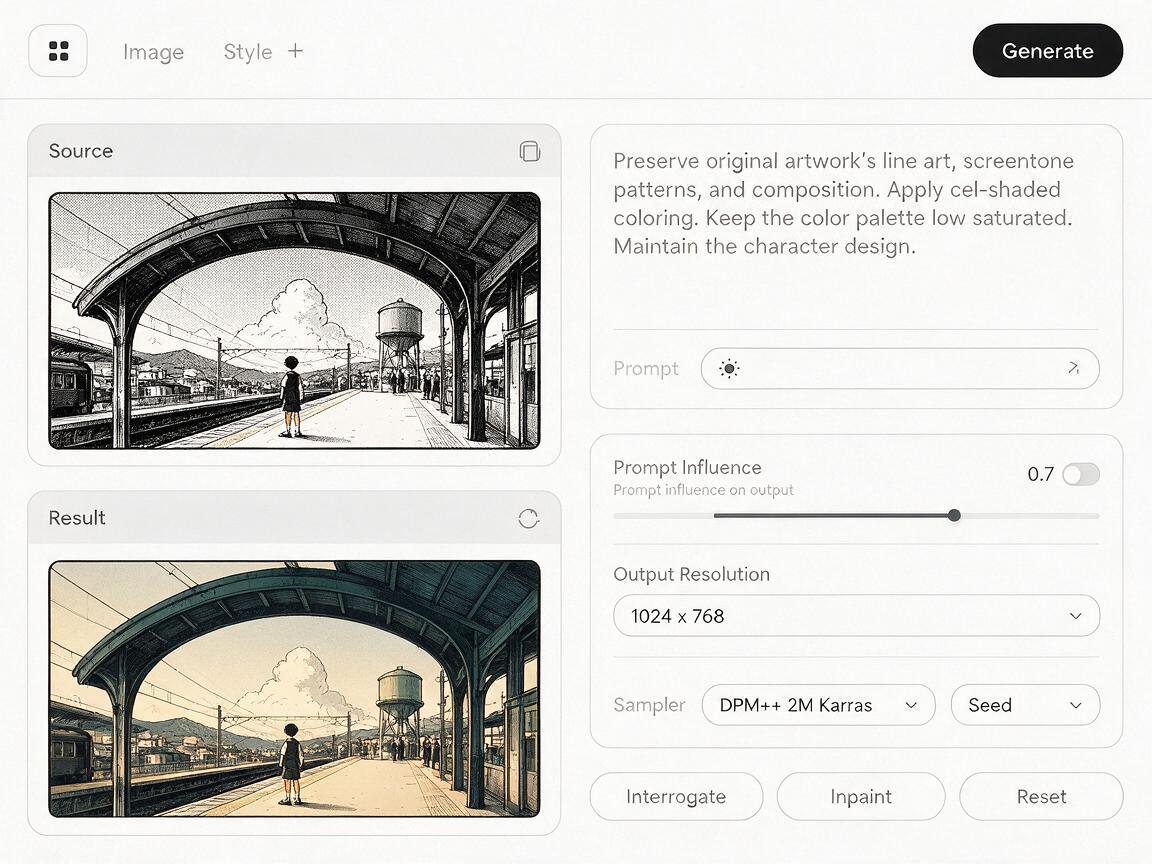
Separate flat color from dramatic lighting
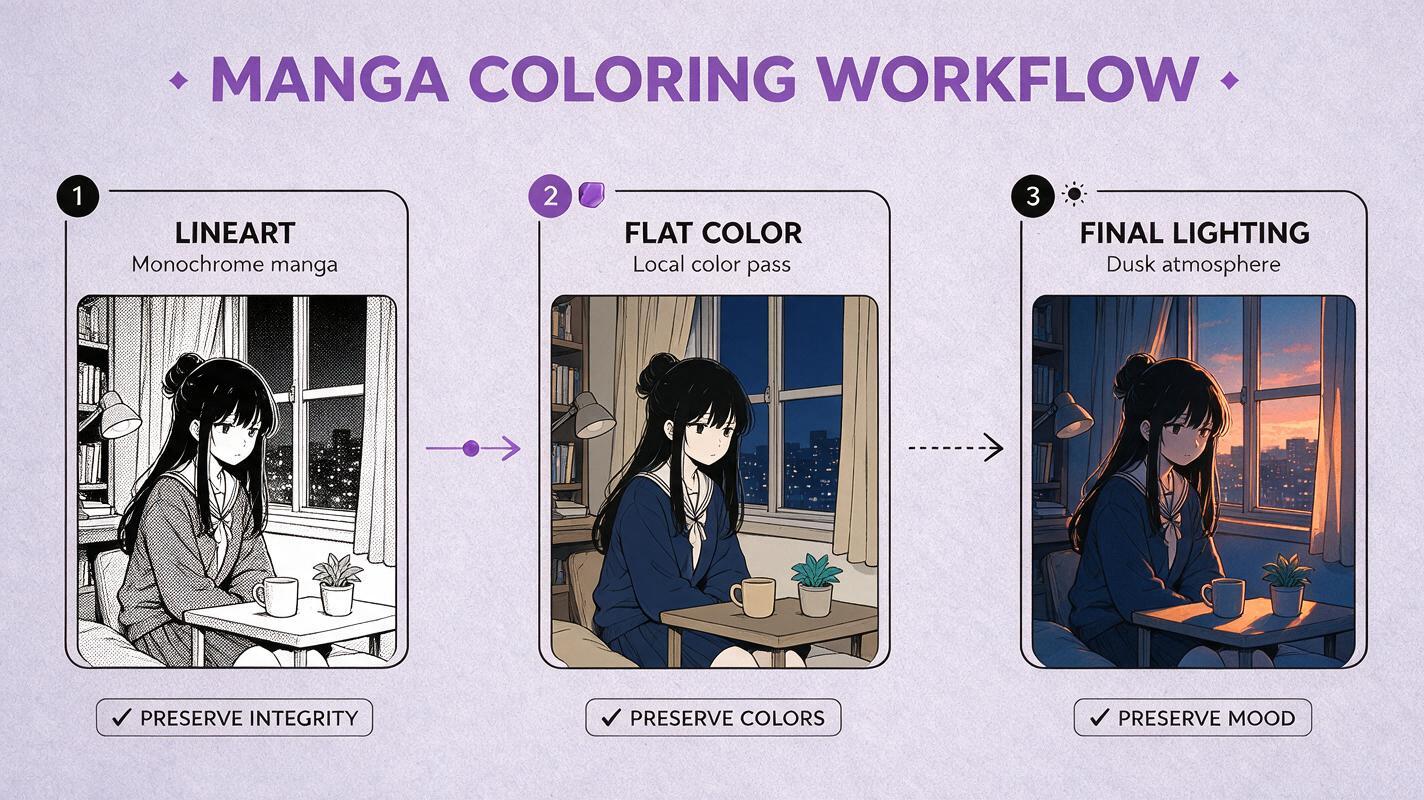
The safest first output is not necessarily the prettiest one. Generate a clean local-color pass with restrained cel shading, then evaluate whether the drawing survived. Only after the ink is stable should you request sunset light, neon reflections, magical effects, or a complex cinematic grade.
A practical two-pass structure is:
- Base pass: flat regional colors, minimal shading, preserved monochrome marks.
- Lighting pass: localized illumination added without changing the base palette or drawing.
For the lighting pass, reuse the accepted image as the new reference and narrow the request:
Keep the character colors, manga ink, screentones, composition, and anatomy
exactly unchanged. Add only a restrained dusk lighting treatment:
cool ambient light across the platform and a soft amber rim from frame right.
Do not add light inside solid black ink shapes. Do not soften line art.
This approach also makes continuity easier across multiple panels. Lock the cast palette first, then vary illumination according to location and time.
Repair only the region that failed
Do not regenerate an otherwise successful panel because one sleeve lost its screentone. Broad retries may fix that sleeve while changing the face, palette, or background. Crop or mask the faulty area and describe the repair as a restoration task.
Restore the original black contour and fine dot screentone inside the selected
left sleeve. Match the source panel exactly. Retain the existing muted red local
color beneath the texture. Change nothing outside the selected area.
Use small repair regions with enough surrounding context to show where lines connect. For a damaged eye, include the eyebrow, cheek contour, and part of the hairline. For a costume seam, include both adjoining fabric sections.
If the tool repeatedly removes fine dots, preserve the original monochrome ink as a separate top layer in an image editor. Set the generated color underneath it, then mask any regions where the color pass conflicts with the source. This hybrid method gives the original drawing final authority.
Judge preservation before visual impact
Compare the result against the source at the same scale. A striking palette can hide structural damage, so inspect the panel in a fixed order:
- Check the eyes, mouth, nose, hands, and silhouette.
- Compare line thickness around the face and foreground objects.
- Verify that solid black areas retain their original boundaries.
- Inspect screentone frequency, direction, and edge shape.
- Confirm that colors stop at intended ink boundaries.
- Check costume colors against the character palette.
- Evaluate mood and lighting only after preservation passes.
A useful test is to temporarily desaturate the colorized result. Its value structure should remain close to the original panel. If major black shapes disappear or new shadows dominate, the color pass has redesigned the composition.
Keep a cast palette across multiple panels
For sequential art, save a compact palette specification instead of rewriting color descriptions from memory. Include exact verbal labels, approximate color values, and material behavior.
AKARI PALETTE
Hair: deep auburn, near-black in shadow, matte
Eyes: dark amber, one small highlight only
Jacket: muted brick red, flat woven fabric
Buttons: aged brass, restrained highlight
Shirt: warm ivory
Skin: pale warm beige, soft peach shadow
Forbidden changes: pink hair, glossy jacket, gold eyes, silver buttons
Reuse this block for every panel, but change the environment and lighting separately. A stable palette specification prevents a night scene from turning canonical red clothing purple or changing dark hair to blue.
Final checklist
- Begin with a clean, high-resolution panel.
- Identify protected ink, texture, color regions, and ambiguous marks.
- Assign each palette color a specific narrative role.
- Request local color before dramatic lighting.
- Name the line and texture types that must remain unchanged.
- Repair isolated failures instead of regenerating the entire panel.
- Compare faces, black shapes, screentones, and seams with the source.
- Reuse a written cast palette across sequential panels.
When your source panel and palette are ready, try these models for free and begin with the preservation-first prompt before adding cinematic lighting.
Keywords
ai manga colorization, manga colorization, preserve manga ink, Imagen, manga screentones, anime color palette, manga to anime