Why AI Colorization Ruins Manga Line Art—and How to Keep Ink Clean
AI colorization often weakens manga ink, fills intentional white space, and turns screentones into muddy textures. This guide shows how to color manga panels with Seedream 4.5 while protecting line weight, shadows, facial details, and page-to-page palette continuity.
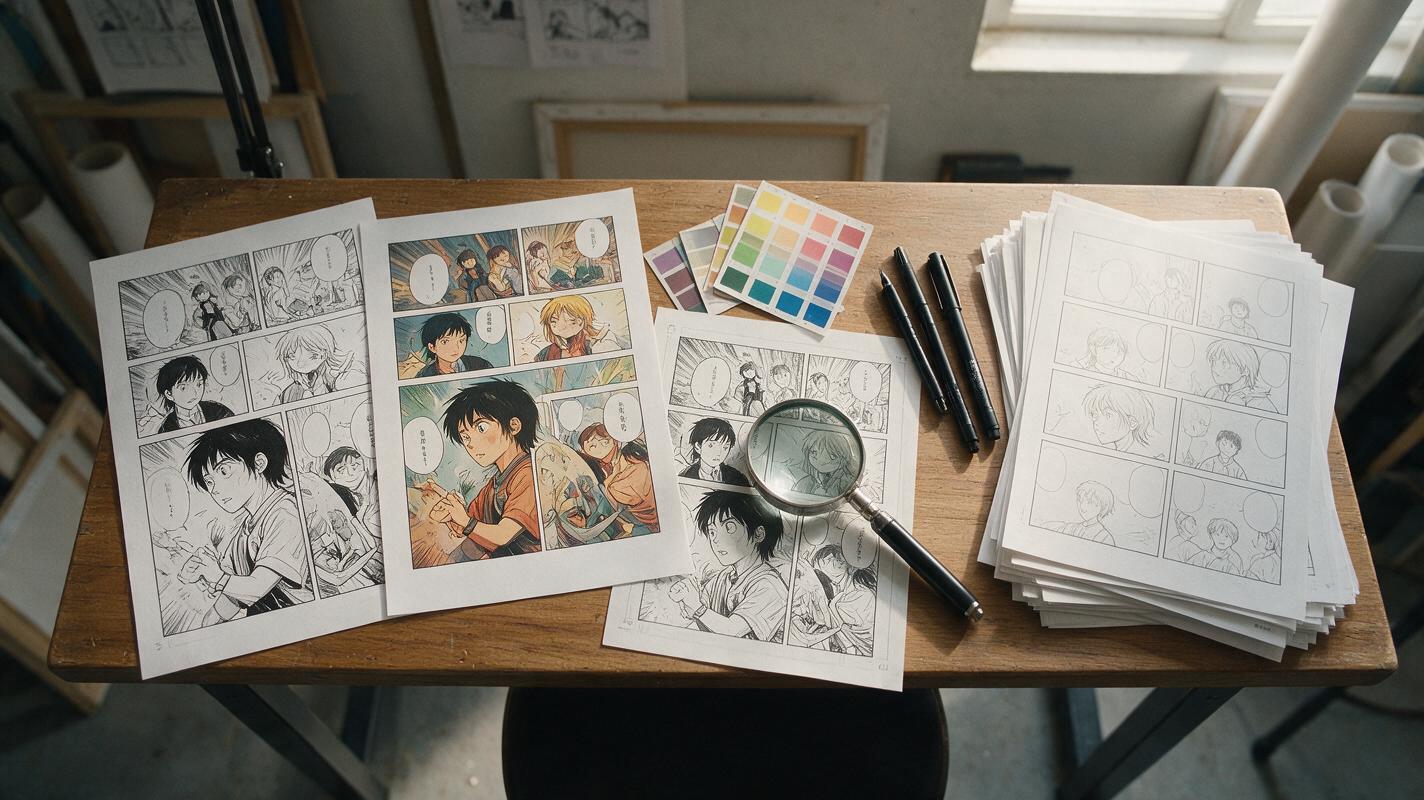
Table of contents
Color the panel without repainting the drawing
Your manga panel does not need a new rendering style—it needs controlled color beneath the existing ink. When AI colorization produces soft outlines, tinted screentones, altered faces, or painted-over hatching, the model has interpreted the page as an image to redesign rather than line art to preserve.
The solution is to define the ink as a fixed structural layer, limit which visual properties may change, and color the page in controlled passes. This workflow uses seedream 4.5 for reference-guided color development and localized correction, but the underlying method applies to any editing model that accepts an existing illustration.
Why automatic colorization damages manga ink
Black-and-white manga uses more than black outlines. A finished panel may contain contour lines, solid blacks, speed lines, cross-hatching, screentones, dry-brush marks, and deliberately empty white shapes. A model can misread any of these elements as editable surface texture.
The most common failures come from four ambiguities:
- Line versus shadow: thick contour ink may be softened into painted shading.
- Screentone versus material: dot patterns may become dirt, fabric grain, or skin texture.
- White space versus unpainted area: highlights and negative shapes may receive unwanted color.
- Stylization versus anatomy: simplified eyes, noses, and hands may be redrawn during rendering.
Treat colorization as a constrained edit. If the prompt asks for a beautiful finished illustration without defining what must remain fixed, the model has permission to reinterpret the entire panel.
Prepare line art that gives the model fewer choices
Start from the cleanest version of the panel available. Remove speech balloons, captions, crop marks, and temporary notes when possible. Lettering is especially vulnerable because color models may distort characters or invent marks around them. Add dialogue again after the art is stable.
Inspect the source at normal reading size and at high zoom. Correct broken contours that could be mistaken for openings, and distinguish important solid blacks from accidental scanning noise. If the page contains gray screentones, decide whether each tone should remain visible, become a color value, or be removed before colorization.
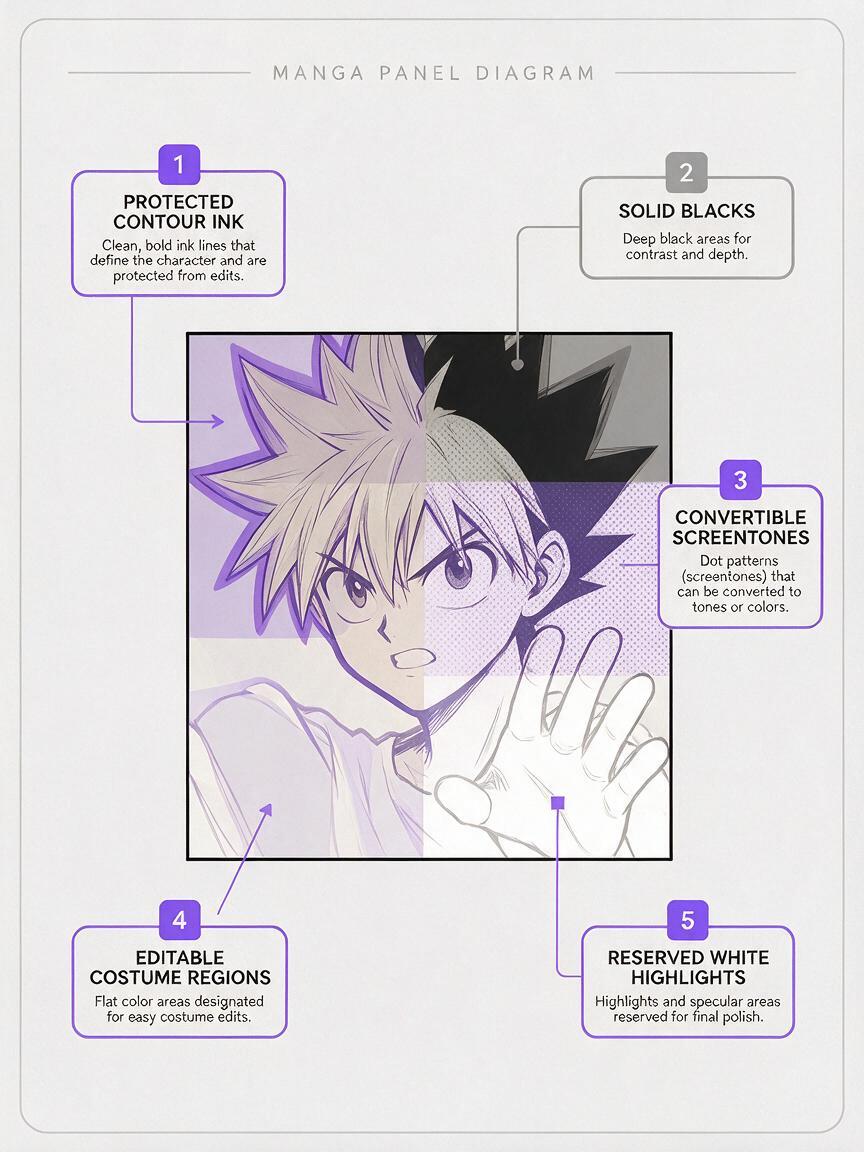
A useful source hierarchy is:
- Protected ink: contours, facial features, hatching, speed lines, and deliberate solid blacks.
- Convertible values: shadows or screentones that may influence color darkness.
- Editable regions: skin, hair, costumes, props, effects, and backgrounds.
- Reserved white: eye highlights, shine, atmosphere, and intentional negative space.
For a dense page, split the source into individual panels. A single panel gives the model clearer scale, fewer competing subjects, and less reason to simplify small faces.
Build a color key before rendering the whole page
Do not discover character colors independently in every panel. Make a compact color key showing the recurring character, costume, props, and location under neutral lighting. Flat swatches are more useful than a polished portrait because they define decisions without introducing another lighting scheme.
| Element | Color decision | Continuity note |
|---|---|---|
| Hair | Near-black blue | Blue appears mainly in lit planes |
| Skin | Warm light ochre | Avoid pink airbrushing |
| School jacket | Muted forest green | Keep lapels and piping black |
| Magic effect | Amber with pale center | May cast warm light on nearby surfaces |
| Night background | Desaturated indigo | Preserve large black shadow masses |
If no palette exists yet, use ai image generator to explore a few small color studies rather than repeatedly regenerating the finished panel. Select one study, record its palette, and treat that choice as production reference.
Separate fixed ink from editable color
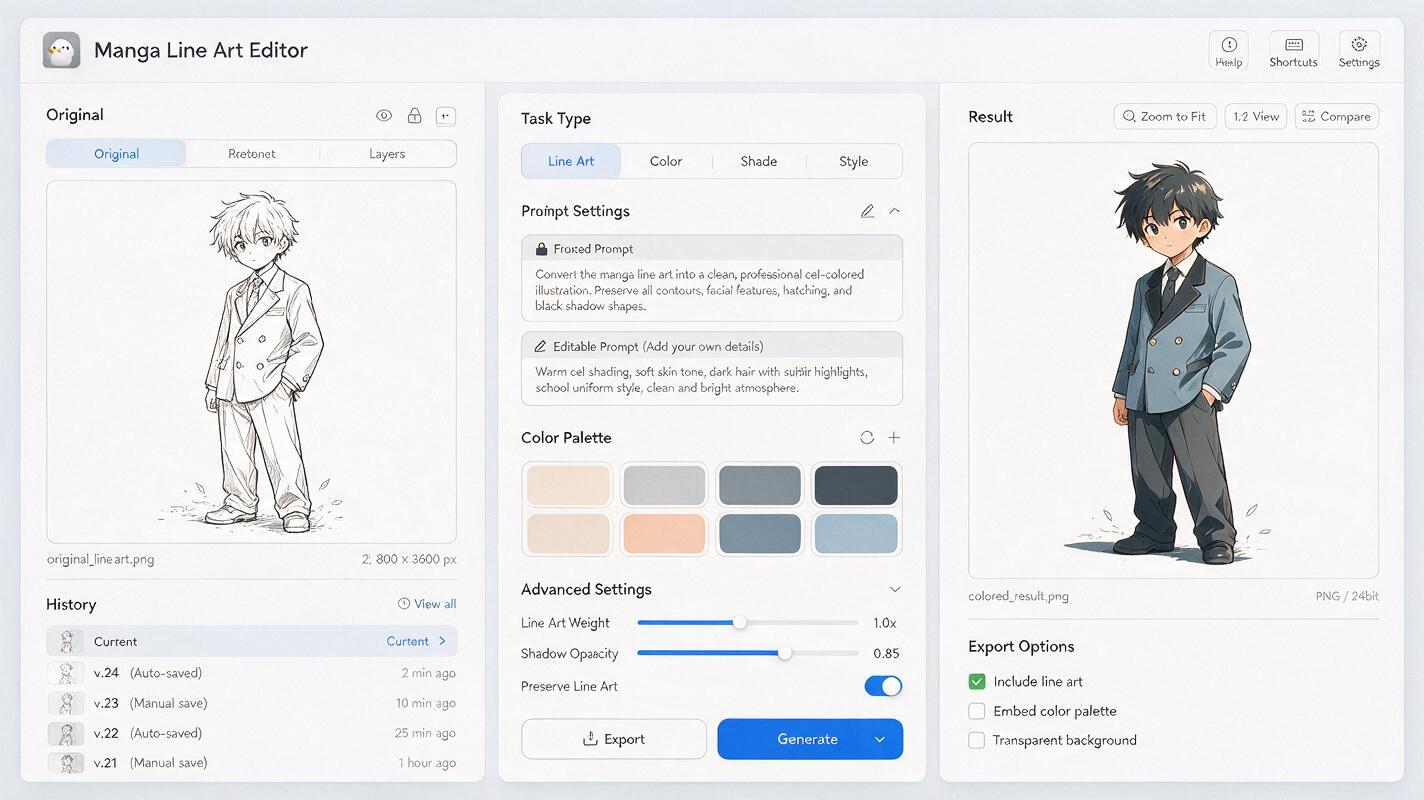
The prompt should describe the operation before describing the scene. State that this is colorization of supplied manga line art, identify protected features, and only then specify palette, lighting, and mood.
Colorize the supplied black-and-white manga panel while preserving the original drawing exactly.

FIXED:
original composition, character identity, facial features, anatomy, pose, camera angle, line weight, contour ink, hatching, speed lines, solid black shapes, eye highlights

EDITABLE:
flat local colors, restrained cel shadows, subtle reflected light

PALETTE:
near-black blue hair, warm light-ochre skin, muted forest-green jacket, amber magical light, desaturated indigo background

FINISH:
clean comic color, hard-edged cel shadows, limited gradients, no painterly repainting, no softened outlines, no new details, no altered expression, no text
The fixed list is not decoration. It tells the model which evidence from the reference has priority. Keep it specific to the panel: if a character is holding a sword, add the hand position, grip, blade silhouette, and contact points to the protected elements.
Color in controlled passes
Trying to solve local color, dramatic lighting, glow, atmosphere, and texture in one generation increases the chance of ink drift. Begin with simple local colors and restrained cel shading. Once that result is stable, make separate edits for environmental light or effects.
Use a flat-color pass for identity
The first pass should establish who and what everything is. Keep lighting neutral, shadows simple, and materials understated. Compare the result directly with the source, checking the eyes, mouth, fingers, costume seams, and silhouette.
Apply clean flat colors beneath the existing manga ink. Preserve every black line and solid black area. Use one base color per material, minimal cel shadow, no glow, no texture generation, and no facial or anatomical changes.Add scene lighting without replacing local colors
Once the flats are correct, describe lighting as an overlay that affects surfaces without changing their identity. Name the light direction and limit its reach.
Keep the current character colors and original ink unchanged. Add a restrained warm light from the lower right, affecting the right cheek, jacket edge, hand, and nearby wall. Preserve black shadows, white eye highlights, and all hatching. Do not relight the entire image.Handle effects as localized edits
Glow, flames, spells, and neon signs should be edited around their actual source. Mask or isolate the affected region when the tool allows it. A localized pass prevents atmospheric color from washing across faces, borders, and untouched panels.
Repair the failure instead of recoloring the page
If most of the panel works, do not regenerate it. Recoloring the full image can replace one minor error with several continuity problems. Identify the smallest incorrect region and describe both the correction and its boundary.
| Failure | Likely cause | Targeted correction |
|---|---|---|
| Gray or colored outlines | Ink treated as part of the palette | Restore affected contours to solid black without changing adjacent fills |
| Muddy screentones | Dots interpreted as surface texture | Preserve the original tone pattern or replace it with one clean shadow value |
| Soft, repainted face | Rendering request too broad | Restore original eyes, nose, mouth, jaw contour, and line weight |
| Colored eye highlights | White areas treated as empty regions | Return highlights to pure reserved white |
| Costume color crossing seams | Garment construction not defined | Confine the color to the named fabric panel inside existing seam lines |
Use a compact repair prompt for these edits:
Edit only the selected region. Restore the original black ink contour and keep the surrounding color unchanged. Preserve the exact face, expression, screentone, and line placement. Do not add shading or redraw nearby features.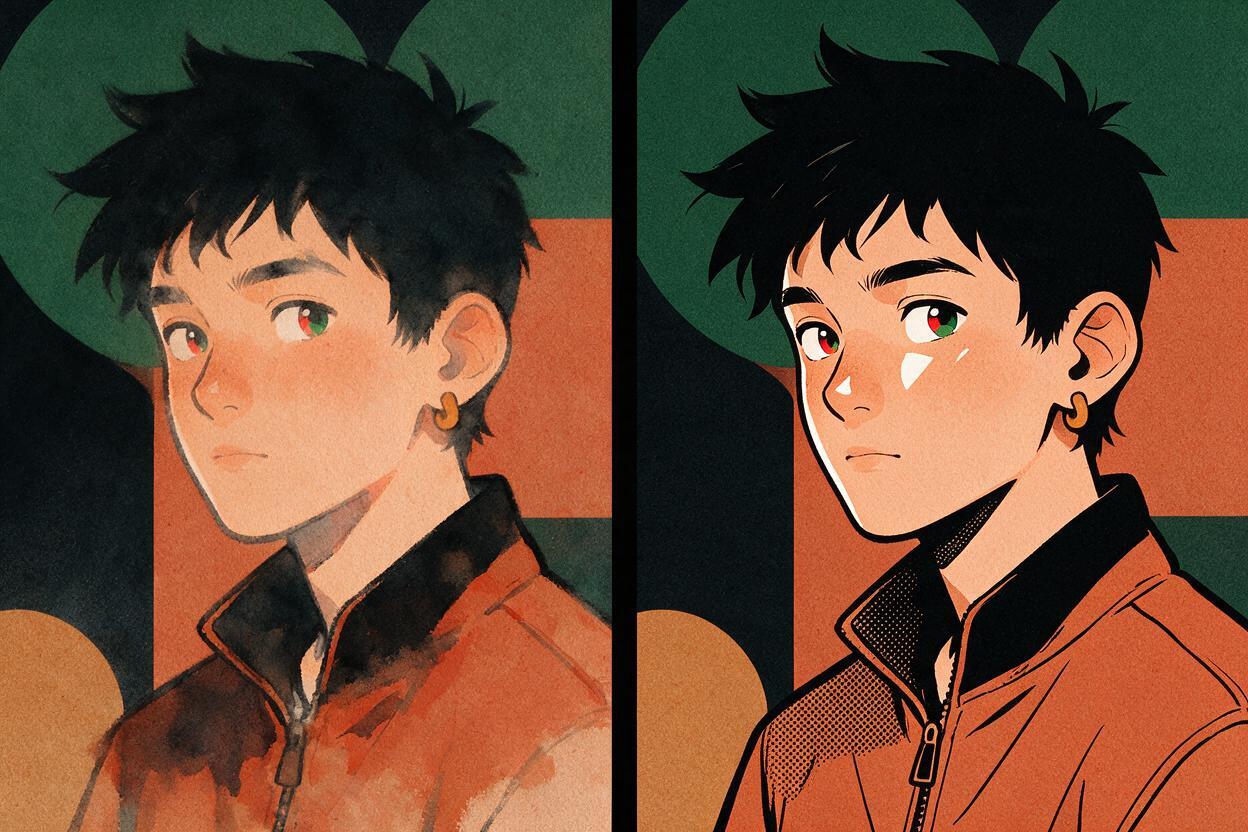
Check the sequence, not just the hero panel
A strong colorized panel can still fail inside a comic sequence. Place three consecutive panels side by side and compare recurring colors, shadow density, skin saturation, effect intensity, and preserved black areas. Character colors should remain recognizable even when lighting changes.
Useful sequence checks include:
- Does the same costume retain its base hue in every shot?
- Are night scenes darker because of lighting, not because the palette changed?
- Do solid blacks remain equally decisive across close-ups and wide shots?
- Are effects brighter than their surroundings without erasing nearby ink?
- Does the color hierarchy still guide the eye toward the story beat?
Save the accepted prompt, palette values, and one approved panel as references for later scenes. This turns color continuity into a repeatable system rather than a memory test.
Final checklist
- Remove lettering and temporary production marks before colorization.
- Separate protected ink, convertible tones, editable regions, and reserved whites.
- Create one approved palette key for recurring characters and locations.
- Prompt the operation first, followed by fixed elements and editable color.
- Establish flat colors before adding dramatic light or visual effects.
- Inspect faces, hands, contours, hatching, and solid blacks at high zoom.
- Repair small failures locally instead of regenerating the entire panel.
- Compare consecutive panels before approving the final page.
When your line art and palette key are ready, try these models for free and begin with one representative panel before committing the full chapter.
Keywords
ai manga colorization, manga line art, seedream 4.5, comic ai generator, manga panel generator, comic coloring prompts, line art preservation