How to Stage AI Microdrama Dialogue Without Broken Eyelines
A practical tutorial for staging two-character dialogue in an AI microdrama without reversed eyelines, unstable screen positions, or distracting cuts. The workflow locks scene geography first, then builds reusable prompts, reaction shots, and a continuity-focused edit.
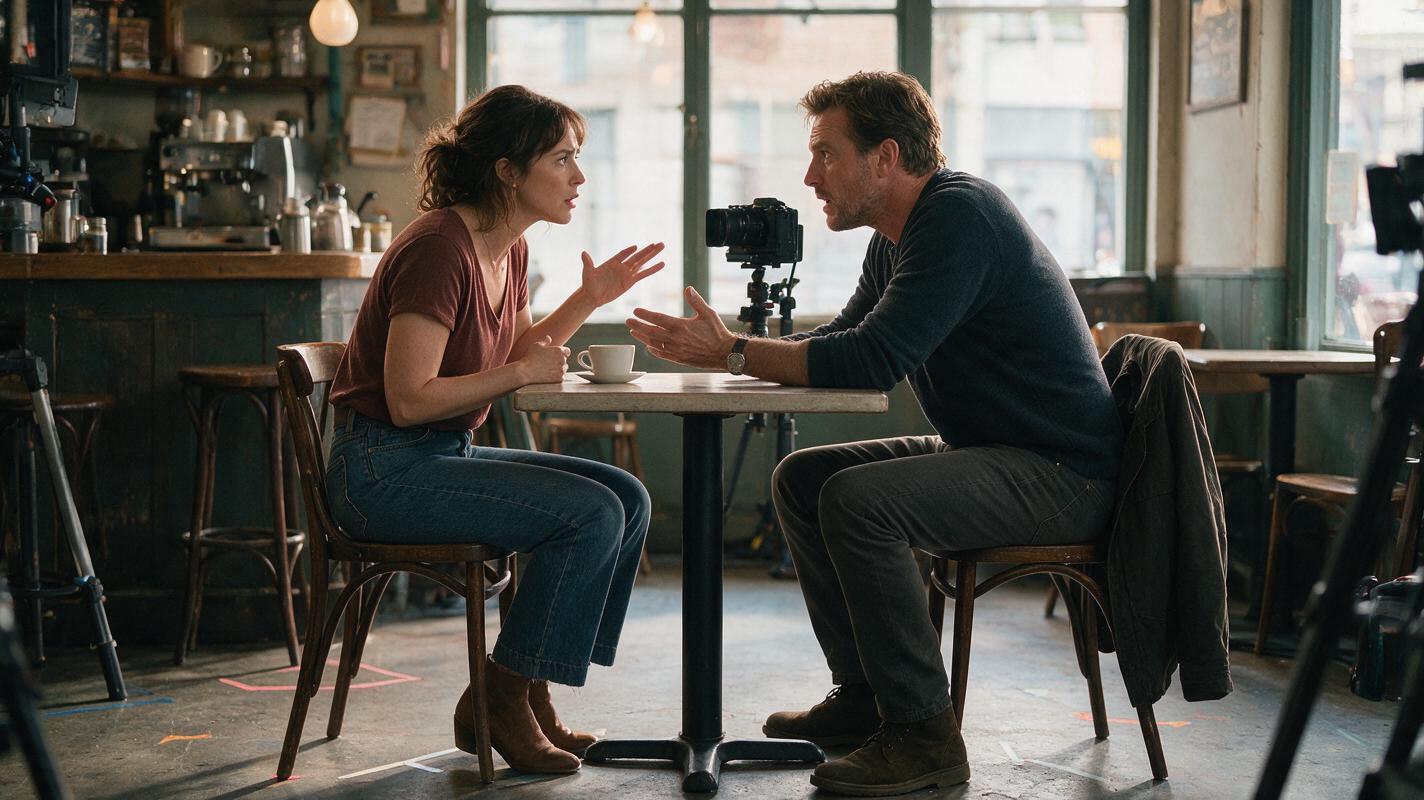
Table of contents
Build the conversation before generating the close-ups
The safest way to stage AI microdrama dialogue is to lock the actors' positions, the camera side, and the direction of every eyeline before generating individual shots. Treat those decisions as fixed scene rules. Change expressions and framing from shot to shot, but do not let the underlying geography move.
This matters because a convincing argument is more than alternating faces. If both characters suddenly look in the same direction, switch sides, or appear to occupy different rooms, the audience must reconstruct the scene instead of following the conflict.
The tutorial below covers a two-character exchange designed for a vertical drama video. It can be applied whether you are creating a first AI short drama or converting one dialogue scene from a longer script.
Working example: Mara sits on the left side of a café table. Eli sits on the right. Mara believes Eli stole a key, while Eli knows the key is hidden under Mara's cup.
Step 1 — Lock the scene geography
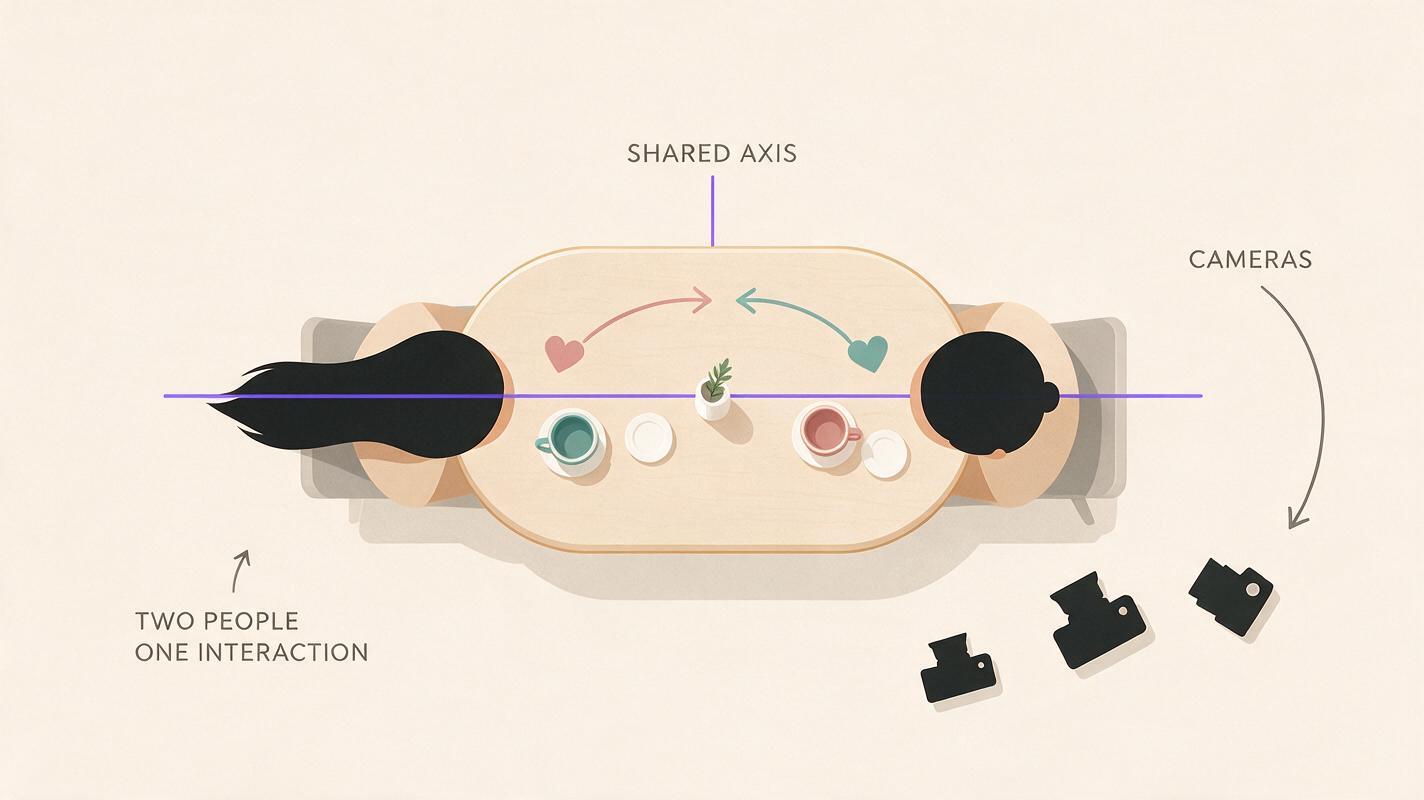
Begin with an overhead blocking sketch, even if it is only two circles, a table, and a camera. Draw an imaginary line through the actors. Keep the camera on one side of that line throughout the exchange so their screen directions remain stable.
- Mara: left side of the frame, looking screen-right.
- Eli: right side of the frame, looking screen-left.
- Shared prop: a white coffee cup near Mara's right hand.
- Background anchors: window behind Mara, dark wooden wall behind Eli.
- Camera zone: the aisle-facing side of the table only.
These are not decorative details. They are continuity constraints for every prompt. If you later need to cross the line, first create a visible camera move or a neutral shot that re-establishes the new geography. For a short exchange, staying on one side is usually clearer.
Step 2 — Divide the dialogue into intention beats
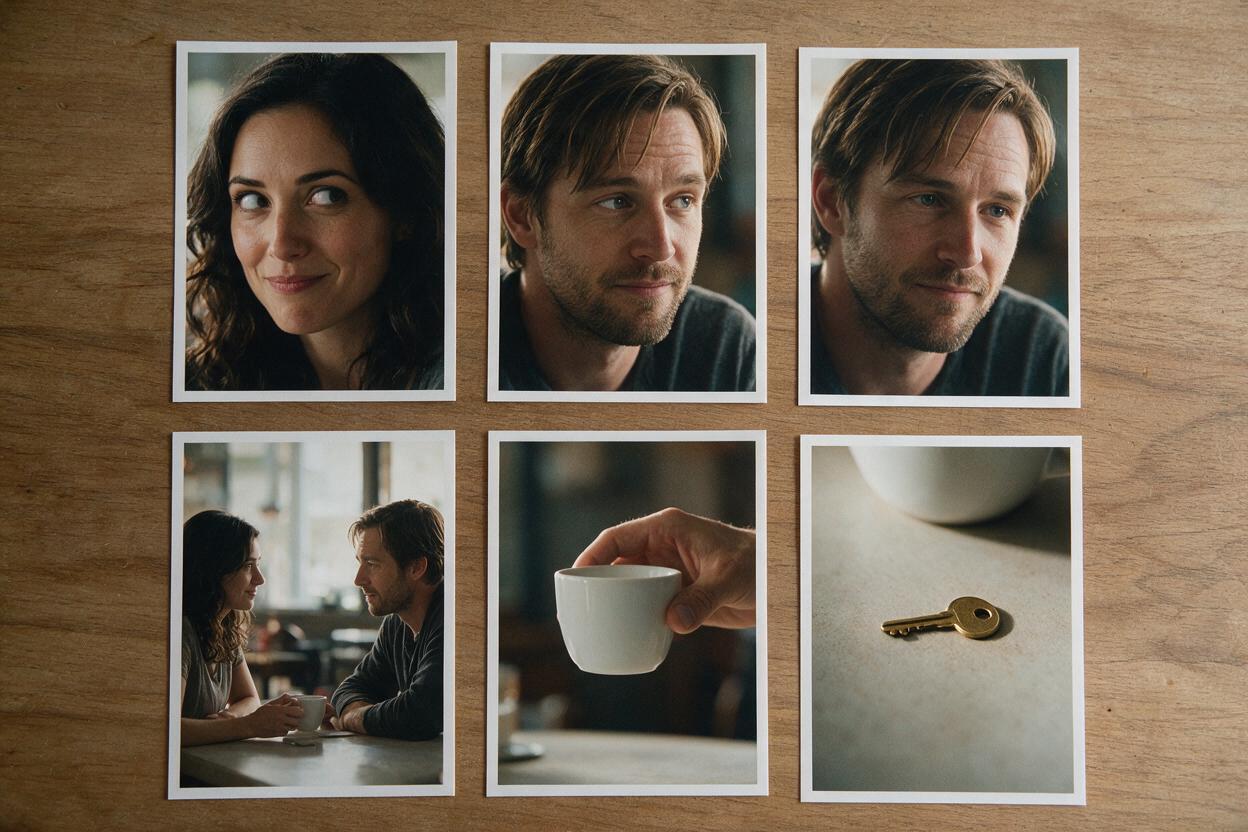
Do not create a new shot for every line. Break the conversation whenever a character's intention changes: accusation, denial, discovery, hesitation, or reversal. Each beat should have one dominant performance objective.
| Beat | Dialogue function | Best visual emphasis |
|---|---|---|
| Suspicion | Mara tests Eli's reaction | Stable two-shot with guarded body language |
| Accusation | Mara states that Eli took the key | Mara close-up, restrained anger |
| Denial | Eli refuses to defend himself | Eli close-up with a brief glance toward the cup |
| Discovery | Mara lifts the cup | Insert of hand, cup, and key |
| Reversal | Eli reveals that he planted it | Reaction shot on Mara before Eli finishes |
This structure gives an AI drama generator a specific action to render. It also prevents a common editing problem: having many similar talking shots but no usable glance, pause, hand movement, or reaction to connect them.
Step 3 — Generate one spatial anchor shot
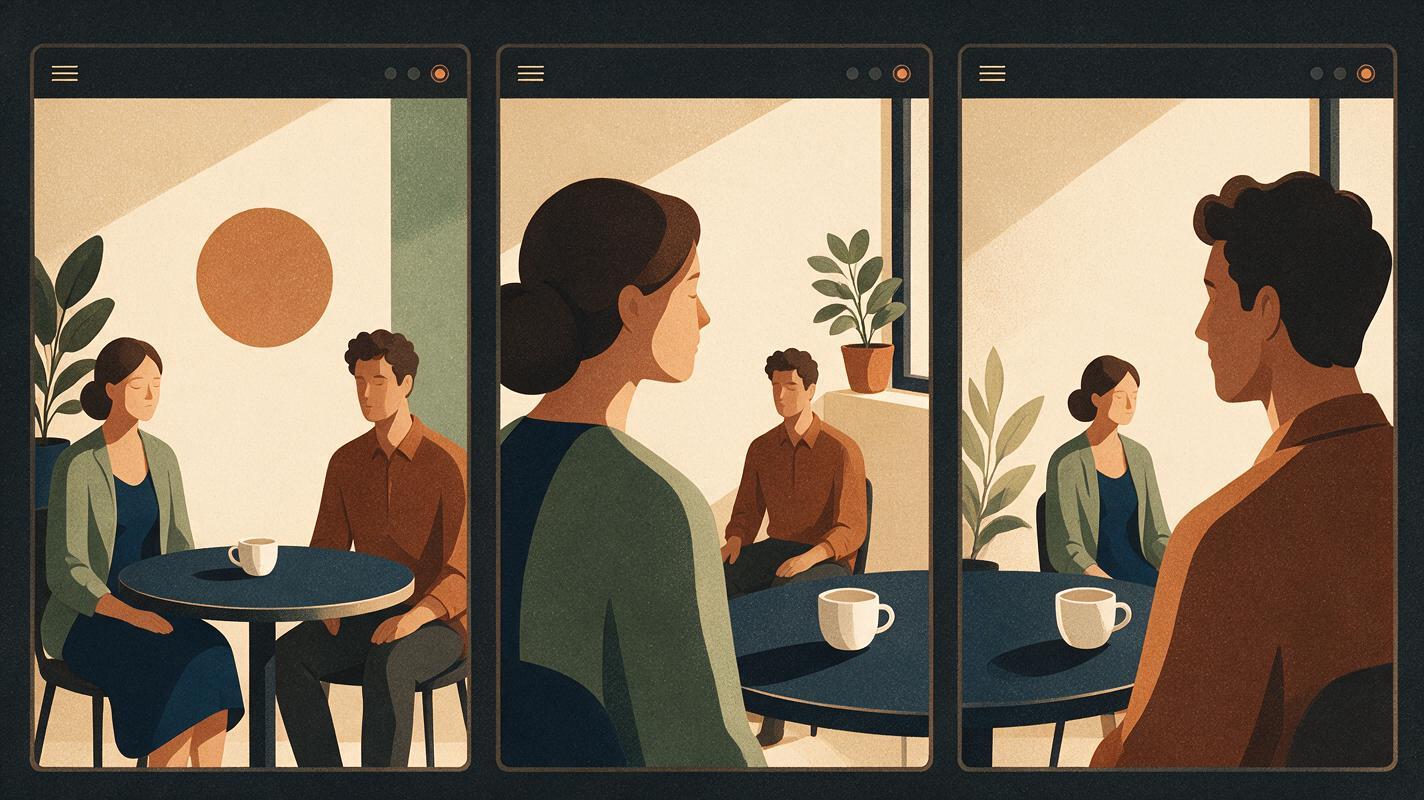
Create the widest useful shot first. This anchor should show both characters, the table, the cup, and enough background to establish where everyone sits. It does not need to carry the entire scene; its job is to define the visual truth that all later shots must preserve.
Vertical cinematic two-shot in a quiet café, Mara seated on the left side of the frame looking screen-right at Eli, Eli seated on the right looking screen-left at Mara, narrow table between them, white coffee cup beside Mara's right hand, window behind Mara, dark wooden wall behind Eli, camera positioned from the aisle side of the table, tense restrained body language, realistic natural window light, eye-level camera, no other people crossing the frame, consistent wardrobe and facial featuresReview this result before continuing. Confirm the left-right relationship, the hand nearest the prop, the backgrounds, and the actors' approximate eye level. If the anchor is wrong, repairing every close-up later will be more expensive in attention and time than regenerating this single shot now.
Step 4 — Build close-ups from fixed and variable prompt blocks
Separate each shot prompt into a fixed geography block and a variable performance block. Repeating the fixed block reduces accidental changes. The variable block tells the generator what is allowed to change.
FIXED SCENE RULES:
Same quiet café and wardrobe as the anchor shot. Mara remains seated on the left and looks screen-right toward Eli. Eli remains seated on the right and looks screen-left toward Mara. The camera stays on the aisle side of the table. White cup remains beside Mara's right hand. Natural window light remains consistent.

VARIABLE SHOT:
Medium close-up of Eli from Mara's side of the table, Eli keeps his gaze screen-left, shoulders nearly still, then briefly lowers his eyes toward the cup before looking back at Mara, controlled expression hiding concern, subtle breathing, no camera orbit, no seat change.
Write the reverse shot with the same scene rules but change the subject and performance:
VARIABLE SHOT:
Medium close-up of Mara from Eli's side of the table, Mara looks screen-right, jaw tightens before she speaks, right hand stays near the white cup, suspicion shifts into certainty, restrained movement, no camera orbit, no seat change.
Avoid vague instructions such as “film the other side.” State the subject's frame position and gaze direction every time. When your scene cards and fixed prompt block are ready, generate a short test exchange before committing to every line and reaction.
Step 5 — Create reactions and prop inserts separately
An AI short film generator does not need to render every spoken sentence as a visible talking face. Silent reactions can carry the emotional turn while also hiding imperfect mouth movement or bridging performances generated in separate passes.
Prepare at least three types of editorial coverage:
- Listening reaction: the character holds the correct eyeline while the other voice continues.
- Decision reaction: a small change in breath, gaze, posture, or hand position marks the next intention beat.
- Prop insert: a close view of the cup lifting and the key appearing, with hands and object positions clearly specified.
Keep inserts geographically compatible. If Mara's right hand is beside the cup in the anchor shot, do not generate a left hand entering from an unexplained direction. A useful insert prompt is:
Tight vertical insert at table height, Mara's right hand enters from the left edge of the frame and lifts the same white coffee cup, a small brass key is revealed underneath, dark wooden tabletop, natural window light from frame-left, shallow depth of field, deliberate slow movement, no extra hands, no change of table or cup.Step 6 — Edit for eyelines before dialogue timing
Assemble the visual sequence without final audio first. Watch only the gaze directions, entrances, hand positions, and prop state. Mara should consistently address screen-right; Eli should consistently answer screen-left. The key cannot appear before the cup is lifted.
Once that silent cut reads clearly, add dialogue and use audio overlaps to make the exchange feel continuous. A J-cut introduces the next voice before the picture changes. An L-cut keeps the current voice playing after the edit moves to the listener. Both techniques let the audience see the reaction that matters instead of watching every spoken word.
- Open on the spatial anchor.
- Cut to Mara when the accusation becomes explicit.
- Let the end of her line continue over Eli's silent reaction.
- Show Eli glancing toward the cup before his denial ends.
- Cut to the cup insert as Mara notices the glance.
- Return to Mara for the discovery, then hold her reaction under Eli's reveal.
For vertical framing, favor medium close-ups and close-ups once the geography is established. Leave useful space in the direction of each gaze: Mara can sit slightly left of center while looking into the right side of the frame, and Eli can mirror that arrangement.
Step 7 — Repair only the broken continuity layer
When a shot fails, identify whether the problem is geography, performance, appearance, or timing. Do not rewrite the entire prompt unless all four are wrong.
| Problem | Targeted repair |
|---|---|
| Wrong gaze direction | Repeat the required screen direction and remove competing head-turn instructions. |
| Character changes seats | Restate frame position, background anchor, and camera side. |
| Performance feels flat | Change only the intention, micro-expression, or gesture block. |
| Prop jumps position | Regenerate the insert and adjacent hand action as a matched pair. |
| Cut feels abrupt | Add a silent reaction or extend audio across the edit. |
This layered repair method protects usable material. It also makes the workflow portable: the same fixed scene rules can support alternate performances without rebuilding the entire conversation.
FAQ
Do I need a wide shot in every AI microdrama dialogue scene?
No. You need enough spatial information for the audience to understand the relationship. A short two-shot at the beginning may be sufficient, after which the scene can move into vertical close-ups and inserts.
What if both generated characters look in the same direction?
Keep the stronger shot and regenerate the weaker one with an explicit screen direction. Repeat the character's frame position, background anchor, and the person they are facing. Mirroring a finished image can create new continuity errors in wardrobe, props, or readable environmental details.
Should every line have visible lip movement?
No. Use listening shots, prop inserts, and reaction shots while dialogue continues off-screen. This often produces a more deliberate dramatic edit than showing uninterrupted alternating speech.
Can this workflow handle three characters?
Yes, but define smaller conversational axes inside the group. Establish all three in a master shot, then specify who each character faces and which camera zone is active. Avoid introducing several new positions and eyelines at once.
Sources
Final checklist
- The two actors keep stable left-right screen positions.
- Every close-up repeats the required gaze direction.
- The camera remains on the chosen side of the action line.
- Background anchors, wardrobe, lighting, and props match the anchor shot.
- Dialogue is divided by intention rather than by sentence.
- Silent reactions and inserts cover emotional turns.
- The scene works visually before final audio timing is added.
- Failed shots are repaired by continuity layer rather than rebuilt blindly.
Keywords
ai microdrama, ai short drama, ai drama generator, ai short film generator, vertical drama video, short drama from script
Decision: PUBLISH — The tutorial addresses a distinct production problem with an ordered, reusable dialogue-staging workflow.