AI Packaging Mockups That Keep Your Product Label Accurate
Create product-launch packaging mockups without letting AI rewrite your label or invent packaging details. This guide uses Nano Banana Pro for presentation concepts, then places approved artwork onto a package template that matches what you intend to produce.
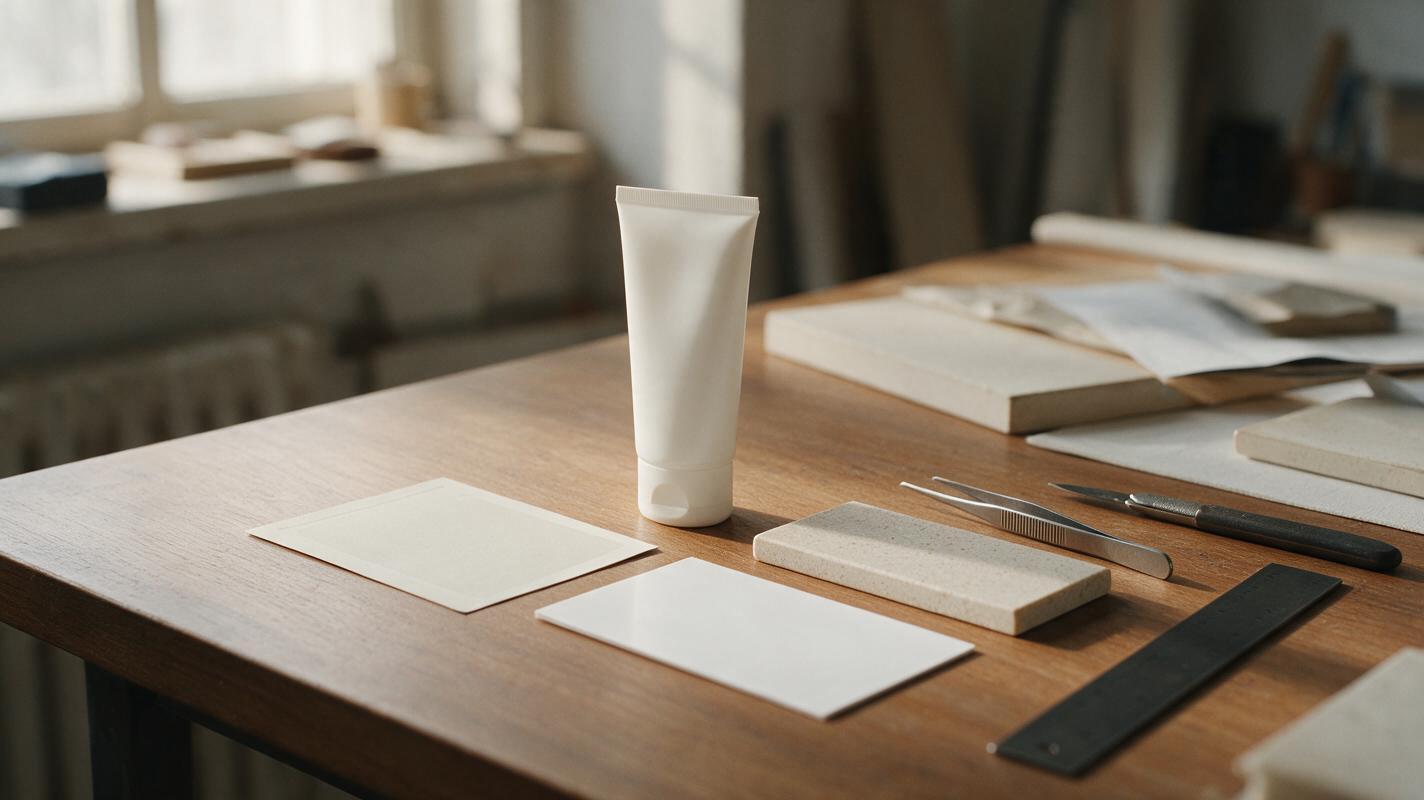
Table of contents
Make the mockup appealing without redesigning the product
A launch mockup can help shoppers understand a new product before you have finished photography. The risk is that an image model may quietly change the label, bottle shape, closure, quantity, or finish. For a Shopify launch page or Etsy preview, those details are not decoration: they describe what a customer expects to receive.
Use Nano Banana Pro to explore the setting and presentation, not to certify packaging details. Keep the approved label artwork and the intended package specifications outside the generation process, then combine them into a mockup you can check against a physical proof.
Decide what the image is allowed to promise
Before generating a scene, separate confirmed details from design decisions still in progress. A mockup can depict an intended package, but it should not be presented as a photograph of a finished item if that item does not yet exist.
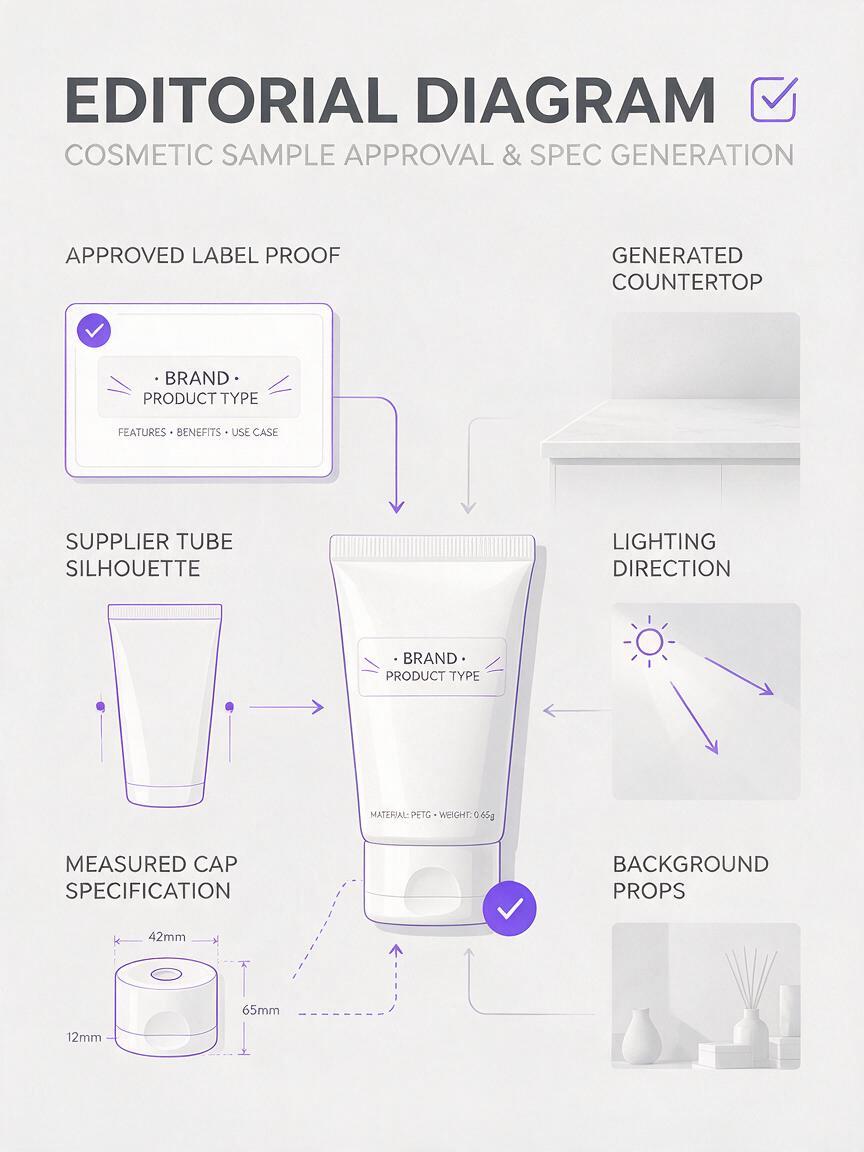
| Detail | Safe source | What to check before publishing |
|---|---|---|
| Product name, claims, quantity, warnings | Approved label file | Text matches the final approved copy |
| Container, lid, dimensions, finish | Supplier specification or physical sample | Depicted package matches what will ship |
| Background, props, lighting | Generated presentation scene | Props do not imply unverified contents or benefits |
| Availability and product status | Your actual launch plan | Caption makes clear when an image is a mockup |
If the supplier has not confirmed the lid finish, for example, do not generate a glossy gold lid and treat it as settled. Use a neutral presentation until the specification is confirmed. The same applies to visible ingredients, accessories, and quantities: do not place them in the scene merely because they make the image feel complete.
Build a package reference that the model cannot reinterpret
Gather the final—or clearly marked provisional—label artwork, package dimensions, dieline, supplier photograph, and a short specification. Record details a viewer will notice immediately: container silhouette, cap height, label boundaries, material finish, and whether the package is transparent or opaque.
For a prelaunch hand cream, the reference might say: “Matte off-white 75 ml tube; dark green flip cap; front label occupies the central 60% of the tube face; no carton.” This is more useful than asking for “premium skincare packaging.” A supplier sample photographed straight on is especially helpful for checking proportions, though it does not replace the artwork file.
Keep an untouched source file. Do not ask an image model to redraw a label from a screenshot. Small type, symbols, and spacing are too easy to alter without notice.
Generate the setting, not the label
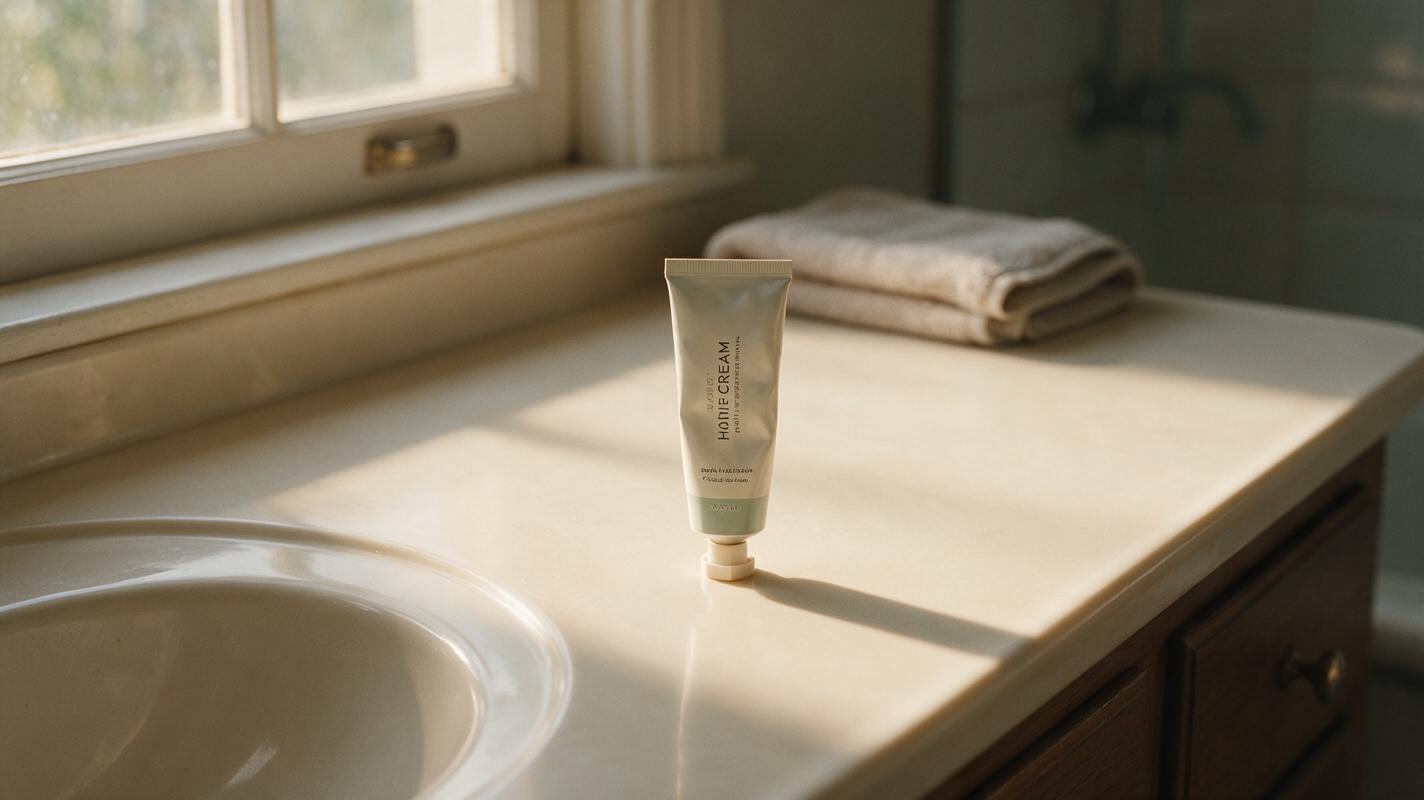
Use Nano Banana Pro through an ai image generator to create a scene with a plain package stand-in or an empty space reserved for the product. Ask for lighting and camera direction that your real package photograph or mockup template can plausibly match. Avoid requests for readable branding; the approved artwork will be added later.
For a hand-cream launch, this prompt gives the scene a specific job:
Photorealistic editorial product scene for a hand cream launch: warm ivory countertop beside a bathroom window, soft morning light from camera left, subtle contact shadow, one folded neutral towel in the distant background. Leave a clear upright space in the center for a 75 ml squeeze tube. No product, no packaging, no labels, no text, no extra cosmetics. Straight-on three-quarter camera angle, natural materials, restrained color palette.The instruction to leave space does not guarantee a perfect cutout area. Inspect several results and choose one with uncomplicated surfaces behind the product, believable light direction, and enough room for the intended package size. Reject a scene if props obscure the label or imply ingredients or accessories you do not sell.
If you need a blank package concept instead, describe its geometry and ask for an unbranded surface. Treat the result as a visual proposal. Check its silhouette against the supplier sample before using it as a product depiction.
Place approved artwork where customers will read it
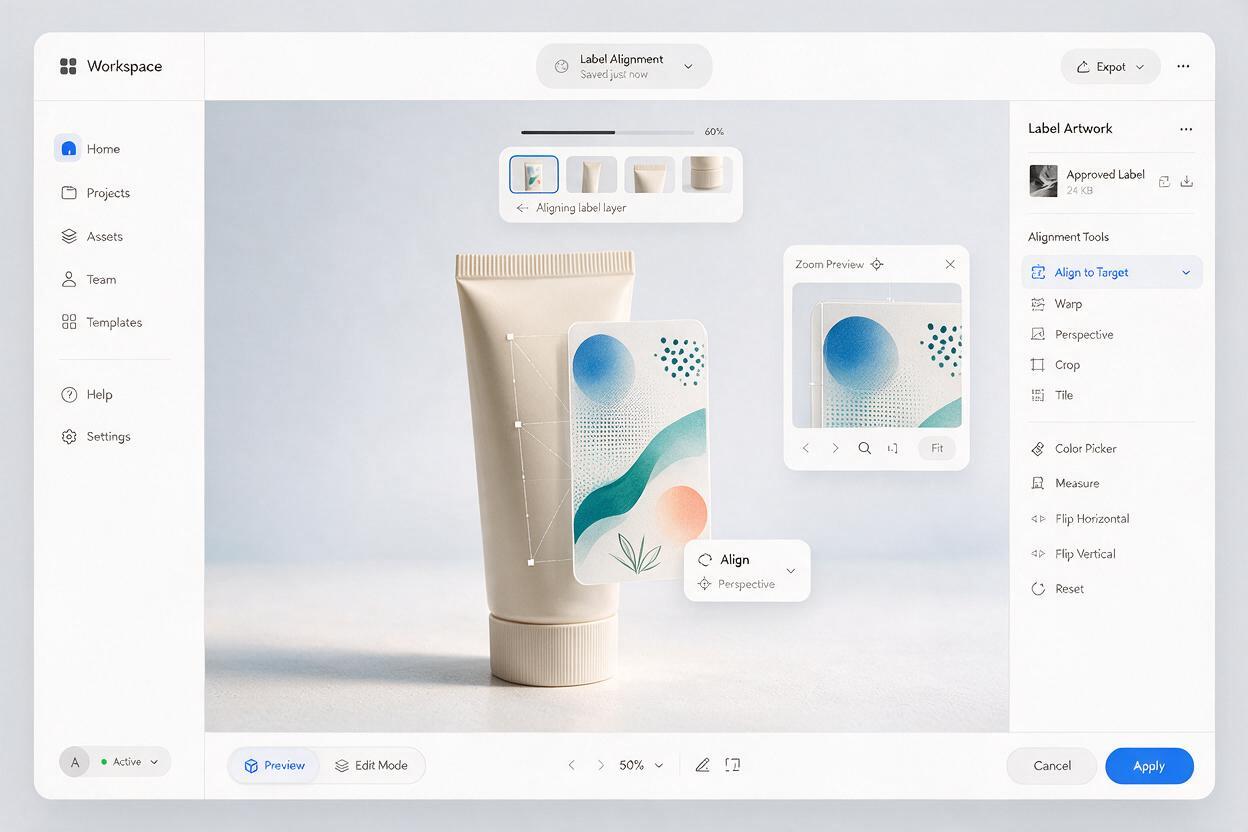
Bring the selected scene, a package photograph or accurately built package template, and the approved label artwork into an editor. Position the package first. Match its perspective and lighting to the scene, then apply the artwork to the label area using a perspective transform or displacement appropriate to the package surface. Preserve the original text; do not regenerate it to make the mockup look seamless.
At normal listing size, check that the product name and variant are legible. At full resolution, inspect the label edges, logo, quantity, and any legally required copy. A curved tube may need gentle artwork distortion, but lettering should remain recognizable rather than stretched around the side. If the package is translucent, use the supplier sample to guide opacity instead of guessing what should show through.
A convincing contact shadow matters, but it should not conceal a mismatch. If the generated scene is lit from the left and the package photograph is lit strongly from the right, choose another scene or reshoot the package. Heavy retouching can make the surface look plausible while leaving the object itself inconsistent.
Check the mockup against the item you intend to sell
Review the finished image beside the artwork file and package specification—not just by itself. This comparison catches errors that a visually polished mockup can hide.
- Label: Are the product name, variant, quantity, symbols, and claims exactly the approved versions?
- Package: Do the cap, proportions, material, and label placement match the planned production item?
- Scene: Could a prop be mistaken for an included accessory or a product ingredient?
- Status: Does the surrounding page accurately describe a preview or mockup if the packaged product has not been photographed?
Once a production sample arrives, photograph it and compare it with the mockup. Replace any launch image that materially differs from what customers will receive. For marketplace listings, check the platform’s current image rules before using a mockup; a generated lifestyle scene should not be assumed suitable for every primary listing image.
Final checklist
- Use approved artwork as the source of label text.
- Confirm the depicted container against a supplier specification or sample.
- Generate presentation scenes without invented product details.
- Check legibility, perspective, lighting, and implied contents.
- Identify a preproduction image as a mockup where needed, then update it when real product photography is available.
Ready to explore a launch setting? Test this prompt yourself with your package specifications, then keep the final label and product details under your control.
Keywords
ai packaging mockups, product launch images, accurate product labels, nano banana pro, shopify product images, etsy product photos, packaging design mockups