Why AI Pasta Photos Look Mushy (And How to Get Al Dente Results)
AI-generated pasta photos often turn out lumpy, mushy, and indistinguishable, with no individual noodle texture or appetizing sauce cling. This troubleshooting guide breaks down the three most common pasta AI generation failures and shares tested prompt templates, model settings for GPT Image and Seedream 4.5, and targeted inpainting fixes to create realistic, al dente pasta visuals for restaurant menus and social media. Use the included quality checklist to ensure every shot looks fresh and aligned with your brand.
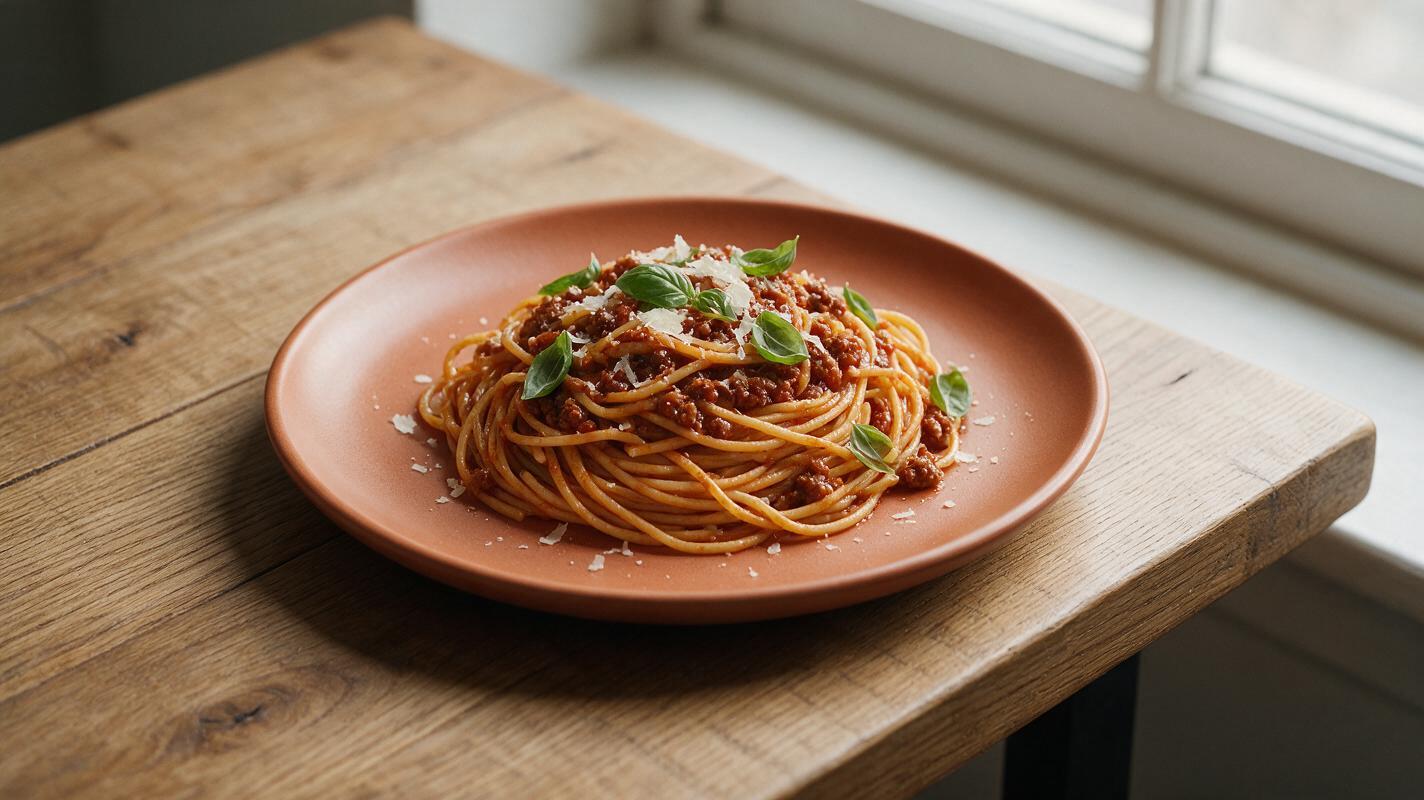
Table of contents
Why AI pasta photos look mushy
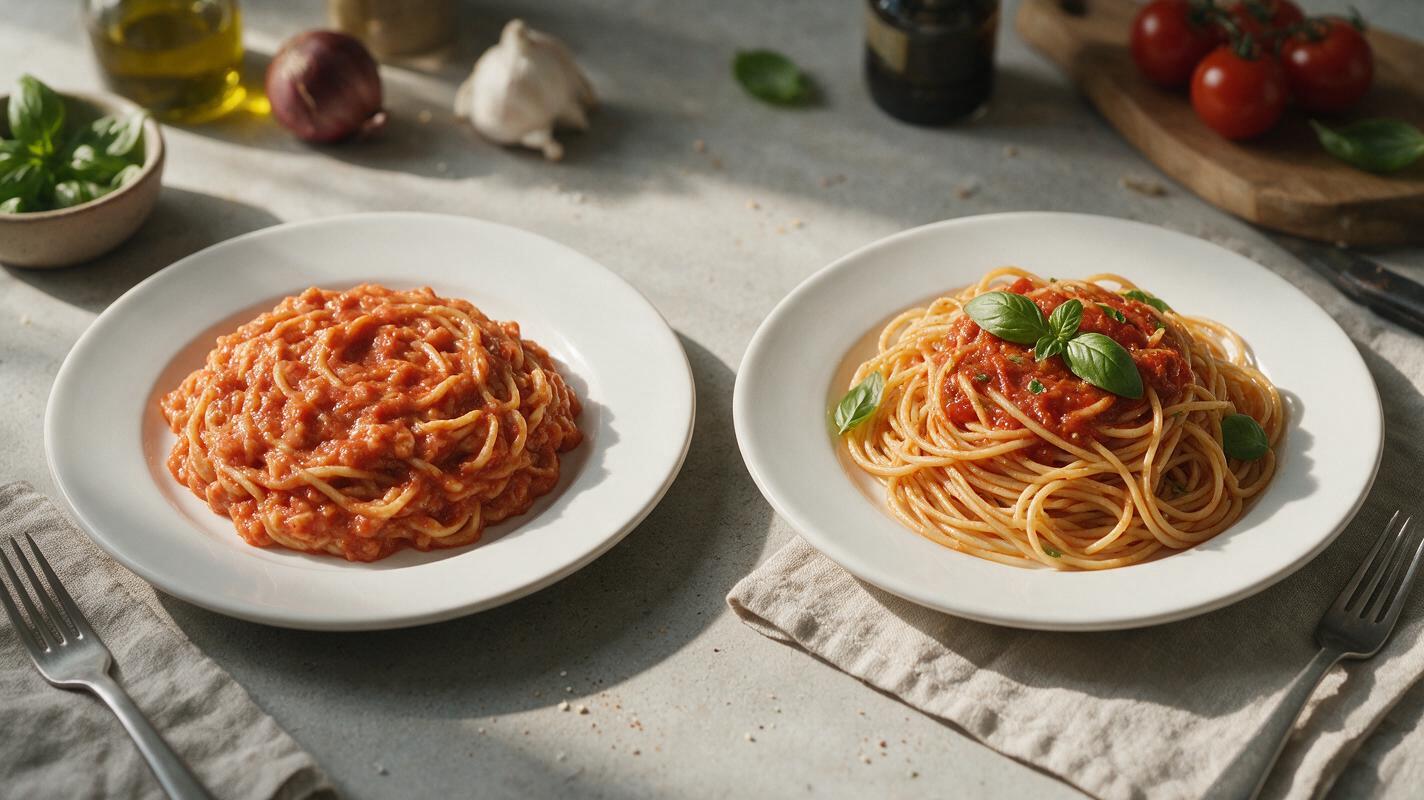
If you’ve ever tried generating pasta photos with AI, you’ve probably seen the same disappointing result: a lumpy, uniform yellow mass that looks more like mashed potatoes than al dente noodles. Mushy AI pasta is one of the most common food generation failures, and it happens for three key reasons that are specific to pasta’s unique structure.
First, AI models struggle to render large groups of small, similar-shaped objects. Long pasta like spaghetti or linguine is made of dozens of thin, overlapping strands, and AI often merges them into a single solid mass to reduce visual complexity. Second, sauce texture is hard for AI to get right: it either looks watery and pooled at the bottom of the plate, or caked on like thick paint with no natural cling to individual noodles. Third, vague prompts skip critical texture details, so AI defaults to a soft, overcooked appearance with no firm noodle edges.
These failures don’t just look unappetizing — they can make your restaurant’s menu or social media content feel low-quality, and even make customers think your pasta is overcooked before they order. The good news is that with targeted prompt tweaks, model settings, and minor touch-ups, you can get realistic, al dente pasta photos every time.
Craft prompts that force individual noodle detail
The biggest cause of mushy AI pasta is vague prompting. A prompt as simple as “spaghetti bolognese” gives the AI no guidance on texture, noodle separation, or sauce distribution, so it defaults to the safest, most uniform version. To fix this, build prompts that explicitly call out individual noodle detail and texture cues.
Start with the specific pasta shape — fusilli, penne, rigatoni, or spaghetti — instead of a generic “pasta” label. Distinctly shaped pastas with ridges, tubes, or spirals are easier for AI to render without clumping, because each piece has a unique edge and form. For long pastas like spaghetti, add phrases that explicitly tell the AI to separate strands.
Pro tip: For long pasta like spaghetti or linguine, add the phrase “tossed lightly with visible gaps between strands” to your prompt. This tells the AI to avoid compacting all noodles into a single dense pile.
Include specific details about sauce cling, toppings, and plating to add realism. Mention small, specific elements like grated parmesan flakes, fresh basil leaves, red pepper flakes, or toasted pine nuts — these tiny details break up uniform surfaces and make the pasta look hand-tossed and fresh.
If you’re using a text to image tool to build a full set of pasta menu photos, start with a consistent base prompt structure to keep plating and lighting aligned across dishes. Here are three tested prompt templates for common pasta menu items:
Spaghetti Bolognese (menu photo)
Photorealistic food photography of al dente spaghetti bolognese on a matte white ceramic plate, distinct individual noodle strands with gaps between them, glossy slow-cooked meat sauce clinging to each noodle, grated parmesan flakes and fresh basil leaves scattered on top, some sauce lightly smudged on the plate edge, soft natural side lighting, 45-degree angle, shallow depth of field, restaurant menu quality, no textPenne Alla Vodka (social media)
Vibrant food photography of penne alla vodka in a shallow terracotta bowl, distinct ridged penne tubes coated in creamy pink vodka sauce, visible fresh basil leaves and a sprinkle of red pepper flakes, a silver fork resting on the bowl edge with one piece of penne on it, warm golden hour lighting, top-down angle, 4:5 aspect ratio, Instagram-ready, no textFusilli Pesto (product shot)
Close-up product photography of al dente fusilli pasta tossed in bright green basil pesto, distinct spiral noodle shapes fully coated in glossy pesto, toasted pine nuts and parmesan shavings scattered on top, set on a light wooden board, bright diffused studio lighting, sharp focus on noodle texture, 3:2 aspect ratio, food product quality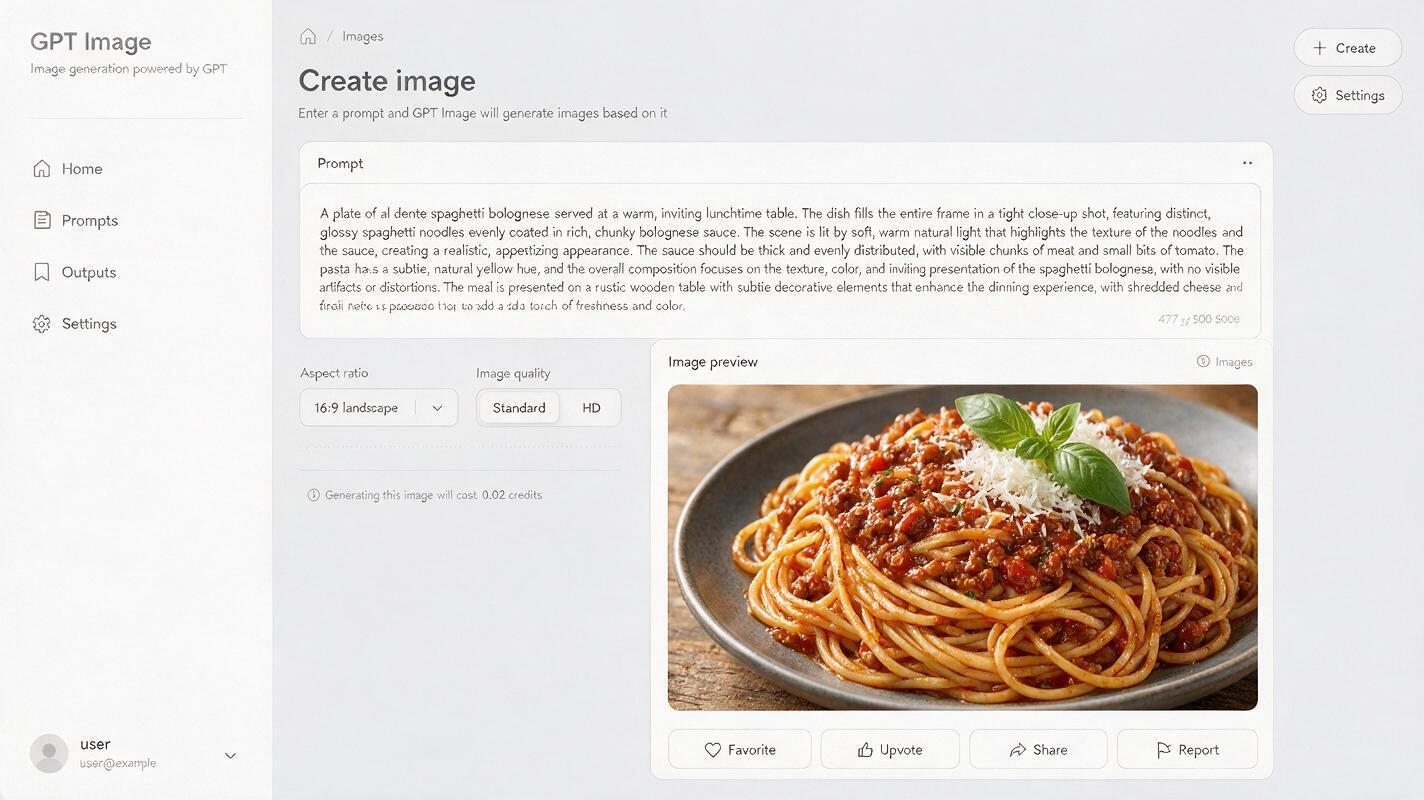
Tune model settings for sharper texture
Even with a perfect prompt, default model settings can soften pasta texture and make noodles look mushy. Adjust these settings for the two most reliable food photography models to get the sharpest, most realistic noodle detail:
| Model | Preset | Detail Level | Stylize Level | Best For |
|---|---|---|---|---|
| GPT Image | Photorealistic | High | 30% | Quick social media shots, varied pasta shapes |
| Seedream 4.5 | Food Photography | Ultra | 20% | Menu photos, high-detail close-ups |
For GPT Image, avoid the “Artistic” or “Creative” presets — these add soft edges and stylized color grading that blur noodle texture and make sauce look flat. Stick to the Photorealistic preset, and keep the stylize slider below 40% to prevent the AI from exaggerating colors or shapes.
For Seedream 4.5, the dedicated Food Photography preset is optimized for edible textures, including the subtle sheen of sauce and the firm edge of al dente noodles. Set the detail level to Ultra to capture small details like parmesan flakes and herb flecks, and keep stylize low to maintain realistic proportions.
Test this prompt yourself to see the difference in noodle texture immediately.
Touch up sauce and texture with targeted inpainting
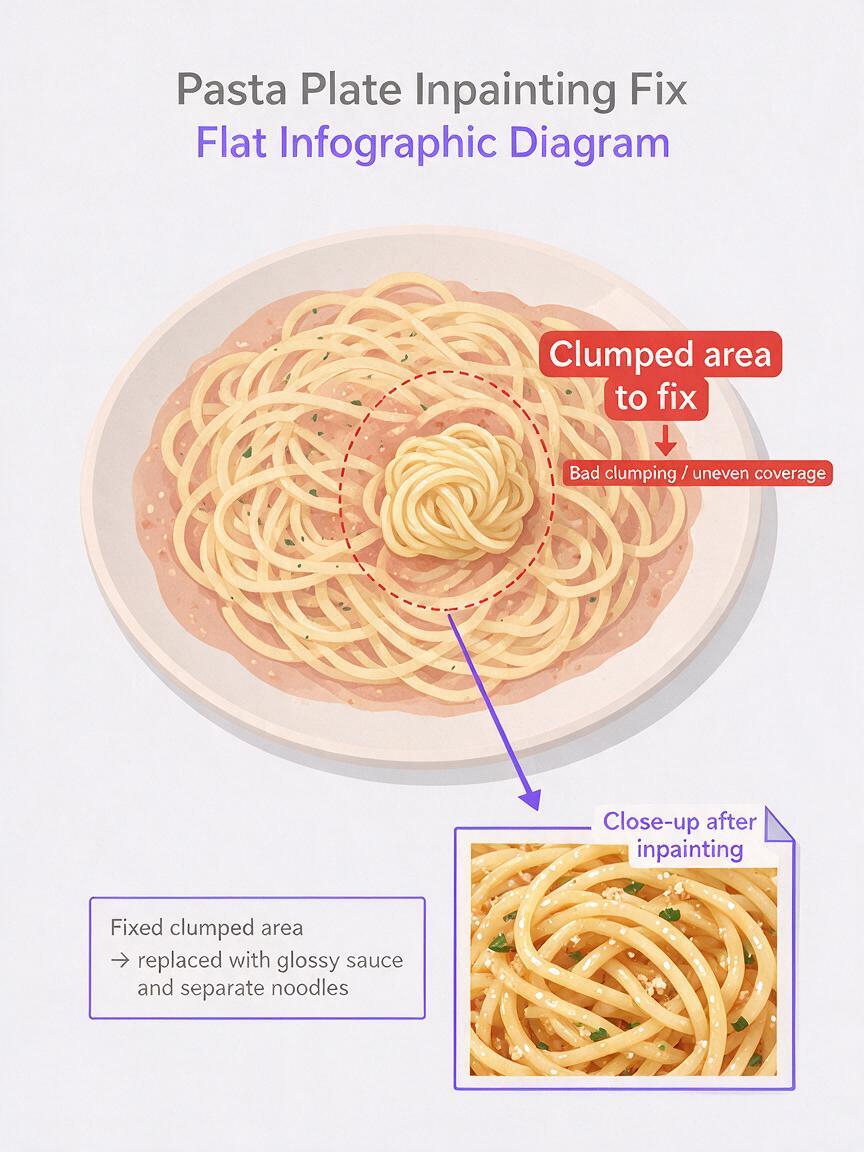
Even with the best prompts and settings, you may still have small clumped areas or flat sauce spots that need fixing. Targeted inpainting lets you fix only the problematic areas without regenerating the entire photo, so you keep the plating, lighting, and props that work.
Use Seedream 4.5’s inpainting tool for these common pasta fixes:
- Clumped noodle areas: Paint a thin brush over the lumpy section, making sure to stay within the pasta pile. Use the prompt “distinct al dente [pasta shape] strands, same sauce color, matching lighting, seamless blend” to add individual noodles that match the rest of the plate.
- Flat, matte sauce: Brush over areas where sauce looks dull or caked on. Use the prompt “glossy [sauce type] sauce clinging to noodles, natural light reflection, subtle texture” to add sheen and depth without changing the sauce color.
- Missing detail spots: Add small, realistic touches like extra basil leaves, parmesan shavings, or pepper flakes to areas that look too uniform. Keep the brush size small to avoid over-editing.
When inpainting, set the “preserve original content” slider to 70-80% to ensure the fixed area matches the lighting, color, and style of the rest of the photo. This prevents jarring, obvious edits that make the photo look artificial.
Final quality checklist for realistic pasta photos
Before using any AI-generated pasta photo in your menu, social media, or marketing materials, run through this quick checklist to make sure it looks realistic and appetizing:
- Individual noodle strands or shapes are visible, with no large uniform clumps
- Sauce clings to noodles instead of pooling entirely at the bottom of the plate or bowl
- Noodles have a firm, al dente appearance with defined edges (no soft, blurred outlines)
- Small toppings (herbs, cheese, spices) look naturally scattered, not evenly painted on
- Plate, bowl, and props match your restaurant or brand’s visual identity
- Lighting and color temperature are consistent across all photos in your asset set
- No distorted utensils, warped table surfaces, or other background artifacts
Keywords
ai pasta photography, food image generator, pasta menu photos, ai food photos, restaurant marketing ai, food product photography, ai pasta prompts