AI Product Animation From One Render Without Design Drift
A single product render can become a useful concept animation, but camera movement often causes AI to invent surfaces and controls the reference never showed. This guide uses Seedance and a restrained motion brief to create a presentation clip while keeping the approved design recognizable.
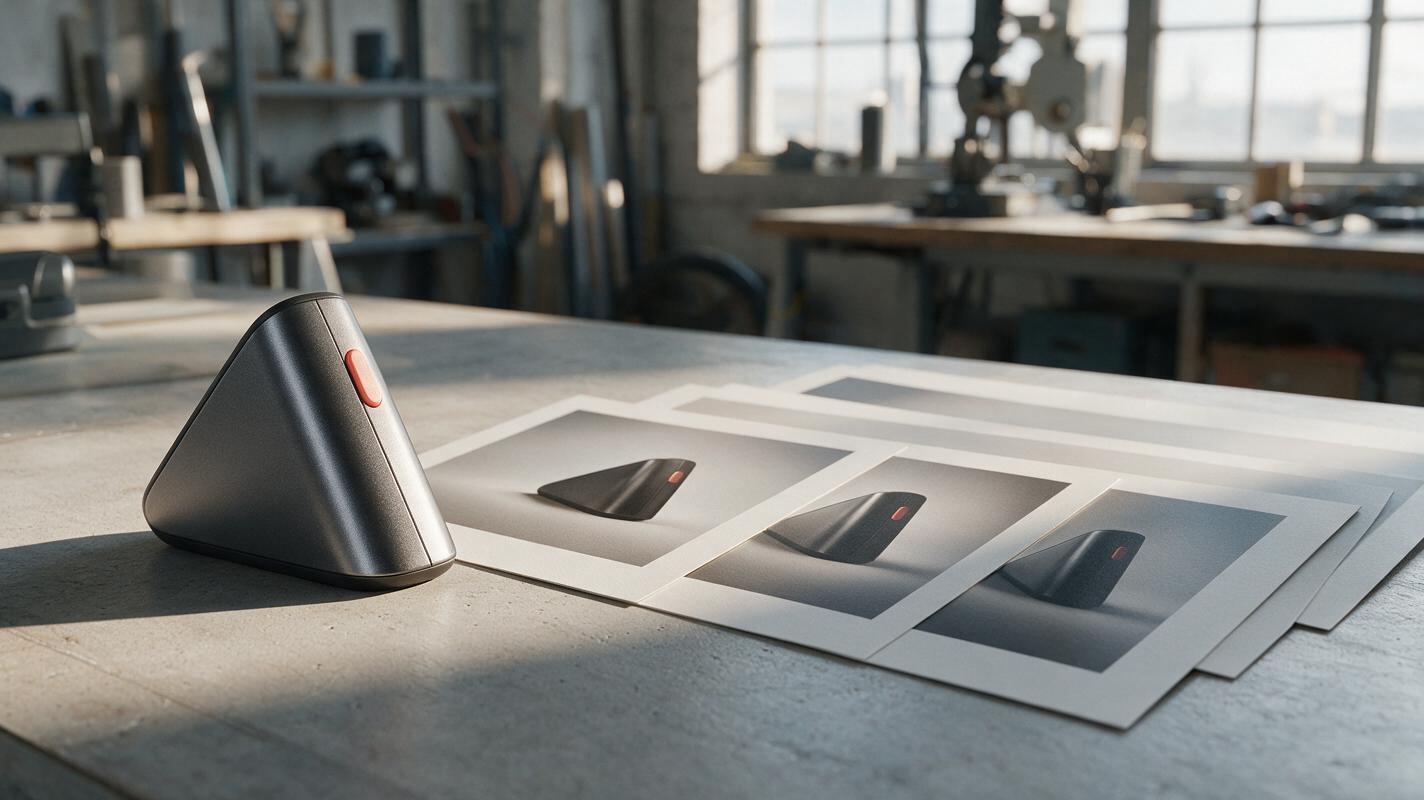
Table of contents
Animate the render, not the design
A product concept can look approved in one still and become a different object three seconds into an AI-generated video. A camera orbit exposes a rear surface that was never designed; moving reflections turn a seam into a button; a dramatic reveal changes the silhouette. If you have only one approved render, the safest useful result is usually a short, restrained presentation clip—not a simulated 360-degree product turntable.
This article uses a compact presentation-clicker concept as an example: a satin-graphite wedge-shaped body, one coral side button, and a narrow seam along its upper edge. The method applies to other hardware concepts when the goal is to present an established form without pretending that unseen geometry or product behavior has been resolved.
Choose a motion the reference can support
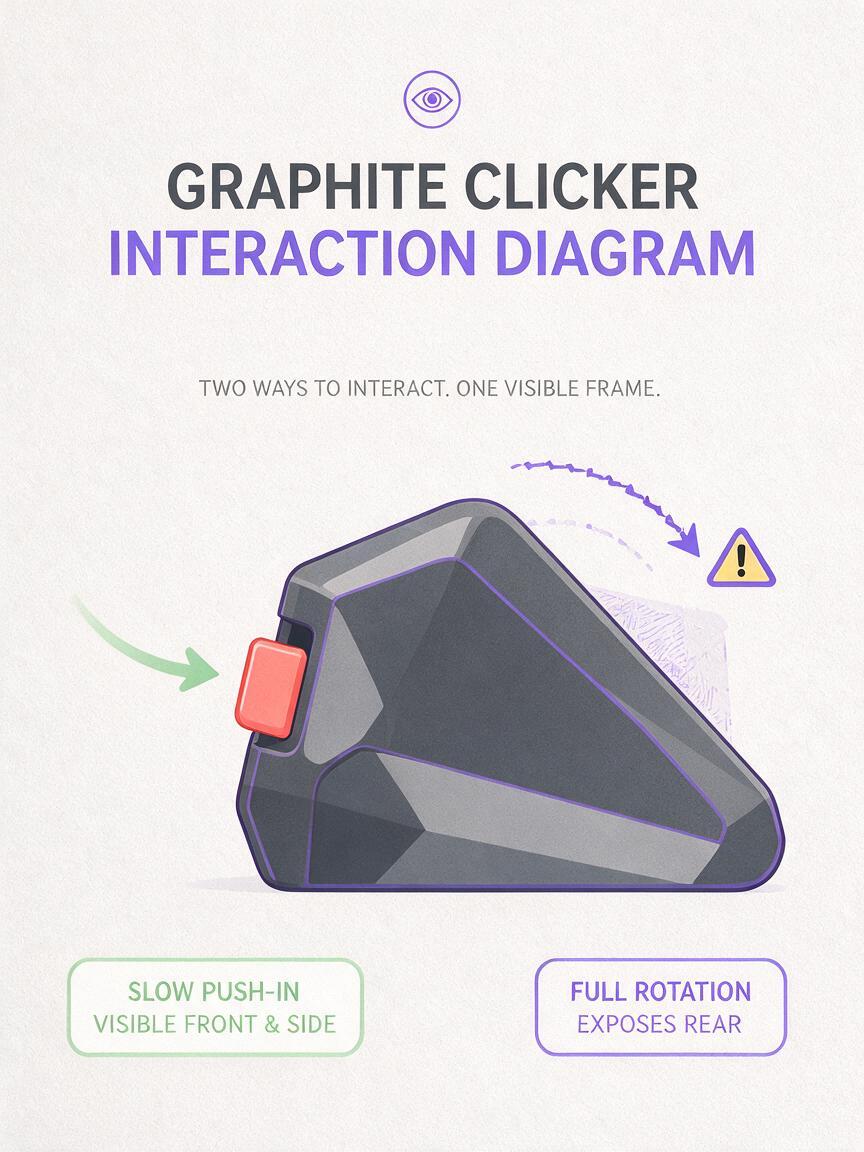
Before writing a video prompt, separate visible evidence from surfaces the still image cannot establish. A front three-quarter render tells the model what the front, one side, and part of the top look like. It does not reliably specify the opposite side, rear controls, charging port, or underside.
| Motion | What the reference must support | Design risk |
|---|---|---|
| Slow push-in with a fixed product pose | One clean, approved render | Low; inspect edges and small details |
| Subtle light or background movement | One render with readable material boundaries | Moderate; reflections may alter perceived shape |
| Small camera move around the visible side | Preferably additional views of the surfaces revealed | Higher; the model may invent geometry |
| Full turntable rotation | Defined geometry for every side, ideally from CAD | High from a single image |
For a one-render brief, favor a fixed pose and a gentle camera push. If the review requires a real turntable, make the rotation from CAD or a validated multi-view asset. Generative video can add atmosphere around that asset, but it should not be treated as proof of a product's unseen construction.
Prepare an approved starting frame
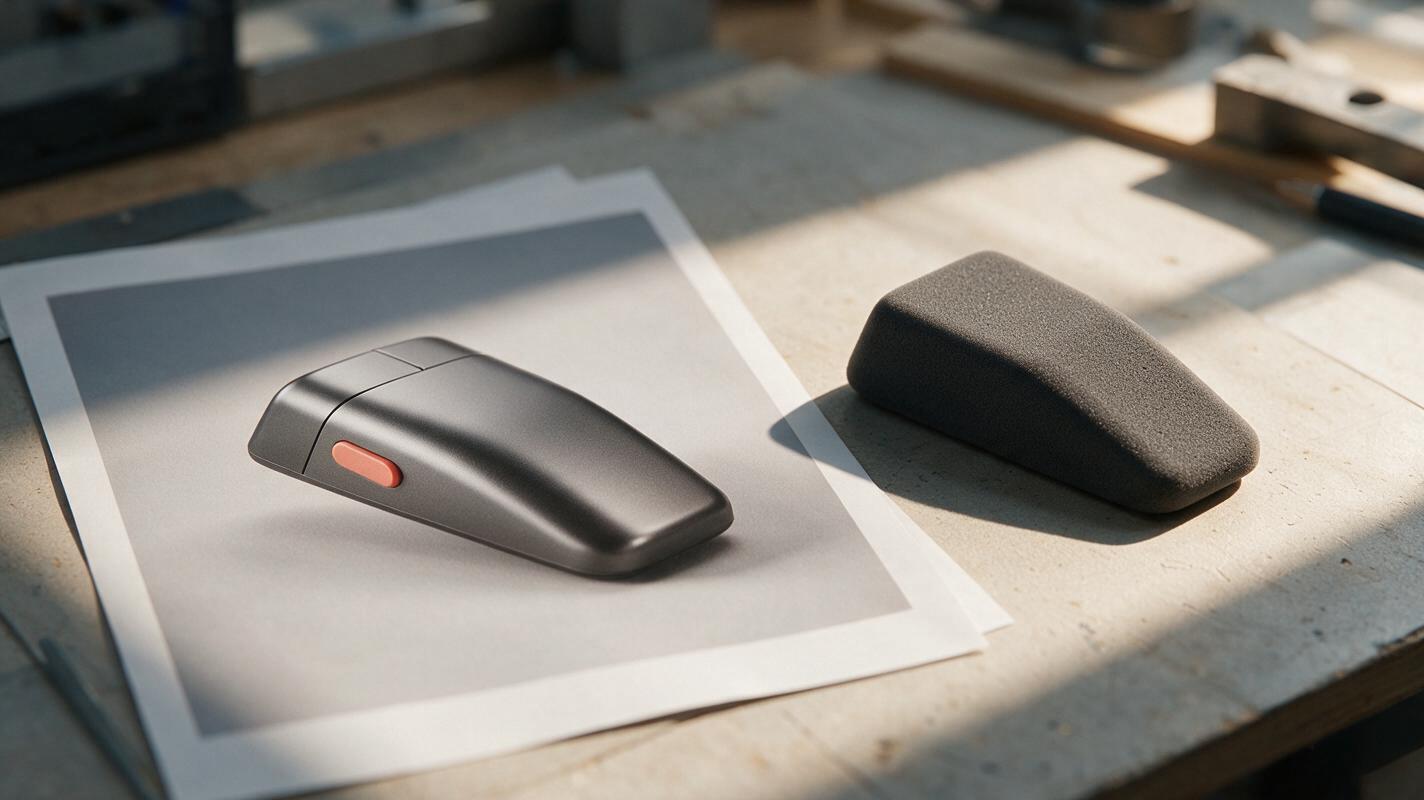
Use the render that already represents the design decision, not a rough option you hope the video model will improve. Crop with enough room for the intended push-in, keep the silhouette fully visible, and remove temporary annotations that might be interpreted as product markings. If a logo or interface must be exact, plan to composite approved artwork afterward rather than asking the animation model to recreate it.
For the clicker example, the source frame should clearly show the wedge profile, the coral button's position, and where the upper seam begins and ends. A neutral tabletop or studio background makes frame-by-frame inspection easier than a busy scene. Keep a copy of the untouched source next to the result: it is the comparison standard, not merely inspiration.
With image to video, the approved render supplies the appearance while the prompt defines permissible motion. That distinction matters: the prompt should constrain the camera and scene, not describe a newly imagined version of the product.
Write a restrained animation prompt
Seedance is a suitable model to test for this short image-led presentation. Start with one motion idea and a brief clip. Avoid combining an orbit, a hand interaction, moving controls, dramatic lighting, and a changing background in the same request; each adds another opportunity for the product to drift.
Use the supplied approved product render as the visual reference. Create a short studio presentation clip of the same compact clicker concept. Keep the product fixed in its original orientation while the camera makes a slow, gentle push-in. Preserve the exact wedge silhouette, satin-graphite finish, single coral side button, and narrow upper seam. Keep the button, seam, and all visible edges in their original positions. Use soft, steady studio light and a quiet neutral background. No rotation revealing unseen sides, no new controls or ports, no opening parts, no labels, no hands, and no implied product operation.The instruction “no rotation revealing unseen sides” is as important as the visual styling. A prompt such as “cinematic 360-degree reveal of every feature” asks the model to show information the reference cannot provide. If a controlled push-in feels too static, try a slight background light change as a separate test—but reject it if the highlights make the clicker's edges or seam appear to move.
Concept-review boundary: A convincing animation communicates presentation intent. It does not verify mechanisms, dimensions, materials, or performance.
Review frames for design drift
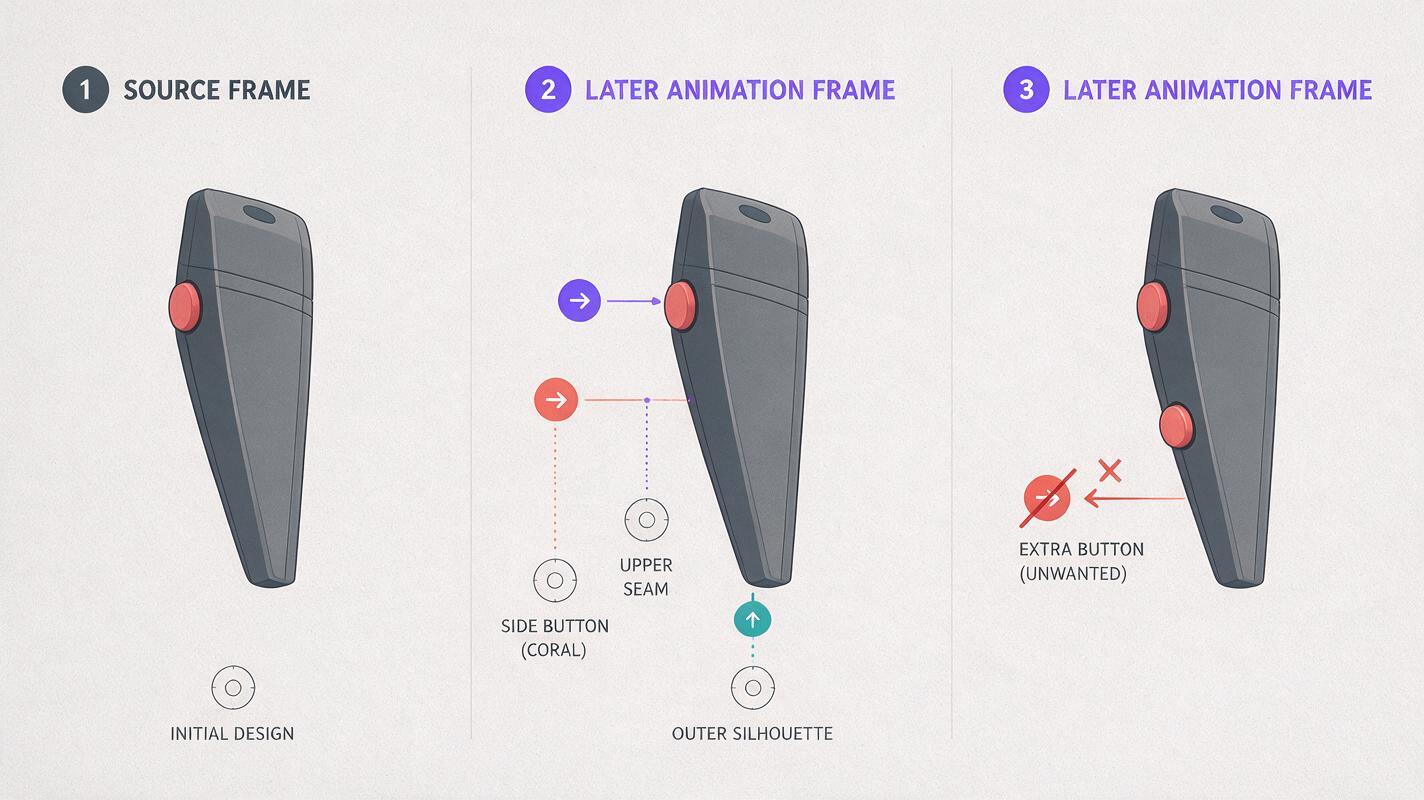
Do not judge the clip only by its opening frame. Pause near the beginning, middle, and end, then compare each frame with the source render at a similar apparent scale. Look at persistent landmarks rather than overall polish.
- Silhouette: Does the wedge keep the same taper and corner radii?
- Feature count: Is there still exactly one visible coral button, with no invented port or secondary control?
- Feature location: Does the button stay on the same side and the seam follow the same path?
- Material reading: Does a moving highlight make a matte surface look glossy or introduce a false edge?
- Background contact: Does the product remain visually grounded rather than sliding or hovering?
If one landmark changes, simplify the motion before rewriting the product description. A smaller push-in, steadier light, or shorter clip may address the cause more directly than adding a long list of negative instructions. If drift remains, use the original render as a locked product layer and animate only the background, crop, or lighting in an editor. That produces less generative movement, but it preserves the approved design.
Match the clip to the review decision
A concept animation is most useful when its motion serves a specific presentation need. A slow push-in can draw attention to the clicker's overall proportions. A held close-up can give reviewers time to inspect the button placement. Neither should imply that an unseen side has been designed or that the device's interaction has been tested.
Export a clean clip for presentation, and keep the approved still and your frame comparisons with it. Label the result as a concept visualization when sharing it outside the design team. If the next review asks for a rotating view or working interaction, gather the required geometry and behavior references first rather than stretching this one-render method beyond what it can support.
Have an approved still and a motion brief? test this prompt yourself, then check the generated frames against the source before putting the clip in a deck.
Final checklist
- Use an approved render with enough space for the camera move.
- Choose motion that does not expose unspecified surfaces.
- Name the visible features that must remain unchanged.
- Inspect the opening, middle, and final frames for drift.
- Use CAD or validated multi-view assets when a true turntable is required.
Keywords
AI product animation, product concept animation, image to video, Seedance, product visualization, design drift, industrial design AI