AI Product Colorways That Actually Look Like the Same Design
AI-generated colorway boards often change more than color: seams move, controls shift, and lighting makes finishes impossible to compare. This guide uses a locked product image, a defined housing mask, and reference-guided edits to create more useful CMF concept comparisons.
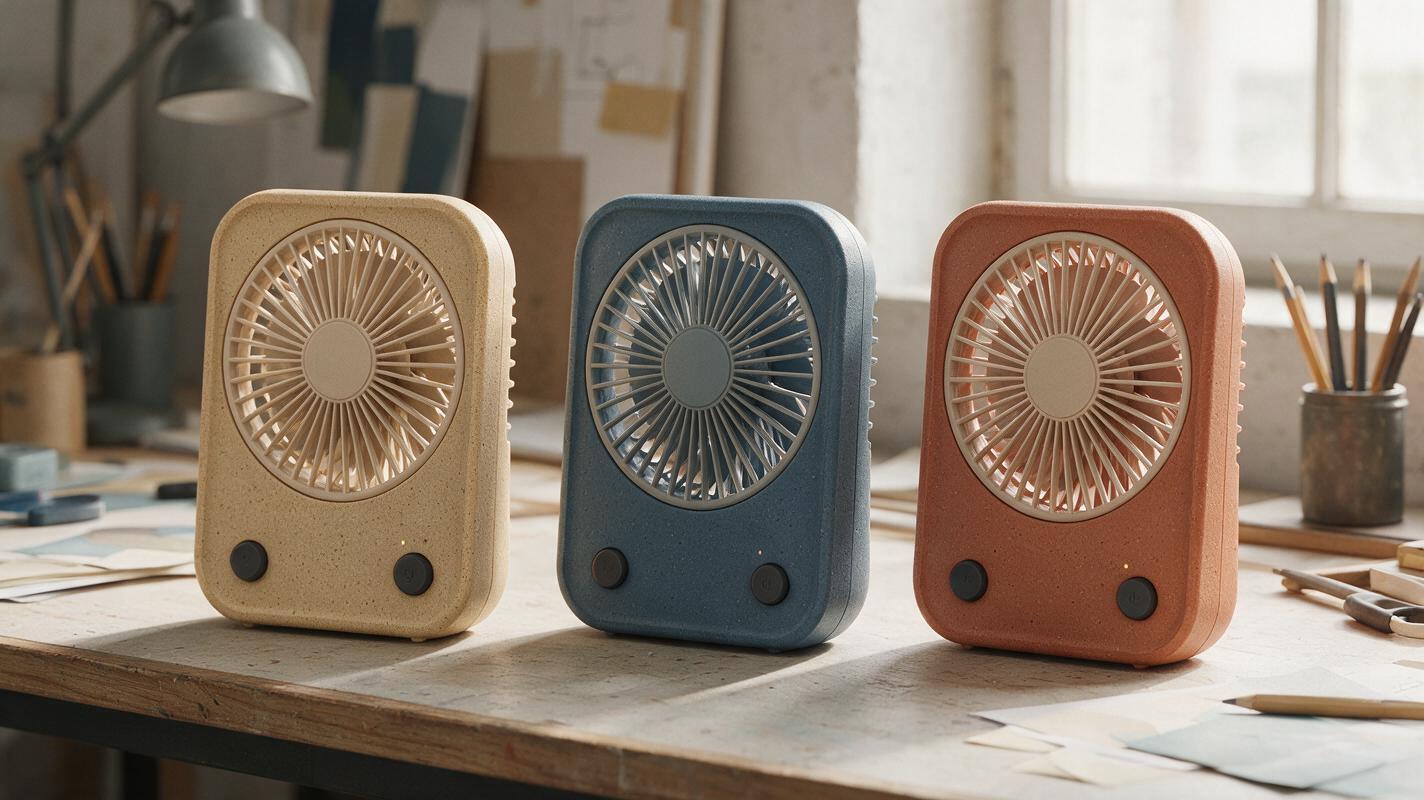
Table of contents
Compare finishes, not different products
A colorway board is useful only if every option shows the same product. If an AI edit moves a seam, changes a button, or reshapes the housing, reviewers may respond to an unintended redesign rather than the proposed color and finish. The safer approach is to lock one approved product view, specify exactly which surface may change, and place the resulting options under identical presentation conditions.
Consider a portable desk fan with a painted outer housing, a neutral grille, a dark control button, and a visible charging port. The brief is to compare three housing finishes—not to generate three new fans. Nano Banana Pro can be used for reference-guided image exploration, but the source image, edit boundary, and final review do most of the work.
Define the CMF decision before making images
Write down the decision the board needs to support. “Explore premium finishes” is too broad; “compare a warm neutral, a cool neutral, and a saturated accent on the outer housing” gives reviewers a common question to answer. Keep materials that are not under review fixed.
| Element | Fixed across the board | Allowed to vary |
|---|---|---|
| Product geometry | Silhouette, grille, seams, port, button, camera view | Nothing |
| Outer housing | Surface boundaries and apparent texture scale | Specified color and finish character |
| Other components | Grille and control colors, labels, display content | Nothing unless the brief explicitly includes them |
| Presentation | Crop, background, light direction, image size | Nothing |
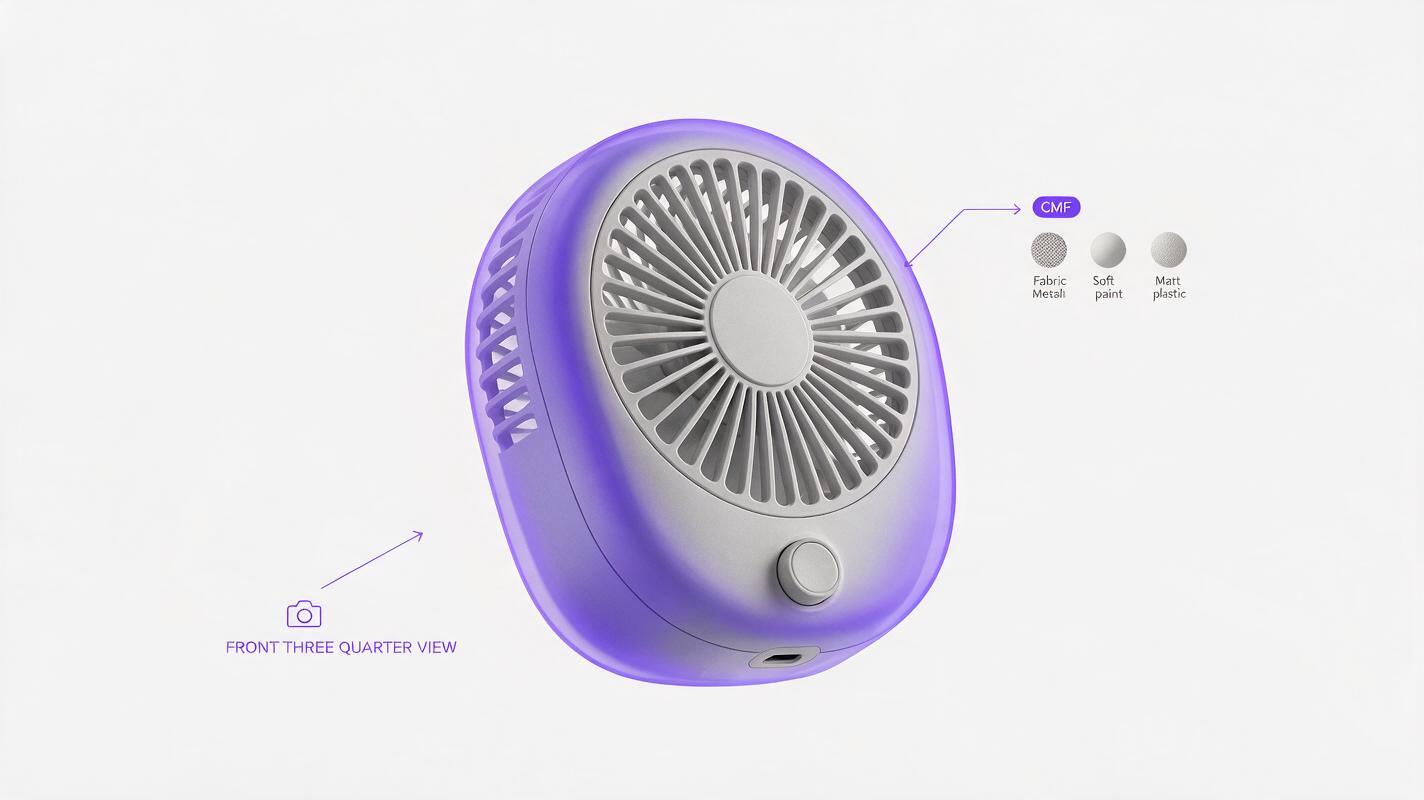
Start from the clearest approved front-three-quarter render or prototype photograph you have. A consistent source view makes it easier to detect unwanted design changes. If accurate geometry matters, a CAD-derived render is a stronger source than an exploratory image whose details have not yet been approved.
Mark the surface that is allowed to change
Create a selection or mask for the outer housing. Exclude the grille openings, button, charging port, labels, shadows, and background. Inspect the mask at high zoom around seams and narrow edges: a loose boundary can recolor a recess or leave a bright halo around the product.
Save an untouched copy of the source. If your editing tool accepts a reference image and a mask, provide both. If it does not, use the reference image for generation, then composite only the acceptable housing area back onto the original. That last approach is especially valuable when a plausible-looking edit has quietly changed a control or vent.
Useful constraint: Describe the edit as a change to one named surface, not a request to “make the product more premium.” The latter invites changes to lighting, shape, and materials that obscure the comparison.
Prompt one finish at a time
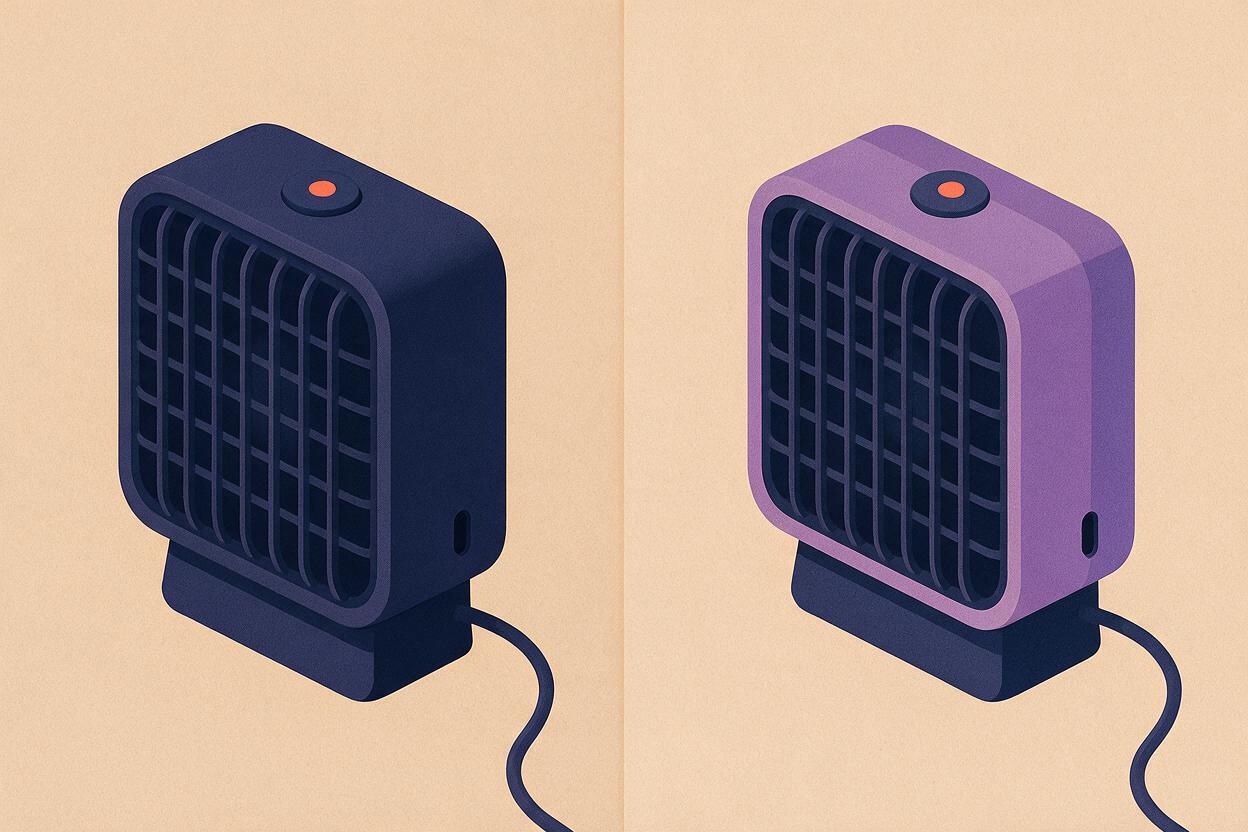
Use the same base image and framing for every option. Change only the finish description between runs. In an ai image generator that supports image-guided editing, the following prompt gives Nano Banana Pro a narrow task rather than an open-ended product-design brief:
Use the supplied portable desk fan image as the fixed product reference. Edit only the painted outer housing inside the provided mask. Create a muted warm-sand housing with a fine matte texture. Preserve the exact silhouette, grille pattern, control button, charging port, seams, proportions, camera angle, background, and light direction. Keep all unmasked parts visually unchanged. This is a CMF concept image, not a new product design. Do not add text, accessories, or new features.For the second and third options, replace only “muted warm-sand housing with a fine matte texture” with another defined finish, such as “cool slate-blue housing with a fine matte texture” or “deep terracotta housing with a fine matte texture.” Keeping texture intent consistent helps isolate the color decision. If the team wants to compare both color and surface treatment, label those as separate variables rather than pretending the images differ only in hue.
Generate several candidates per finish and reject any that alter the product. More iterations are not automatically better: a candidate with an attractive color but a changed grille is not a valid member of this comparison.
Keep lighting from deciding the winner
A dark finish may look more dramatic simply because the model added a bright rim light. A pale finish may appear cheaper because it was rendered flat. Before arranging the board, compare highlights, shadow density, exposure, and apparent gloss—not just the housing colors.
- Match the view: Use the same camera angle and product size in every panel.
- Match the scene: Keep background, cast shadow, and light direction consistent.
- Match the finish brief: Do not compare matte sand against glossy blue if the question is only which color to choose.
- Protect component contrast: Check whether the unchanged button and grille remain legible against each housing option.
If an otherwise good result changes the light or surrounding scene, isolate the edited housing and place it over the original image. Review the composite for unnatural edge transitions and reflections. Do not claim that a generated image represents a measured paint color or a validated production finish; screen settings, illumination, and fabrication all affect the real result.
Build a board reviewers can judge fairly
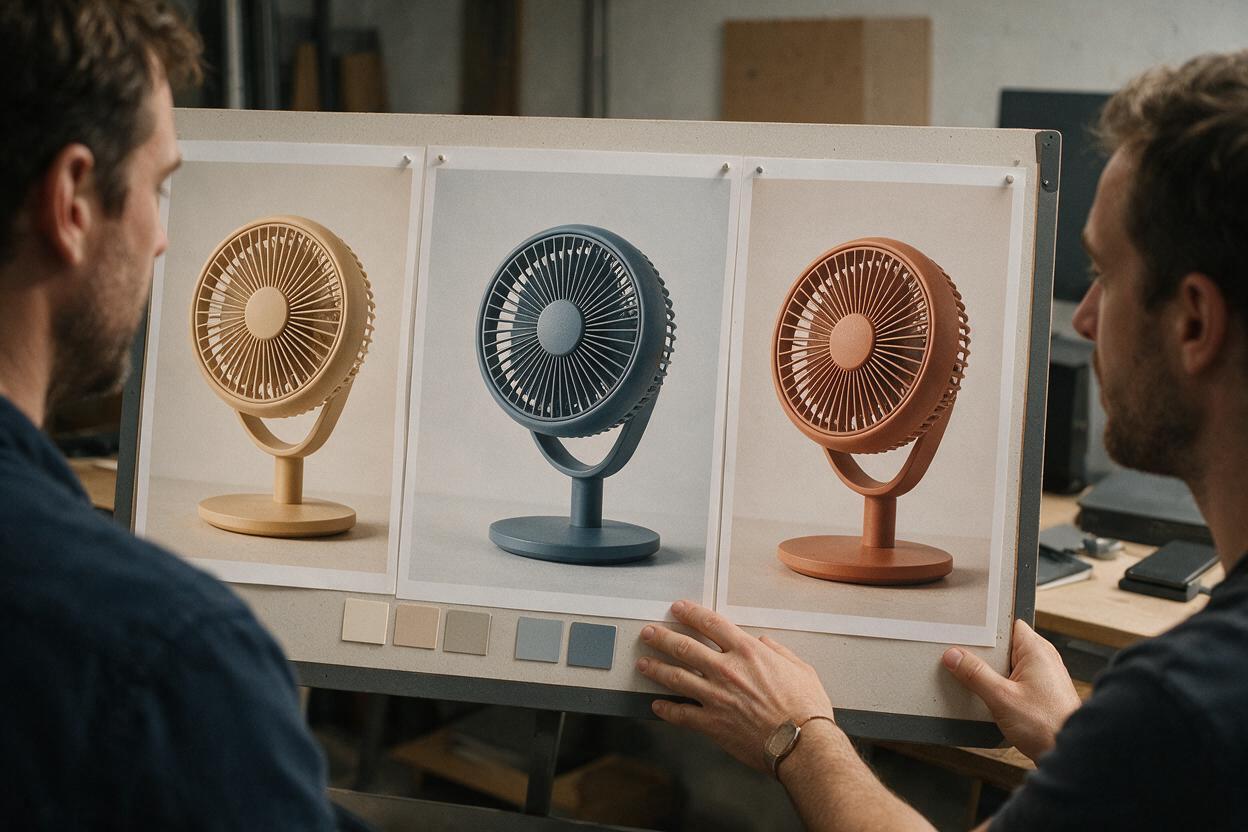
Place the three accepted options in equal-size panels with identical crops. Use short, neutral labels such as “Warm sand,” “Slate blue,” and “Terracotta.” Add the intended substrate and finish description beneath the board if known—for example, “painted polymer housing, fine matte target”—but keep unverified specifications out of the image.
A separate small swatch can communicate the intended color direction, while the product render shows how that direction might read on the form. Neither should replace a physical sample. If a team needs to decide a production color, use the AI board to shortlist directions, then assess approved color standards and material samples under relevant lighting.
At this point, test this prompt yourself with one approved product image and one carefully bounded surface. A three-option board with stable geometry will usually tell you more than a dozen unconstrained “premium colorway” generations.
Final checklist
- Every panel begins with the same approved product view.
- Only the named CMF surface changes; geometry and other components stay fixed.
- Camera, crop, background, exposure, and light direction are comparable.
- Labels distinguish visual concepts from verified production colors or materials.
- Any option with a shifted seam, altered control, or inconsistent finish is removed.
Keywords
AI product colorways, product CMF concepts, material variation AI, product visualization, reference-guided image editing, Nano Banana Pro, industrial design AI