Why AI-Generated Knurling Looks Wrong on Product Dials
AI product renders often turn a controlled dial texture into uneven teeth, a different dial diameter, or an implausible grip surface. This guide shows industrial designers how to use an approved reference, isolate the textured region, and judge the result without mistaking a concept render for a manufacturing specification.
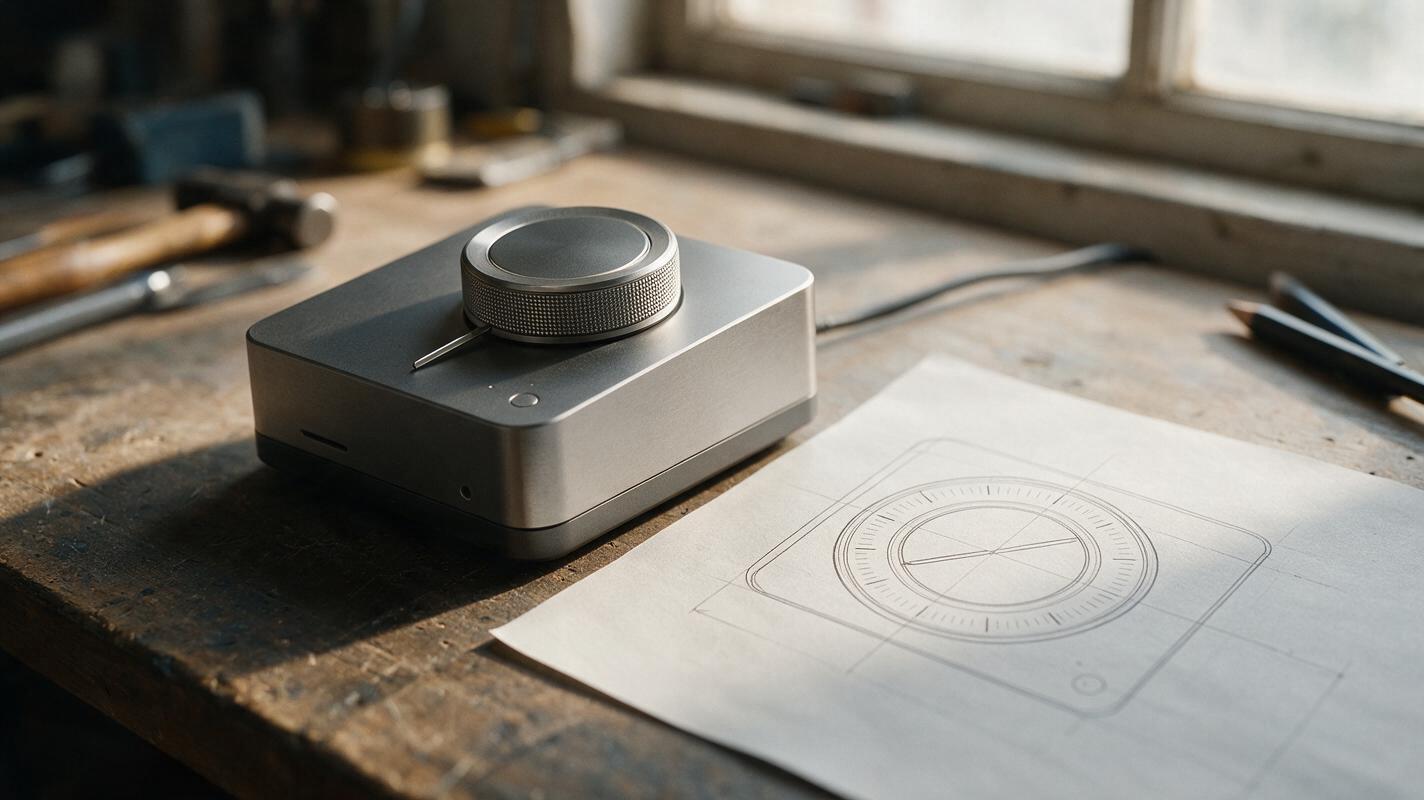
Table of contents
Make the texture readable without redesigning the dial
A product dial can look convincing at first glance while its knurling quietly changes pitch, fades around the rim, or turns into oversized gear teeth. If the dial’s diameter, edge profile, and grip band are already approved, the task is not to invent a more dramatic control. It is to make that specific control readable in a presentation render.
The safest approach is to treat knurling as a constrained surface detail. Start from a reliable product view, identify exactly where texture may appear, and inspect both the dial and the complete product after editing.
Why generated knurling breaks down
Repeated detail is difficult to judge from a single attractive image. A model may produce marks that look regular on the front-facing arc but widen, tilt, or disappear as they wrap toward the sides. It may also confuse a textured grip band with the dial’s silhouette, making the control look larger or sharper than the design specifies.
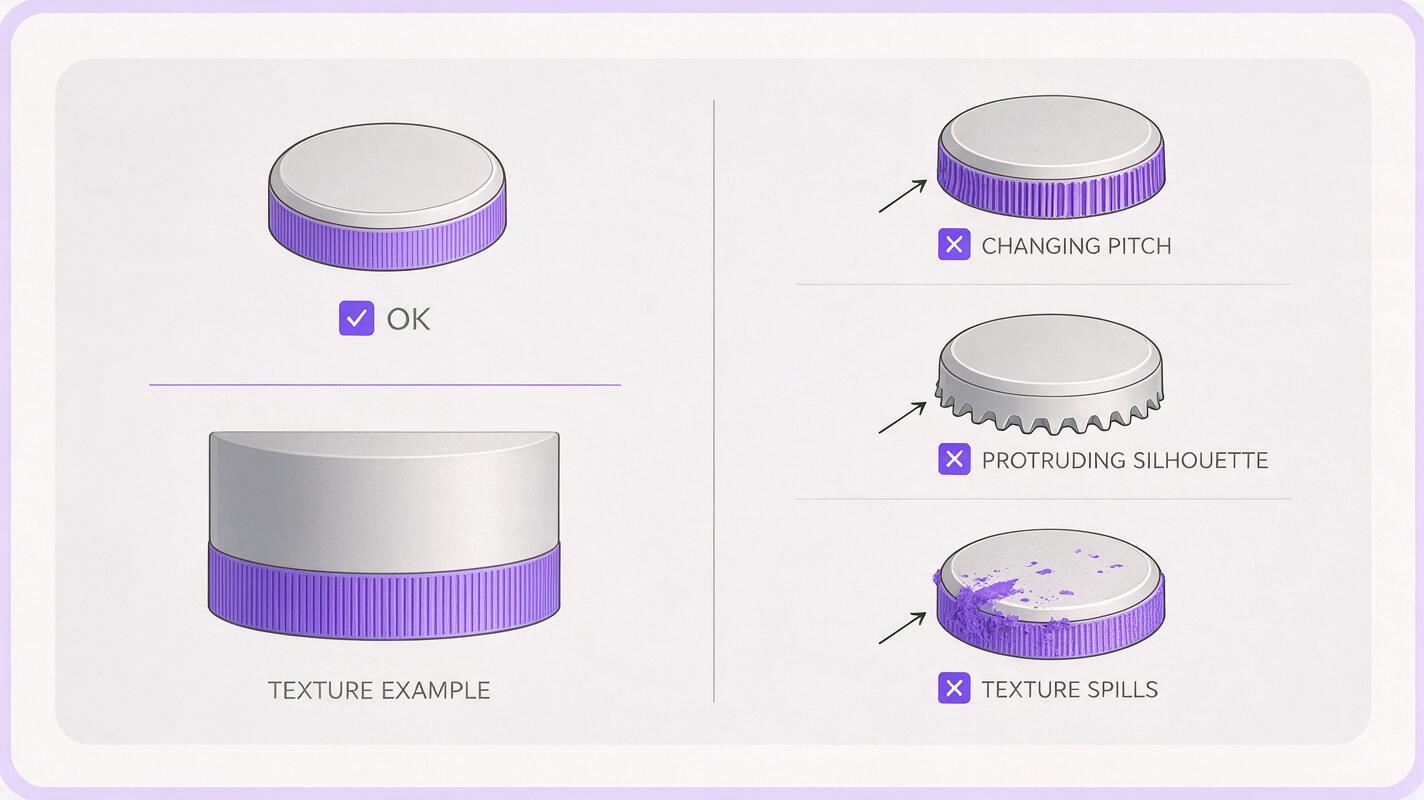
Watch for four distinct failures:
- Changing pitch: grooves become noticeably wider or narrower around one dial.
- False geometry: texture projects beyond the approved outer diameter like gear teeth.
- Boundary drift: knurling spreads onto a smooth face, neighboring bezel, or housing.
- Lighting masquerading as texture: bright stripes suggest grooves that are absent or inconsistent in the underlying form.
A plausible studio highlight does not correct any of these problems. Evaluate the texture with the lighting in mind, but compare its boundaries against the design reference.
Define the grip band in the reference
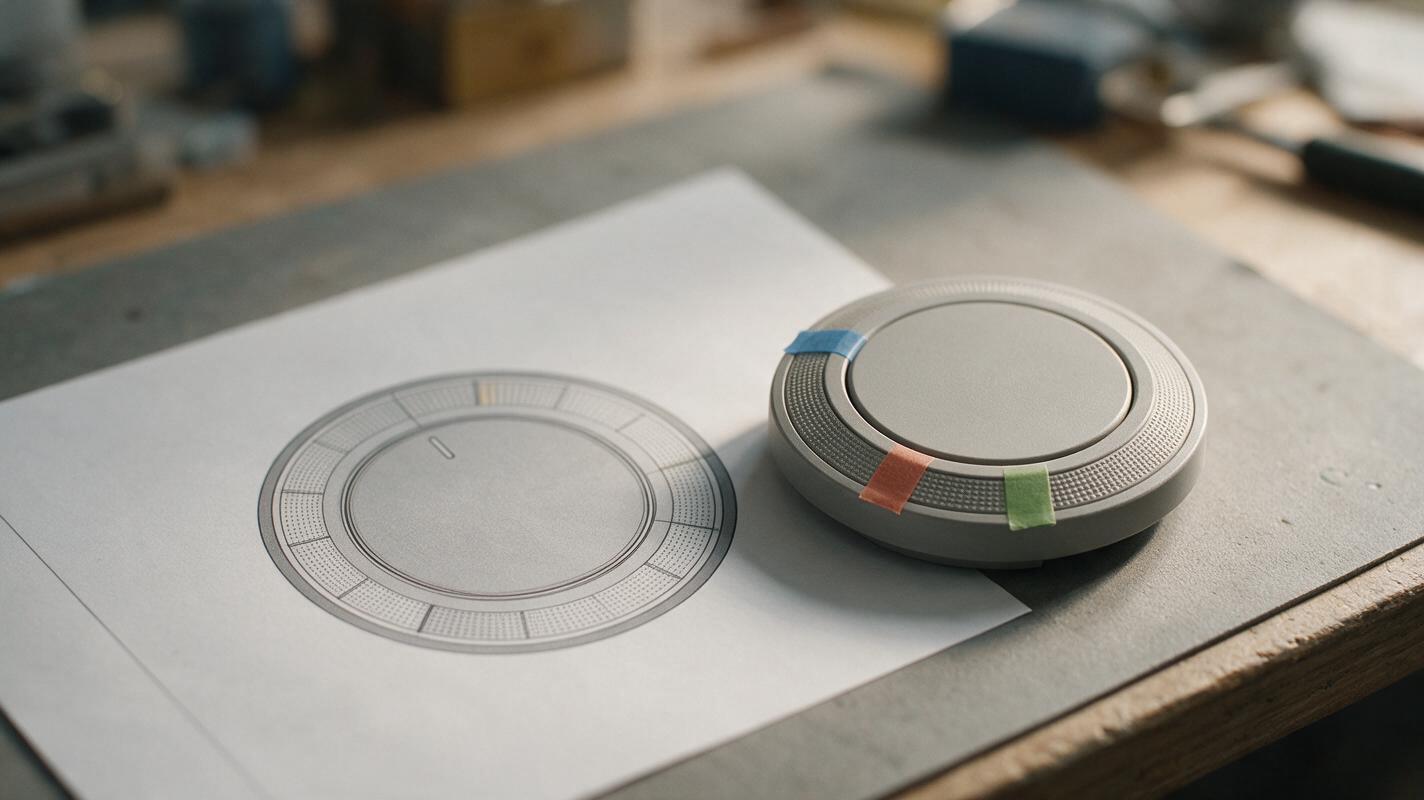
Use a CAD render, measured drawing, or approved concept image that shows the dial’s outer contour and the intended start and end of its textured band. A close crop helps reveal the detail; a full-product view protects the overall proportions. If the source does not establish a groove count or pattern, do not ask an image model to invent one and present it as final.
Mark three regions before generating: the editable grip surface, the protected dial face, and the protected surrounding housing. Record whether the intended finish is straight knurling, a crossed pattern, or merely a fine ribbed visual treatment. Those descriptions are not interchangeable.
For a concept review, a controlled representation of texture may be enough. For tooling, dimensions and surface specifications must come from the design and engineering record—not the rendered pixels.
Ask for a local edit, not a new product
Reference-guided editing is better suited to this task than generating an entire product from a text description. Use the approved view as the base and select only the dial’s grip band if your editor supports a local selection. Nano Banana Pro is one option to try for the visual edit; the important safeguard is the reference and the limited edit area, not a promise that any model will reproduce a precise machining pattern.
For broader concept exploration, ai image generation can help establish lighting and presentation style. Once the dial design is chosen, return to the approved base image rather than repeatedly regenerating its geometry.
Edit the supplied product render only within the selected grip band of the rotary dial. Depict a fine, visually consistent straight knurl texture following the existing cylindrical surface and perspective. Keep the dial diameter, outer contour, face, center position, bezel, housing seams, camera angle, and lighting direction unchanged. The texture ends cleanly at the two approved band boundaries. Do not add gear teeth, extra rings, markings, new controls, or text. Preserve all unselected pixels as closely as possible.If the concept calls for a crossed pattern, replace “straight knurl texture” with “fine crossed knurl texture” and provide a pattern reference. Avoid requesting an exact groove count unless you have a drawing or texture asset that defines it; verify the result visually even then.
Inspect the crop and the full product
At close range, compare several points around the visible circumference. The marks should follow the same surface, taper naturally with perspective, and stop at the intended edges. At presentation size, check that the texture reads as a grip finish rather than a row of protruding teeth.
| Check | Acceptable concept render | Reject or revise |
|---|---|---|
| Outer contour | Matches the approved dial outline | Texture enlarges or scallops the silhouette |
| Band boundaries | Start and end remain in their specified positions | Pattern creeps onto the face or housing |
| Visible repetition | Rhythm remains plausible around the visible arc | Grooves merge, jump in scale, or change direction |
| Whole-product view | Dial remains proportionate to adjacent features | Close-up looks good but the control appears redesigned |
Keep the base and edited images side by side at the same crop and scale. A simple difference overlay can expose movement outside the grip band. If the housing, dial face, or outer contour shifts, revert to the base and narrow the edit rather than trying to explain the change away with lighting.
Use a controlled texture asset when precision matters
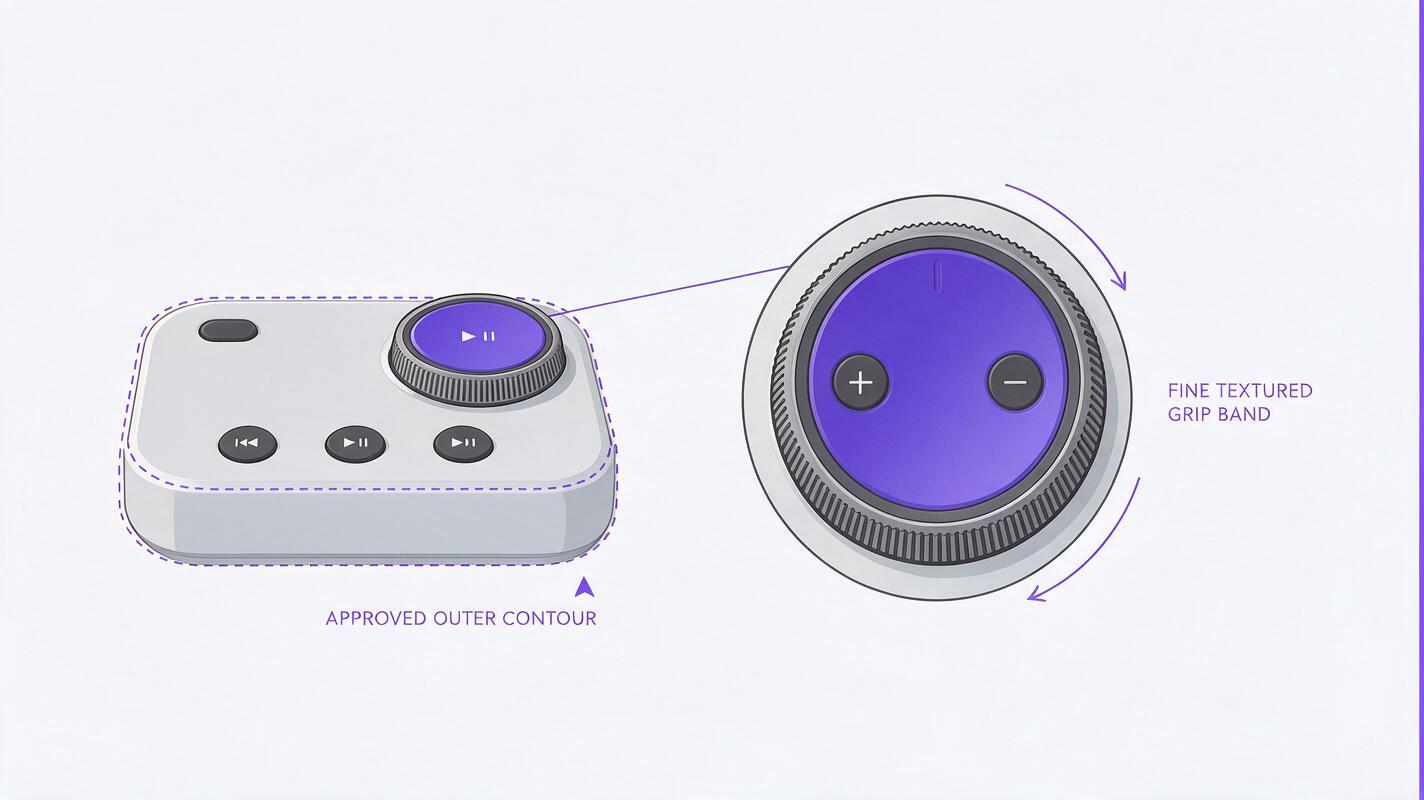
Generation is useful for exploring how a texture might photograph. It is less appropriate when reviewers need to approve a specific pitch, groove direction, or boundary. In that case, render the dial from CAD with the defined texture, or composite a perspective-correct texture asset onto the approved surface. Match the original light and shadow afterward, without painting over the dial’s silhouette.
Label a generated treatment as a visualization of the proposed finish if its pattern has not been specified or checked. That distinction lets a team discuss grip appearance without accidentally treating a persuasive image as evidence of manufacturability or tactile performance.
Final checklist
- Use an approved full-product view and a close dial reference.
- Confine edits to the intended grip band.
- Check repetition, band edges, and silhouette at close and presentation scale.
- Use a specified CAD or texture asset when exact pattern control is required.
- Separate visual finish exploration from engineering approval.
Have a dial reference and a base render ready? test this prompt yourself with a tightly selected grip band, then compare the result against your original before sharing it for review.
Keywords
ai product design, product dial rendering, knurling texture, industrial design ai, product visualization, reference guided editing