Why AI Product-in-Hand Images Look Wrong—and How to Fix Scale and Grip
A product can look convincing on its own yet become implausibly large, small, or awkward when placed in a hand. This guide shows product designers how to use measured references and controlled image edits to create more credible in-hand concept images without treating them as ergonomic proof.
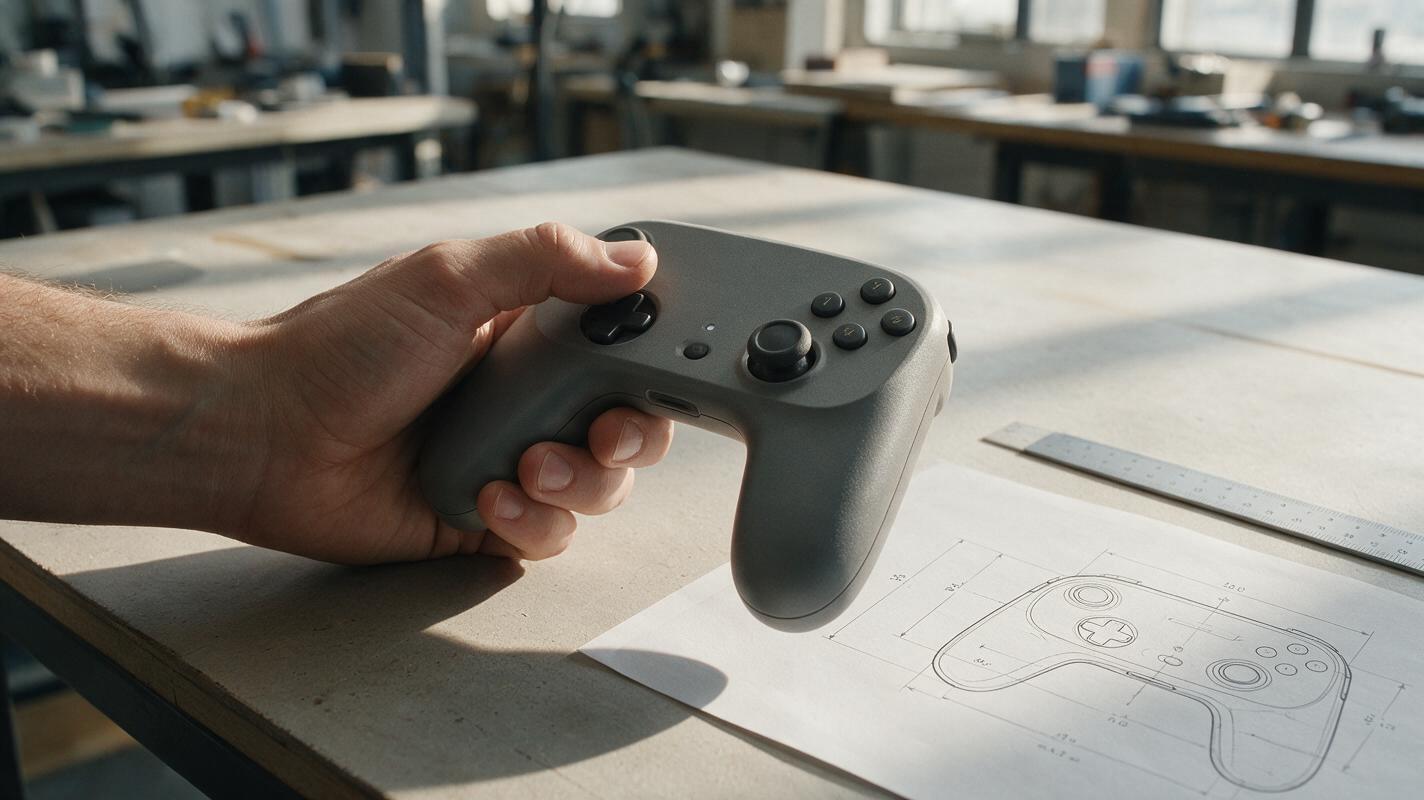
Table of contents
Make the hand a scale reference, not a guessing game
An in-hand image can make a product concept feel real—until the device doubles in size between shots or the user’s fingers appear to pass through its housing. The fix is not simply to request a “realistic hand.” Give the image model a defined product size, a believable grip, and a reference that shows where hand and object meet. Then inspect the contact points as carefully as the product itself.
This approach is useful for early presentation images of handheld tools, controllers, small appliances, and wearables. It can communicate intended use, but it cannot establish that a design fits a real hand or feels comfortable.
Why product-in-hand renders fail
When an ai image generator has only a clean product render and a request to “show it in use,” it must invent the missing relationship between the object and the person holding it. That relationship includes scale, finger placement, perspective, pressure, and occlusion. A polished surface can hide errors in any of them.
- Scale drift: The product looks compact in one image and oversized in the next because no physical measurement anchors the scene.
- Impossible grip: Fingers wrap around a solid housing, cover a control the user should operate, or fail to contact the surface they appear to hold.
- Incorrect overlap: A strap, trigger, or handle appears in front of a finger when it should be behind it.
- Design changes: The model reshapes the product to make the pose easier instead of adapting the pose to the approved design.
A useful review question is: Could someone place their hand and the physical product in this position for a photograph? If not, a more detailed prompt alone may not solve the problem; the pose or reference setup needs to change.
Build a reference that establishes size and contact
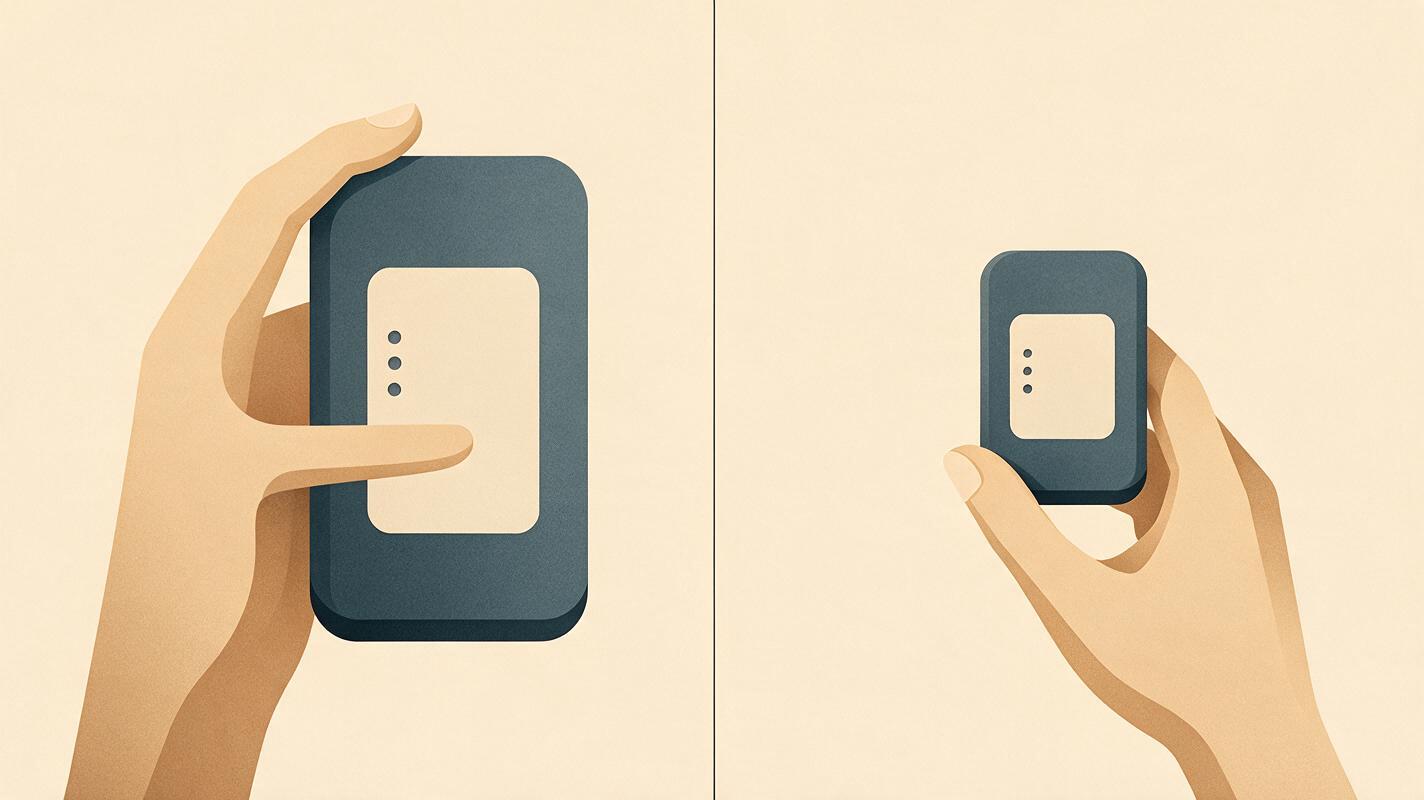
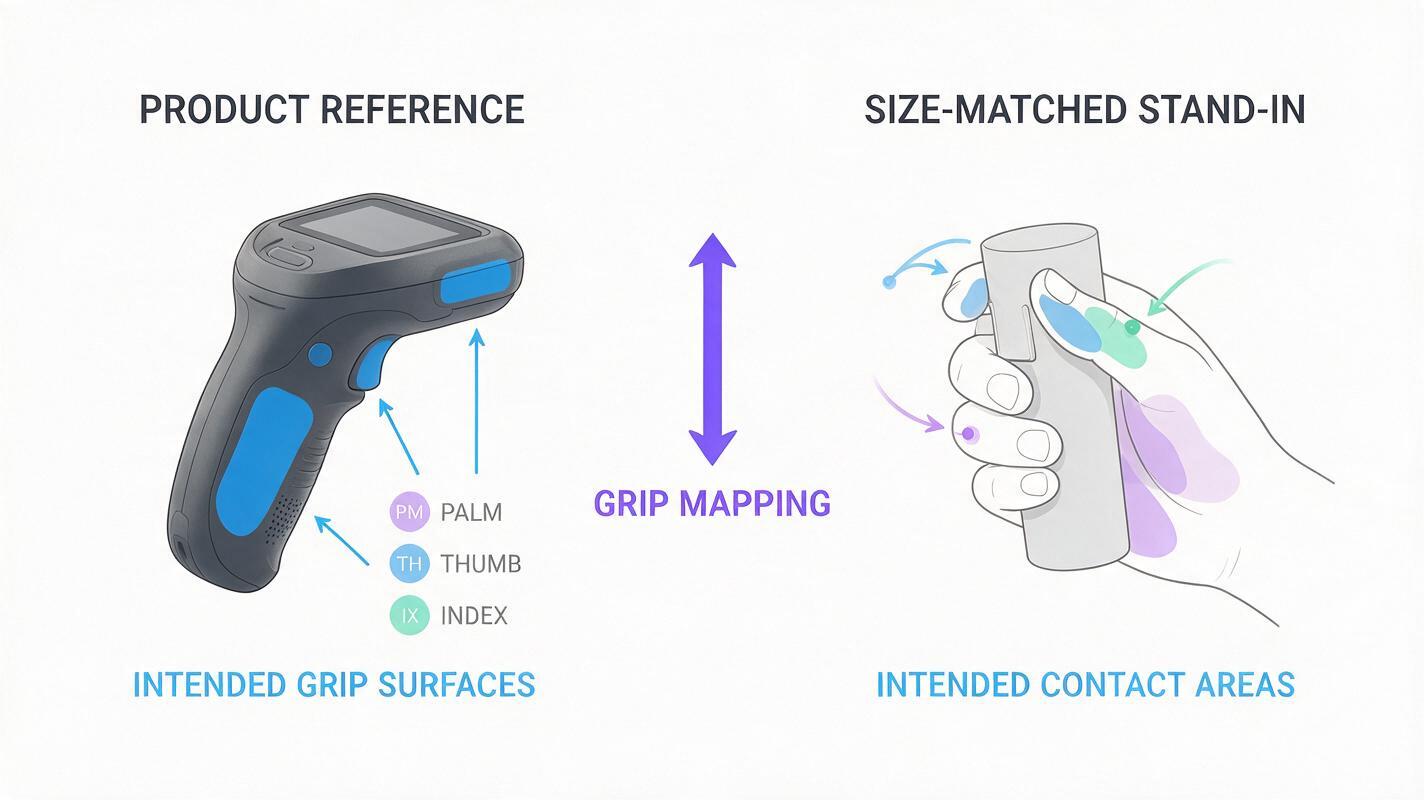
Start with one approved product view, preferably at an angle that exposes the intended grip surfaces. Record the dimensions relevant to that pose—for example, overall length, handle width, and the distance from the grip to a button. Use the actual design measurements rather than asking the model to infer them from a render.
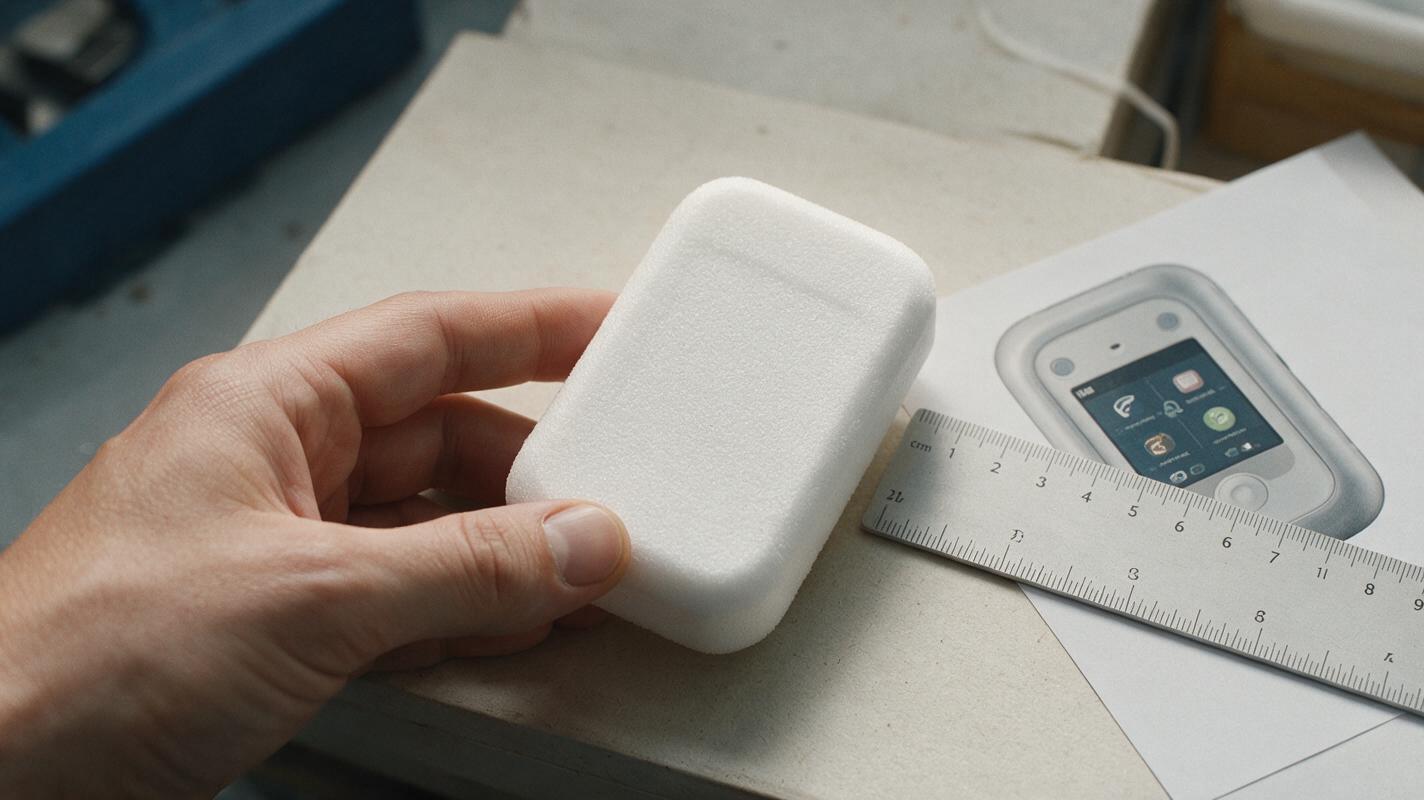
Next, photograph a hand holding a simple stand-in such as a foam block or a nonfunctional prototype with approximately the same grip dimensions. Match the intended camera angle. This does not need to be a beautiful photograph: its job is to show where the palm, fingertips, and thumb contact the object. Keep the hand unobstructed and avoid dramatic perspective that makes the nearest fingers look unusually large.
Reference priority: The approved render defines the product’s visible design. The hand photograph defines the pose and approximate scale. Neither reference should silently redesign the other.
If a stand-in is unavailable, photograph a hand beside a ruler and sketch the intended contact points over a copy of the product image. That gives you a useful planning reference, though it is weaker evidence for a believable grip than a physical stand-in.
Prompt for a specific grip, not a generic lifestyle shot
In Seedream 4.5, use reference-guided image creation or editing if that option is available in your interface. Supply the approved product image and the hand-pose reference. Describe the intended output as an illustrative concept image, with clear instructions about what must remain unchanged. If your interface does not support multiple references, combine the references into a clearly separated sheet before uploading; do not imply that the sheet is one finished photograph.
Create a photorealistic concept presentation image of the product in the approved reference, held in one adult hand. Use the hand reference for grip pose and apparent scale. The product is [actual length] mm long and [grip width] mm wide. Preserve the approved product silhouette, button locations, seams, materials, and visible proportions. The palm supports [specific surface]; the thumb rests [specific location]; the index finger contacts [specific location]. Show believable finger-to-surface contact and natural occlusion. Use a neutral background and soft side lighting. Do not add controls, alter the housing, merge fingers with the product, or cover [feature that must remain visible].Replace every bracketed instruction before generating. “Adult hand” is not a substitute for measurements; it merely describes the scene. If the product must work for a particular hand-size range, create separate reference photographs and evaluate those presentations independently.
Keep the first composition simple. A single hand against a quiet background makes errors easier to spot than a busy kitchen, workshop, or outdoor scene. Once the pose is credible, you can explore a more expressive setting without changing the product-hand relationship.
Check the image where the hand meets the product
Judge the result at full size, not just as a small presentation thumbnail. Trace the product’s outer edge and compare it with the approved view. Then inspect every point of contact: fingertips, thumb pad, palm, and any strap or handle opening. A finger should neither disappear into a solid surface nor float above one it is meant to grip.
| What looks wrong | Likely cause | Better correction |
|---|---|---|
| The product looks too large | Scale was inferred from the scene | Use a measured stand-in reference and restate product dimensions |
| The thumb covers the main control | The grip was left unspecified | Define the thumb’s resting point and the control that must stay visible |
| Fingers pass through the housing | Contact and occlusion were invented | Provide a closer hand-pose reference or choose a less ambiguous angle |
| The handle changes shape | The model adjusted the design to fit the hand | Reassert the approved geometry and simplify the pose |
For a localized error, edit the affected region if your chosen interface supports it rather than regenerating the whole image. Preserve a copy of the approved render and compare each revision against it. If repeated generations keep changing the grip geometry, use a composite made from a real hand photograph and the approved product render as the presentation base; generative editing can then be limited to lighting and edge integration.
Use the result as a presentation, not a fit test
An image can help a team discuss a concept: whether a control appears reachable, whether the intended interaction reads clearly, or whether a compact product communicates its scale. It cannot tell you grip force, comfort over time, clearance for different hands, or whether a thumb can actually reach a button. Those questions require physical mockups, dimensioned CAD, or user testing.
Label AI-assisted in-hand images as concept visuals when sharing them outside the design team, particularly if the depicted grip has not been tested. Keep the dimensions and source references alongside the image so reviewers can distinguish a design decision from a visual approximation.
When you have an approved render, measured grip dimensions, and a clear pose reference, test this prompt yourself with one neutral in-hand composition before producing a full set of presentation scenes.
Final checklist
- Use an approved product view and record the dimensions that matter to the grip.
- Provide a hand-pose reference, ideally holding a similarly sized stand-in.
- Specify palm, thumb, and finger contact points in the prompt.
- Inspect product geometry, finger overlap, and apparent scale at full size.
- Treat the result as a concept presentation—not evidence of ergonomic fit.
Keywords
ai product design, product-in-hand images, product scale, industrial design ai, product visualization, Seedream 4.5, product design prompts