AI Product Hero Images: Blur the Background, Not the Product
A shallow-depth-of-field product image can look polished until the model softens the controls and edges that explain the design. This guide shows product designers how to keep an approved concept crisp while giving its background a believable photographic blur.
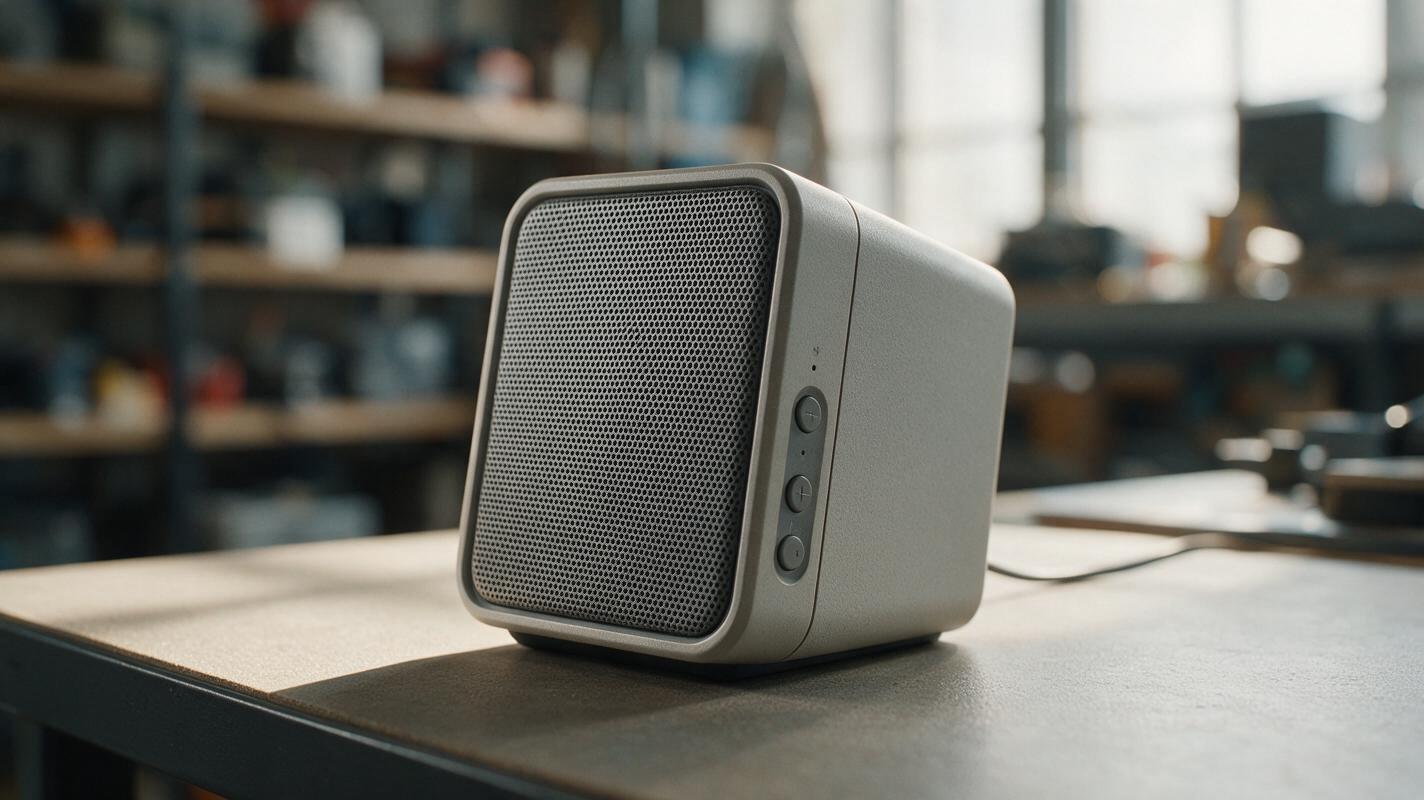
Table of contents
Keep the product sharp when the background goes soft
A blurred studio background should direct attention to your product—not erase its button edges, seams, display bezel, or material transitions. Yet a prompt such as “make this look like a professional product photo with shallow depth of field” can soften the entire image or redraw the object while changing the scene. For a design review, that tradeoff is costly: the image looks more photographic but communicates less about the actual concept.
The safer approach is to treat the approved product view as fixed artwork and change the space around it. Seedream 4.5 can help develop a photographic setting, but the final presentation image should be checked against the approved view, not judged by atmosphere alone.
Decide what the viewer must still be able to inspect
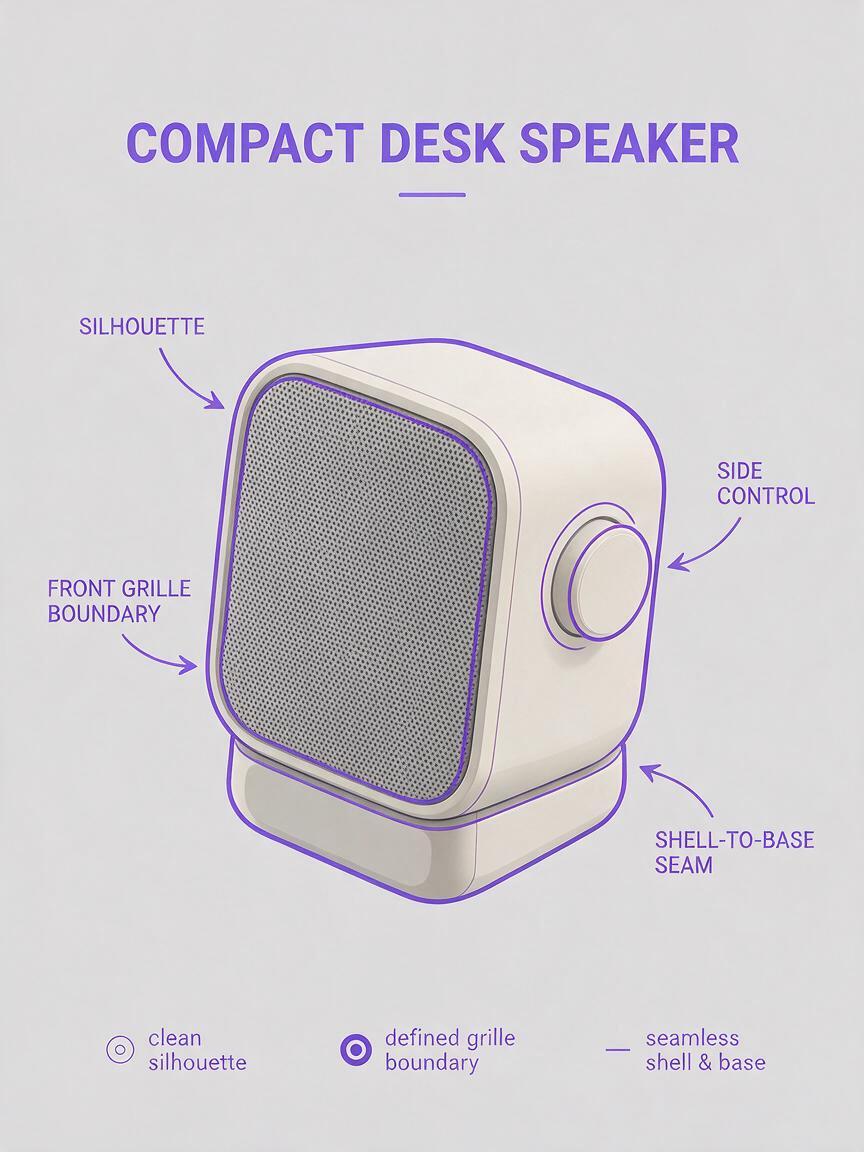
Before choosing a background, identify the details that make this product recognizable. On a compact desk speaker, that might mean the exact outer silhouette, the front grille boundary, one side control, and the seam between the shell and base. Those details are your sharpness priorities.
Focus does not mean every surface must look equally crisp. A real camera can leave the far edge of a deep object slightly softer than its near face. What matters is that blur follows the object’s apparent depth rather than randomly wiping out design information. If a control sits on the same visible face as a sharp seam, it should not suddenly appear out of focus.
Use background blur to separate the product from its setting, not to conceal unresolved product geometry.
Give the blur a physical reason
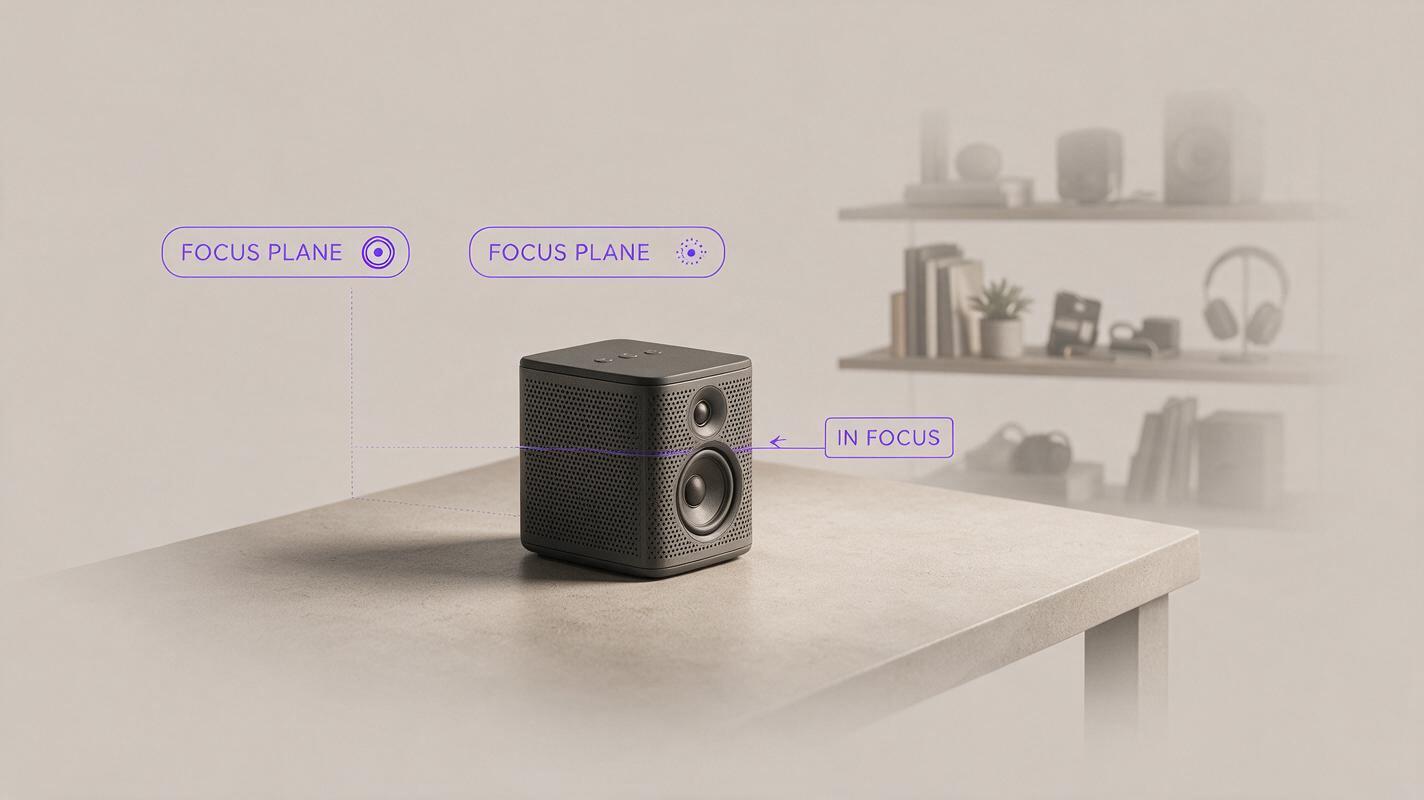
A believable hero image has a plausible focus plane: the product occupies it, while objects farther behind gradually lose detail. The tabletop directly beneath the product may remain reasonably clear; a shelf several feet behind it can be much softer. A uniform blur applied to everything except a hard-edged product cutout often looks pasted together.
Write a short scene brief before generating anything:
- Product position: fixed three-quarter view, with the approved silhouette and visible features unchanged.
- Support surface: a matte worktop that preserves a readable contact shadow.
- Background: distant shelves and a muted wall, with no competing product-like objects.
- Focus: front controls and housing edges crisp; background detail progressively softer with distance.
- Light: one broad window source, consistent across the product and its setting.
These choices give an ai image generator a more useful brief than “cinematic bokeh.” If your tool accepts a reference image, supply the approved render and request changes to the environment only. Avoid asking it to reinterpret the product as a new photograph when design fidelity matters.
Generate the setting without surrendering the design
For the highest-confidence result, keep the approved product pixels and generate a background plate separately. Give the plate the same camera height, perspective, and lighting direction as the product view. Then composite the product over it, retaining or rebuilding a contact shadow as needed. This is more work than accepting a single generated image, but it makes the boundary between approved design and generated scenery explicit.
If a reference-guided edit is sufficient for a quick concept presentation, try this prompt with your approved render in Seedream 4.5:
Use the supplied product image as the fixed design reference. Preserve the product's camera angle, silhouette, proportions, controls, seams, colors, and visible material boundaries. Place it on a matte studio worktop under broad window light. Keep the entire visible product and its contact area clearly readable. Add a distant, softly defocused studio background with gradual depth-of-field falloff. Do not blur, reshape, duplicate, or add features to the product. Do not add text, logos, hands, or accessories.Inspect the output at full size. A model may respond to “preserve” without actually preserving every detail. If it moves a button, rounds an edge, or turns a seam into a highlight, use the generated image as a background reference rather than as the approved product image.
Check the transition from sharp object to soft room
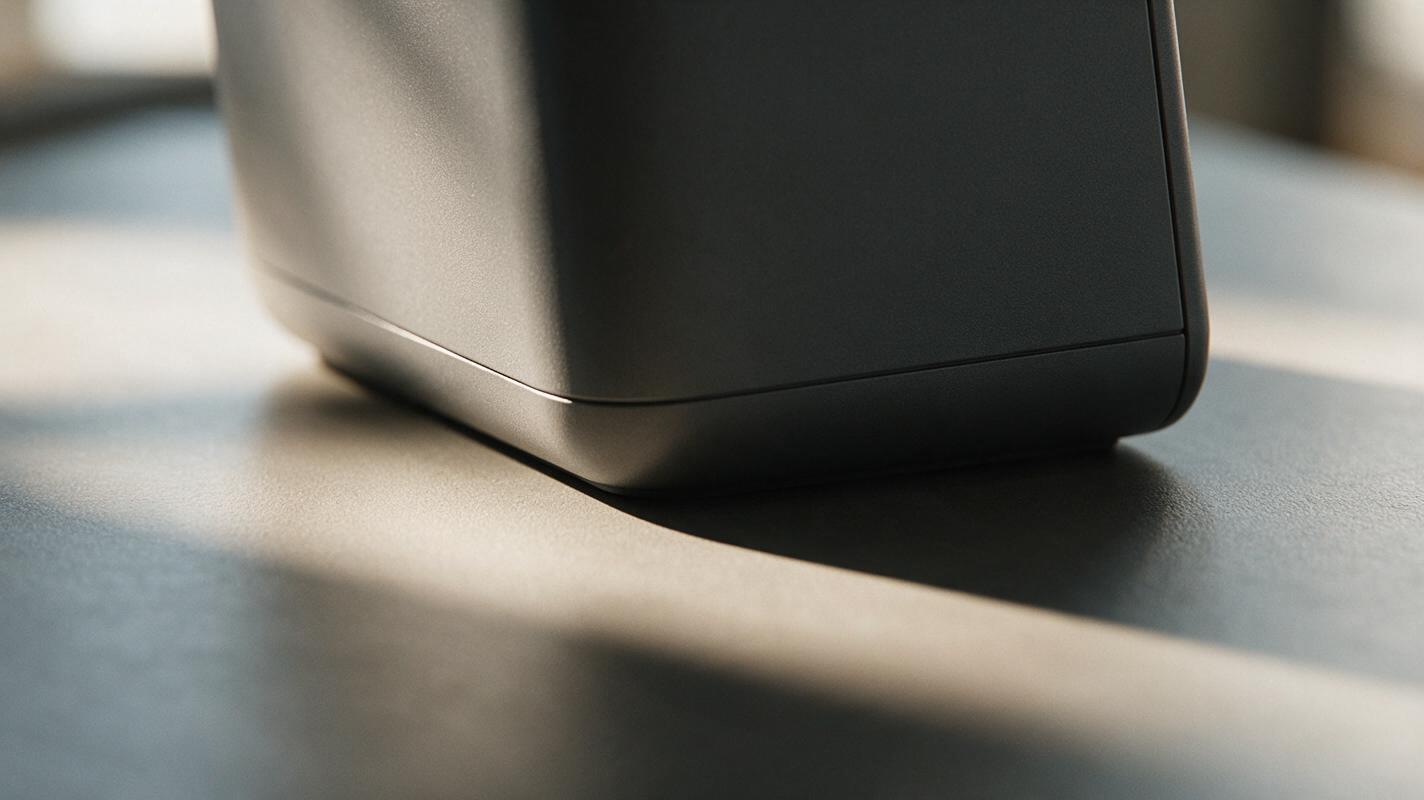
The most obvious composite errors occur where the product meets the background. Zoom into the housing edge, any translucent or reflective areas, and the point where the base touches the worktop. Look for pale halos, background colors bleeding through solid parts, or a shadow that is sharper than the surface directly beneath it.
| What you see | Likely cause | Better correction |
|---|---|---|
| Buttons and seams are soft | Blur was applied to the whole image, or the product was regenerated | Restore the approved product layer; confine blur to the background |
| A bright outline surrounds the product | The cutout retains pixels from its former background | Refine the edge mask against the new scene |
| The product appears pasted onto the desk | Contact shadow or lighting direction does not match | Match the light first, then adjust the shadow separately |
| Everything behind the product is equally blurry | The background has no depth hierarchy | Keep the nearby surface clearer than distant objects |
Do a second check at the size the image will actually be shown. Tiny halo defects can disappear in a large editing preview yet become conspicuous on a presentation slide; fine controls can pass a zoomed-in inspection but vanish in a thumbnail.
Choose the right amount of blur for the decision
A hero image and a design-review image serve different purposes. Stronger background separation can help a launch-style concept image feel focused, provided the product remains inspectable. For a CMF review, keep enough environmental detail to judge how the finish reacts to light. For a geometry review, use a restrained background so the silhouette and transitions do most of the work.
If the product itself has glossy surfaces, do not mistake a blurred room for a license to invent reflections. Reflections on the housing should remain coherent with the chosen light source and visible environment. Likewise, a generated background cannot establish real optical performance, manufacturing finish, or material specifications; this remains a concept presentation image.
Once the sharpness priorities and scene brief are ready, test this prompt yourself with an approved product view. Compare the result side by side with the source before it enters a review deck.
Final checklist
- The product silhouette, controls, seams, and material boundaries match the approved view.
- Background softness increases plausibly with distance rather than starting at an arbitrary outline.
- The product edge is free of halos and color bleed.
- Contact shadow and lighting direction make the object sit convincingly in the scene.
- The image remains legible at its intended presentation size.
Keywords
ai product hero image, product background blur, product visualization, ai product photography, seedream 4.5, industrial design ai, product rendering ai