AI Product-in-Hand Renders Without Extra Fingers or False Scale
A product-in-hand render can communicate intended grip and visual scale, but generated hands often obscure controls, distort the housing, or imply an ergonomic fit that has not been tested. This guide uses a measured reference, a constrained Nano Banana Pro prompt, and a practical review to make the image useful for concept presentations.
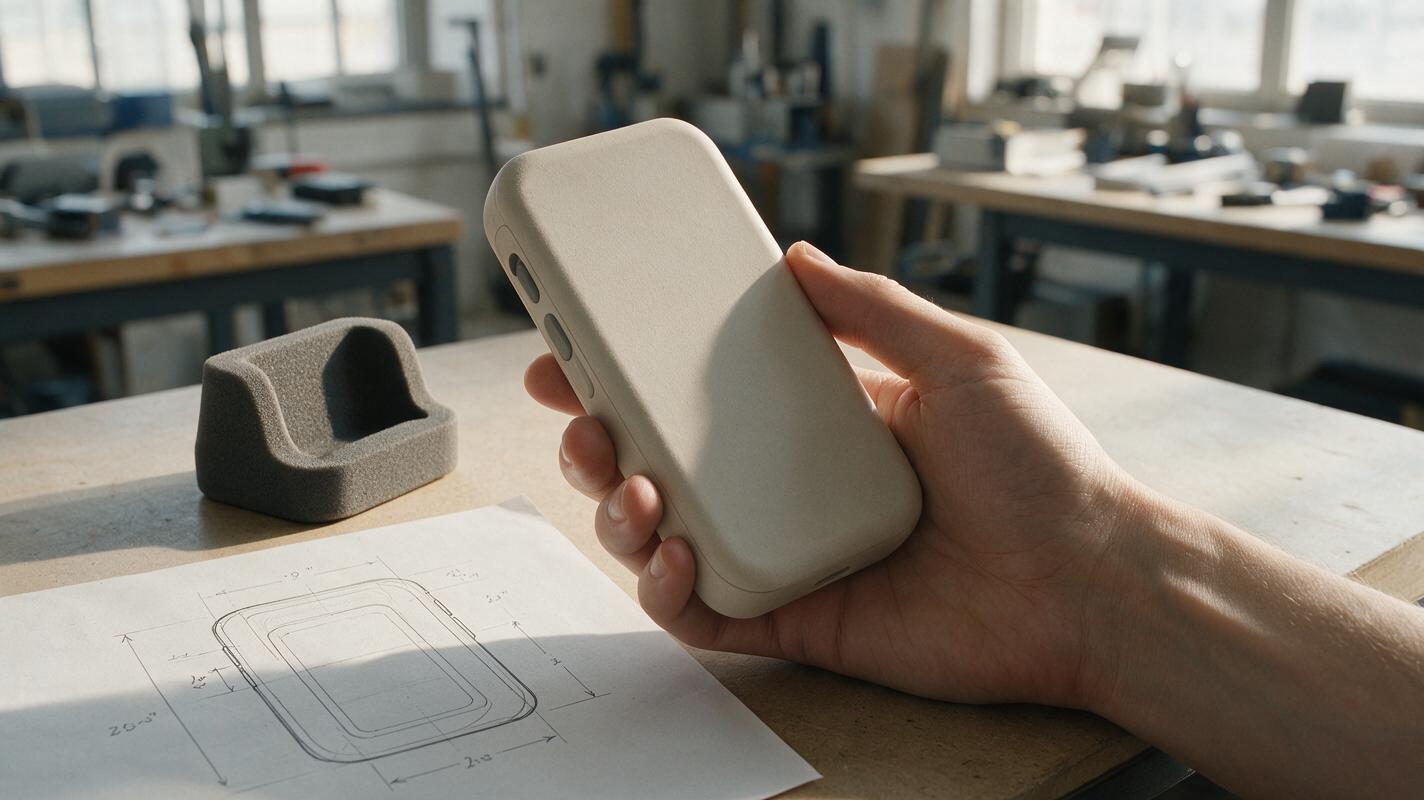
Table of contents
A grip render should show contact, not promise comfort
A convincing hand can make a product concept easier to understand—and an inaccurate one can make it harder to evaluate. Generated fingers may merge into the housing, cover the main control, or make a device appear smaller than the approved design. For an in-hand presentation image, the useful goal is narrower than a photorealistic lifestyle shot: show one plausible holding position while keeping the product’s visible geometry and intended scale legible.
Nano Banana Pro is a suitable model to try for reference-led image creation. Treat its output as a presentation concept, not evidence that a grip is comfortable, accessible, or mechanically feasible.
Anchor the hand to a real size reference
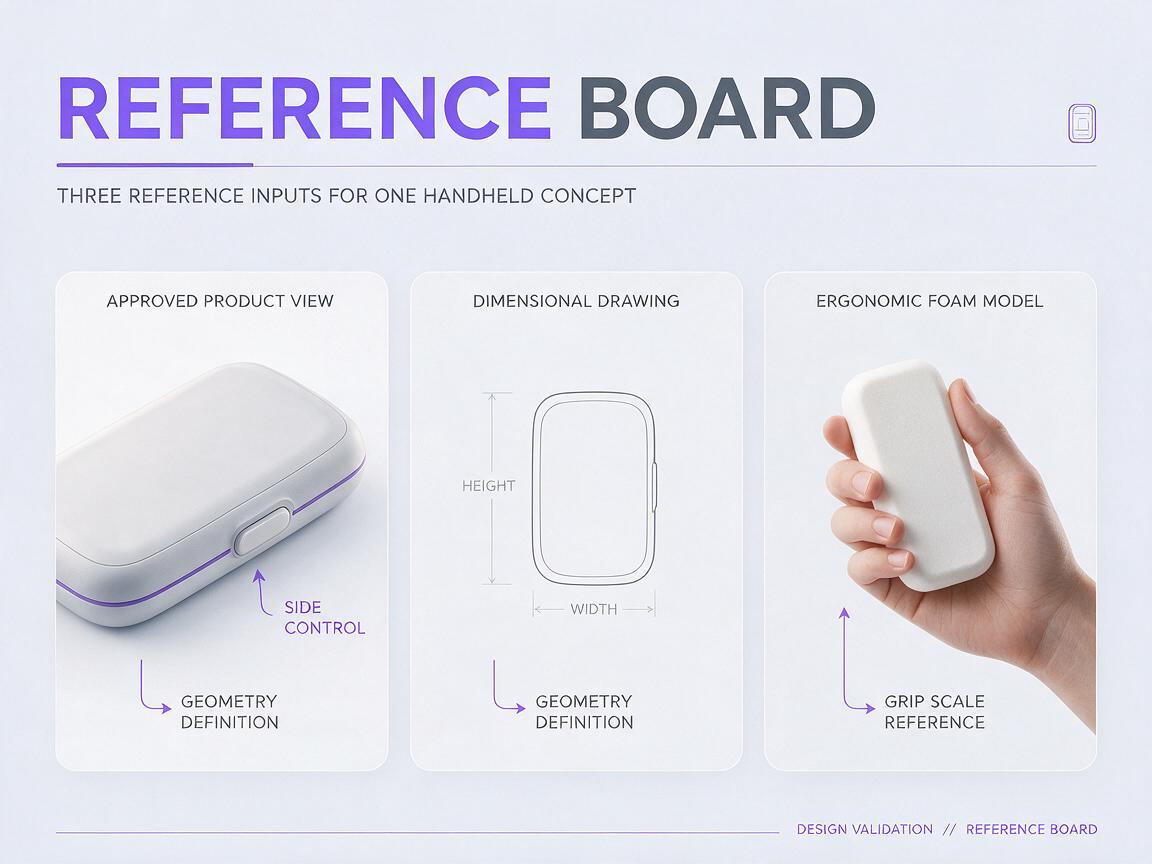
Start with an approved product view and its known overall dimensions. Add a simple reference photograph: a hand holding a foam block, printed silhouette, or similarly sized object in the intended orientation. The stand-in need not resemble the finished product. Its job is to establish relative size, wrist angle, and where the fingers would meet the enclosure.
Choose one specific grip to depict. A thumb operating a side control, for example, calls for a different image than a relaxed carrying grip. Mark the areas that must remain visible before generating:
- Fixed design: silhouette, thickness, control location, seams, ports, and approved color or finish.
- Contact areas: surfaces the palm and fingers may touch in this particular pose.
- Clear-view areas: details the hand must not hide, such as the featured control.
- Unknowns: rear geometry or finger contact that the available references do not establish.
If only a front view exists, favor a grip that leaves the unknown rear largely concealed. Do not ask the model to resolve unseen surfaces as though they were approved.
Prompt for one plausible holding position
Use ai image generator with the approved product view and scale reference attached where reference input is available. Ask for one image, one hand, and one camera angle. A crowded brief invites the model to improvise anatomy and product details at the same time.
Create a photorealistic industrial-design presentation image of the supplied handheld product concept in one adult hand. Use the approved product image as the authority for silhouette, visible thickness, seams, controls, and finish. Use the supplied hand-and-stand-in photo only for relative scale, wrist orientation, and grip placement; do not copy the stand-in's appearance. Show a relaxed carrying grip with the thumb resting near, but not pressing, the side control. Keep that control visible. Show five anatomically distinct fingers with plausible contact and no fingers passing through the enclosure. Three-quarter front view, soft daylight, neutral background. Do not add ports, buttons, branding, screen content, or unseen mechanical features. This is a concept presentation image, not a usability-test photograph.For a thumb-operation image, change only the grip instruction: ask for the thumb to approach the control without claiming a comfortable reach. Keep the product view and lighting consistent if you need the two images side by side. That makes the pose—not a redesigned housing—the main difference.
Useful constraint: “Make the hand smaller” is not a reliable scale correction. Return to the measured stand-in reference and state the product’s known dimensions instead.
Fix hand anatomy without repainting the product
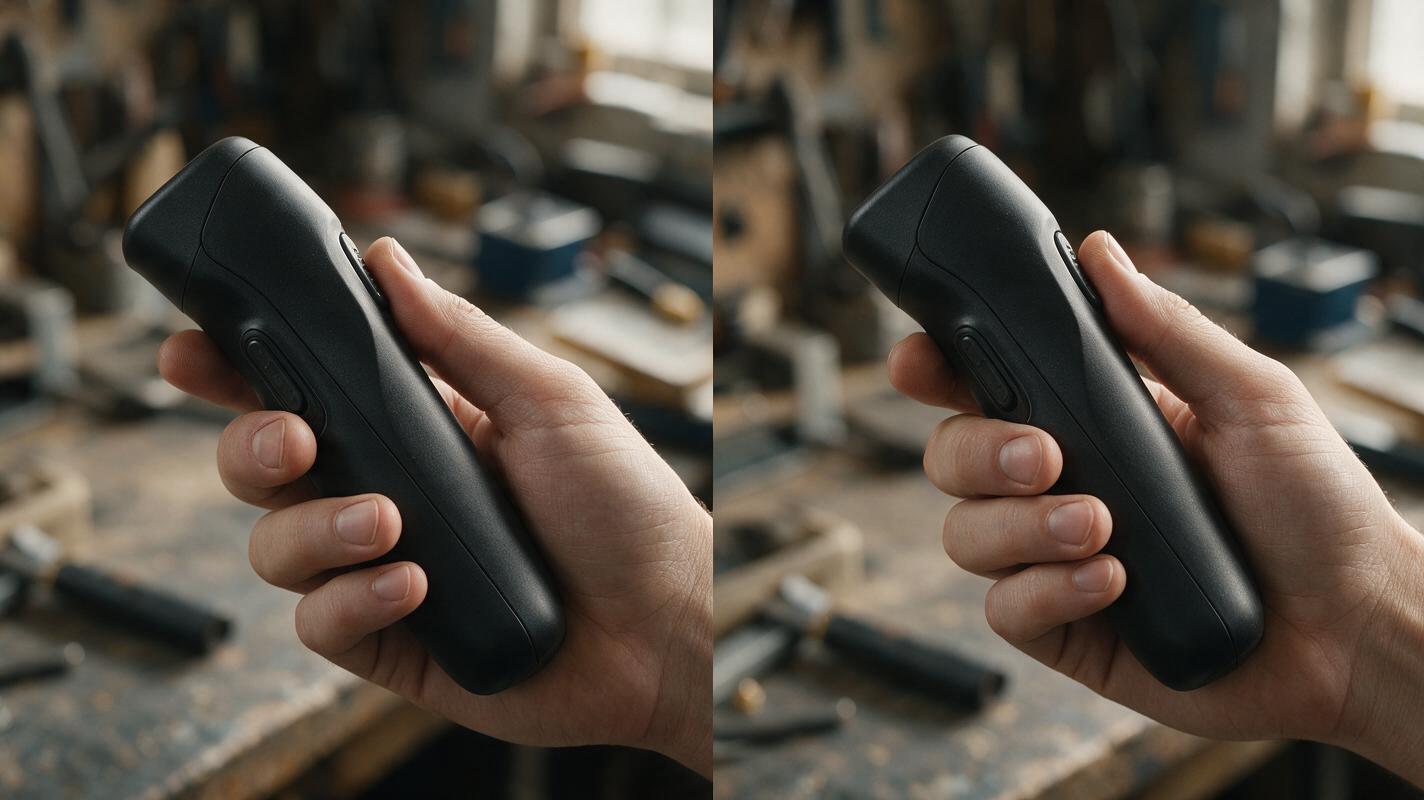
Inspect the first output at full size before making another. Count the fingers, trace each fingertip back to the hand, and look closely at contact edges. Common failures include a fingertip that disappears into plastic, a duplicate knuckle, a thumb apparently behind a front-facing control, or a palm that changes the device’s outline.
When the hand is wrong but the product is right, request a local edit rather than regenerating the entire scene. Keep the approved product region outside the edit area if the tool permits it. Try a correction such as:
Revise only the hand and its immediate contact shadow. Preserve the product's existing pixels, outline, controls, seams, and finish. Separate the index and middle fingers; place both visibly around the side edge without covering the control. Remove the extra fingertip. Keep the same camera, scale, and lighting.If the product changes anyway, a safer route is to retain the approved render and composite a separately prepared hand around it. Masking and shadow work may take longer, but they give the team direct control over which parts of the design remain untouched. Where a finger must overlap the product, check that the overlap describes a physically possible grip rather than disguising an unresolved shape.
Review what the image does—and does not—show
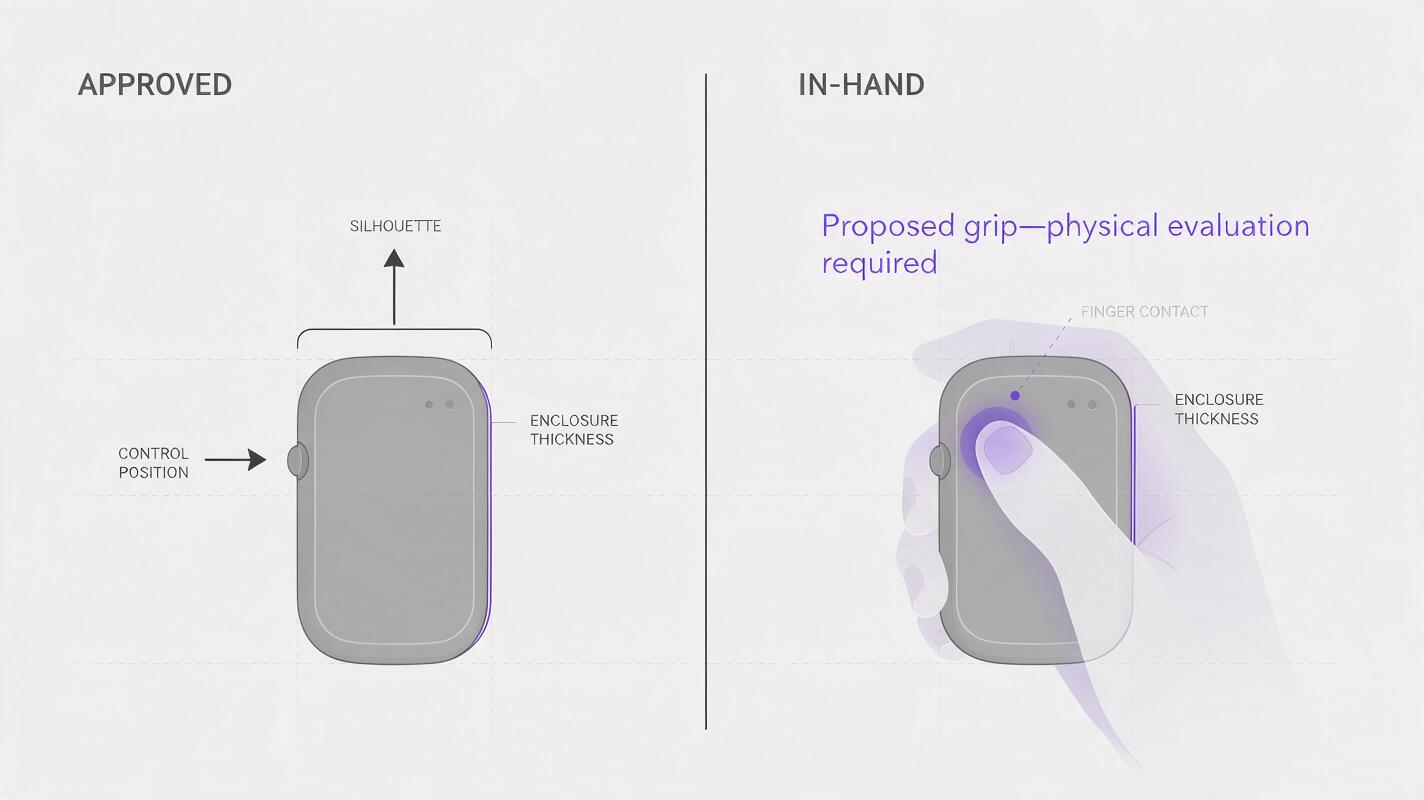
Place the result beside the approved view, not just beside other generated candidates. Check the silhouette, the distance between controls, the apparent thickness, and whether the stand-in photo supports the depicted scale. A polished image fails its purpose if it makes the object look pocket-sized when the design brief says otherwise.
| Question | Acceptable presentation result | Reason to revise |
|---|---|---|
| Can viewers read the intended grip? | Finger placement and contact are visible. | Hands float, intersect the housing, or hide the grip. |
| Is the design still identifiable? | Approved controls and silhouette match the source. | The model moves a button or narrows the body to fit the hand. |
| Is scale responsibly conveyed? | The pose follows a measured stand-in reference. | Scale depends entirely on an invented hand-to-product ratio. |
| What claim might viewers infer? | The caption identifies a proposed holding position. | The image is presented as proof of comfort or reach. |
Caption the image accordingly: “Concept visualization of a proposed carrying grip; ergonomics and control reach require physical evaluation.” If grip quality is a design decision, test a physical mockup with people rather than asking a render to settle it. The generated image is most valuable when it helps the team spot questions worth testing.
Final checklist
- Use an approved product view and known dimensions.
- Supply a hand-and-stand-in photo for relative scale and pose.
- Keep important controls visible and unknown surfaces unresolved.
- Count fingers and inspect every product–hand contact edge.
- Compare the result with the approved design, then label it as a concept.
Have the references ready? test this prompt yourself with a single grip before developing a wider presentation set.
Keywords
ai product design, product in hand render, industrial design ai, product visualization, hand holding product prompt, nano banana pro, concept render