Why AI Product Infographic Text Goes Wrong—and What to Do Instead
AI can draft an attractive product infographic, then quietly change a feature label, misspell a material, or add a claim the seller never approved. This guide shows marketplace sellers how to use AI for layout while keeping product photos and customer-facing text under direct control.
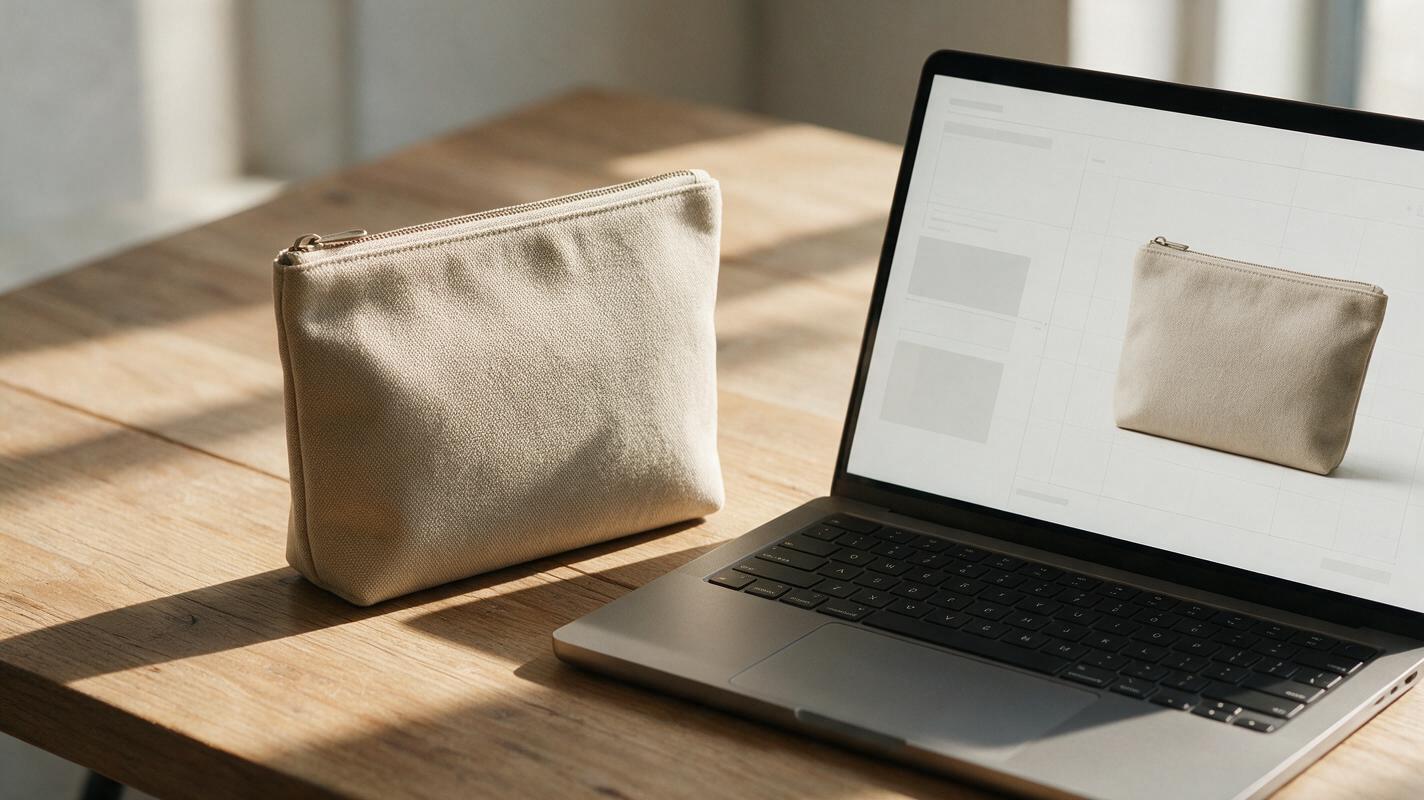
Table of contents
Keep the design help, not the invented words
An AI-generated feature graphic can look ready for your Shopify or Etsy gallery until you zoom in: a material name has changed, the label contains nonsense letters, or a badge promises something your product does not do. The reliable fix is to separate the jobs. Let AI explore the layout and visual setting; use your verified product photo and add the final words yourself in an editor.
This matters most when an image is meant to answer a buying question. A shopper may treat text inside a listing image as a product claim, not as decorative copy.
Why the text fails even when the image looks polished
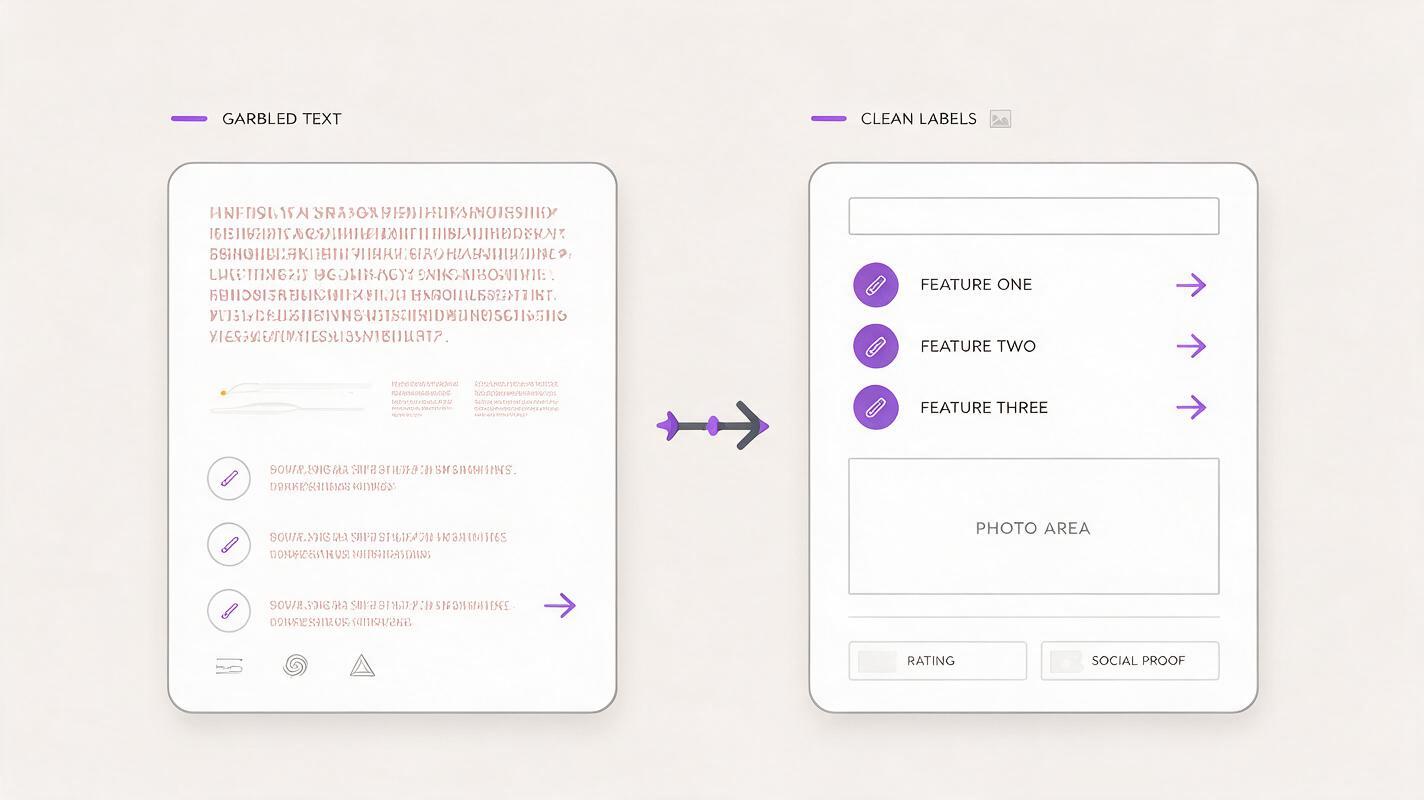
Image generation works on the appearance of a graphic. It can produce convincing cards, arrows, icons, and text-like shapes without preserving every letter or the truth of every claim. A revision to the background can also regenerate a label that looked correct in an earlier version.
Watch for three different failures:
- Letter errors: misspelled words, distorted characters, or small text that becomes unreadable after export.
- Fact errors: invented materials, unsupported benefits, incorrect compatibility, or a feature assigned to the wrong variant.
- Product errors: a generated item that resembles your SKU but has different buttons, stitching, ports, or included accessories.
A prompt such as “spell everything correctly” may reduce obvious mistakes in a draft, but it is not a final proofing method. Regenerating the entire graphic to repair one word can change the product or another part of the design.
Give Nano Banana Pro the layout, not the final claims
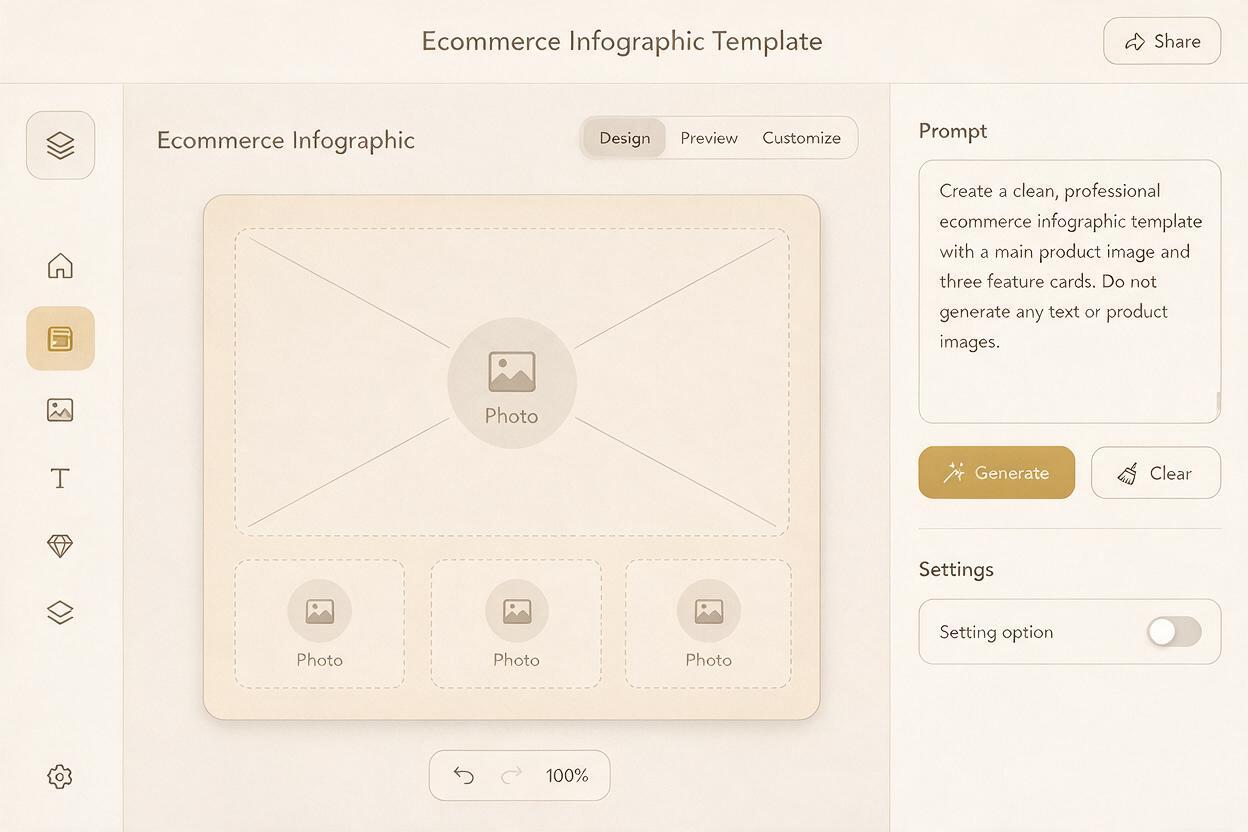
Use nano banana pro to explore a composition with empty spaces for copy. Upload a product photo as a visual reference if your workflow supports it, but do not assume the generated product will be an exact replacement for your photograph. For a sellable listing image, place the original product cutout into the approved layout afterward.
Before drafting, make a short fact sheet from your packaging, specifications, and actual inventory. For a hypothetical zippered pouch, it might contain “zip closure,” “front pocket,” and “cotton canvas” only if you have verified each detail for that SKU. Leave out impressive-sounding benefits you cannot substantiate.
Useful boundary: AI can propose where a feature label belongs. Your approved product information determines what that label says.
Here is a reusable layout prompt. Replace the object and scene with your own product category, but keep the instruction to leave copy areas blank.
Create a clean secondary listing-image layout for a small zippered pouch. Show one large empty central area reserved for a real product photograph. Arrange three subtle, blank feature-card areas around it with simple nonverbal icons. Use a warm neutral background, soft natural shadows, generous spacing, and clear visual hierarchy. Do not generate a product, words, letters, numbers, logos, badges, certifications, or packaging. Leave enough open space for text to be typeset later.If you are using an ai image generator without reference-image editing, generate only the empty background and graphic elements. It is easier to place an accurate photo into a reserved space than to repair a persuasive but incorrect imitation of your SKU.
Build the final graphic from approved pieces
Choose one layout and move it into an image editor. Insert a clean photograph of the exact variant being sold, preferably cut out from its original background. Match the lighting and shadow gently; do not paint over distinguishing product details to make the composite fit.
Next, type the verified feature labels as editable text. Keep the copy short enough to read on a phone. “Zip closure” is more useful than a paragraph squeezed into a corner. If a feature needs an arrow, point it to the part visible in the real photograph. When the feature cannot be seen, use another photo rather than drawing an arrow toward an imagined detail.
| Graphic element | Best source | Check before export |
|---|---|---|
| Product and visible features | Photo of the actual SKU | Variant, color, hardware, and included parts match |
| Background and blank cards | Generated layout or editor shapes | No misleading props or accidental text |
| Feature labels and numbers | Verified facts, typeset in an editor | Spelling, units, and claim support |
| Icons and arrows | Editor assets or inspected generated elements | Each points to the correct feature |
Keep your source file with separate photo and text layers. If a supplier changes a specification, you can update one label instead of regenerating the entire image.
Test the image at the size shoppers will see
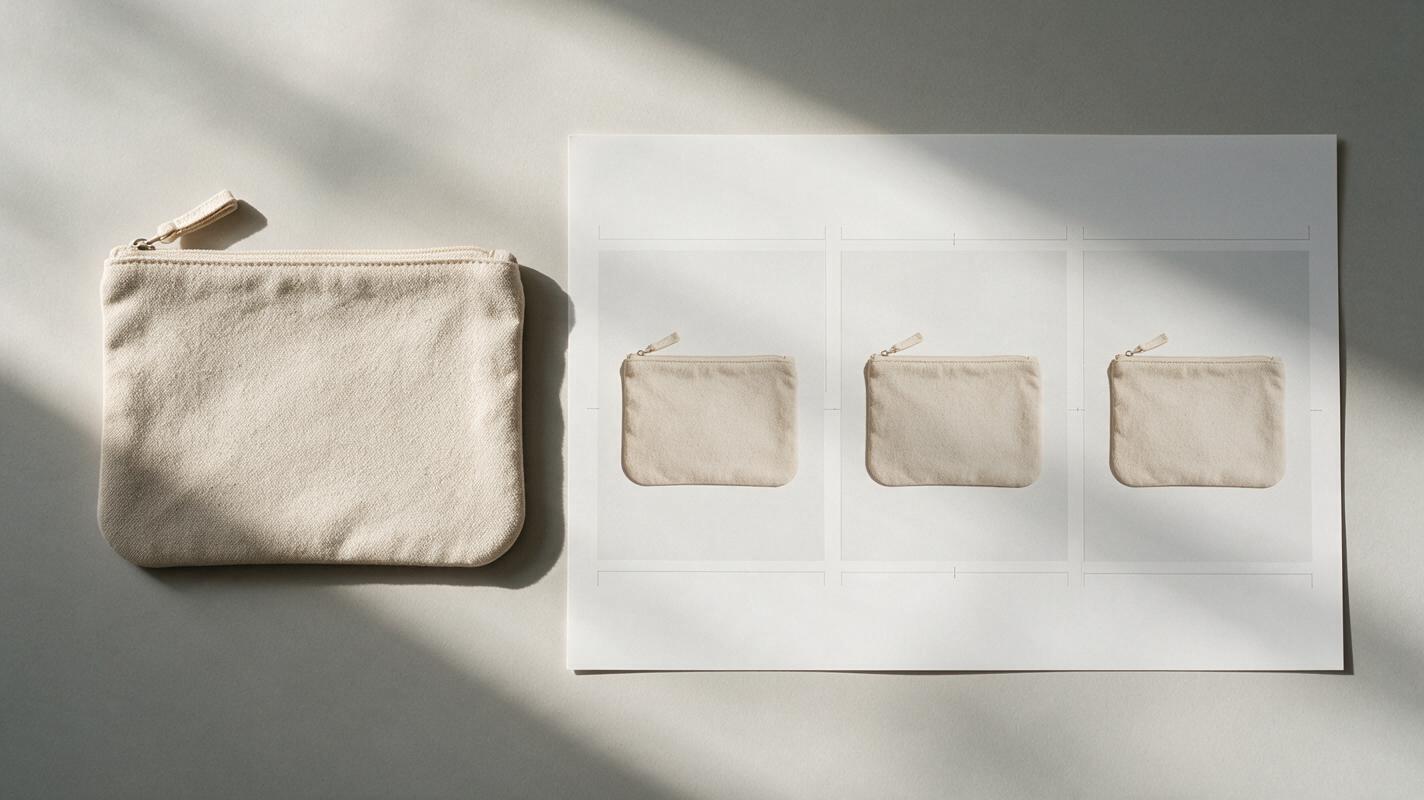
A graphic that reads beautifully at full resolution may fail as a gallery thumbnail. Preview it at a typical phone viewing size before publishing. If a feature label is difficult to read, enlarge it, shorten it, or give it more contrast. Do not rely on zoom to communicate the main point.
Then compare the export against the product and the fact sheet, not just against the AI draft. Check every visible word, including tiny text that may have survived in the generated background. Review each variant separately: a pouch with a front pocket should not share that feature graphic with a pocket-free variant.
For marketplace listings, also check the current image rules for the particular placement. A secondary infographic and a main product image may have different requirements. Keep a plain, compliant product photo available rather than assuming the designed graphic belongs in every slot.
When a generated label slips through
If the background contains stray letters, remove them in the editor or generate a cleaner text-free background. Covering them with a small patch can leave a visible blur.
If the product depiction changes, replace the generated item with your source photograph. Do not treat a prompt adjustment as proof that every detail is now correct.
If the graphic feels crowded, reduce the number of claims. One clear image about two or three verified features usually does more work than a dense panel of tiny badges.
The strongest result is not the image that required no editing. It is the image that helps a shopper understand the real product without introducing a new reason to doubt it. When your fact sheet and source photo are ready, test this prompt yourself and build the final copy as editable text.
Final checklist
- The pictured product is a photo of the exact SKU or variant being sold.
- Every label comes from verified product information.
- No generated text, logos, numbers, or certification marks remain unnoticed.
- Icons and arrows point to features visible in the photo.
- Text is readable at phone size, and the image suits its listing placement.
Keywords
ai product infographic, product infographic text, shopify product images, etsy listing images, product feature graphics, ai image generator