Why AI Product LED Renders Glow Everywhere—and How to Fix It
AI-generated product renders often turn a small status light into an implausibly glowing housing. This guide shows industrial designers how to use an approved product image, a defined emitter region, and restrained image editing to create believable off-state and powered-on concept visuals.
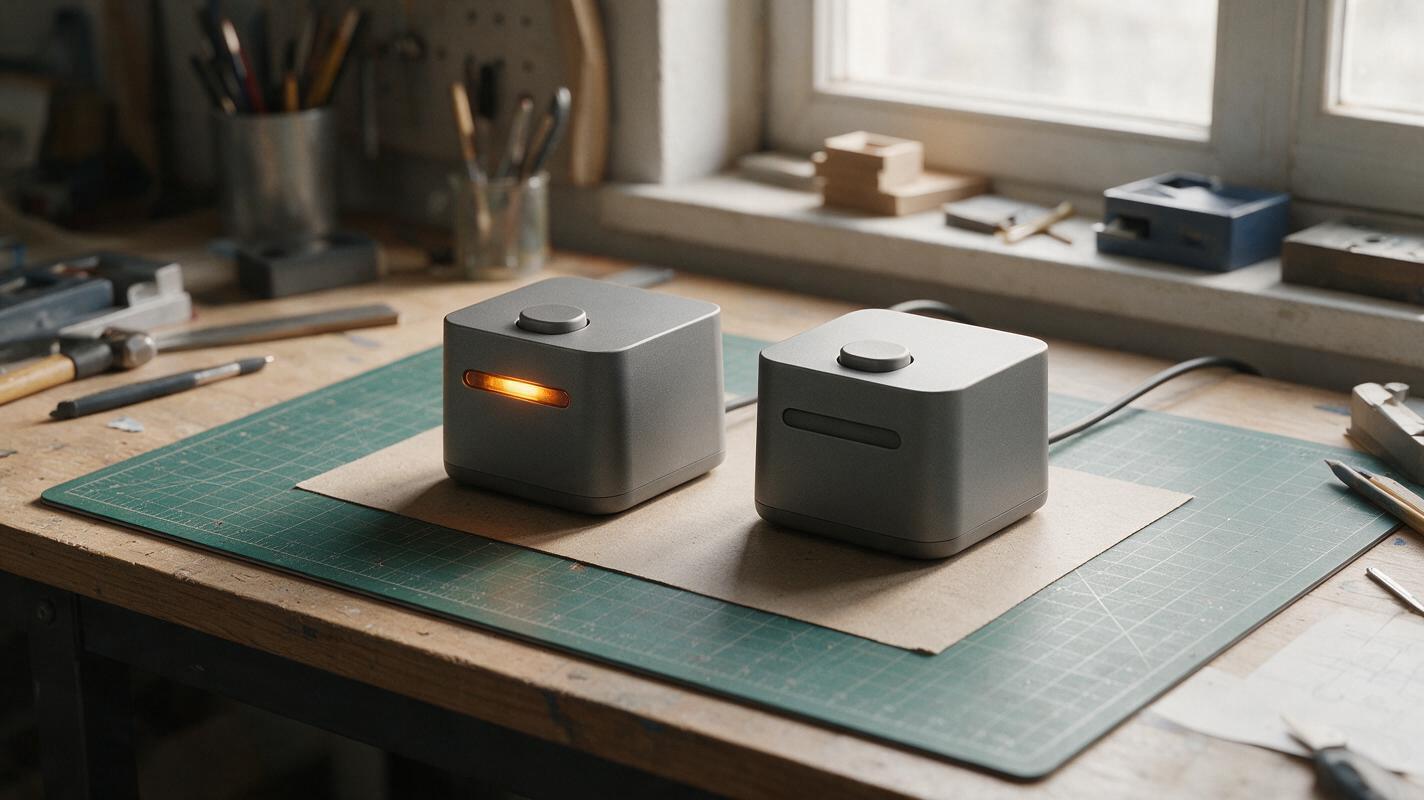
Table of contents
Make the light read without changing the product
A status LED should help explain a product concept, not make the entire enclosure look radioactive. If an AI render lights up seams, changes the diffuser’s shape, or paints a halo across every surface, the image stops communicating the intended design. The fix is to treat the approved product view as the source of truth and specify exactly where light can originate, where it can fall, and what must remain unchanged.
This approach suits small illuminated details such as a charging indicator, a ring around a control knob, or a short light pipe. It produces a presentation concept—not evidence of optical performance, electrical behavior, or a manufactured diffuser.
Define the emitter before writing the prompt
Start with a clean, approved view of the product in its unlit state. Mark the visible emitter region on a separate copy of the image: for example, a 2 mm-wide slot beneath a button. Also identify surfaces that could plausibly catch a little of its light. On a matte enclosure, that might mean a faint spill immediately beside the slot—not a luminous panel or a room-filling beam.
A useful lighting brief answers four questions:
- Where does light leave the product? Name the exact slot, ring, dot, or window and its position relative to fixed features.
- What color is it? Choose one presentation color rather than asking for a dramatic multicolor effect.
- How bright should it appear? Describe whether it is visible in daylight or only in a dim scene.
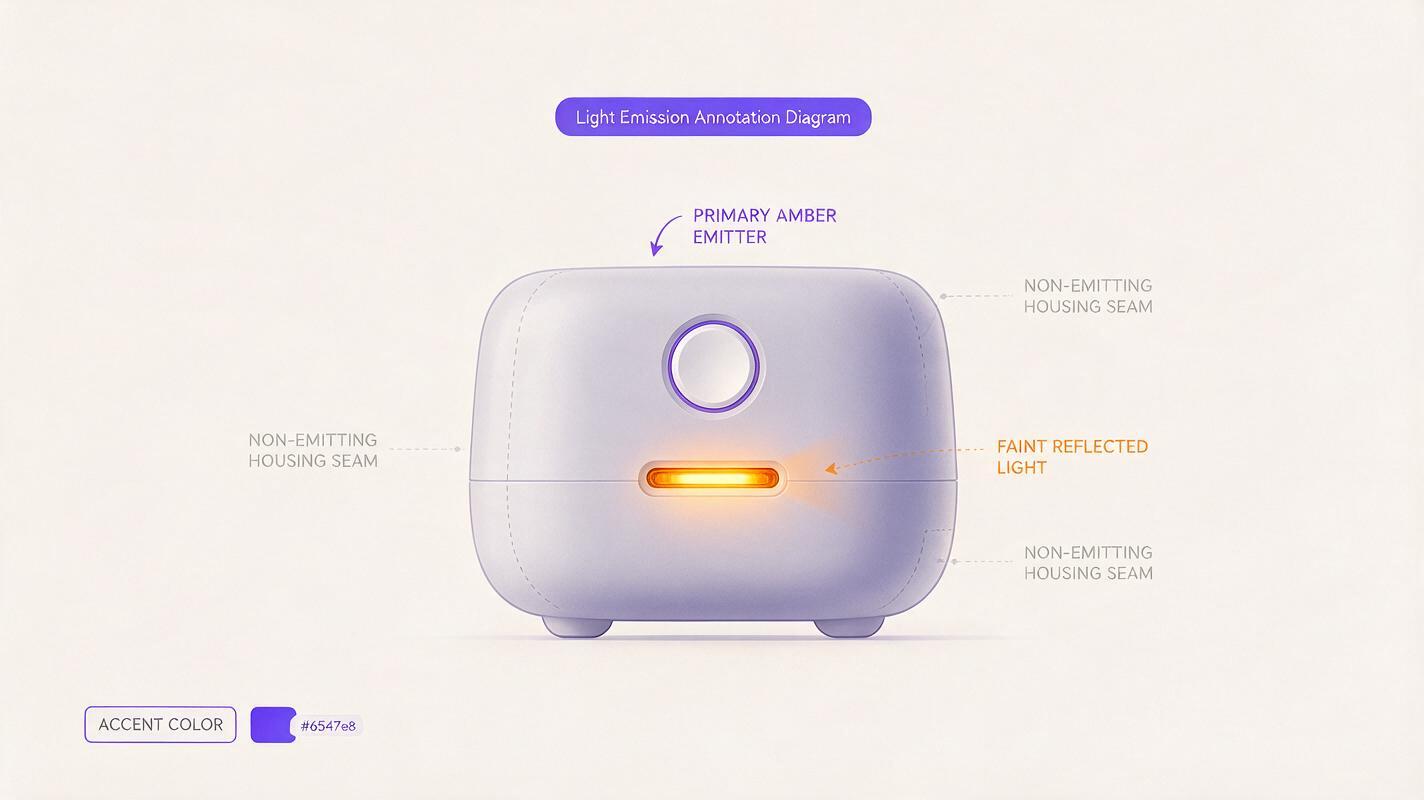
- What must stay dark? Name neighboring seams, buttons, labels, and housing panels that must not emit light.
If the intended light path cannot be pointed out on the approved image, resolve the industrial design first. A prompt should depict a decision, not silently make one.
Keep an unlit reference as the control image
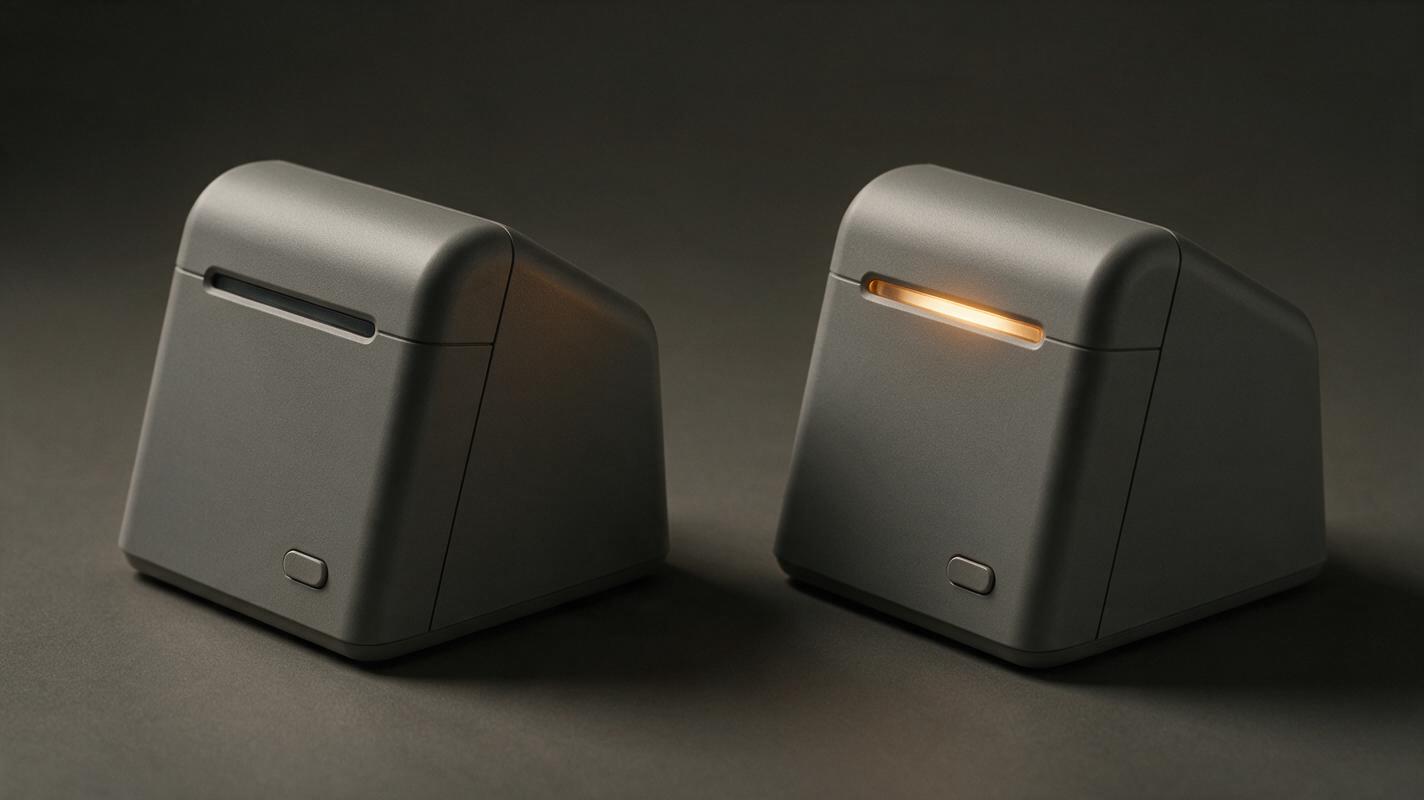
For a fair on/off comparison, use the same camera view, crop, finish, and environment. An unlit control image makes it easier to spot changes that a dramatic powered-on image might hide: a wider slot, a new seam, a moved button, or a different enclosure radius.
In an ai image generator that accepts image references, begin with the approved render and request a restrained off-state presentation. Nano Banana Pro is one model to test for this image-led task; inspect its output against the source rather than assuming a reference will lock every design detail.
Use the supplied approved product image as the design reference. Show the device unpowered in a neutral tabletop setting. Preserve its silhouette, viewpoint, dimensions, button positions, diffuser slot, materials, color, and all visible seams. The status-light window is present but emits no light. Use soft ambient illumination so the window remains visible. Do not add LEDs, labels, vents, controls, or internal parts.Keep the original approved image available even if the generated off-state result looks convincing. It remains the final authority on geometry.
Prompt for a localized powered-on state
The powered-on request should describe the emitter separately from its effect on nearby surfaces. That distinction matters: a luminous diffuser may be bright, while the housing immediately around it receives only a subtle tint. The rest of the product should retain the same lighting and material response as the unlit control.
Edit the supplied approved product view into a powered-on concept image. Preserve the camera, crop, silhouette, finish, controls, seams, labels, and exact shape and position of the existing status-light slot. Only that slot emits a soft, steady amber light. Keep its center readable without a large white-hot patch. Add a very faint amber reflection on the housing directly next to the slot; no light from other seams, buttons, or panels. Maintain the original room lighting and background. Do not create beams, bloom across the product, extra light sources, or new components.Generate a few candidates and compare them at the same displayed size. Favor the image in which the product still looks like the approved design when the emitter is covered with your finger. If the model repeatedly redraws the slot, stop regenerating the whole device: use the approved render as the base and add the light in a separate image-editing layer instead.
Separate the diffuser from the glow
A believable light treatment often needs two independently adjustable elements: the illuminated appearance inside the existing diffuser and a restrained glow outside it. In an image editor, place the approved product render at the bottom, mask the diffuser precisely, then add the localized light treatment on separate layers. This preserves source pixels everywhere the light does not need to change the image.
| Visible problem | Likely cause | Better adjustment |
|---|---|---|
| The whole enclosure glows | The prompt describes atmosphere but not an emitter boundary | Mask the existing diffuser and reduce spill to adjacent surfaces |
| The light becomes a white blob | Brightness or bloom obscures the slot | Reduce the brightest area; keep the diffuser outline visible |
| Seams appear illuminated | The model treats every narrow gap as a light source | Explicitly exclude seams and restore approved pixels |
| The LED changes position | The device was regenerated rather than locally edited | Return to the approved image and confine edits to a mask |
For a close-up presentation, ask for the same product detail rather than a redesigned macro view:
Show a close crop of the existing status-light slot from the supplied approved product image. Preserve the slot outline, its position below the button, the surrounding seam, and the enclosure finish. The slot alone emits a low-intensity amber light, with minimal spill on the immediately adjacent surface. This is a concept visualization, not a cross-section or an optical-performance diagram. Add no internal LEDs, wiring, or new design features.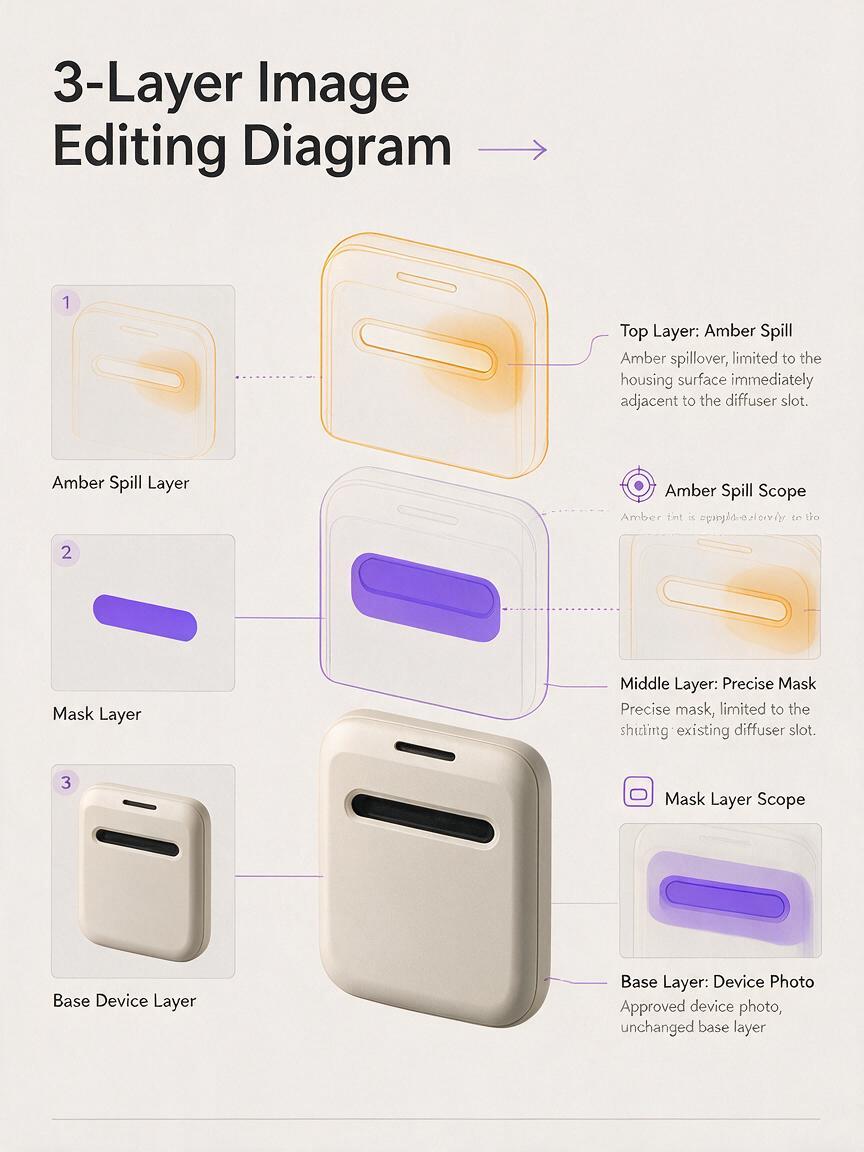
Review the image as a design document
Check the result in two passes. First, ignore the glow and compare the housing, controls, seams, material, and framing with the approved source. Then inspect only the light: does it originate from the specified region, remain legible at presentation size, and avoid implying an unapproved feature?
Show the unlit and powered-on views side by side with identical crops. If a stakeholder could reasonably interpret the image as a tested brightness level, beam pattern, or production-ready light-pipe design, label it as a visual concept. Use measured optical data and physical prototypes for those claims.
Ready to explore a controlled status-light treatment? test this prompt yourself with an approved product view, then keep only the output that survives a direct comparison with the original.
Final checklist
- The emitter’s location and shape match the approved design.
- Only the intended diffuser emits light; neighboring seams and controls remain dark.
- The unlit and powered-on views share a camera angle, crop, and finish.
- The diffuser stays visible rather than disappearing beneath bloom.
- Any presentation image is identified as a concept, not proof of optical performance.
Keywords
AI product design, product LED render, industrial design AI, product visualization, status light rendering, Nano Banana Pro, product design prompts