Why AI Product Renders Change Vent Grilles—and How to Keep Them Accurate
AI product renders can turn an approved vent pattern into extra slots, decorative mesh, or a glimpse of nonexistent internals. This guide shows hardware teams how to preserve grille geometry in a presentation image while keeping airflow and cooling claims out of the artwork.
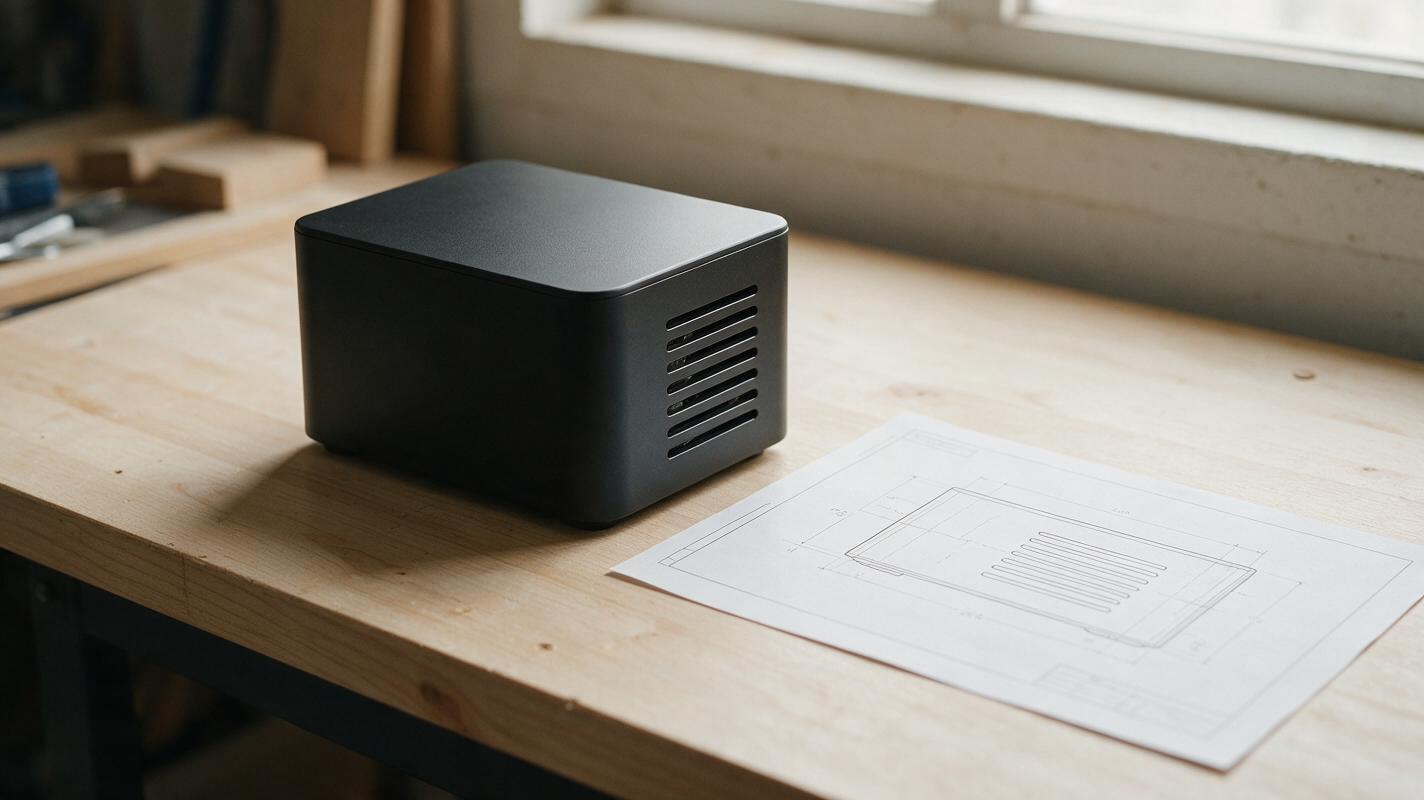
Table of contents
Keep the vent design—not just the look of a vent
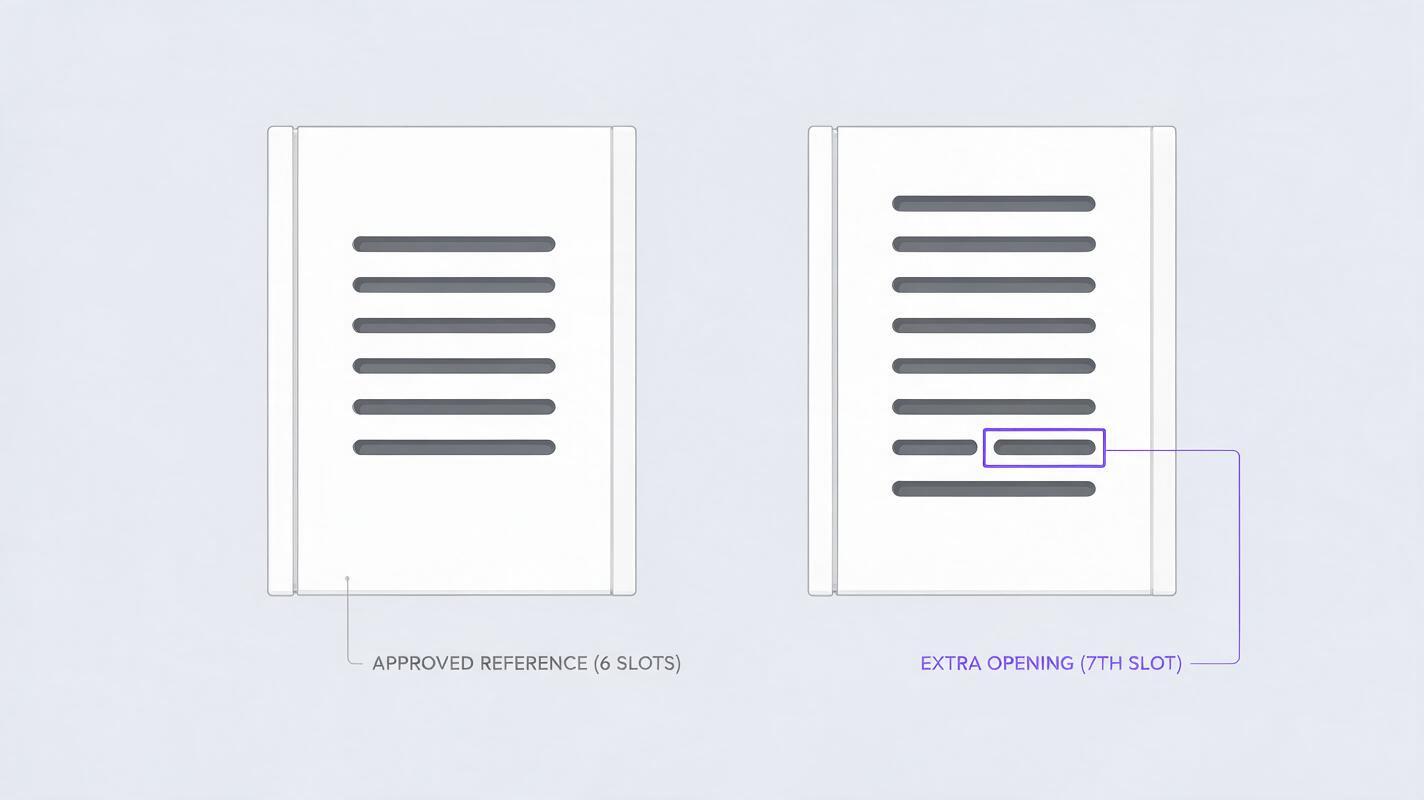
A product render can look polished while quietly changing the feature your team needs to review. Six specified vent slots become seven; straight ribs become a perforated mesh; a dark opening reveals a fan that was never in the concept. If the image is going into a design review, those changes matter more than the lighting.
The safest approach is to treat an approved grille drawing or render as fixed geometry. Use AI to explore the surrounding presentation, then inspect the vent at full size before anyone interprets the image as a design proposal.
Why vent patterns drift in generated images
Repeated, narrow openings are difficult visual details. A model may preserve the broad silhouette of a desk device while treating its vent as texture rather than a counted set of features. Perspective, soft shadows, and glossy highlights can make the error harder to spot.
Imagine a portable desktop air-cleaner concept with six horizontal slots on its right side. A generated hero image might add a seventh slot to fill the panel, merge two slots in shadow, or replace the pattern with familiar-looking mesh. None of those changes establishes that the new layout would work; they only change what the image appears to show.
Design-review rule: If slot count, position, and shape are decisions under review, do not ask a generated image to establish them from a text description alone.
Make a reference that specifies what cannot move
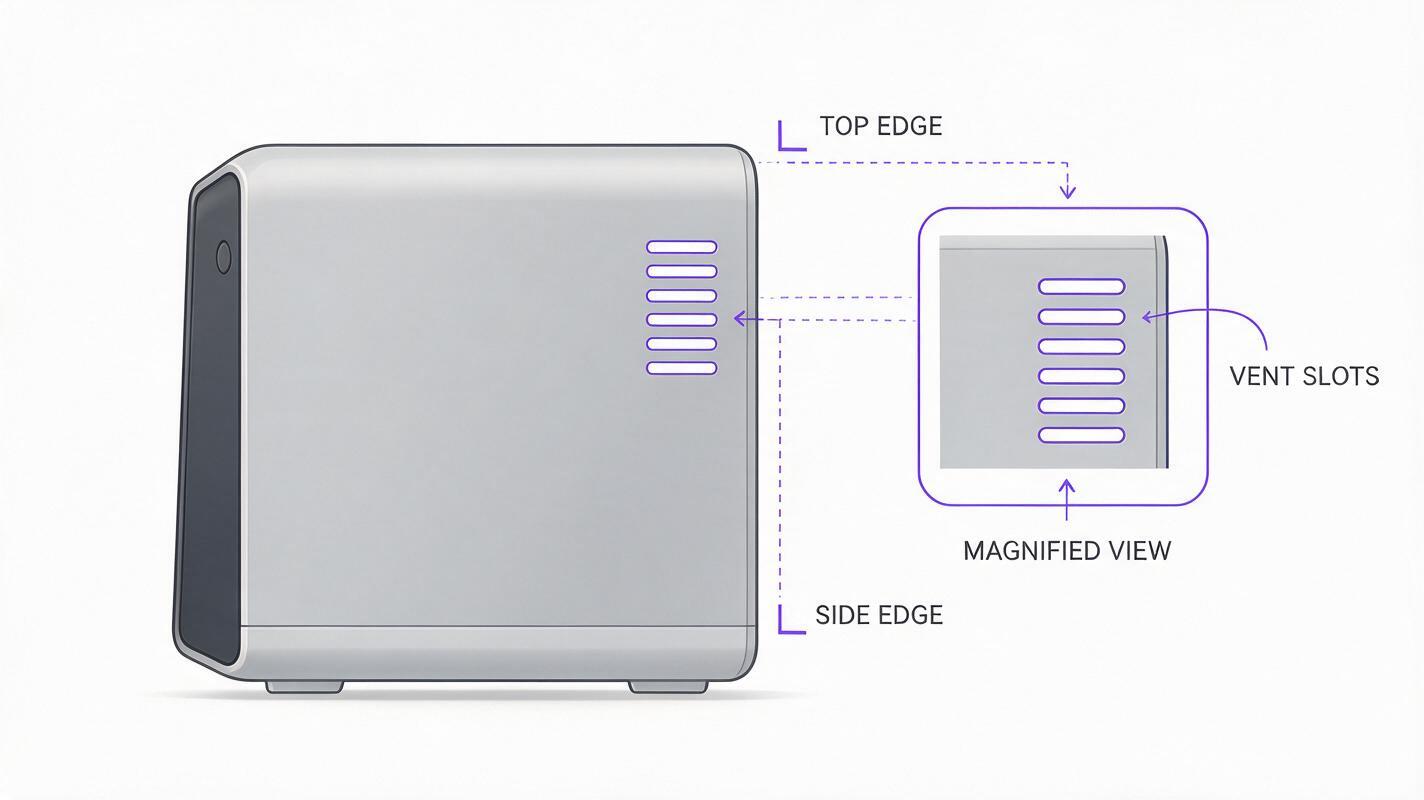
Start with a CAD export, controlled line drawing, or approved render showing the actual grille. For the six-slot example, include enough surrounding housing to locate the pattern relative to the device edges. A tight crop of the slots alone does not adequately specify their position on the product.
Write a short feature record alongside the image:
- Count and arrangement: six separate horizontal slots in one column.
- Placement: on the right-side panel, beneath the panel’s upper edge.
- Boundaries: unchanged outer silhouette, seam positions, and panel outline.
- Visibility: dark, uninformative slot interiors; no visible fan, filter, or circuitry unless those parts are present in an approved reference.
If dimensions are part of the decision, keep them in the drawing or specification rather than expecting a prompt to enforce millimeter-accurate spacing. A dimensioned source can guide review, but a generated perspective image is not a dimensional proof.
Generate the scene around the approved product
Use nano banana pro for reference-guided presentation exploration, not as the authority on the grille geometry. Feed it the approved product view and ask for a desk setting, camera framing, and lighting that keep the vent visible. If your workflow uses an ai image generator to create a background separately, you can composite the unchanged product render over that background instead.
For a reference-guided scene, adapt this prompt to the actual approved view:
Use the supplied approved render as the product reference. Create a restrained editorial hero image of this compact desktop device on a pale wooden work surface in soft window light. Keep the camera angle close to the reference so the right-side panel remains visible. Preserve the housing silhouette, seams, controls, and the six separate horizontal vent slots exactly as shown. Keep the slot interiors dark and visually neutral. Do not add vents, mesh, fans, filters, labels, indicator lights, or new components. Change only the environment, surface, and lighting.This instruction may improve consistency, but it does not guarantee it. If the grille is altered, the reliable fix is not to keep regenerating until an image merely looks plausible. Reuse the approved product pixels where possible, or restore the approved vent region in a controlled composite.
Choose the right amount of AI editing
The appropriate method depends on whether the image must show the approved feature exactly or only communicate an early, unconstrained direction.
| Presentation need | Safer method | Main limitation |
|---|---|---|
| Approved grille in a new setting | Composite the unchanged product render over a generated or photographed background | Lighting and contact shadow may need manual matching |
| Minor lighting change around a visible grille | Edit the surrounding scene while protecting the product or vent region | Mask edges and reflections still require inspection |
| New camera angle not covered by the source | Render that view from the design source first, then build the presentation around it | A single image cannot verify unseen grille geometry |
For an exact review image, keeping the grille from the approved source is usually more defensible than recreating it through a prompt. When compositing, match overall exposure without painting over the slot edges. Keep a copy of the source view next to the final image so reviewers can compare them directly.
Inspect the feature before sharing the hero image
Check the final at normal presentation size, then zoom into the vent region. The close inspection catches errors that attractive lighting can conceal:
- Count every distinct opening. Do any slots merge, split, taper unexpectedly, or disappear into shadow?
- Compare the first and last slot with the approved source. Has the pattern shifted relative to the panel edges or seams?
- Look inside the openings. Did the image introduce blades, filter media, LEDs, or other unsupported parts?
- Check the surrounding surface. Are new fasteners, cut lines, or a second grille implied by highlights?
- View the image at its intended slide or page size. Is the feature legible enough for the decision being requested?
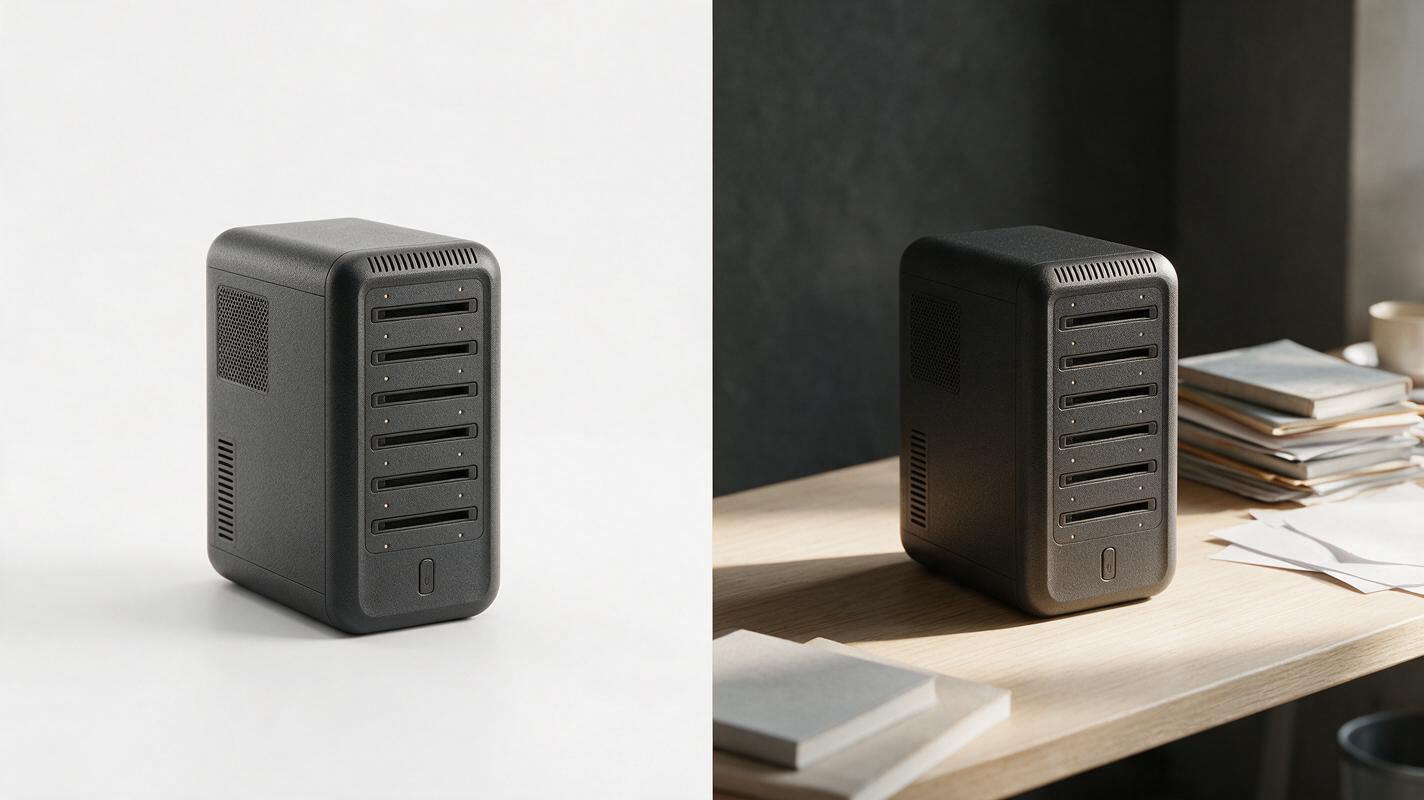
Put the approved source and final image side by side at similar scale. For a high-stakes review, overlay the vent regions at partial opacity; mismatched openings become easier to see than they are in two separate windows. If the source and final use different camera angles, do not mistake a visual comparison for a geometry check—return to a view rendered from the design source.
Keep visual detail separate from engineering claims
A grille render can communicate form, rhythm, and placement. It cannot establish airflow, dust protection, acoustic behavior, thermal performance, or manufacturability. A dramatic glow or visible fan may unintentionally suggest a working system that the concept has not specified.
Caption the image according to its purpose: appearance concept showing approved vent layout is clearer than a claim about cooling. If engineering validation is needed, use the relevant prototype, simulation, or test results separately. The presentation image should not stand in for them.
Final checklist
- The vent count, arrangement, and panel placement match an approved source.
- No unsupported internals are visible through the openings.
- The product silhouette and neighboring seams remain unchanged.
- The final image has been inspected both at full resolution and at presentation size.
- Any caption describes a concept image, not verified performance.
Have an approved product view ready? test this prompt yourself, then compare the generated grille against your source before using the result in a review.
Keywords
AI product rendering, vent grille rendering, industrial design AI, product visualization, reference-guided image editing, Nano Banana Pro, hardware concept presentation