Why AI Three-View Product Sheets Disagree—and How to Fix Them
AI-generated front, side, and rear product views can look convincing individually while depicting three different designs. This guide shows product designers how to build a more consistent concept sheet with controlled references, view-specific prompts, and a practical review checklist.
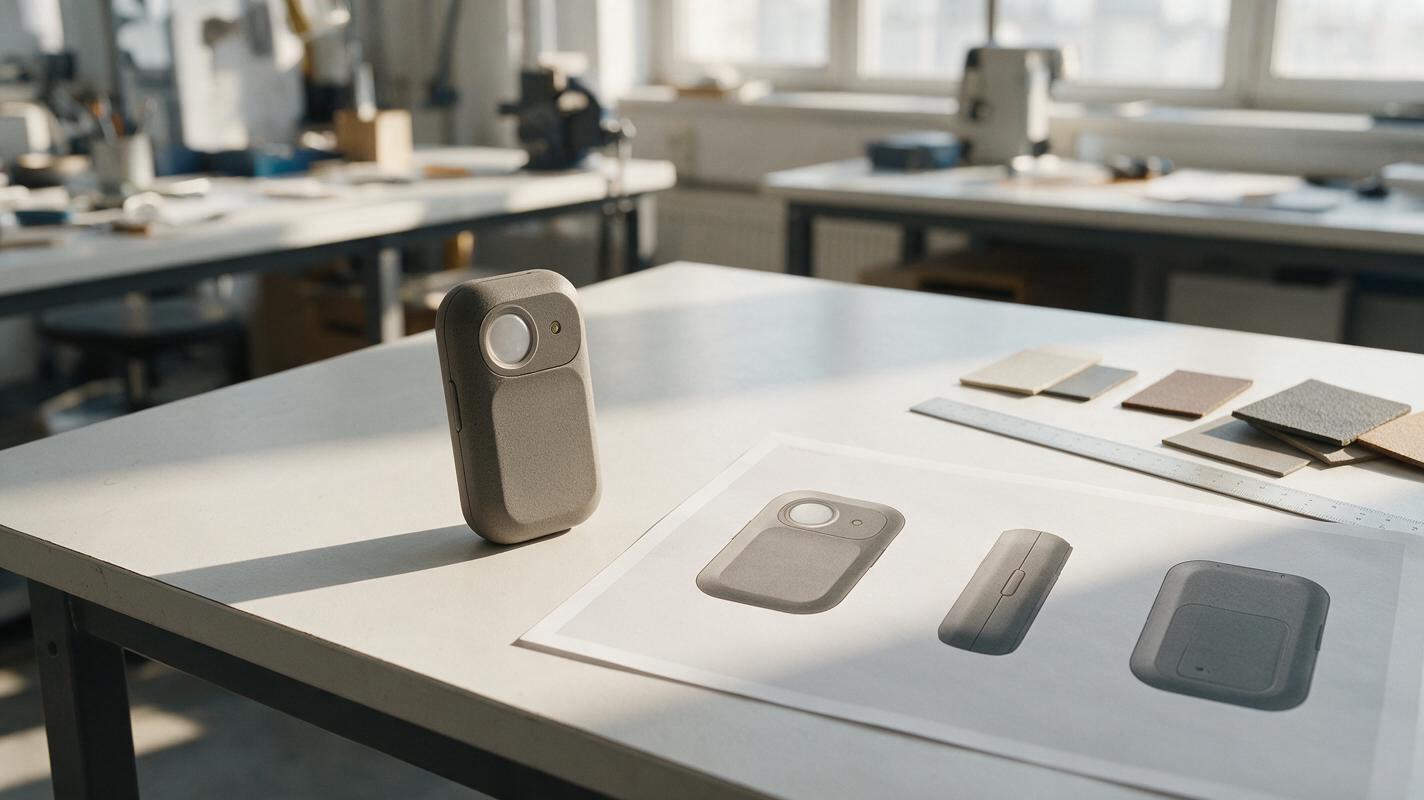
Table of contents
One product, three views—not three different designs
A three-view sheet is useful only if its front, side, and rear images describe the same object. AI often changes a product’s thickness, seam positions, button count, or mounting details between views. Those differences can mislead a hardware review even when each image looks polished. For concept presentations, the fix is to constrain what the model may interpret, generate each view against shared references, and check the assembled sheet before anyone treats it as a design record.
The method below uses Nano Banana Pro for reference-guided concept imagery. It can help visualize a design, but it cannot recover hidden geometry from one attractive hero render or replace measured CAD views.
Why the views disagree
A perspective render shows only part of a product. If the rear enclosure, side controls, or underside are hidden, an image model must invent them when asked for another angle. A single prompt requesting a complete three-view sheet adds another problem: the model may optimize each panel as a plausible image rather than maintain one consistent object across all panels.
The resulting errors tend to fall into three groups:
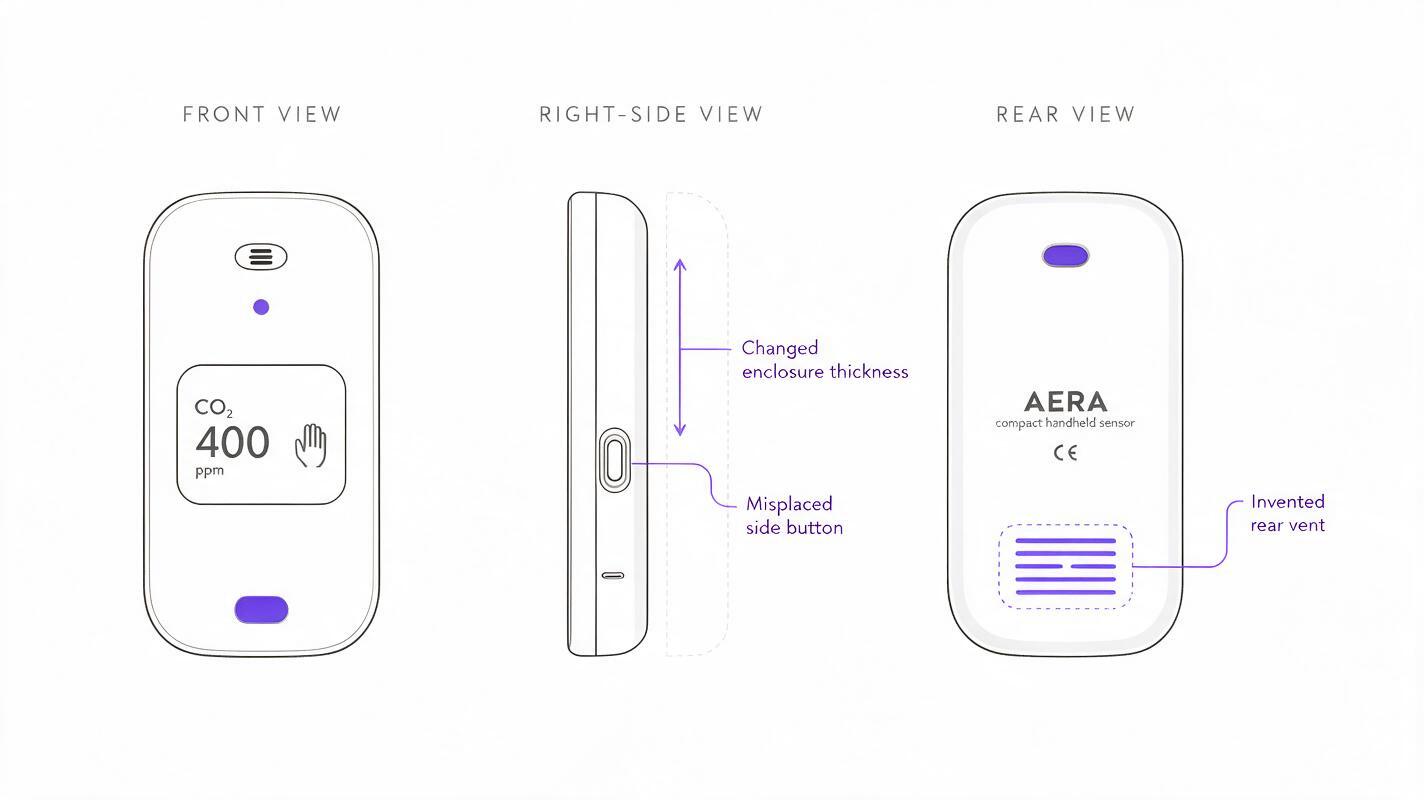
- Geometry drift: the side view becomes thicker than the front view implies, or corner radii change.
- Feature drift: a charging port moves, a button disappears, or a rear vent gains a new pattern.
- Presentation drift: one panel uses perspective while the others appear orthographic, making dimensions impossible to compare visually.
More forceful wording alone rarely resolves missing design information. Supply the information first, then use the prompt to limit interpretation.
Prepare a reference that answers each camera angle
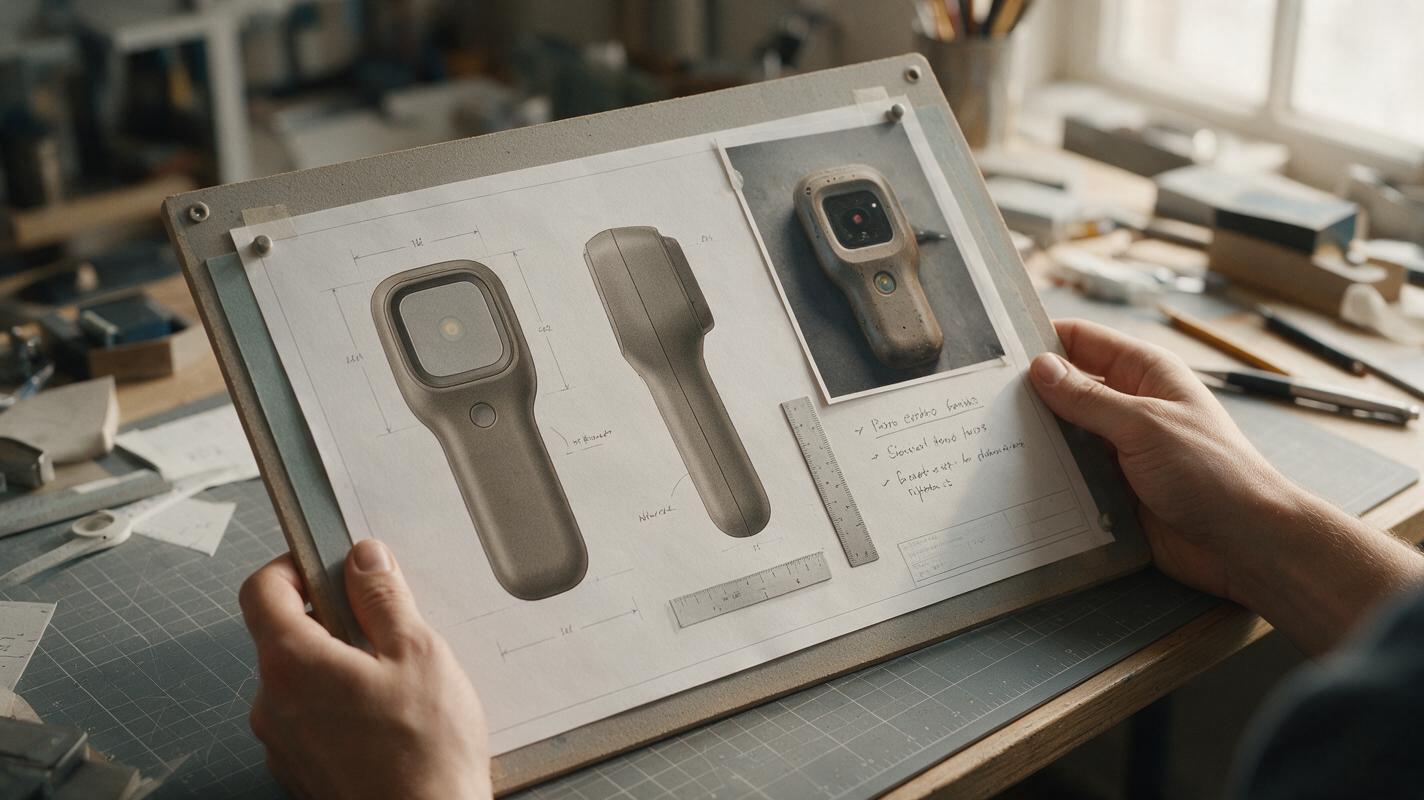
Use an approved CAD screenshot, measured drawing, physical prototype photo set, or reviewed concept sketch as the source of truth. For a handheld sensor, the reference package might include its front silhouette, side thickness, rear attachment, and the positions of its display, button, and USB-C opening. If you have only a front hero image, mark the unseen surfaces as undecided; do not let a generated rear view quietly establish the design.
Make a compact reference board with the available views on a neutral background. Add short labels for features that could otherwise be confused: “single button on right edge,” “recessed USB-C at bottom,” and “rear clip centered on vertical axis.” If exact dimensions matter, retain the dimensioned drawing separately. Generated pixels are not a substitute for measurements.
Review rule: When a feature is not documented, either omit that view from the presentation or label the generated interpretation as exploratory.
Generate separate views with one invariant brief
Use the same reference board and the same invariant description for every generation. Change only the requested camera angle. In an ai image generator that accepts image references, attach the board with each prompt rather than relying on an earlier output as the sole reference. Otherwise, small errors can compound from one view to the next.
For the handheld sensor example, keep this brief unchanged:
PRODUCT INVARIANTS: Compact handheld sensor. Rounded-rectangle enclosure with a flat front face and continuous soft-radius perimeter. One small display near the upper front. One circular button below the display. One button on the right edge. USB-C opening centered on the bottom edge. Rear clip centered on the rear vertical axis. Matte warm-gray enclosure; dark display window. Preserve the reference board's proportions and feature positions. Do not add controls, seams, vents, logos, or accessories.Then request each view independently:
Using the attached reference board and PRODUCT INVARIANTS, create a straight-on FRONT concept view. Center the product on a plain light-gray background. Use neutral studio lighting and a visually orthographic presentation: no dramatic perspective, rotation, or foreshortening. Show only surfaces visible from the front. Preserve the silhouette, display, and button positions from the references. No text or annotations.Using the attached reference board and PRODUCT INVARIANTS, create a straight-on RIGHT-SIDE concept view at the same apparent product height as the front view. Show the documented enclosure thickness, right-edge button, and bottom opening only where visible. Do not reinterpret the front silhouette or invent hidden features. Plain light-gray background; neutral studio lighting; no dramatic perspective. No text or annotations.Using the attached reference board and PRODUCT INVARIANTS, create a straight-on REAR concept view at the same apparent product height as the front view. Show the documented centered rear clip and preserve the outer silhouette. Do not invent vents, labels, screws, or attachment details absent from the references. Plain light-gray background; neutral studio lighting; no dramatic perspective. No text or annotations.If your reference does not establish the clip’s shape, remove the rear-view instruction rather than asking the model to guess. You can test this prompt yourself with a product whose front, side, and rear are already documented; that makes inconsistencies much easier to spot.
Assemble the sheet outside the generator
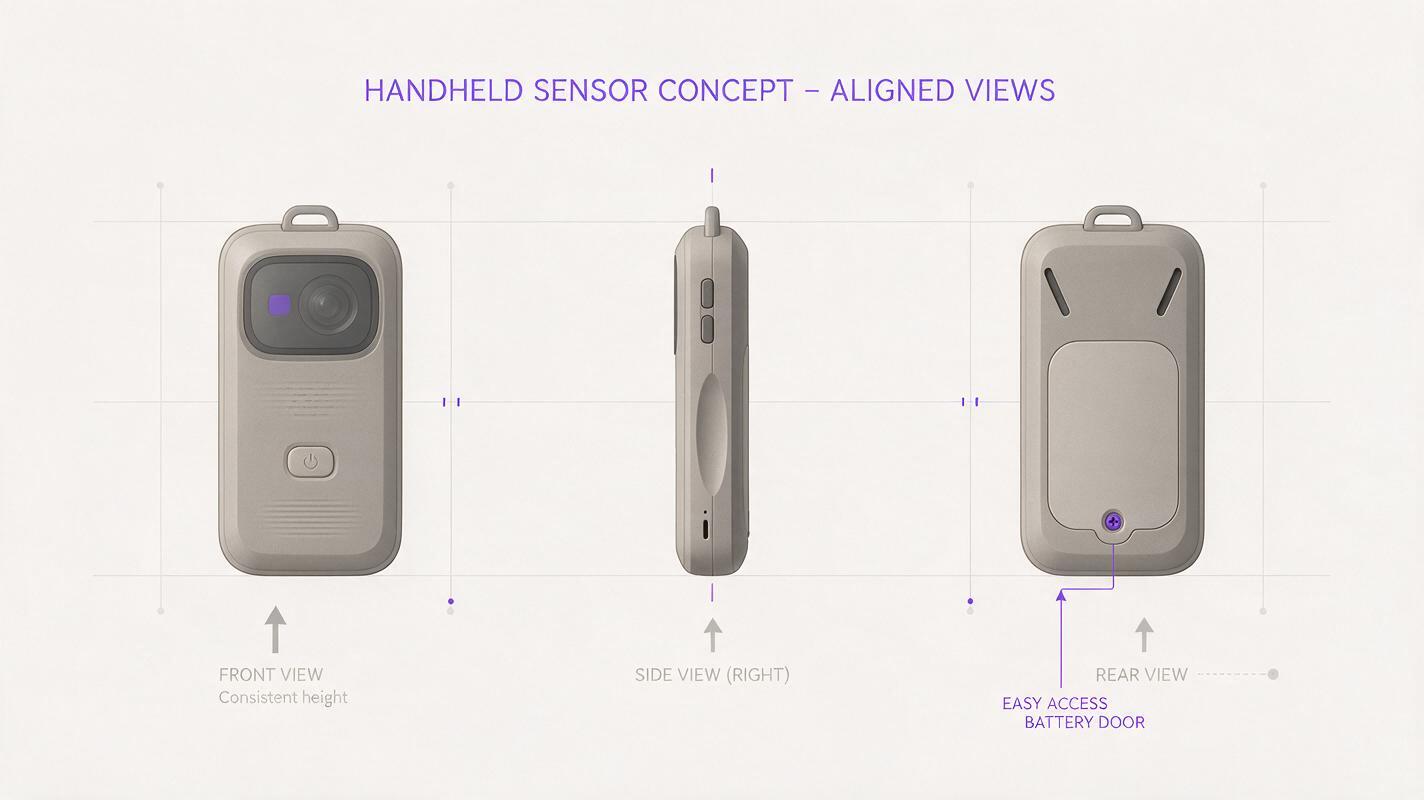
Select the strongest view for each angle, then place the images in a presentation or image-editing tool. Align their vertical centers and scale them against a known dimension or shared reference. Do not stretch one image to make its features appear to match: regenerate it if the enclosure proportions are wrong.
Add view labels in the layout tool, not inside the generated image. This keeps typography consistent and avoids accidental labels becoming part of the product. A simple front–right side–rear arrangement is enough for a concept review; generous spacing makes silhouette and feature differences easier to see.
Before export, compare the views using this table:
| Check | What should agree | If it does not |
|---|---|---|
| Overall form | Height, width, thickness, and corner treatment | Regenerate the outlier against the approved references. |
| Feature locations | Buttons, openings, seams, and clip positions across visible faces | Clarify the feature in the reference board and prompt. |
| Camera | Straight-on views without obvious foreshortening | Reject perspective-heavy results rather than correcting them by stretching. |
| Finish | Material, color, and surface transitions | Reuse the invariant finish description for the mismatched view. |
Know when a concept sheet is not a drawing
A consistent-looking sheet is suitable for discussing visual direction, apparent proportions, and whether a design reads clearly from multiple angles. It is not evidence that internal components fit, a clip can be manufactured, or openings meet tolerance requirements. For engineering handoff, use controlled CAD projections and dimensioned drawings; keep AI-assisted views clearly identified as concept visualization.
This distinction is especially important for unseen surfaces. If a rear panel was generated from incomplete references, state that it is a proposal awaiting design approval. An honest two-view sheet is more useful than a persuasive three-view sheet that invents a third of the product.
Final checklist
- Use approved references for every surface you intend to show.
- Keep product invariants identical across view-specific prompts.
- Generate views separately and reject perspective or feature drift.
- Align and label the selected images in a layout tool.
- Mark speculative geometry as exploratory, not production-ready.
Keywords
ai product design, three-view product sheet, product visualization, industrial design ai, Nano Banana Pro, reference-based generation, product design prompts