How to Make AI Short Drama Night Scenes Easy to Edit
Dark scenes become difficult to edit when faces, light sources, and background details change between generated shots. This tutorial shows how to establish one night-lighting state, generate stable anchor frames, divide action into exposure-safe units, and repair continuity without regenerating the entire scene.
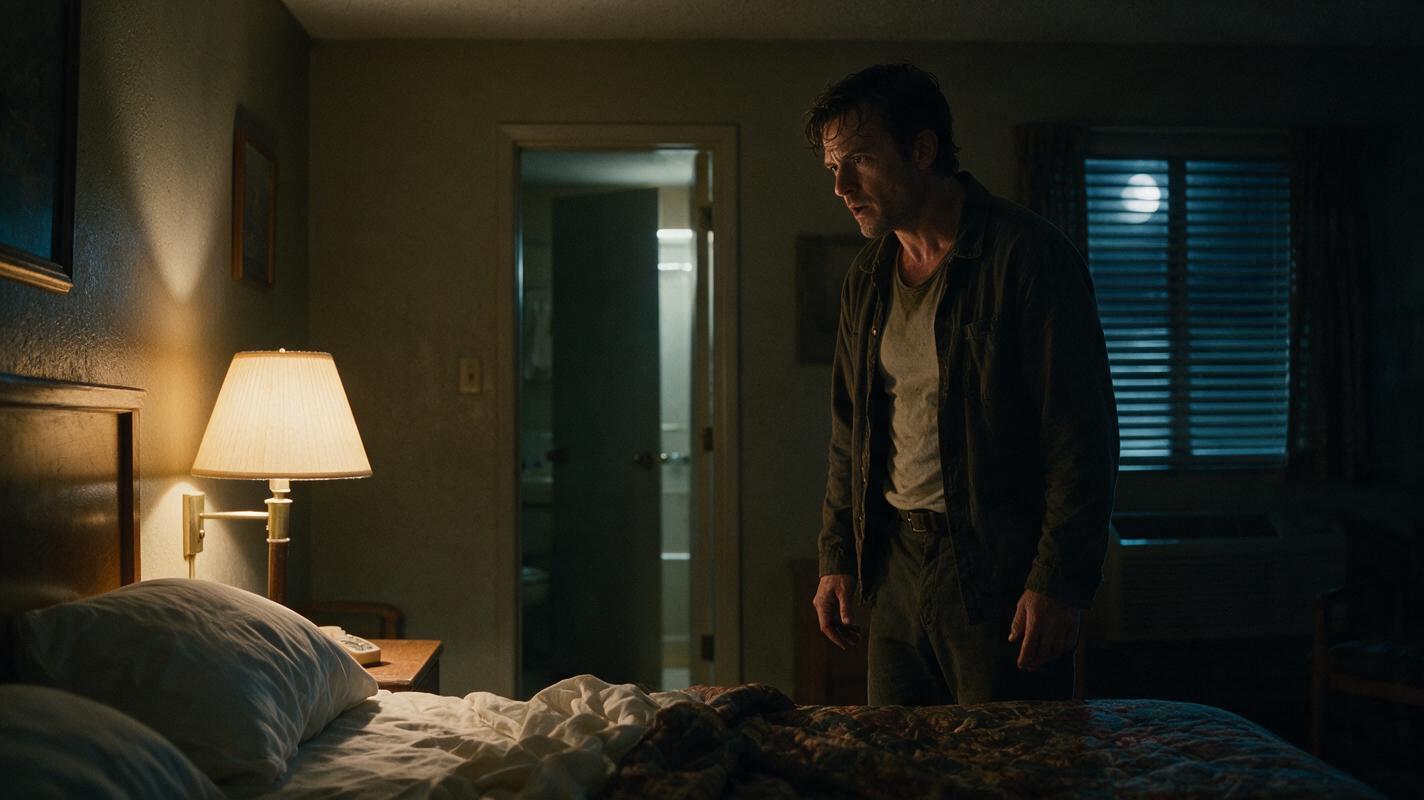
Table of contents
Build the night before you animate it
The fastest way to improve an AI-generated night scene is to lock one visible light source and one readable face-lighting rule before producing any motion.
A night scene should look dark, but it still needs enough controlled information to survive generation and editing. If one shot uses blue window light, the next uses a warm ceiling lamp, and the close-up loses the background entirely, the scene will feel assembled from unrelated locations.
This workflow treats darkness as a continuity system. You will establish a lighting state, make a clean anchor frame, divide the action into short visual units, animate within fixed exposure boundaries, and match the resulting clips in the edit. It works especially well for a vertical ai short drama, where the actor's face occupies much of the frame and small lighting changes are conspicuous.
Step 1 — Write a night-state card
Before writing shot prompts, describe what physically illuminates the location. Choose one motivated key source, one weaker secondary source, and a stable background cue.
For example, a motel-room confrontation might use:
- Key source: a warm bedside lamp camera-left.
- Secondary source: weak blue light entering through closed blinds.
- Background cue: a narrow strip of light under the bathroom door.
- Shadow rule: the right side of each face remains darker but retains detail.
- Color rule: warm skin against a cool, low-saturation room.
Keep this card short enough to paste into every visual prompt. Do not add several decorative sources merely to make the scene cinematic. Every extra lamp, sign, candle, or reflection becomes another element that can move or disappear.
Describe darkness through visible evidence: a dim practical lamp, soft falloff, restrained highlights, and detailed shadows. A prompt that only says “very dark” may remove information the editor needs.
NIGHT-STATE CARD
Location: small motel room after midnight
Motivated key: warm bedside lamp on camera-left
Secondary light: weak blue moonlight through closed blinds
Background anchor: thin light beneath bathroom door
Face rule: eyes visible, soft shadow detail, no crushed facial features
Palette: warm skin, cool gray-blue room, restrained saturation
Continuity rule: lamp position, blind pattern, and bathroom light remain unchanged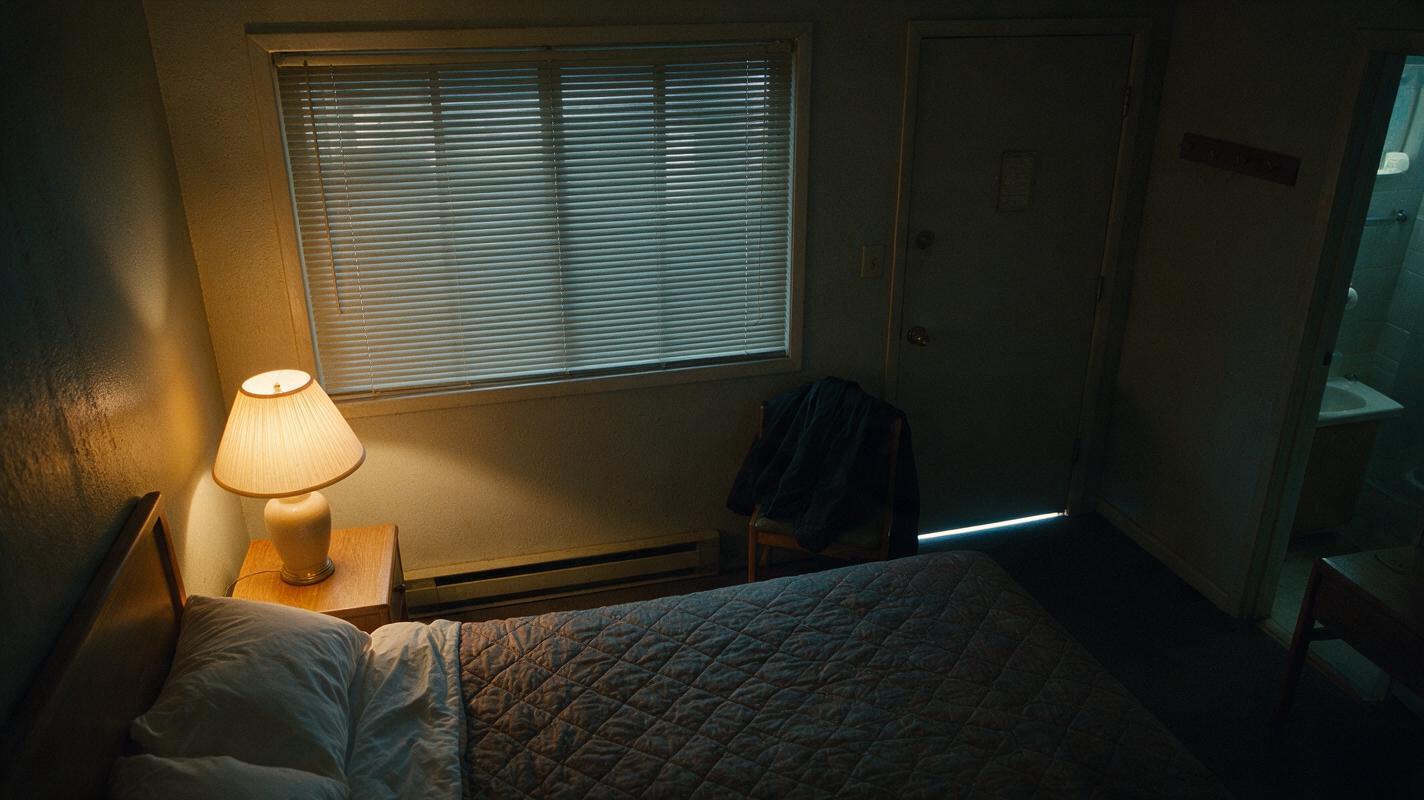
Step 2 — Generate a readable anchor frame
Create the scene's most important medium shot as a still image before generating video. This frame becomes the visual reference for lighting direction, costume color, set geometry, and facial exposure.
Stage the actor where the motivated key can plausibly reach the face. In a vertical frame, avoid placing the only light directly behind the performer unless the story specifically needs a silhouette. A three-quarter angle usually preserves facial structure while allowing the practical source or its glow to remain visible.
Check the frame at phone size. You should still be able to identify:
- the actor's eyes and expression;
- the direction of the main light;
- the separation between hair, clothing, and background;
- the location of one recurring set feature;
- the important prop, if the scene depends on one.
If those elements disappear when the image is reduced, fix the still rather than hoping motion generation will restore them.
Vertical cinematic medium shot in a small motel room after midnight. A worried woman stands beside a bed, turned three-quarters toward camera. One warm bedside lamp on camera-left softly illuminates her eyes and cheek, while weak blue light passes through closed blinds behind her. A narrow strip of light is visible beneath the bathroom door. Detailed shadows, restrained contrast, natural skin texture, dark gray coat separated from the background, stable room geometry, no additional light sources, no text.Step 3 — Divide the scene into exposure-safe shots
Do not ask one generated clip to follow a character from a dark hallway, through a doorway, and into a lamp-lit room. That action requires the image to reinterpret exposure, set geometry, and lighting direction at the same time.
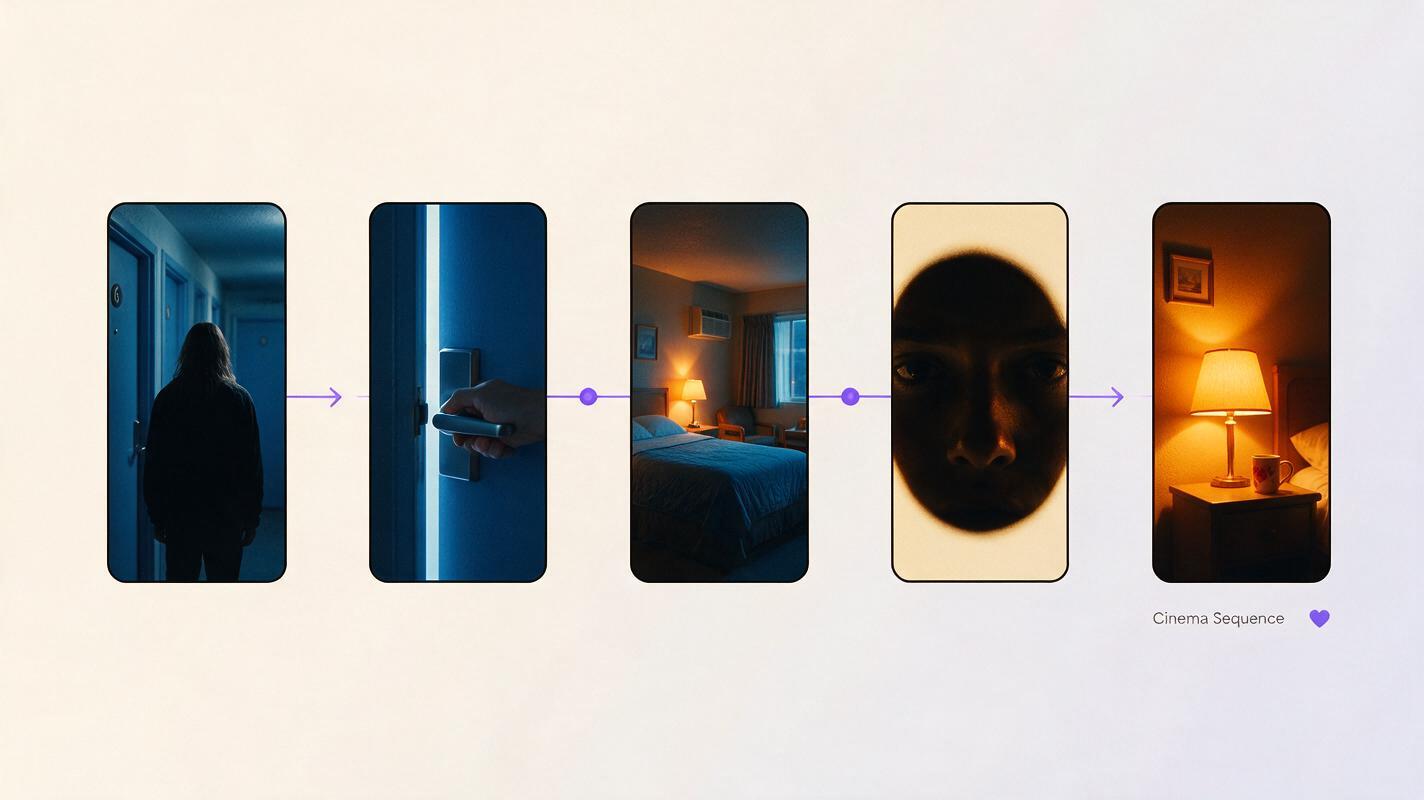
Instead, divide the scene at points where the lighting state would naturally change. A practical sequence could use a hallway approach, a hand opening the door, a cut to the established room angle, and a reaction after the character enters the lamp's light.
| Shot unit | Lighting responsibility | Editorial purpose |
|---|---|---|
| Hallway medium | Cool overhead spill remains constant | Establish approach and hesitation |
| Door-handle detail | Small edge highlight reveals the hand | Hide the location transition |
| Room medium | Warm lamp becomes the fixed key | Re-establish geography |
| Face close-up | Match the warm key direction | Deliver the emotional turn |
| Lamp or prop insert | Preserve highlight color and intensity | Bridge a continuity repair |
This is not merely a coverage plan. It prevents a single clip from having to invent a continuous exposure transition that may be difficult to reproduce in later shots.
Step 4 — Animate bounded movement
Use the approved anchor frame as the source for image to video. Ask for one primary body action, one restrained camera behavior, and no lighting transformation.
Good night-scene motion is usually smaller than the action described in the script. A glance toward the bathroom, a slow step into the lamp light, or a hand tightening around a key can carry tension without forcing the generator to rebuild the entire composition.
The woman hears a faint sound from the bathroom and slowly turns her eyes toward the door, then slightly raises her chin. Her body remains nearly still. The camera makes a subtle controlled push-in. The warm bedside lamp stays fixed on camera-left; blue blind light and the strip beneath the bathroom door remain unchanged. Preserve facial identity, room geometry, costume, shadow detail, and exposure. No flickering light, no new light sources, no camera orbit.Review the output without sound first. Watch the lamp, the shadow side of the face, the blind pattern, and the dark edges of the costume. If a continuity element changes, shorten the motion or reduce the number of moving parts before changing the entire visual design.
Step 5 — Cut around lighting failures
A useful performance should not be discarded because the final frames develop a flicker or an unstable background. Find the clean interval and build the edit around it.
Several repairs work particularly well in dark scenes:
- Cut on a head turn: leave the medium shot as the actor begins turning and complete the look in a close-up.
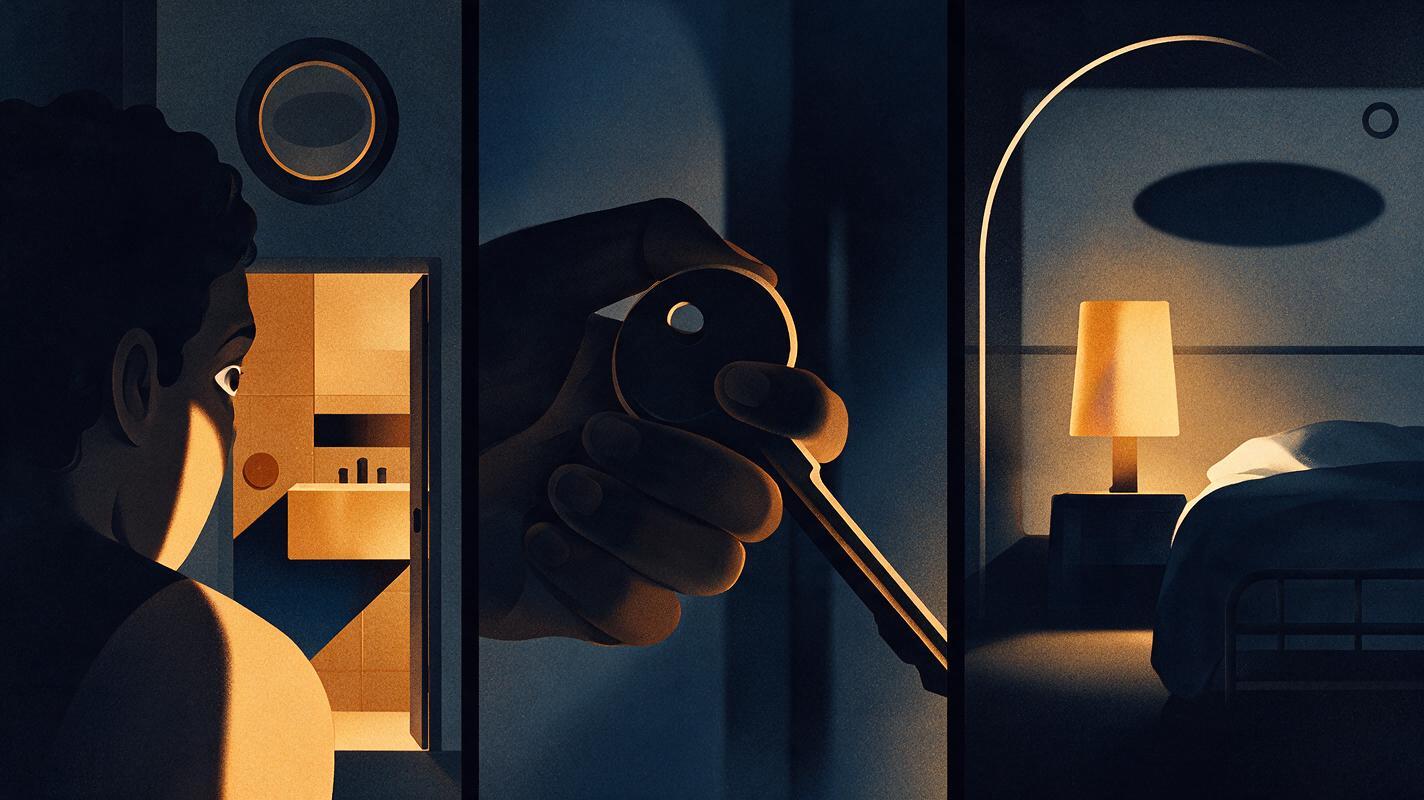
- Use a motivated insert: cut to the lamp, door gap, key, shoe, or moving shadow while replacing damaged frames.
- Carry dialogue over the cut: continuous audio can connect two independently generated visual units.
- Hold on the listener: a stable reaction can replace a technically weak speaking shot.
- End before the exposure drifts: a short clean clip is more useful than a longer clip with unstable light.
Do not repair every mismatch by making the whole scene darker. That may hide background errors, but it can also remove the actor's expression and weaken the story beat.
Step 6 — Match the sequence without crushing it
Once the shots are assembled, match them in story order. Begin with overall brightness, then adjust color temperature, contrast, and saturation. Use the approved anchor frame as the reference rather than grading each clip independently.
Pay special attention to the transition between shot sizes. A close-up may appear brighter simply because the face occupies more of the image. Match the perceived direction and softness of the key light before trying to make every frame numerically identical.
Use this review order:
- Confirm that the motivated key comes from the same side.
- Match the warmth or coolness of skin and practical lights.
- Restore enough shadow detail to read eyes, hands, and essential props.
- Reduce distracting highlight pulses or isolated color shifts.
- Watch the complete scene on a phone-sized display.
Sound can reinforce the illusion of one continuous space. A stable room tone, electrical hum, rain bed, or distant traffic layer can bridge clips whose visual textures are not perfectly identical. Keep such sound motivated by the location rather than adding noise simply to fill silence.
Step 7 — Save the lighting language for later episodes
For an AI series video, preserve the night-state card, anchor frame, wardrobe reference, and approved prompt language after the edit. If the motel room returns, reuse the same source positions and palette before introducing new action.
Store distinct states when the story changes the lighting. “Lamp on,” “lamp switched off,” and “bathroom door opened” should be treated as separate continuity states, each with its own reference frame. This prevents a later episode from accidentally combining incompatible versions of the room.
When the scene is ready to test, try these models for free with the anchor-frame and bounded-motion prompts above, then compare the outputs based on lighting stability rather than spectacle.
Final checklist
- One motivated key source is visible or physically plausible.
- The actor's eyes and expression remain readable at phone size.
- The anchor frame establishes exposure, palette, and set geometry.
- Each generated clip contains one main action.
- Doorways and major exposure changes are separated by cuts.
- Insert shots are planned for likely continuity repairs.
- Every shot preserves the same key-light direction.
- Shadow detail survives the final grade.
- Recurring locations have saved lighting-state references.
FAQ
Should an AI microdrama night scene be generated brighter than the final look?
It can help to retain readable facial and shadow information during generation, then shape the darkness during grading. However, the generated frame should already communicate the intended light direction and mood; grading cannot reliably repair missing facial features or inconsistent source positions.
Can text prompts alone maintain night-scene continuity?
Prompts define the rules, but a stable reference frame gives the production a concrete visual target. Use both: a short repeated night-state description for semantic consistency and an approved frame for composition, character, and lighting continuity.
What should I regenerate when only the light flickers?
First determine whether the clean portion can be shortened or covered with an insert. If the flicker affects the essential performance, regenerate only that shot with less movement and an explicit instruction to keep exposure and light sources unchanged.
How do I handle a character switching off a lamp?
Treat the action as two lighting states. Generate the lamp-on setup, use a hand or switch insert for the transition, and begin a separately referenced lamp-off shot after the cut. This is more controllable than demanding a complete illumination change inside a complex performance clip.
Keywords
ai short drama, ai microdrama, ai drama generator, ai short film generator, ai series video, vertical drama video
Decision: PUBLISH — This tutorial addresses a distinct production problem with an ordered, reusable workflow for maintaining editable lighting continuity in generated night scenes.