How to Keep Rain Consistent in an AI Short Drama
Rain can add urgency and atmosphere to an AI short drama, but changing droplet density, wet clothing, and street reflections quickly expose continuity errors. This tutorial uses weather states, clean reference frames, bounded motion, and insert-based repairs to keep a rainy scene coherent across multiple shots.
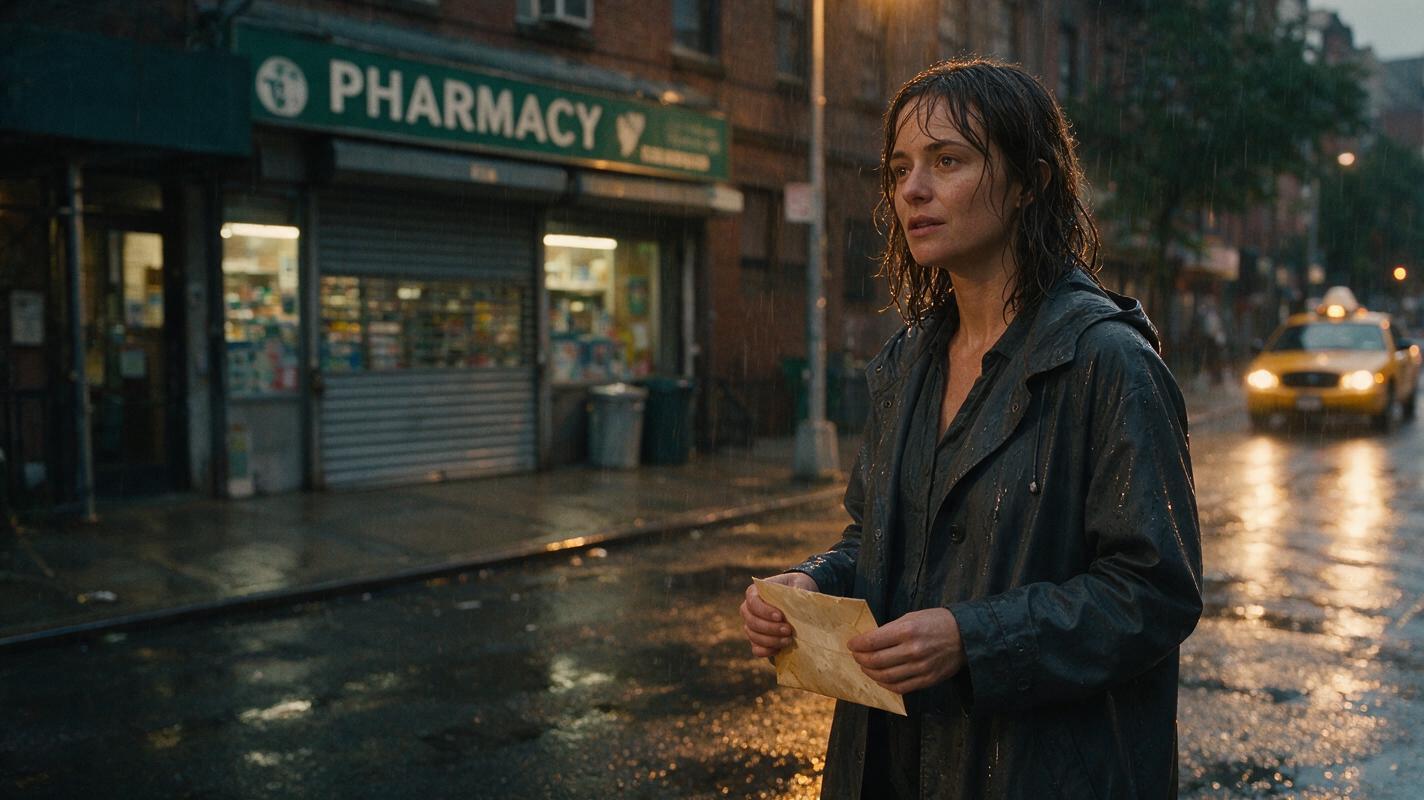
Table of contents
Build the rain as a continuity system, not a visual effect
The safest way to create a rainy ai short drama is to separate the scene into three controllable layers: the location, the characters’ wetness, and the visible rainfall. Lock those layers in still images before generating motion.
This tutorial follows a fictional scene in which Mina waits outside a closed neighborhood pharmacy, discovers a key in a paper envelope, and runs toward an approaching taxi. Because the shots belong to one continuous event, the pavement, coat, hair, envelope, and rain intensity must progress logically.
Continuity rule: Rain may intensify during a scene, but it should not randomly reset between adjacent shots.
Step 1 — Define the character’s dry-to-wet progression
Do not describe Mina as merely “wet” in every prompt. That gives the model permission to reinterpret her appearance. Create distinct wetness states that can be assigned to individual shots.
| State | Hair and face | Wardrobe | Best use |
|---|---|---|---|
| R0 | Dry hair, clean face | Matte coat with no dark patches | Arrival or covered doorway |
| R1 | A few damp strands near temples | Light moisture on shoulders | First exposure to rain |
| R2 | Hair visibly damp and grouped | Darkened shoulders and sleeves | Main dialogue and discovery |
| R3 | Wet hair against cheeks | Saturated upper coat with runoff | Run to taxi or scene climax |
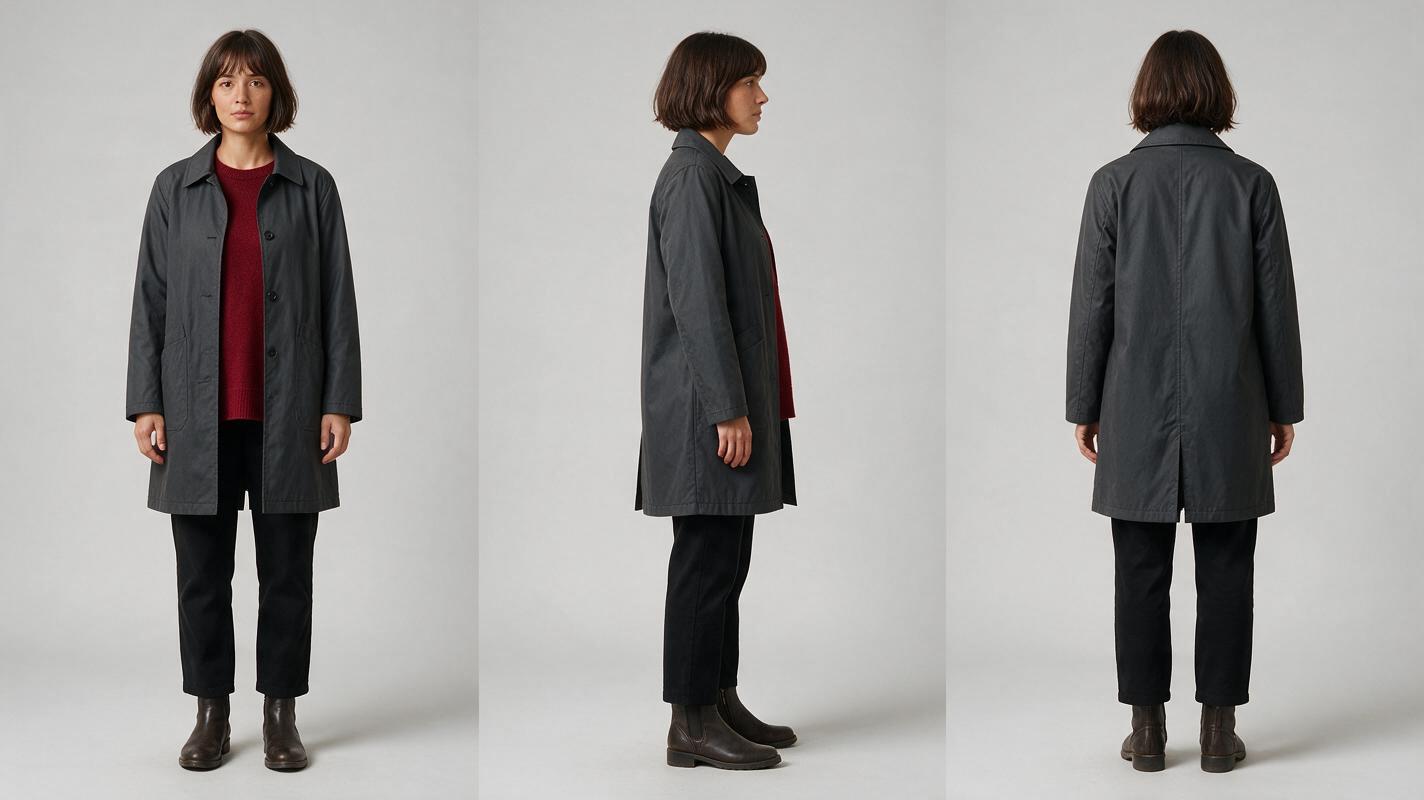
Generate a neutral three-view reference sheet before adding weather. This protects Mina’s facial structure, hairstyle, coat silhouette, and footwear from being redesigned when rain effects are introduced.
Photorealistic three-panel character reference sheet of the same fictional woman, Mina, age 31, oval face, dark brown chin-length bob, charcoal knee-length raincoat, burgundy sweater, black straight-leg trousers, practical dark boots; identical face, body proportions, hairstyle and clothing in every panel; front view, exact side profile, exact back view; relaxed neutral posture, arms slightly separated from torso; dry wardrobe with no rain effects; neutral light-gray seamless studio background; landscape 16:9; soft even studio lighting; full body visible with generous margins; no text, labels, logos, props or interface elements. MANDATORY CAMERA: eye-level orthographic-style character documentation, consistent focal length and scale across all three panels.Save the approved sheet independently from rainy scene frames. It remains the identity source, while wetness states become temporary scene conditions.
Step 2 — Establish one reusable rainy location
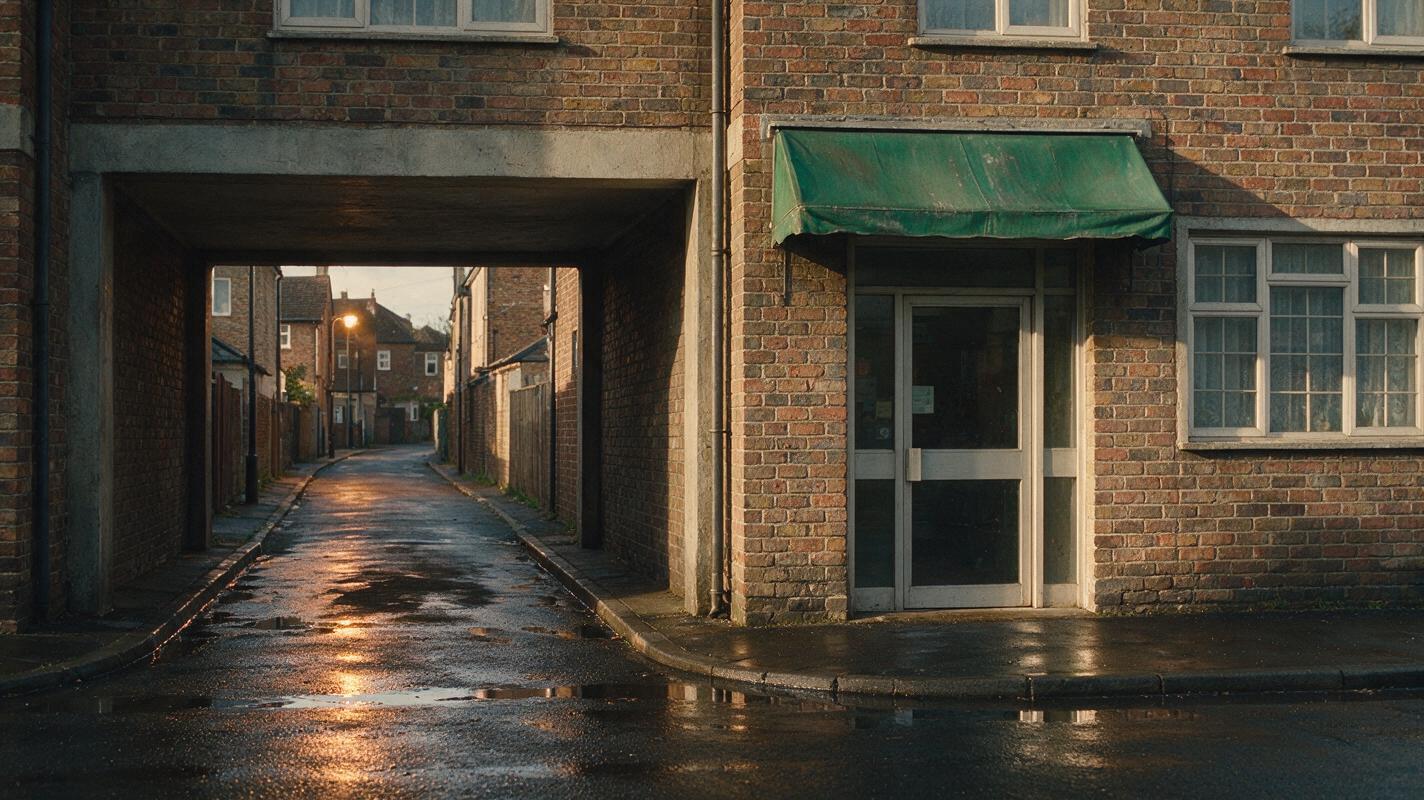
Rain continuity becomes easier when the environment has recognizable anchors. For the pharmacy exterior, keep the doorway, awning, drainpipe, curb, streetlamp, and taxi approach lane in fixed positions.
Generate a clean location plate with wet surfaces but without a character. This image defines architecture, color, lighting direction, reflections, and the approximate rain level. It can also supply empty inserts when a generated performance shot fails.
Cinematic editorial-realism establishing frame of a small closed neighborhood pharmacy on a narrow residential street during steady evening rain; worn green awning, recessed glass doorway, brick wall, metal drainpipe, shallow curbside puddles, warm streetlamp reflected across wet asphalt, believable lived-in urban details, empty sidewalk, no people or vehicles; rain visible mainly against the dark brick and lamplight, restrained natural reflections, no signs with readable text, no logos; landscape 16:9. MANDATORY CAMERA: locked eye-level wide shot from across the street, 35mm lens look, straight horizon, doorway placed on the right third, open approach lane on the left.A strong location plate does not need rain covering every pixel. Rain reads through contrast: streaks against dark surfaces, splashes in puddles, water leaving the drainpipe, and reflections disturbed by impact.
Step 3 — Convert the scene into weather-state shot cards
Write each shot as a combination of story action and continuity state. This prevents a close-up from becoming a different storm simply because it was generated separately.
| Shot | Story action | Wetness | Rain | Continuity evidence |
|---|---|---|---|---|
| A | Mina leaves the awning | R1 | Steady | Light shoulder moisture |
| B | She notices the envelope | R2 | Steady | Damp hair and wet sleeve |
| C | Key revealed in her palm | R2 | Mostly off-frame | Water beads on hand |
| D | Taxi light appears | R2 | Steady | Matching pavement reflections |
| E | She runs from the pharmacy | R3 | Steady to heavy | Coat runoff and puddle splashes |
Keep the increase from R1 to R3 directional. If Shot D accidentally shows dry hair, reject or repair it rather than accepting a backward jump.
Step 4 — Generate anchor frames before motion
Create one still anchor for every important camera setup: wide exterior, medium reaction, hand insert, taxi point of view, and running profile. Use the same character sheet and location plate as references wherever the selected tool permits.
A practical anchor-frame prompt should repeat fixed facts before introducing action:
Use the approved Mina identity reference and pharmacy exterior reference. Medium close-up of Mina under steady evening rain, wetness state R2: damp chin-length dark brown bob with several strands against her temples, charcoal raincoat visibly darkened across both shoulders and upper sleeves, burgundy sweater visible at the collar. She looks down at a small cream paper envelope held near chest height, concerned but controlled expression. Preserve the pharmacy doorway, green awning and warm streetlamp direction from the location reference. Natural skin texture, restrained cinematic contrast, believable water droplets, no duplicate person, no umbrella, no wardrobe change, no readable text. MANDATORY CAMERA: eye-level true three-quarter view, chest-up framing, 50mm lens look, Mina on the left third, gaze directed down and right, landscape 16:9.Approve identity, wetness, screen direction, and prop state while the frame is still static. Fixing those elements after motion is usually less predictable.
Step 5 — Animate bounded actions instead of the whole storm
Use image to video only after the anchor frame is correct. Ask for one dramatic action per clip and keep weather motion subordinate to the performance.
- Reaction clip: Mina lowers her gaze and tightens her grip on the envelope.
- Reveal clip: Her thumb opens the envelope and the key becomes visible.
- Decision clip: She looks toward the taxi light.
- Exit clip: She turns and takes two urgent steps into the street.
Animate from the supplied anchor frame. Mina lowers her eyes toward the envelope, takes one controlled breath, and tightens her fingers slightly. Preserve her facial identity, damp bob haircut, charcoal coat, R2 wetness pattern, envelope shape, background architecture and warm streetlamp direction. Steady rainfall continues at unchanged density and direction; subtle droplets strike her shoulders and the pavement. No camera orbit, no zoom, no new people, no duplicate limbs, no wardrobe transformation, no sudden wind, no lightning. MANDATORY CAMERA: locked medium close-up with only minimal natural handheld micro-movement; action remains within the existing frame.Large camera moves, flapping clothes, heavy wind, facial acting, hand interaction, and dense rain all competing in one generation create too many variables. Split them across shots.
Step 6 — Diagnose drift with a side-by-side continuity strip
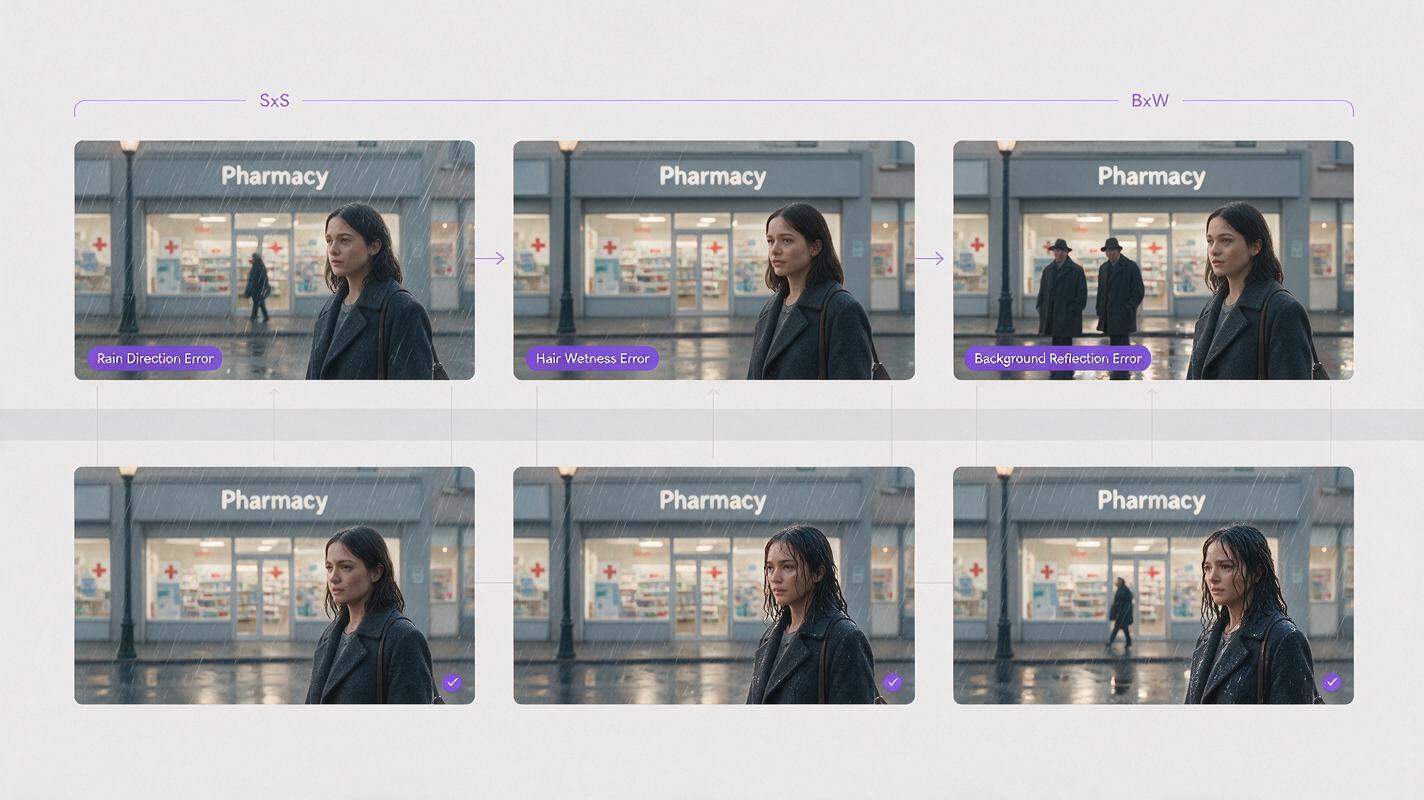
Place adjacent frames together and inspect them as a sequence rather than as attractive individual images. A useful continuity strip compares the failed version with the approved progression.
Create a neutral side-by-side cinematic continuity comparison containing six photorealistic frames from the same rainy pharmacy scene, three frames on the left showing failure and three corrected frames on the right; the failure sequence shows inconsistent rain direction, abruptly dry hair, disappearing pavement reflections and a duplicated background figure; the corrected sequence shows the same fictional woman, matching charcoal coat, progressively wetter hair, stable steady rain direction, consistent streetlamp reflections and no extra person; identical pharmacy location and coherent camera geography throughout; no text, labels, logos, arrows, interface chrome or brand marks; landscape 16:9. MANDATORY LAYOUT: two equal horizontal rows of three frames with thin neutral gutters, matching shot sizes vertically for direct visual comparison.Check four zones in order:
- Face and hair: identity, hair length, wetness, and strand placement.
- Wardrobe: coat color, collar, closure, and darkened water areas.
- Weather: rain angle, apparent density, wind direction, and splash scale.
- Environment: puddles, reflections, traffic position, and background people.
Render alternatives only for the failed shot. Rebuilding the entire sequence can replace small errors with new continuity problems.
Step 7 — Hide difficult transitions with evidence inserts
Some weather changes are easier to communicate through inserts than through continuous transformation. If Mina must move from R2 to R3, cut to rain overflowing from the awning, the key in her wet palm, or boots splashing into a deeper puddle. Return to Mina in the wetter state after the insert.
These shots make the progression feel motivated while reducing the need to generate a flawless visible transformation. They also help a vertical drama video because close details remain legible in a narrow frame.
Editing principle: Show evidence of increasing rain before revealing the increased wetness state.
When comparing generation paths for anchor frames, motion, and selective repairs, you can try these models for free before committing the full scene to one workflow.
FAQ
Should rain be generated with the character or added later?
Use enough rain during generation to influence performance, clothing, splashes, and lighting. Fine foreground streaks can be added during compositing, but overlays alone will not make dry hair, fabric, hands, or pavement appear convincingly wet.
Why does rain change direction between shots?
Each generation may reinterpret wind and camera geometry. Repeat the rain direction, camera position, and lighting source in every shot prompt, then reject frames whose streak angle conflicts with neighboring shots.
How can rain remain visible without hiding the actor’s face?
Place visible rain against darker background areas and motivated light rather than demanding dense foreground rain. Keep the face readable with controlled contrast and use puddles, shoulders, and backlight to carry the weather information.
What is the fastest repair for a suddenly dry shot?
First try a replacement anchor using the correct wetness state. If the performance is irreplaceable, shorten the shot, cut away to a weather insert, and return on a correctly wet frame.
Sources
- Runway product documentation — current information about available image and video generation workflows.
- Adobe Firefly AI video generator — official overview of current video-generation capabilities.
Final checklist
- Approve a dry three-view character sheet before adding rain.
- Define named wetness states and assign one to every shot.
- Lock location geometry, lighting direction, and pavement reflections.
- Generate still anchor frames before animating performances.
- Use one bounded action per motion clip.
- Compare adjacent frames for rain, wardrobe, hair, and background drift.
- Use evidence inserts to bridge difficult weather-state changes.
Keywords
ai short drama, ai microdrama, ai short film generator, ai drama generator, ai series video, vertical drama video