AI Skincare Texture Shots: Prompts for Realistic Cream and Serum Ads
Learn how to create realistic AI skincare texture shots for creams, gels, serums and balms without making the formula look physically inaccurate. This tutorial covers reference capture, model testing, reusable prompts, troubleshooting and final ad-quality checks.
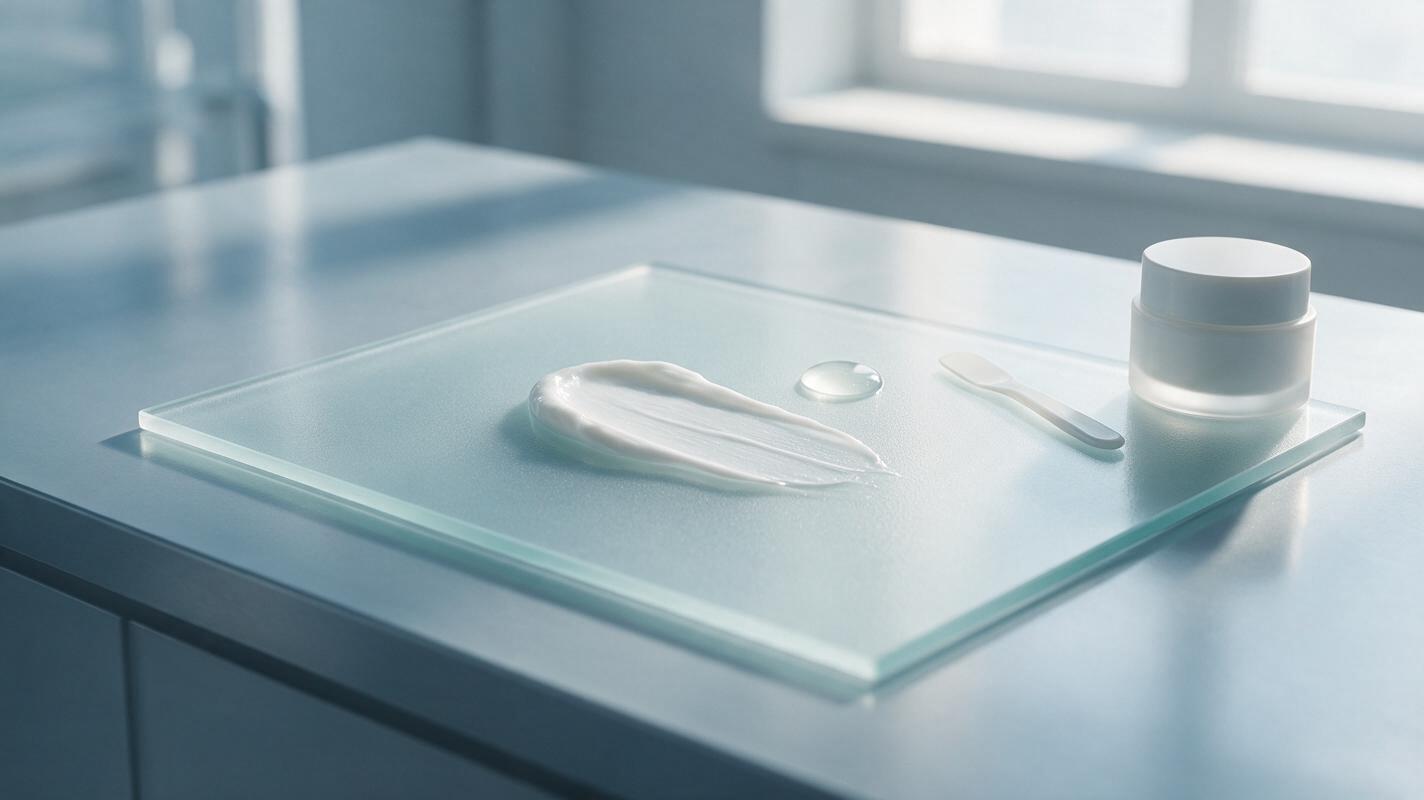
Table of contents
Create believable skincare texture shots without changing the formula
A skincare texture image succeeds when viewers can almost feel the cream, gel or serum—and fails when the product resembles frosting, plastic or an entirely different formula. The safest AI workflow begins with real texture references, translates their physical properties into precise language and generates controlled variations for ads, product pages and social campaigns.
This method is designed for beauty brands, cosmetics marketers and creators who need more visual variety than a conventional texture shoot provides, but still need the result to remain faithful to the product.
Accuracy rule: AI can visualize approved product characteristics, but it cannot verify viscosity, ingredients, absorption or clinical performance. Treat the real formula and approved claim sheet as the source of truth.
Step 1 — Build a texture reference sheet
Do not begin with a generic prompt such as “luxury moisturizer smear.” Different moisturizers can be glossy or satin, dense or fluid, opaque or translucent. Capture the actual behavior of your formula before opening an ai image generator.
Place a small amount of product on a clean glass, ceramic or acrylic surface and photograph it in indirect daylight. A phone camera is sufficient if it can focus closely and avoids aggressive beauty filters. Capture:
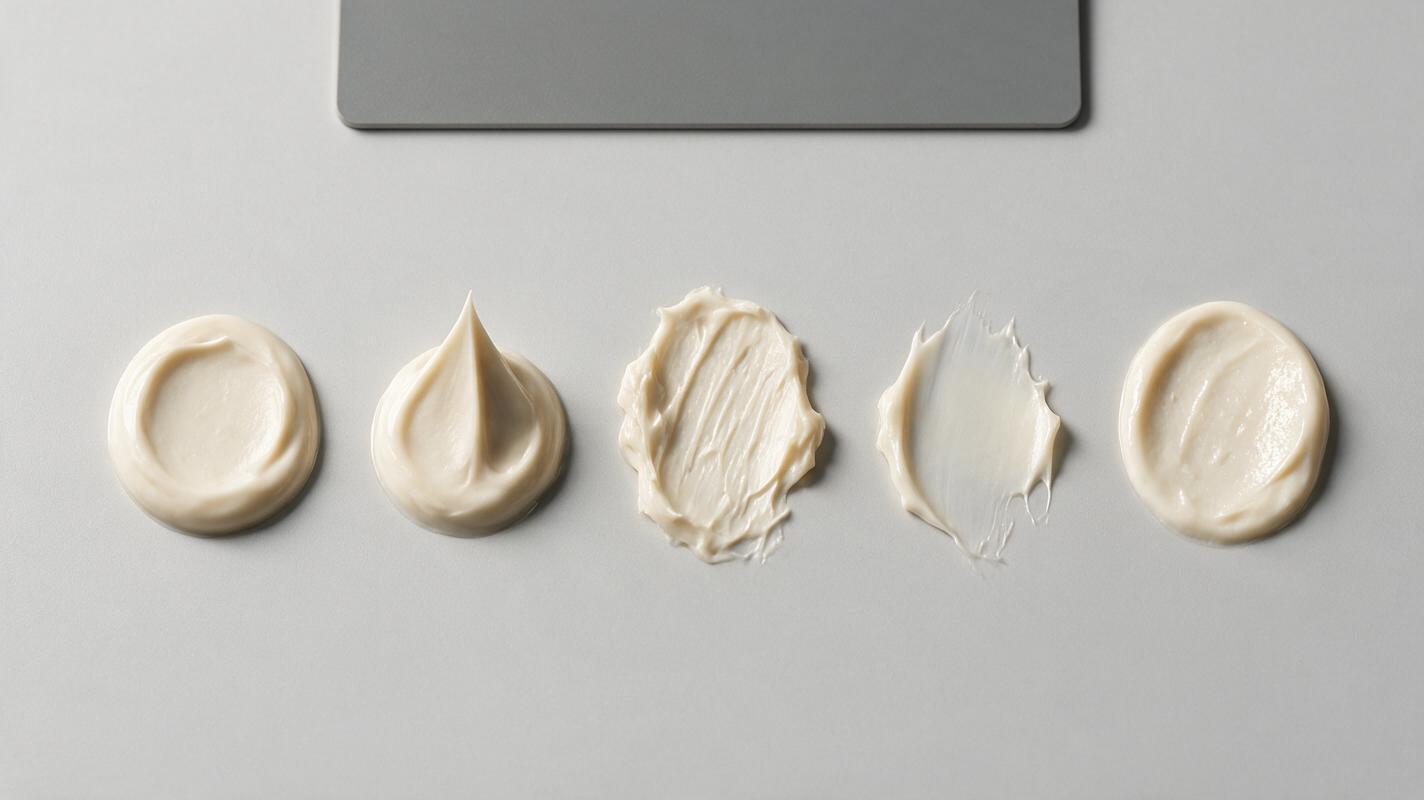
- Undisturbed product: the surface inside the jar, tube opening or dropper.
- Peak behavior: whether a lifted dollop forms a stiff point, rounded peak or collapsing fold.
- Smear edge: thick, feathered, watery, translucent or sharply defined.
- Light response: wet gloss, pearlescent reflection, satin sheen or matte diffusion.
- Movement: a tilted droplet, stretched strand or slowly spreading pool.
Write a short texture profile beside the images. For example: “cool-toned translucent gel, medium viscosity, rounded edges, suspended microbubbles, wet specular highlights, no stringiness.” This description becomes more useful than an ingredient name alone.
Step 2 — Choose generation, editing or compositing
The right method depends on what must remain exact. A free-form text to image workflow is useful for early art direction, while reference-based editing is usually safer when the texture already has a recognizable appearance.
| Method | Best use | Main risk |
|---|---|---|
| Text-only generation | Moodboards, backgrounds and broad texture concepts | The formula may look like another product category |
| Reference-led generation | New compositions based on a real smear or droplet | Small changes in gloss, color or viscosity |
| AI background plus real texture | High-accuracy ecommerce and campaign layouts | Lighting mismatch between the photographed and generated elements |
| Full composite | Ads containing an exact packshot, exact texture and generated set | Unconvincing shadows or contact points |
For claim-sensitive skincare advertising, a strong default is to retain the real photographed texture and use AI to create the surface, lighting environment or surrounding props. Full generation is more appropriate when the image is clearly conceptual and does not imply a literal product demonstration.
Step 3 — Run a controlled model test
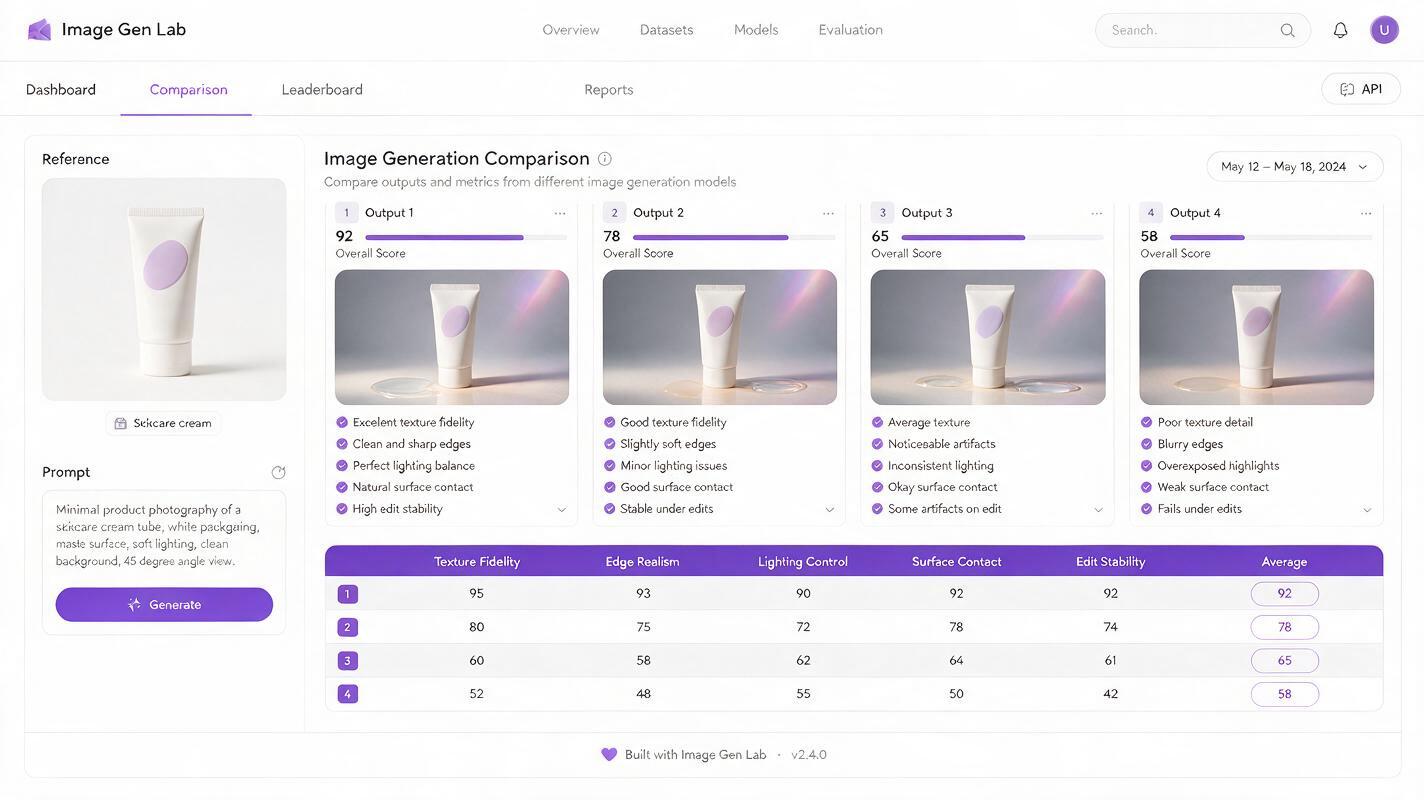
Models and interfaces change, so avoid choosing one from promotional examples alone. Test the currently available versions of candidates such as GPT Image, Seedream, Flux, Midjourney or Nano Banana Pro with the same reference, aspect ratio and creative brief.
Create a four-image test for each candidate and score the output from one to five on:
- Texture fidelity: does the material retain the reference viscosity and finish?
- Edge realism: do thin smear edges behave naturally?
- Lighting control: are highlights detailed rather than clipped?
- Surface interaction: does the product appear to touch the tray or glass?
- Edit stability: can you change the composition without redesigning the formula?
Do not evaluate the models using different prompts. A controlled comparison reveals whether a weak result comes from the model, the reference or the wording. Select the model that preserves the most important physical characteristic—not simply the one that creates the most dramatic image.
Step 4 — Write prompts from physical properties
A reliable cosmetic texture prompt describes seven elements in order: image purpose, formula appearance, physical behavior, composition, surface, lighting and exclusions. Avoid empty adjectives such as “premium” until the material itself is defined.
Macro skincare advertising photograph of a single moisturizer smear.
Match the supplied texture reference: warm white opaque cream, dense but spreadable,
soft rounded ridges, satin finish with restrained moist highlights, no bubbles.
One curved swipe made with a cosmetic spatula across pale frosted glass.
Side lighting from a large diffused source reveals ridge depth and thin feathered edges.
Minimal off-white background, clean negative space on the upper right for ad copy.
True-to-life cosmetic product photography, restrained retouching, high micro-detail.
Do not create whipped-cream peaks, food styling, melting liquid, glitter or text.
The same structure works for other formats. Replace only the characteristics confirmed by your reference:
- Serum: transparent or tinted, low-to-medium viscosity, smooth meniscus, controlled droplet trail.
- Gel: translucent body, soft internal refraction, rounded edge, possible approved bubbles.
- Balm: dense semi-solid surface, shallow scoop mark, waxy or glossy finish as observed.
- Clay mask: opaque mineral paste, matte body, irregular spatula ridges, limited shine.
Words associated with food—whipped, delicious, frosting, syrup or mousse—often push the visual away from cosmetic product photography. Use measurable physical language instead.
Step 5 — Generate a useful campaign set
One hero image is rarely enough for a skincare launch. Generate a planned set in which every frame has a different communication job while retaining the same color, viscosity and finish.
| Shot | Purpose | Prompt direction |
|---|---|---|
| Hero smear | Landing page or paid social | Graphic curve, visible ridges, generous copy space |
| Macro edge | Texture education | Extreme close-up showing thickness and translucency |
| Spatula lift | Application cue | Realistic product weight and contact with the applicator |
| Ingredient setting | Approved story context | Only substantiated ingredients or neutral botanical styling |
| Product pairing | Final skincare ad creative | Texture beside an exact, separately supplied packshot |
Keep a locked sentence in every prompt, such as “preserve the supplied formula color, opacity, viscosity and satin finish.” Then vary only the camera angle, surface or layout. This makes differences easier to diagnose and helps the campaign feel intentional.
VARIATION A — overhead graphic smear on frosted glass, copy space at left
VARIATION B — 45-degree macro view of one rounded peak, shallow depth of field
VARIATION C — close crop of a feathered smear edge, light passing through the thinnest area
LOCKED — same formula color, opacity, viscosity, ridge shape and restrained satin finish
Test this prompt yourself using one real texture reference before expanding the set. If the first output is inaccurate, generating twenty more variations will only multiply the problem.
Step 6 — Fix common texture failures
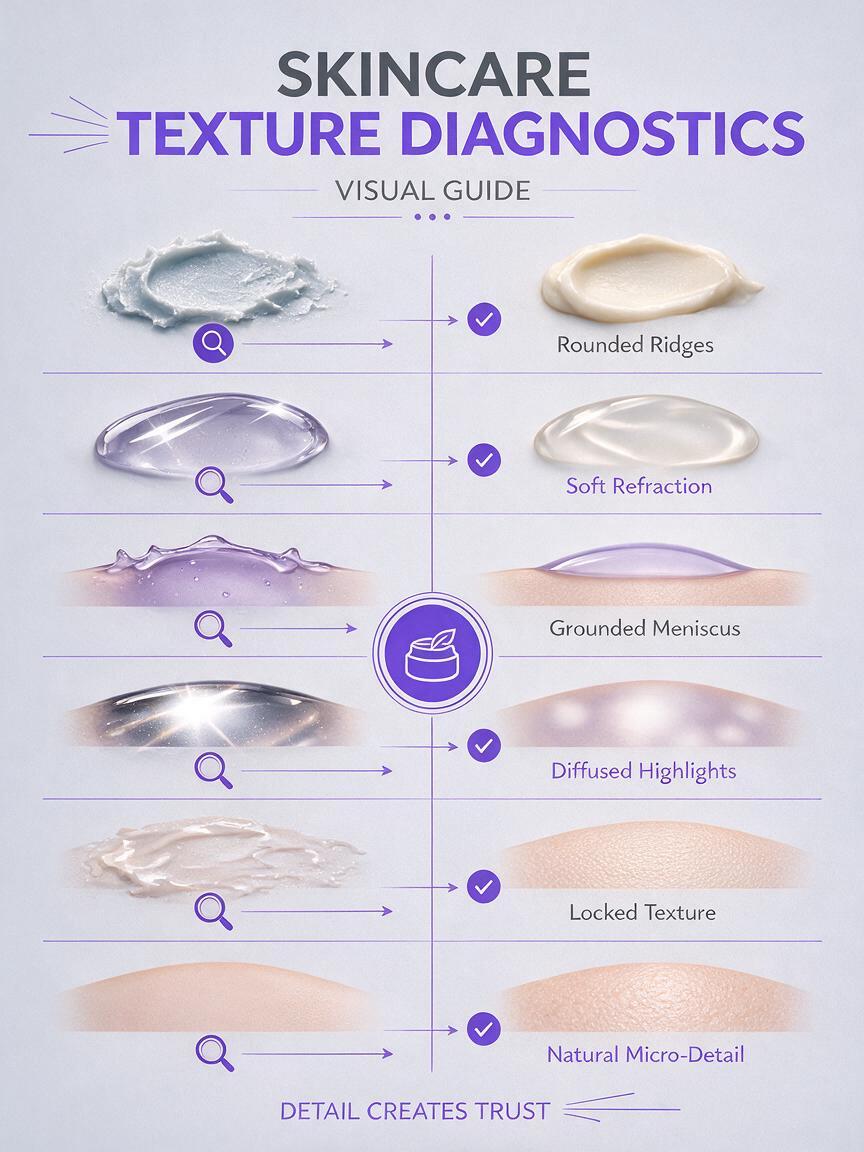
| Failure | Likely cause | Prompt or workflow fix |
|---|---|---|
| Cream looks like frosting | Excessive peaks and food-related language | Specify low rounded ridges, cosmetic spatula marks and no whipped peaks |
| Gel looks like glass or plastic | Transparency without internal softness | Add soft refraction, hydrated rounded edges and restrained reflections |
| Serum floats above the surface | No contact or gravity instruction | Request a visible meniscus, contact shadow and gravity-led droplet path |
| Texture appears metallic | Highlights are too sharp or numerous | Use a large diffused source and controlled specular highlights |
| Smear changes between images | Too many variables changed at once | Reuse the same reference and locked texture sentence |
| Image looks over-retouched | Beauty-render vocabulary overwhelms realism | Request natural micro-detail, slight irregularity and restrained retouching |
If repeated prompting cannot preserve a distinctive texture, stop regenerating the product itself. Composite the real smear into an AI-generated set and match the direction, softness and color of the shadows. Fidelity is more valuable than a technically pure AI workflow.
Step 7 — Turn the still into a cosmetic product video
A validated texture still can become a short cosmetic product video, but motion introduces new physical risks. Use image to video only after the first frame is approved, and ask for one restrained action rather than several competing effects.
Suitable movements include a slow camera push, a narrow highlight traveling across a gel surface or a serum droplet moving slightly downward under gravity. Avoid asking cream to splash, transform or absorb into skin unless that behavior is supported and accurately demonstrated.
Use the supplied approved skincare texture image as the first frame.
Create a slow three-second macro camera push.
Keep the cream completely stationary and preserve its exact shape, color and opacity.
Allow only a subtle natural highlight shift from the existing soft side light.
No melting, bubbling, dripping, added product, text or packaging changes.
Review the generated clip frame by frame. Reject flickering ridge patterns, unexplained volume changes, reverse gravity and highlights that move independently of the camera or light source.
Step 8 — Complete an ad-quality review
Compare the final beauty product image directly with the real texture reference—not with another generated frame. View it at full size and at mobile-feed size. A macro image can appear convincing when reduced but reveal duplicated ridges or synthetic edges when enlarged.
- Confirm that the hue, opacity, gloss and apparent viscosity match the real formula.
- Check that props do not imply unapproved ingredients or benefits.
- Keep generated typography out of the image; add legal copy and product claims during design.
- Verify that the packshot, label and closure come from approved assets if they appear.
- Ask product development, regulatory or brand reviewers to inspect claim-sensitive visuals.
The goal is not to make every skincare formula look richer or more dramatic. It is to translate the formula’s real visual character into a flexible, campaign-ready image system.
Final checklist
- Photograph the real product from several angles before prompting.
- Describe physical behavior instead of relying on luxury adjectives.
- Run the same controlled brief across shortlisted models.
- Lock color, opacity, viscosity and finish across every variation.
- Composite real texture when generation cannot maintain fidelity.
- Use minimal, physically plausible motion for video.
- Review final assets against the formula and approved claims.
Keywords
AI skincare texture shots, skincare product photography, skincare ad creative, AI beauty generator, cosmetic texture prompts, GPT Image, Seedream