Why AI Storyboards Flip Characters—and the Continuity Map That Fixes It
AI-generated storyboard panels often reverse character positions, eyelines, props, and movement direction between shots. This practical continuity-map method helps comic artists and visual storytellers generate readable shot sequences with Nano Banana Pro while retaining control over screen geography.
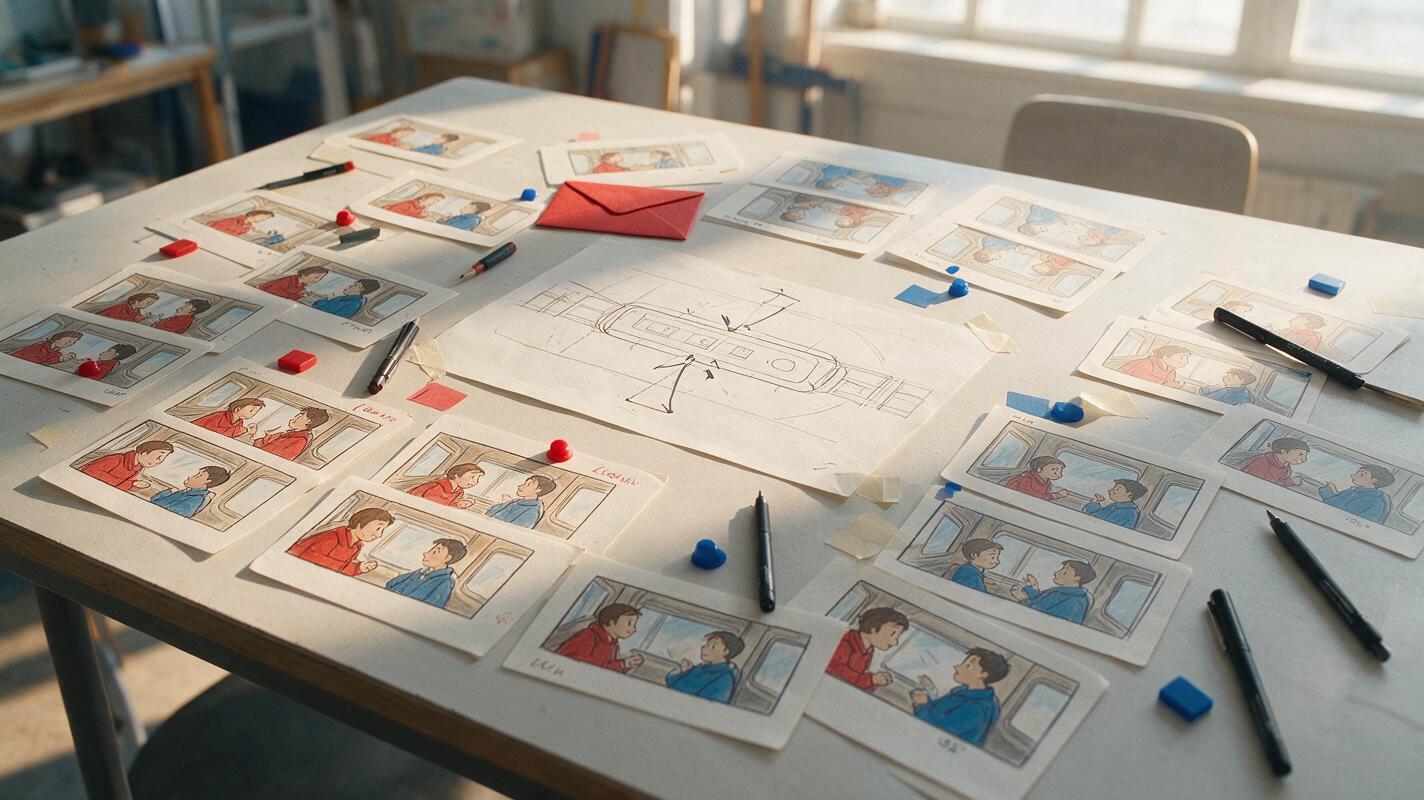
Table of contents
Keep every cut on the same side of the scene
A storyboard becomes confusing when two characters suddenly exchange sides, look away from each other, or carry a prop in different hands. These errors can appear even when every individual image looks polished. The solution is to define the scene’s screen geography before generating coverage, then repeat that information in every prompt.
This method is designed for conversations, confrontations, chase scenes, and other sequences in which spatial continuity matters. It uses a compact continuity map, shot-family prompts, and a three-panel test that exposes reversals before they spread through an entire storyboard.
Why attractive panels can still create a broken sequence
An image generator usually interprets each prompt as a new composition. If a prompt says only that Mara talks to Ivo in a train carriage, the model may place Mara on the left in one image and on the right in the next. Both arrangements satisfy the description, but they do not cut together cleanly.
Four types of drift cause most continuity problems:
- Position drift: characters exchange their established sides of the frame.
- Eyeline drift: both characters look in the same direction instead of toward each other.
- Action drift: a character walking screen-right begins moving screen-left after the cut.
- Object drift: a phone, sword, bag, or cup changes hands or moves to another side of the set.
Character consistency preserves who is in the scene. Spatial continuity preserves where everyone is and how the audience understands the scene.
Build a continuity map before generating panels
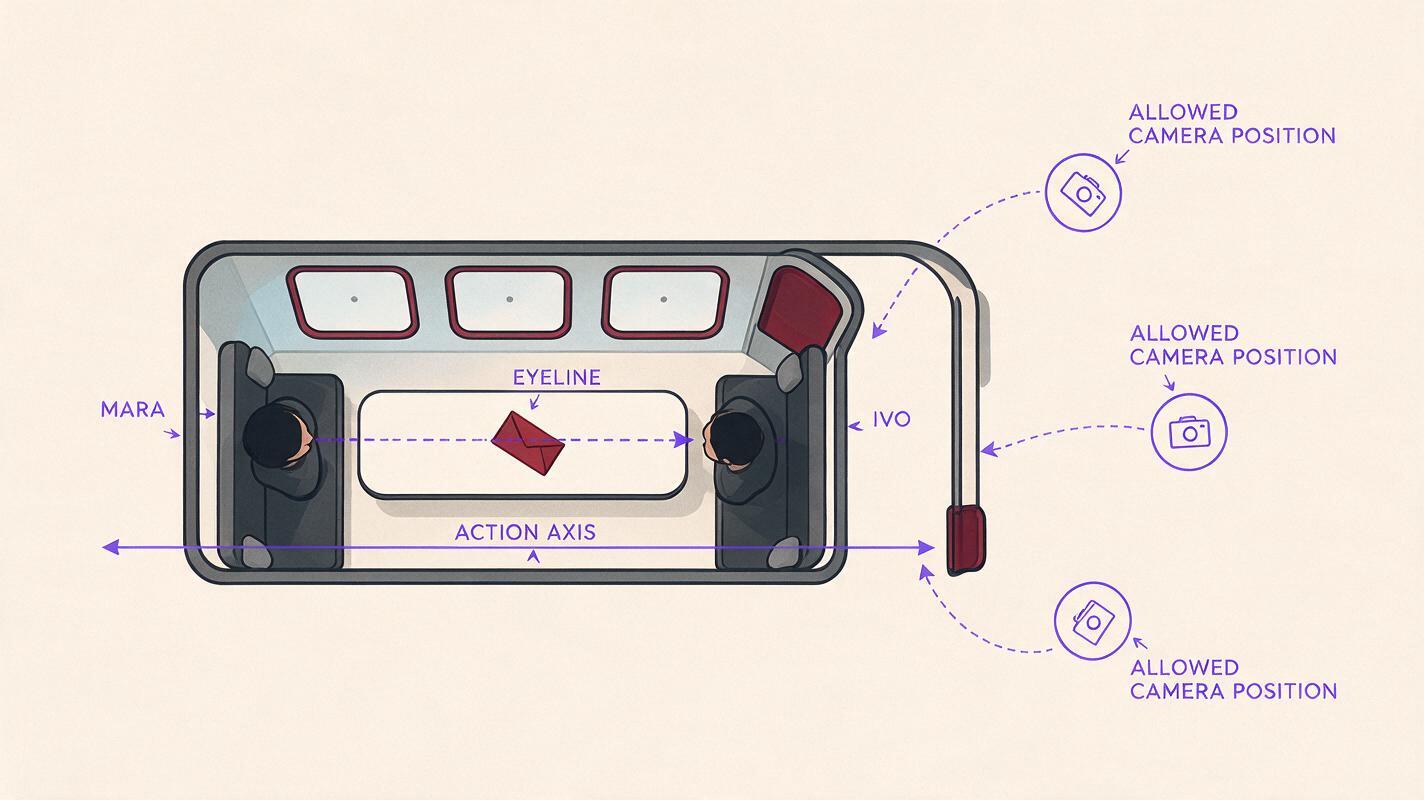
Draw a simple overhead diagram of the location. It does not need finished artwork. Mark each character, the important props, the main direction of movement, and the imaginary action axis connecting the subjects.
For a two-character conversation, the map might contain:
- Mara seated beside the left window.
- Ivo seated across from her, closer to the aisle.
- A red envelope on the table near Mara’s right hand.
- Mara looking screen-right toward Ivo.
- Ivo looking screen-left toward Mara.
- The camera remaining on the aisle side of their shared axis.
Convert this map into a short continuity block. This block is not the dramatic prompt; it is the fixed production information that accompanies every shot.
CONTINUITY LOCK
Location: night train compartment
Mara remains on screen-left, beside the window
Ivo remains on screen-right, beside the aisle
Mara looks screen-right toward Ivo
Ivo looks screen-left toward Mara
Red envelope stays near Mara's right hand
Camera stays on the aisle side of the action axis
Do not mirror the composition or exchange character positions
Keep the block literal. Relative phrases such as “beside him” or “across the room” are weaker than visible screen directions and named landmarks.
Establish a master wide shot as the spatial reference
Generate the widest useful view first. Its purpose is not to be the most beautiful panel; it must clearly show the location, both characters, their orientation, and any story-critical object. This becomes the spatial reference for the sequence.
You can use nano banana pro to develop the master composition and its related coverage. When reference input is available, supply the approved wide shot with later prompts instead of asking the model to reconstruct the room from text alone.
Horizontal cinematic storyboard panel, clean ink drawing with restrained color.
Inside a narrow night train compartment, Mara sits on screen-left beside the window.
Ivo sits on screen-right beside the aisle, facing her across a small table.
Mara looks screen-right; Ivo looks screen-left.
A sealed red envelope rests beside Mara's right hand.
Readable separation between both silhouettes, clear table edge, clear window and aisle landmarks.
Camera positioned from the aisle side of their shared action axis.
No mirrored layout, no extra passengers, no dialogue text.
Approve the image only if a viewer can answer three questions immediately: Who is on the left? Who is on the right? Where is the important prop?
Generate coverage as shot families, not isolated images
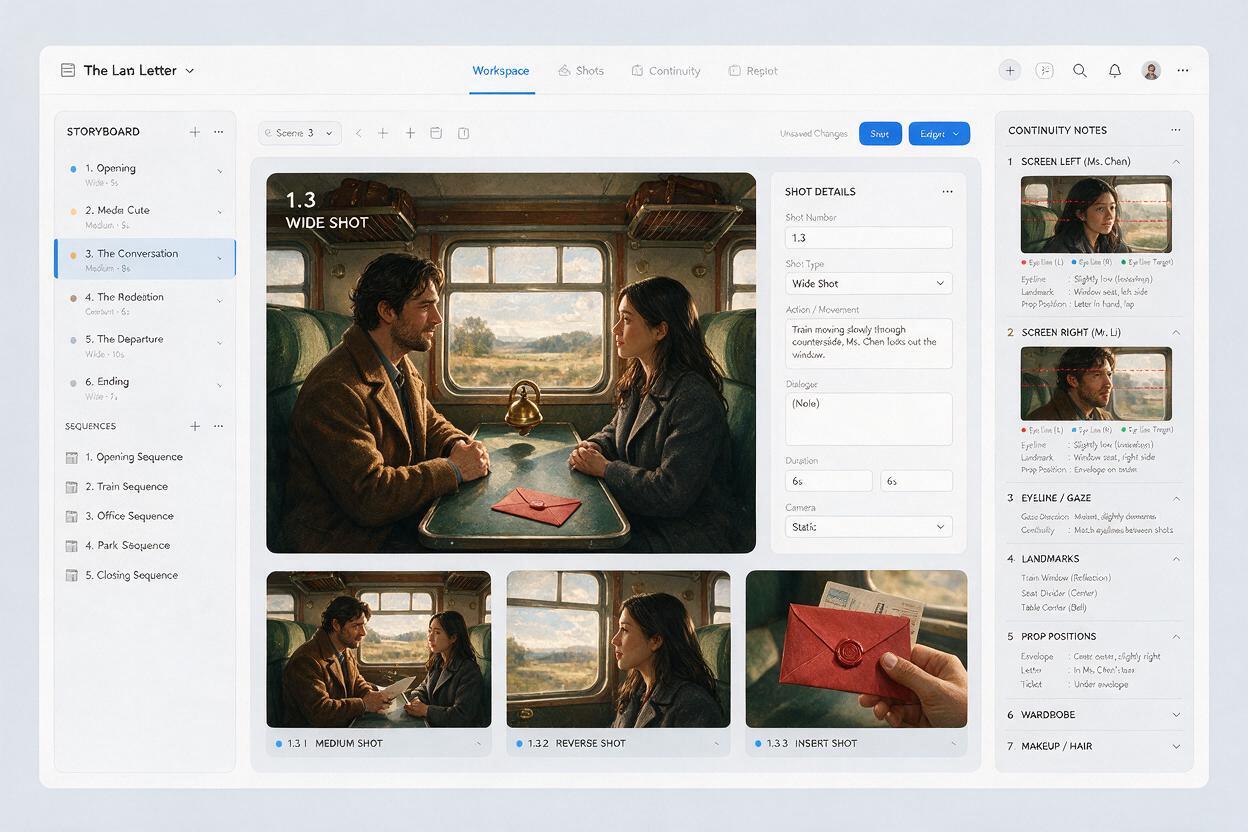
A reliable ai storyboard treats close-ups, medium shots, and reaction shots as related views of one staged scene. Preserve the continuity block and change only the shot-specific instruction.
| Shot | Keep fixed | Change |
|---|---|---|
| Master wide | Both positions, landmarks, prop location | Full compartment coverage |
| Mara medium | Mara on left, gaze to the right, window behind her | Crop from waist or chest |
| Ivo reaction | Ivo on right, gaze to the left, aisle behind him | Closer framing and expression |
| Envelope insert | Envelope beside Mara’s right hand | Focus on hand and object |
For Mara’s coverage, retain a sliver of the window or Ivo’s shoulder on the right edge. For Ivo’s coverage, retain the aisle or Mara’s shoulder on the left edge. These visual anchors help the generator and make the edit easier to read.
Use the approved train-compartment image as the spatial reference.
Create a medium close-up of Mara from the same side of the action axis.
Mara remains on screen-left with the night window behind her.
She looks screen-right toward Ivo, whose out-of-focus shoulder enters from the right edge.
The red envelope remains beside Mara's right hand at the bottom of frame.
Quiet suspicion, restrained facial acting, unchanged costume and hairstyle.
Do not mirror, reverse the eyeline, move the envelope, or redesign the compartment.
Generate a small batch for each camera setup and compare only candidates from the same shot family. Selecting unrelated “best-looking” images is a common way to reintroduce continuity errors.
Separate composition instructions from acting instructions
When a prompt mixes staging, costume, lighting, expression, camera movement, and narrative exposition in one paragraph, essential continuity constraints can disappear inside the description. Use three compact prompt layers instead:
- Continuity: fixed side, eyeline, landmark, hand, and prop information.
- Shot: framing, lens impression, crop, foreground anchor, and camera height.
- Acting: expression, gesture, tension, and emotional intensity.
If a result fails, this separation also reveals what must be corrected. A reversed composition needs a staging repair, not a longer description of the character’s emotions.
Repair reversals without regenerating the whole sequence
A mirrored panel is not always solved by flipping the finished image. Flipping can reverse costume details, move scars, change handedness, and mirror signs or lettering. It may also place the lighting on the wrong side of the face.
Use the smallest repair that addresses the actual failure:
- Wrong eyeline only: edit the eyes and head angle while preserving the crop.
- Prop in the wrong hand: repair the hand–object region and retain the established pose.
- Background landmark moved: restore the window, door, or furniture without changing the character.
- Complete side reversal: regenerate from the master wide shot with explicit screen-left and screen-right constraints.
After a repair, compare the panel with both its preceding and following images. A correction can solve one cut while accidentally breaking the next.
Run the three-panel continuity test
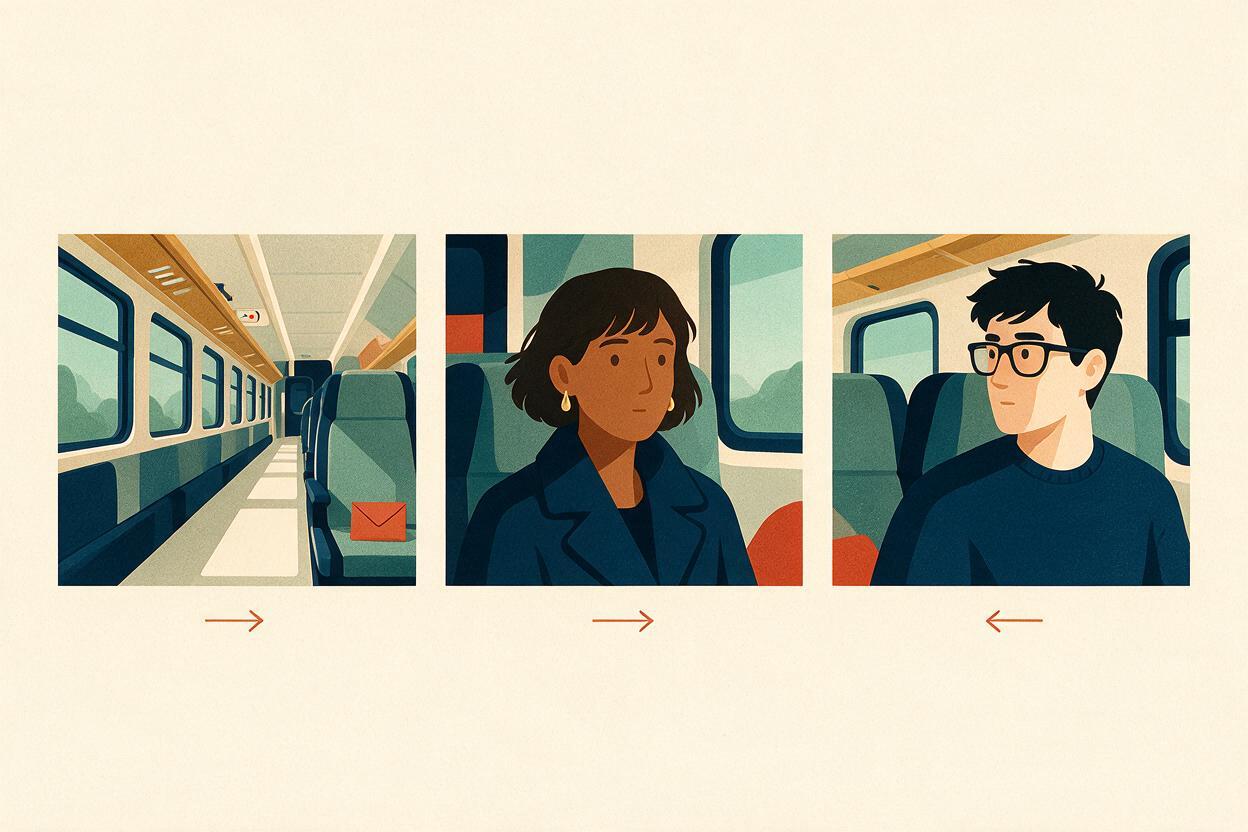
Before producing the full sequence, place three images in reading order: the master wide shot, one character close-up, and the reverse reaction. Remove captions and dialogue temporarily.
The sequence passes when:
- The characters appear to look toward each other.
- Left and right positions remain understandable after each cut.
- The important prop stays attached to the correct person and location.
- The background landmarks support the same room orientation.
- A reader can follow the scene without explanatory text.
If the silent sequence feels confusing, dialogue will not repair its geography. Return to the first panel where the reversal appears and correct that image before generating more coverage.
Final checklist
- Create an overhead continuity map before generating camera coverage.
- Assign fixed screen sides, eyelines, landmarks, and prop positions.
- Approve a readable master wide shot as the spatial reference.
- Repeat the same continuity block in every related prompt.
- Generate close-ups as members of a shot family rather than isolated illustrations.
- Repair local errors instead of redesigning an otherwise usable panel.
- Test three silent panels together before expanding the scene.
Once the map and master shot are ready, try these models for free and build a short conversation sequence before committing to a complete episode.
Keywords
ai storyboard, storyboard continuity, nano banana pro, consistent character ai, comic panel generator, screen direction, visual storytelling ai