Why AI Translucent Product Renders Invent Internals—and How to Stop It
A translucent housing can make a product concept feel tangible, but image generators often fill it with convincing-looking components that were never designed. This guide shows industrial designers how to control what is visible, prompt a believable shell, and keep unapproved internals out of presentation images.
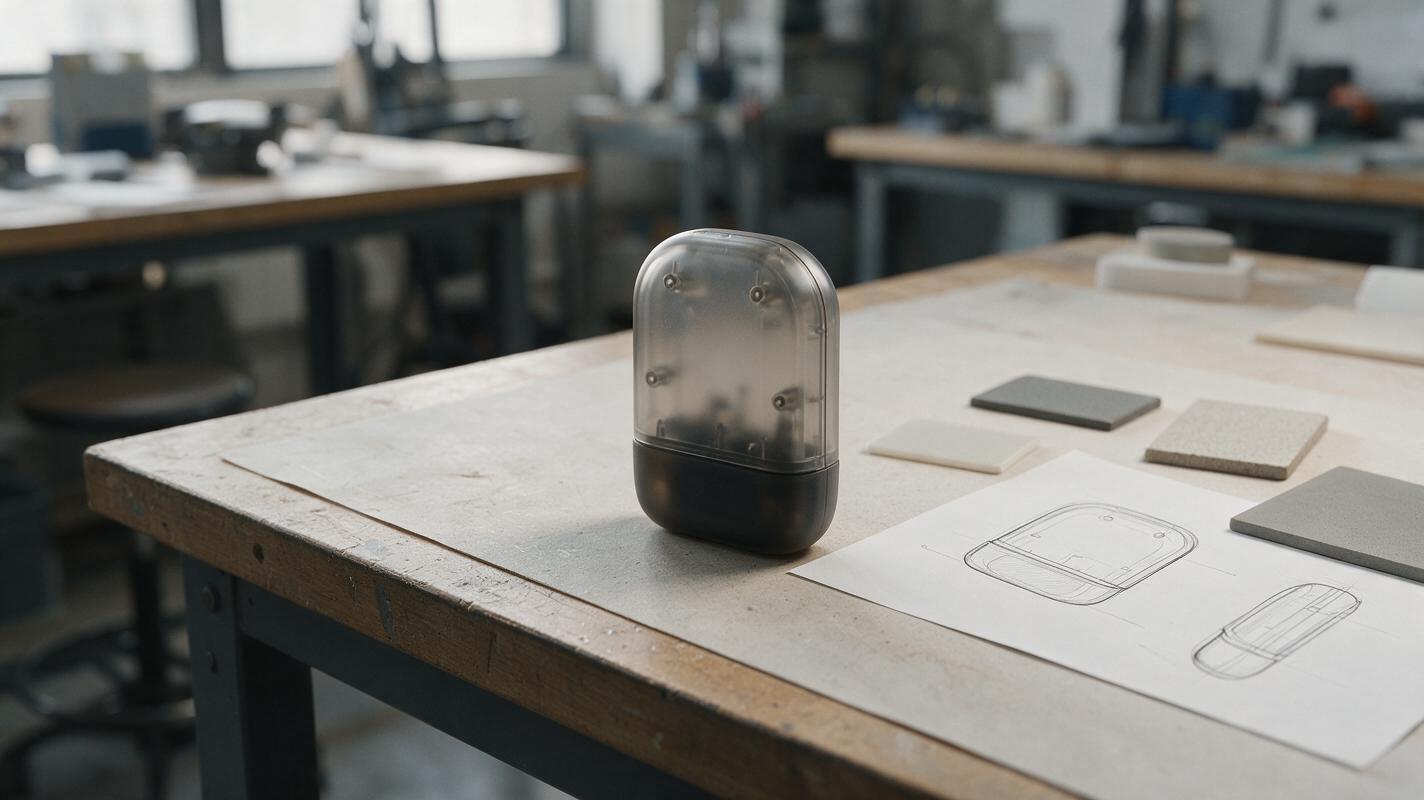
Table of contents
The translucent-shell problem
You want a concept render of a tinted plastic enclosure—not a surprise redesign of the electronics inside it. Yet an AI-generated translucent housing can acquire imaginary circuit boards, batteries, fasteners, or glowing mechanisms. Those details may look plausible enough to survive a quick presentation review, which makes them more dangerous than an obvious visual glitch.
The solution is to decide exactly what the shell should reveal before asking for a polished image. For an early-stage concept, that might be only wall thickness, a dark cavity, and a known mounting feature. For a developed prototype, it might be a specific board visible through one window. The rendering method should change with that decision.
Define what the shell actually reveals
Start with a visibility brief, not a materials adjective. “Smoky translucent plastic” describes an appearance but leaves the generator free to invent what lies beneath it. Instead, mark the surfaces that are translucent and list the internal features approved for display.
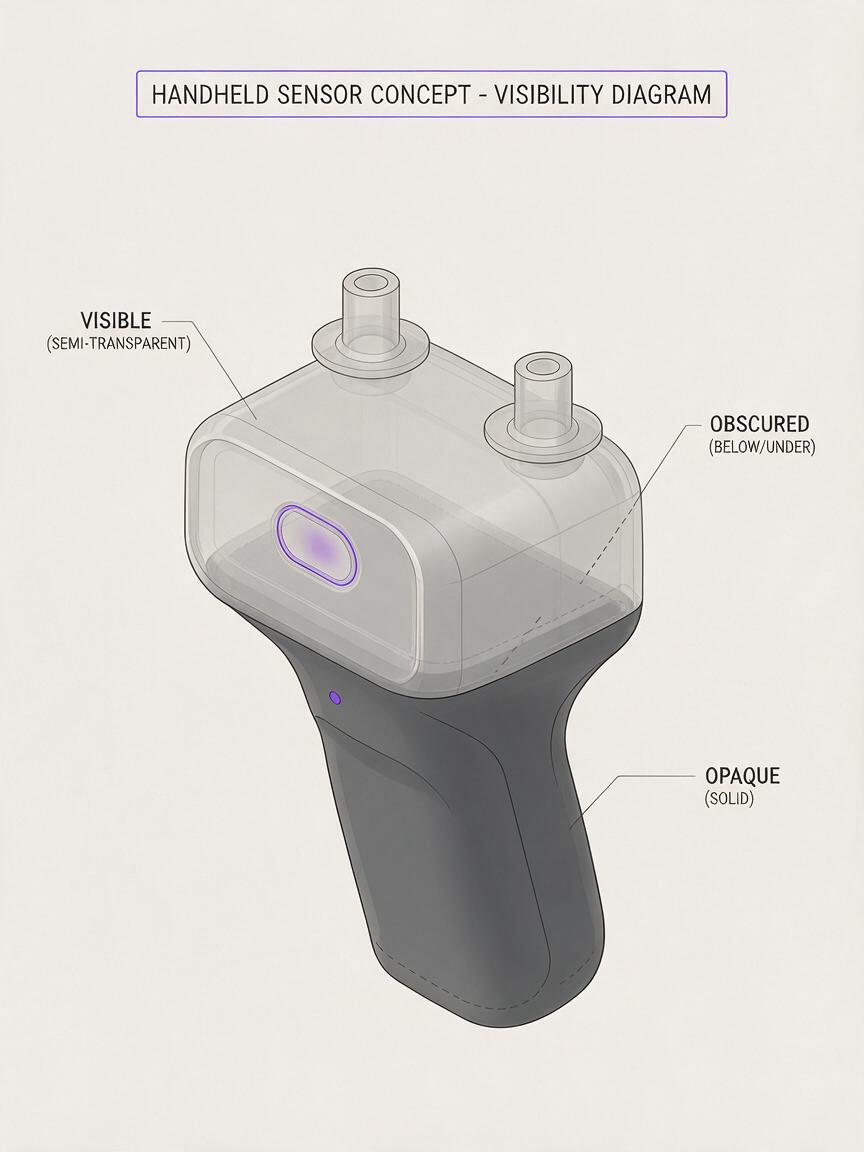
A compact visibility brief for a handheld sensor concept could read:
- Fixed exterior: oval housing silhouette, side button, charging-port position, and seam line from the approved reference.
- Translucent area: upper shell only; the lower grip remains opaque.
- Approved visible features: two mounting posts shown in the design reference.
- Everything else: a subdued, indistinct interior—not visible circuitry, a battery outline, or decorative lighting.
Decide how much the viewer can see through the material. A lightly frosted shell may show broad shapes while hiding small details; a clear window can reveal specific parts. Neither choice proves a real polymer, wall thickness, or optical performance. Treat it as a visual direction until the material and construction are tested.
Presentation rule: If a viewer could reasonably identify a component, that component needs an approved source. “The AI put it there” is not a design specification.
Give the model a controlled reference
Use the clearest approved exterior image you have: ideally a CAD view, prototype photograph, or concept render with the camera angle you want to retain. A front three-quarter reference and a separate material reference can be useful, but they serve different purposes. The product image controls geometry; the material image suggests diffusion, tint, and reflections. Do not let a reference photograph of another product become a template for its vents or internal layout.
For reference-guided editing, Nano Banana Pro is a reasonable model to test with an ai image generator. Ask for a material treatment on the existing product rather than an entirely new object. If the editor supports a selection or mask, confine the change to the intended shell. Keep the approved reference available beside every result: a beautiful translucent image is not useful if the button, seam, or port has moved.
Where the exact exterior matters, retain the approved product pixels in your final presentation whenever possible. AI can help explore the shell treatment or create a surrounding photographic scene; a controlled composite can preserve details that a full-frame regeneration might quietly alter.
Prompt for restraint, not X-ray vision
Language such as “show intricate electronics inside” invites invention. Describe the visible effect instead: reduced contrast through a tinted shell, softened outlines of approved structures, reflections on the outer surface, and no readable detail in the cavity.
Try this reference-guided prompt for a concept whose internals are not yet specified:
Use the supplied product image as the geometry reference. Preserve its silhouette, camera angle, button, charging port, seam, and proportions. Change only the upper housing to smoky, lightly frosted translucent plastic. Show subtle shell thickness at existing edges and realistic surface reflections. The interior appears as a dark, low-detail cavity; do not add visible circuit boards, batteries, screws, LEDs, wiring, or new mechanisms. Keep the lower grip opaque. Neutral studio lighting, restrained product-photography finish, no text or labels.If you have approved internal geometry, replace the “dark cavity” instruction with a short, literal description of that geometry and supply its reference. For example: “The two mounting posts shown in the second reference remain faintly visible beneath the upper shell.” Do not add a board or fastening system just to make the image more interesting.
Generate a small set of variations and compare them at the same size. Look beyond overall attractiveness: check whether the translucent region stops at the specified seam, whether the button remains opaque, and whether supposed internal details are actually reflections. A variation that hides more may be the more accurate concept image.
Separate shell appearance from approved internal artwork
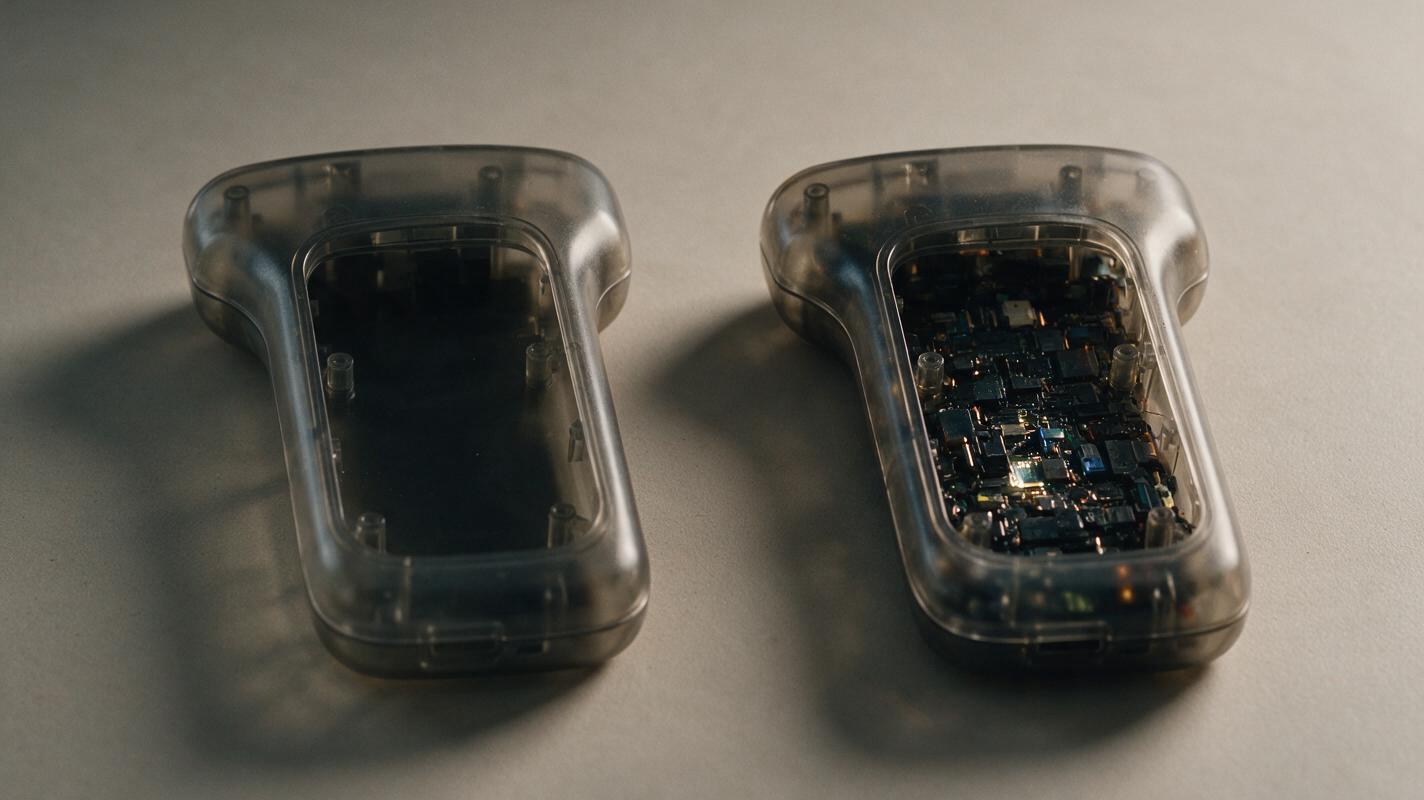
When a presentation needs recognizable internals, a controlled composite is safer than asking the model to invent them. Prepare a view of approved CAD components at the matching camera angle. Render or place those components beneath a separately controlled shell treatment, then adjust tint, contrast, and blur to communicate how the housing obscures them.
This separation makes review easier. The team can inspect the component layer without reflections in the way, then assess whether the finished image reveals too much or too little. It also makes changes less destructive: revising a board outline should not require regenerating the entire exterior and hoping the button stays put.
Watch for a common compositing mistake: giving internal components the same sharp contrast as objects outside the shell. Even a relatively clear enclosure changes the appearance of what is seen through it. Conversely, heavy blur everywhere can make the housing read as opaque paint rather than translucent material. Match the treatment to your intended concept, and label the view as illustrative if material behavior has not been validated.
Review the render as a design claim
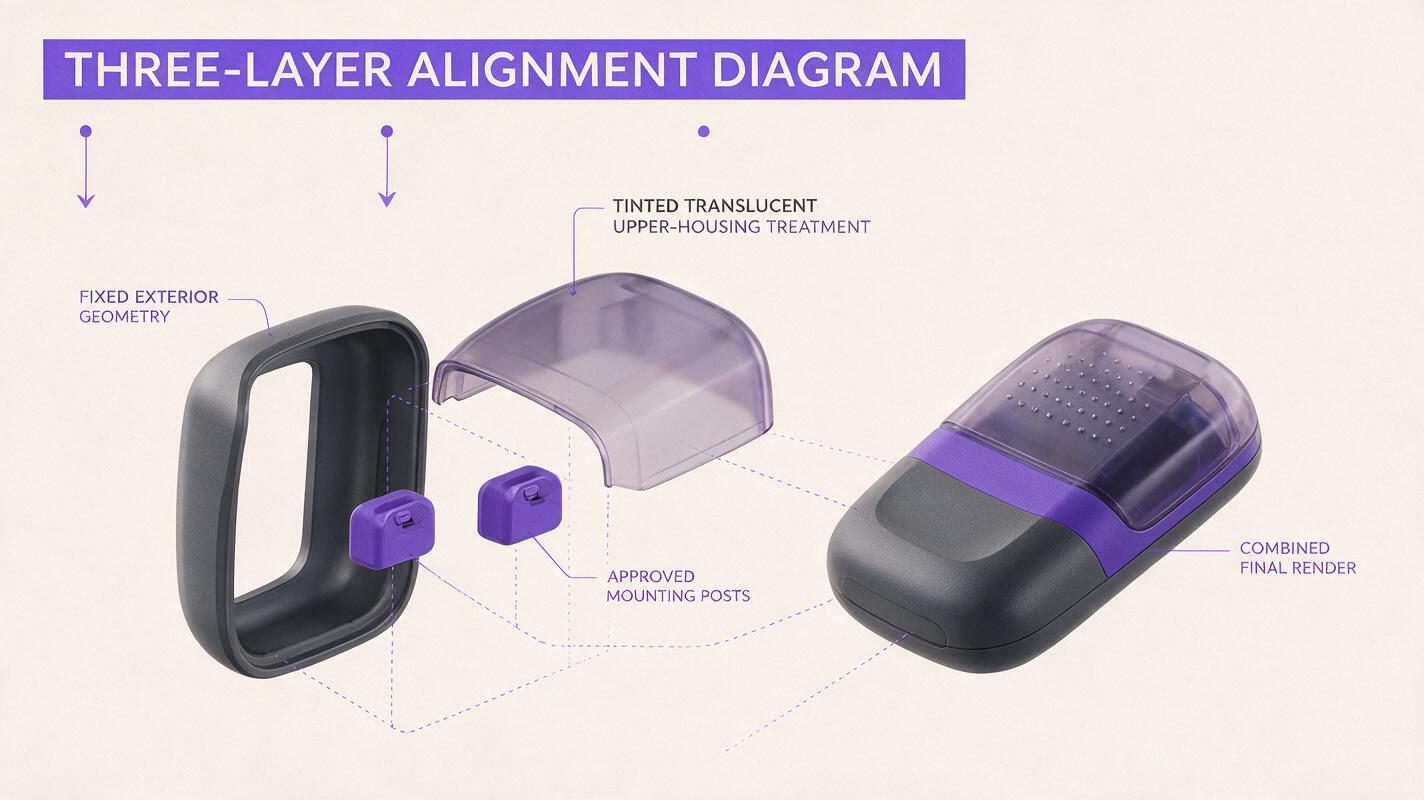
Before a translucent image goes into a deck, inspect it at presentation size and at full resolution. Ask:
- Does every identifiable internal feature correspond to an approved drawing or model?
- Are seam lines, openings, wall edges, and exterior controls still in their intended positions?
- Could a reflection be mistaken for an LED, a circuit trace, or a mechanical joint?
- Does the image imply an assembly, waterproof seal, or manufacturing method the team has not established?
- Would an opaque version beside it clearly read as the same product?
If an invented feature appears, first revise the visibility brief or mask; do not rely on increasingly emphatic “no electronics” wording alone. If the shell becomes glass-like, ask for softly diffused visibility and a plastic-surface finish rather than simply making it darker. If geometry shifts, return to the approved base image and reduce the edited area.
A translucent render works best when it answers a narrow question: What could this approved form look like with a partially see-through housing? It should not silently answer the separate question of what engineering has placed inside it. When your reference and visibility brief are ready, test this prompt yourself and keep the most faithful result—not merely the most dramatic one.
Final checklist
- Mark exactly which housing surfaces are translucent.
- List approved visible internals; leave unspecified areas indistinct.
- Use the product reference to protect geometry and the material reference only to guide appearance.
- Compare every output against the approved exterior and internal sources.
- Label unvalidated material and assembly details as concept visualization.
Keywords
translucent product render, ai product rendering, industrial design ai, translucent plastic concept, product visualization, nano banana pro, reference-based image editing