AI Video Presets: Create Consistent Brand Social Reels Faster
Tired of spending hours tweaking every social media reel to match your brand’s visual identity? This practical guide explains how AI video presets cut editing time by more than half while keeping colors, text styles, and motion effects consistent across every clip. We walk through preset rule definition, building, batch application, and fine-tuning for small business and creator accounts.
Table of contents
Why AI Video Presets Save Hours for Brand Social Creators
If you manage multiple brand social media accounts, you know the endless cycle: every new reel needs the same color grade, the same branded text overlay, the same transition into the same 3-second outro. Tweaking each clip individually eats up 40-60% of your editing time, and small inconsistencies slip through easily when you’re rushing to hit a posting schedule.
AI video presets solve this by bundling all your brand’s visual rules into a single, one-click setting you can apply to any raw clip — even ones generated with AI. Whether you’re working with filmed b-roll, product shots, or clips made with an ai video generator, a well-built preset ensures every output matches your brand guide in seconds.
Step 1 — Map Your Brand’s Non-Negotiable Visual Rules
Before you build any preset, you need to lock in exactly what has to be consistent across every clip. Skipping this step leads to presets that don’t actually match your brand, or that break when applied to different clip types.
For each brand account, list out 4-6 non-negotiable elements. For a cozy local coffee roaster, for example, that list might look like this:
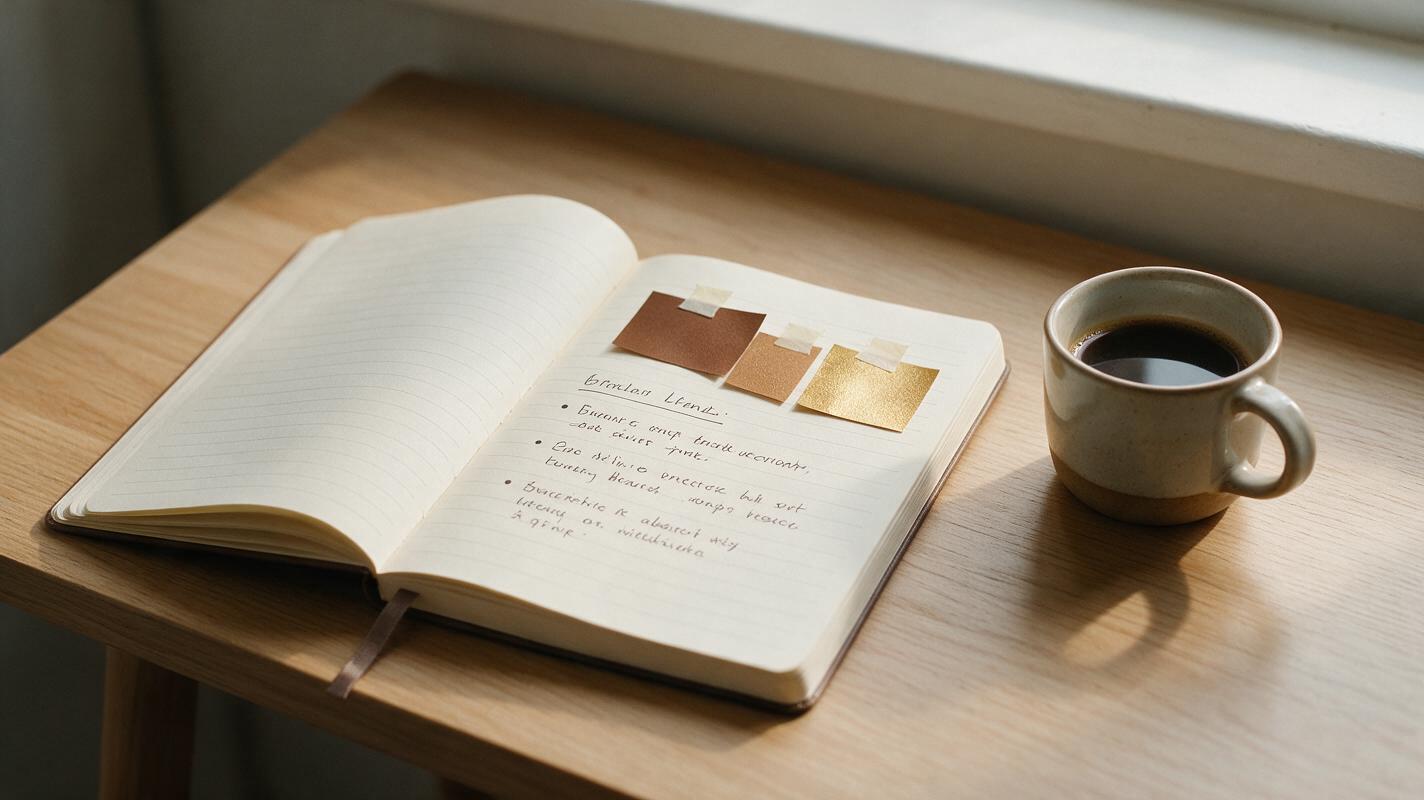
- Warm golden color grade with +10% warmth, +5% contrast, soft matte blacks
- Bold sans-serif white text with a 2px dark brown outline for readability
- Slow, gentle zoom motion effect for static product shots
- 2-second branded outro with logo and tagline
- Background lo-fi coffee shop audio bed at -18dB
If you’re starting from scratch, pull 3 of your best-performing past reels and note the shared settings that made them feel on-brand. Those are your baseline.
Step 2 — Build Your Reusable AI Video Preset
Once you have your rules, it’s time to turn them into a saveable preset. Most modern AI video tools let you save a full set of adjustments as a preset you can apply to any future clip.
Start with a base clip that’s representative of your most common content — for the coffee roaster, that’s a close-up of a latte being poured. Apply all your brand adjustments: color grade, text style, motion preset, outro, and audio level.
If you’re using AI to generate base clips, you can build your preset rules directly into your prompt to get a head start. Here’s a copyable prompt you can adapt for your own brand:
9:16 vertical short reel for [Brand Name] coffee roaster, warm golden color grade, soft matte blacks, bold white sans-serif text overlay at top that says "[your text]", slow gentle zoom, cozy coffee shop background, no harsh shadows, high qualitySave this full set of adjustments as a named preset — for example, “Coffee Roaster Standard Reel” — so you can pull it up in one click for every new clip.
Step 3 — Batch Apply Presets to All Your Clip Types
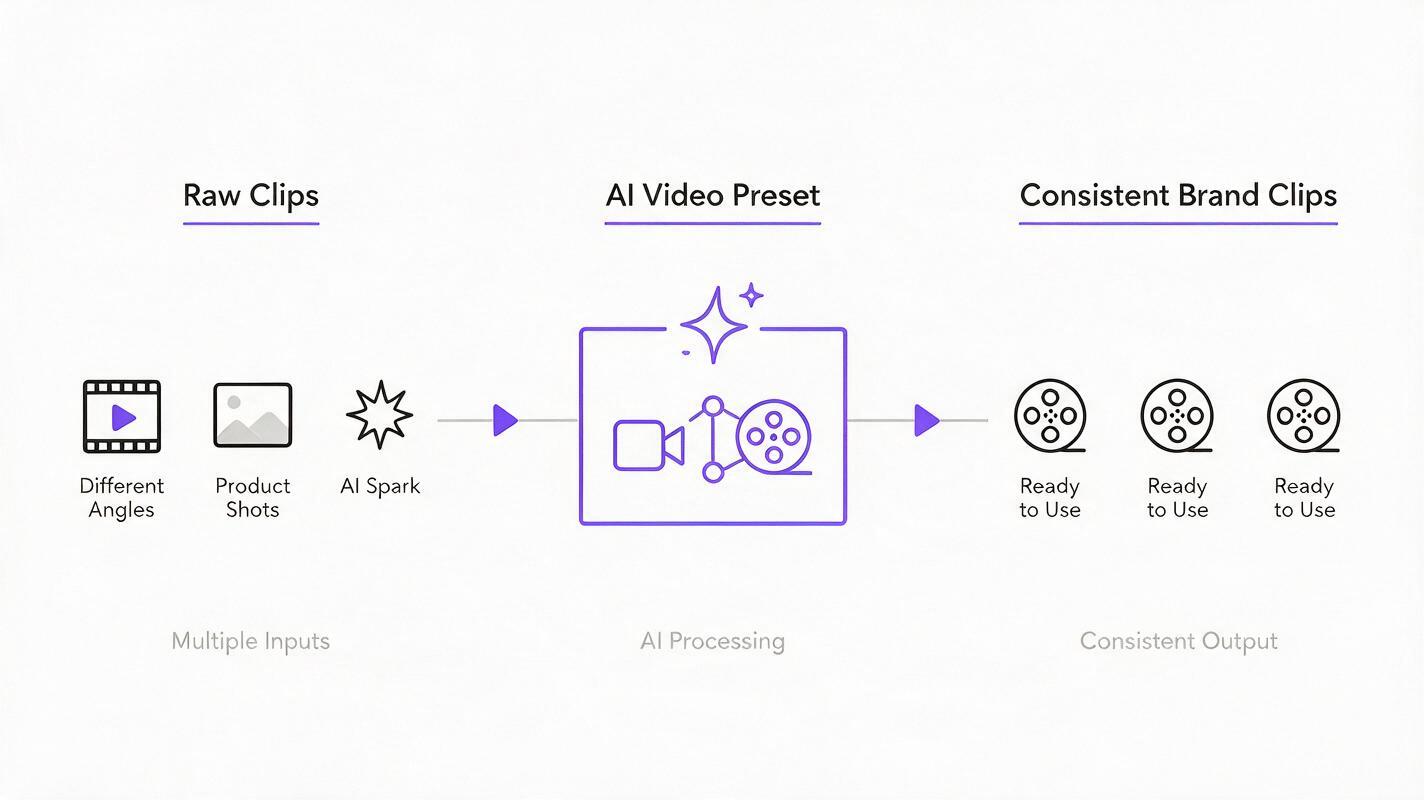
The biggest time-saver of AI video presets is batch application. Instead of editing each clip one by one, you can load a whole folder of raw clips and apply your preset to all of them at once.
This works for every type of clip you use: filmed b-roll, user-generated content, even static product photos you turn into clips with animate image to video. For a plant shop account, for example, you can drop 10 static plant photos, animate them with a slow pan, then apply your plant shop preset to all 10 in under a minute.
As a general rule, presets work best when your raw clips are all roughly the same quality and lighting. If you have a mix of bright outdoor shots and dim indoor shots, make two slight variations of your preset — one for bright light, one for low light — to avoid washed-out or too-dark results.
Step 4 — Fine-Tune Individual Clips Without Breaking Consistency
No preset is perfect for every single clip. A clip shot in direct sunlight might need a small brightness adjustment, or a clip with a lot of movement might need the motion effect turned down slightly to avoid motion sickness.
The key here is to only adjust 1-2 settings per clip, and keep all other preset settings locked. For example, if your preset has a +10% warmth rule, you can tweak brightness by ±5% but never change the warmth, contrast, or text style. This keeps every clip feeling like part of the same brand while fixing small issues.
If you find yourself making the same adjustment to 3+ clips, that’s a sign you should update your master preset (or create a new preset variant) instead of fixing each clip individually. That’s how you build a preset library that gets more useful over time.
You can also use presets to enhance videos with ai in one go: add a gentle upscale and denoise pass to your preset so every clip gets a quick quality boost without extra work.
Before and After: Preset Consistency Check
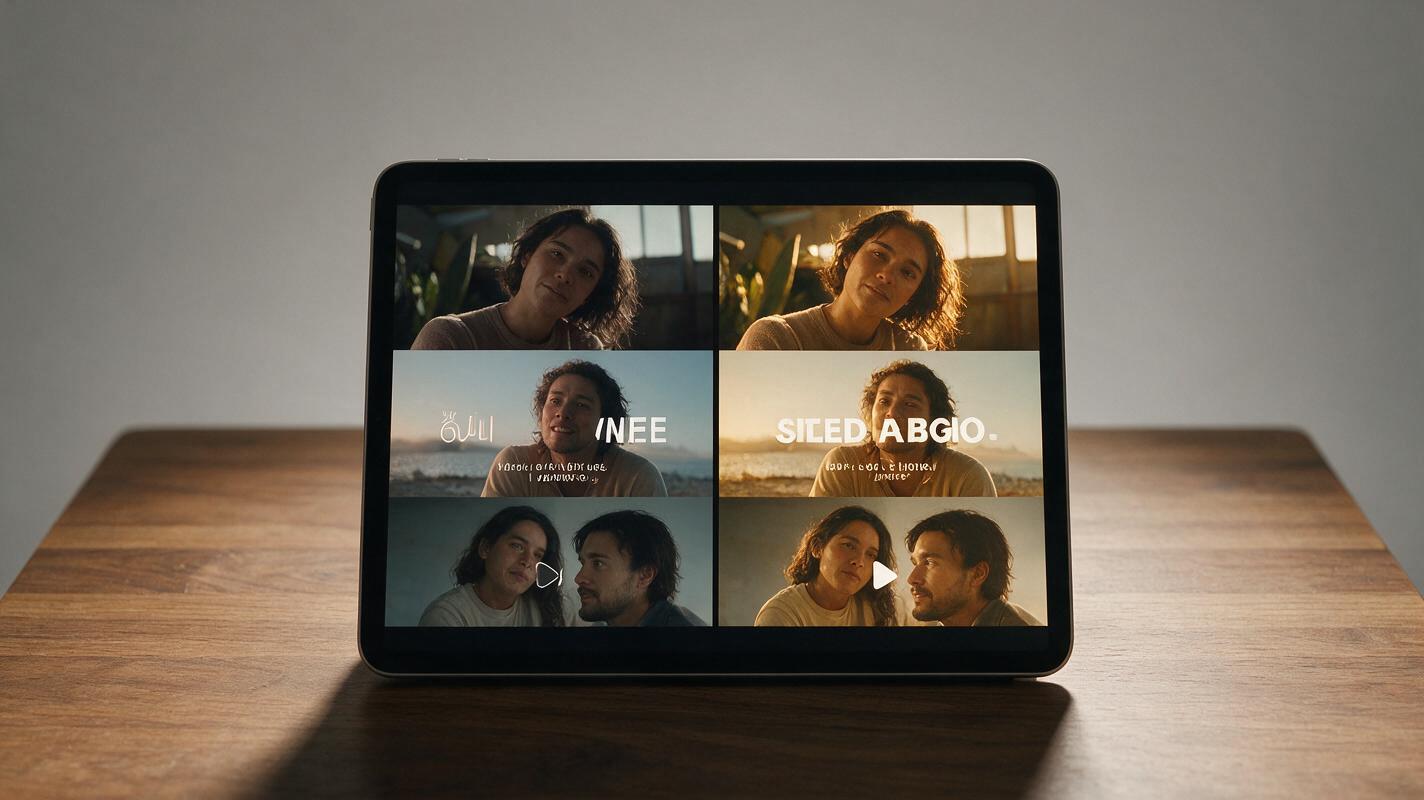
To see how much difference a well-built preset makes, look at this side-by-side of three unedited coffee roaster clips:
- Before preset: Three clips with different lighting (window light, overhead light, outdoor shade), different text fonts, and no consistent motion. They feel like three different brands posted them.
- After preset: All three clips have the same warm golden color grade, the same bold white text, and the same slow zoom motion. They instantly read as part of a cohesive brand feed, even though the content is different.
The best part? Applying the preset to all three clips took 12 seconds total, compared to 8 minutes of manual editing per clip.
Final Preset Building Checklist
- Lock in 4-6 non-negotiable brand visual rules before building your preset
- Build your preset on a representative base clip of your most common content
- Save named presets (and light/dark variants) for one-click use
- Batch apply presets to all clip types, including AI-generated and animated image clips
- Only adjust 1-2 settings per clip during fine-tuning to keep consistency
- Update your master preset if you make the same fix 3+ times
Ready to build your first AI video preset and cut your editing time in half? You can test base clip ideas and try these models for free to see how presets work with your brand’s content.
Keywords
ai video presets, enhance videos with ai, ai video tools, make videos in one click, ai video enhancer, ai video generator, animate image to video