Amazon Product Dimension Infographics Without Wrong Measurements
AI can help turn a plain product photo into a useful Amazon size graphic, but it should not decide the measurements or draw the final dimension labels. This guide shows sellers how to build a dimension infographic from verified measurements, use Nano Banana Pro for the visual draft, and check the finished image for misleading scale or invented details.
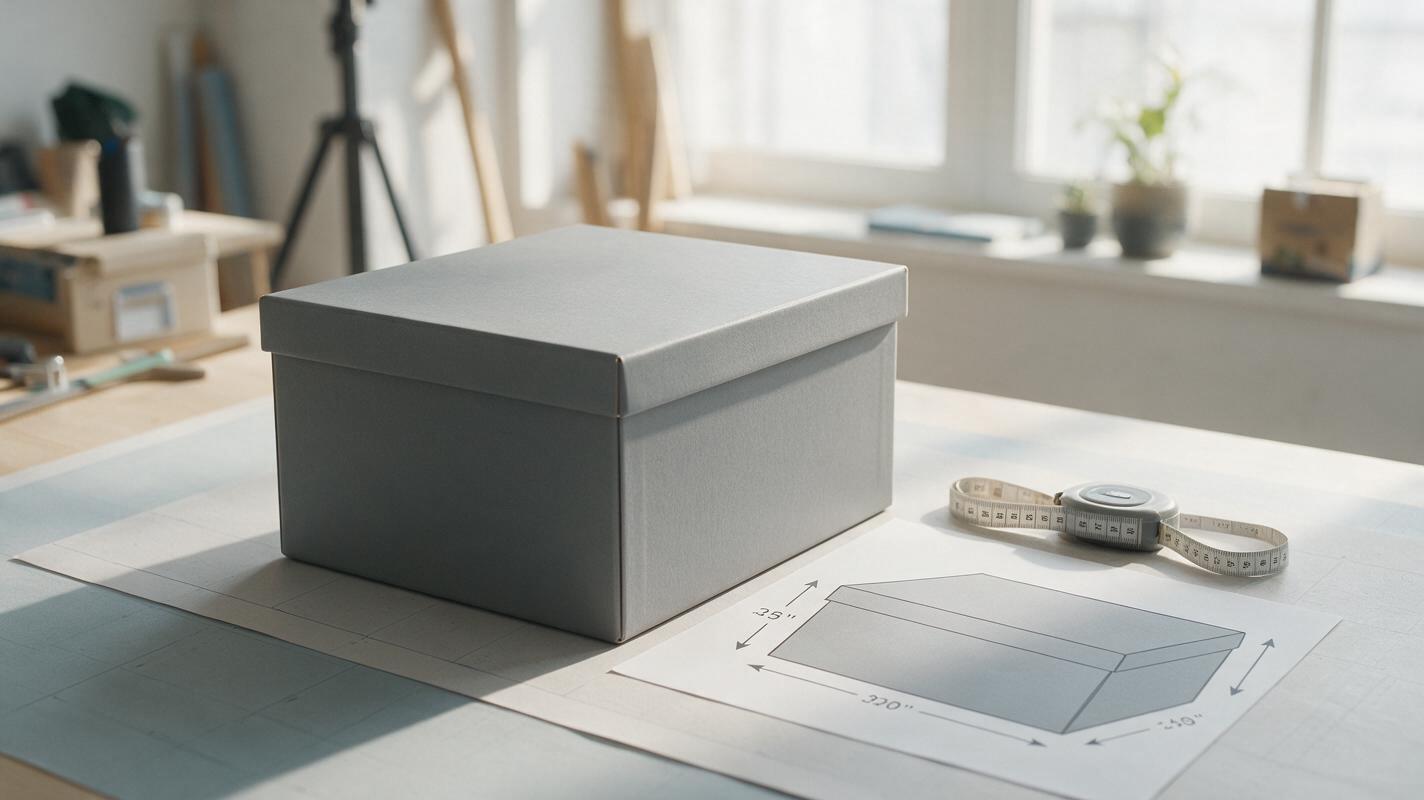
Table of contents
Make the size obvious without letting AI guess it
A product dimension infographic should answer a buyer’s simplest question: “Will this fit?” The trouble is that an AI-generated image can make a storage box look wider, move its handles, or invent a plausible-looking measurement. For an Amazon listing, the safer approach is to use AI for the supporting scene and layout ideas while keeping dimensions, arrows, and claims under your control.
This method works for boxes, organizers, furniture accessories, pet products, and other items whose size affects the purchase decision. Use the graphic as a supplementary listing image where permitted; check the current image requirements for your marketplace and category before publishing.
Build a measurement brief from the real item
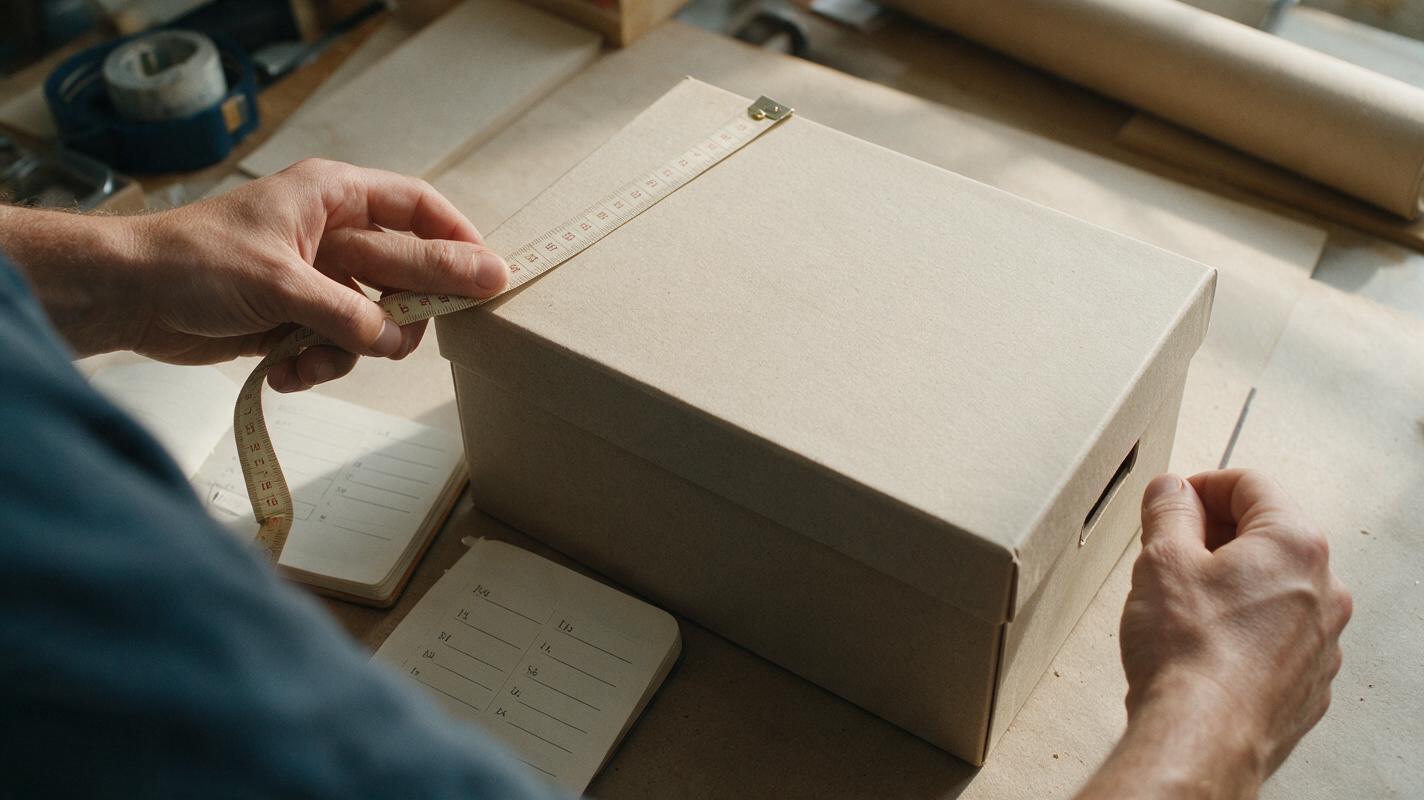
Start with the product, not a prompt. Measure a physical sample or use dimensions confirmed by your manufacturer. Record exactly which edges each number describes: exterior width is not interior width, and the height of a bag may or may not include its handles.
For a rectangular storage box, a working brief might read:
Example only — replace every value with verified SKU data
Product: rectangular storage box
Exterior length: 30 cm
Exterior width: 20 cm
Exterior height: 15 cm
Measurements exclude any lid overhang: confirm before use
Reference: approved photo of the exact product variant
Must remain unchanged: box shape, lid, handles, color, material
The example numbers are not a template to copy onto a listing. If the lid extends beyond the base, measure it separately or clarify which part the arrow spans. If variants differ in size, make a graphic for each variant rather than placing one universal diagram across the entire listing.
Accuracy rule: If you cannot point to the physical edges that a measurement connects, do not put that number on the image.
Draft the scene with Nano Banana Pro
Use an approved product photo as the visual reference when working with Nano Banana Pro. Ask for a clean three-quarter view with room around the product for labels, but do not ask the model to invent dimensions or render the final measurement text. This separates the creative task—making the product easy to see—from the factual task of labeling it.
If you are starting without a usable product photo, an ai image generator can help explore layout concepts. Treat those outputs as concepts, not evidence of what your actual SKU looks like. Photograph the real item or verify the generated depiction against an approved reference before it enters a listing.
Use the attached approved product photo as the reference. Create a clean supplementary-listing-image draft of the same rectangular storage box in a three-quarter view on a light neutral background. Preserve the exact lid, handles, proportions, material, and color visible in the reference. Keep the full box unobstructed, with generous empty space above and to the right for dimension labels that will be added later. Soft natural studio lighting, realistic shadow. No people, props, text, numbers, arrows, logos, or extra product features.Generate a small set of candidates rather than polishing the first result. Reject any image with a changed lid, missing handle, warped edge, or perspective that makes the box difficult to measure visually. A polished render is not useful if it depicts the wrong product.
Place arrows and numbers outside the generated image
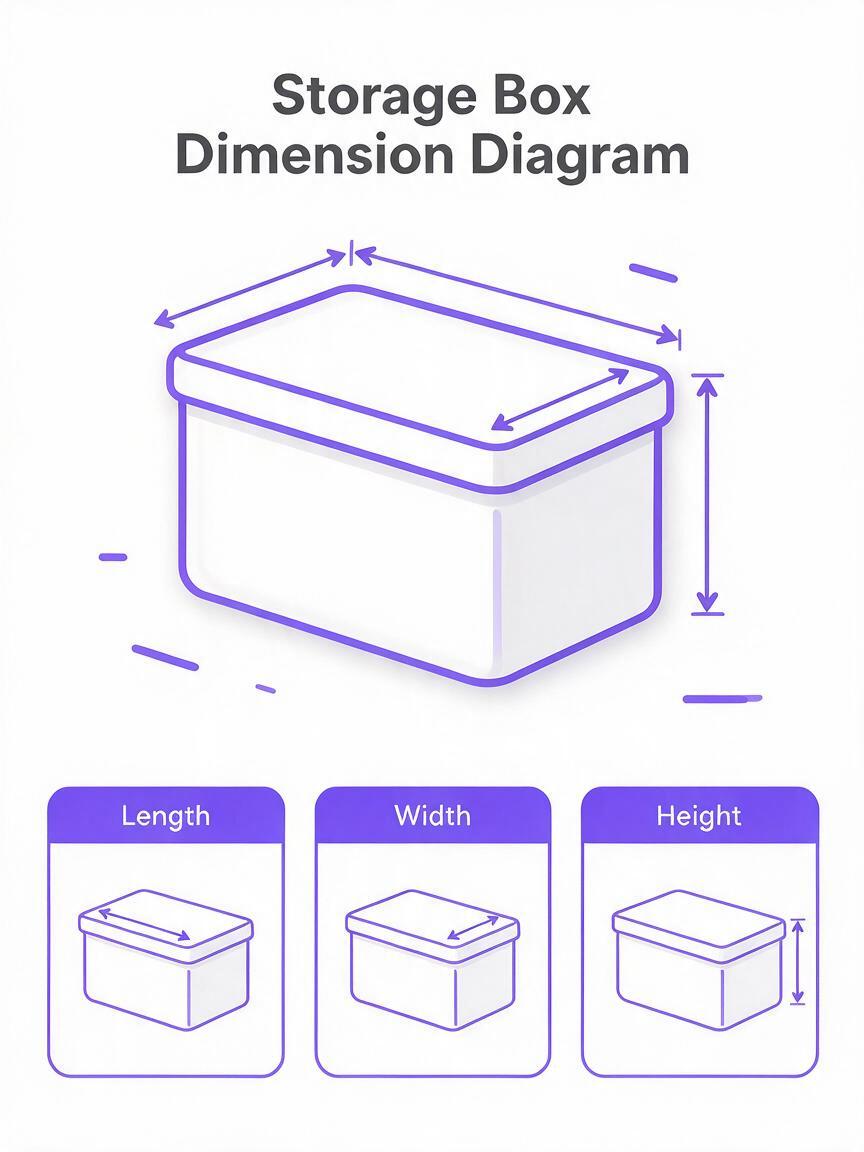
Bring the selected draft into your usual image editor. Add dimension arrows, lines, numbers, and units as editable elements. Put each arrow parallel to the edge it describes and leave a clear gap between the line and the product silhouette. For a three-quarter view, that usually means one label along the visible front edge, one along the receding side edge, and one vertical label.
Keep the wording precise. “30 cm exterior length” is more informative than “30 cm” if buyers could confuse it with interior space. Use one unit system consistently, or provide carefully checked conversions. If you include inches alongside centimeters, calculate them from the verified source values rather than asking the image model to convert them.
| Element | Use AI for | Verify or add yourself |
|---|---|---|
| Product depiction | Background and clear presentation | Exact shape, color, and components |
| Dimension arrows | Possible layout inspiration | Final placement and endpoints |
| Numbers and units | Nothing factual | Measured values, conversions, and legibility |
| Capacity or fit claims | Nothing factual | Evidence and any necessary qualifications |
Avoid filling spare space with claims such as “fits all shelves” or “holds twice as much.” Those statements need their own evidence and may distract from the size information the buyer came to find.
Choose a view that answers the fit question
A three-quarter view is useful because it can show width, depth, and height at once. It is not always the clearest choice. A flat pouch may need a straight-on front view; a shelf insert may need a side view that reveals its depth; a container with thick walls may need separate exterior and interior diagrams.
Ask what the buyer must compare the product against. If the concern is whether a box fits inside a cabinet, emphasize exterior dimensions. If the concern is whether an object fits inside the box, show verified interior dimensions in a separate graphic. Do not place an interior-width arrow on an exterior edge just because the layout looks cleaner.
When a lifestyle setting would help, keep it secondary. A box on a shelf can communicate context, but shelving of unknown size cannot prove fit. The dimension graphic should remain understandable without the lifestyle scene.
Audit the graphic at thumbnail size
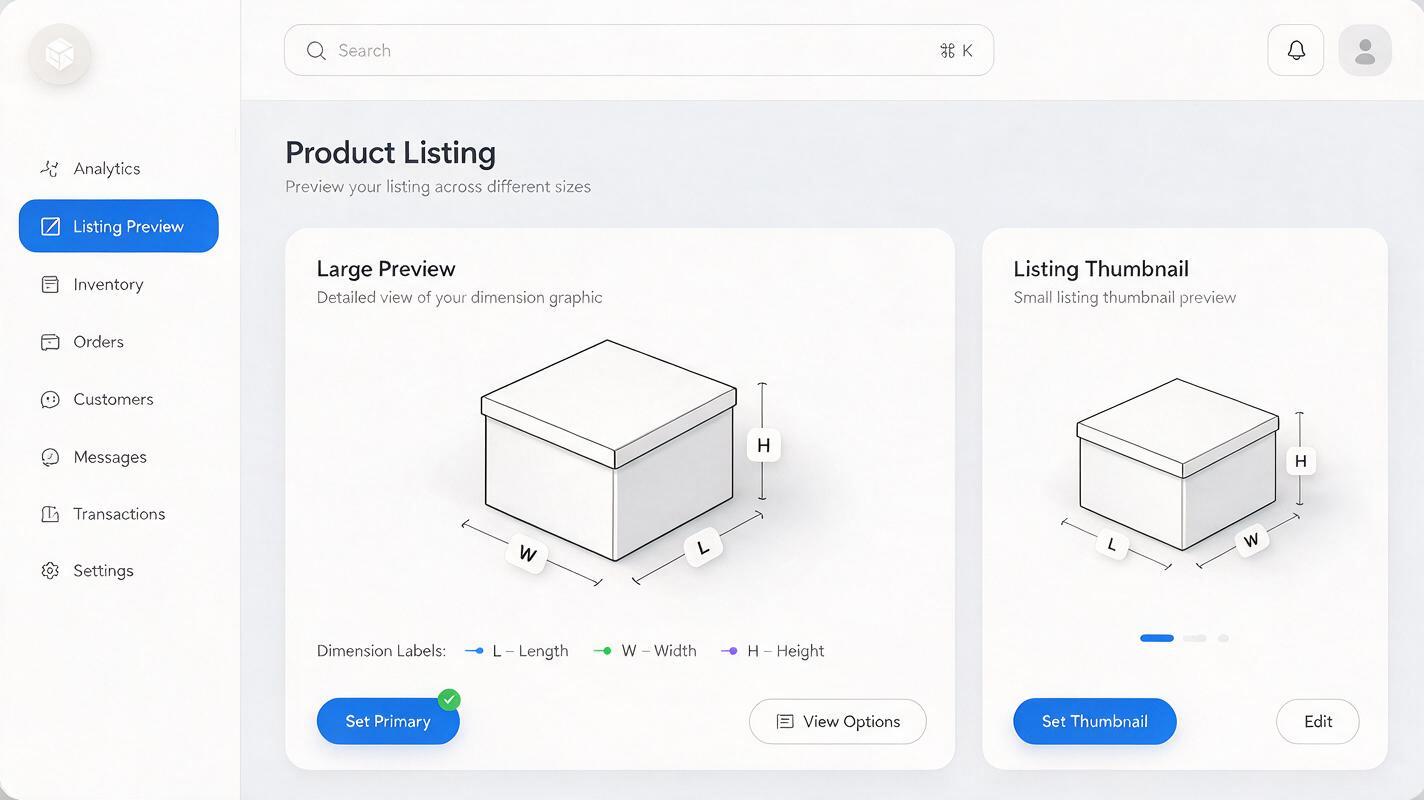
Open the finished graphic on a phone or reduce it to the size at which a shopper may first see it. The product should still be recognizable, and the most important measurement should remain readable. If the numbers disappear, enlarge the type or simplify the design rather than adding more labels.
Then compare the graphic with the approved product photo and measurement brief:
- Identity: Are the lid, handles, seams, color, and included components correct?
- Geometry: Do the arrows point to the intended exterior or interior edges?
- Values: Does every number match the verified SKU record?
- Scope: Is it clear which size variant the image represents?
- Readability: Can a buyer understand the dimensions without zooming repeatedly?
If the generated product image fails the identity check, do not try to rescue it with more convincing labels. Return to the reference photo or use the original photograph as the base. When the depiction is accurate and the labels are independently verified, test this prompt yourself on another size-sensitive item in your catalog.
Final checklist
- Measure or confirm the exact SKU and define what each dimension includes.
- Use AI to draft the presentation, not to supply facts about the product.
- Add arrows, values, and units as editable, manually checked elements.
- Separate interior from exterior measurements when both matter.
- Review the finished image against the real product and at phone-screen size.
- Confirm the image meets the current rules for its marketplace placement.
Keywords
amazon product infographics, product dimension infographic, ai product photography, amazon product images, product size graphic, nano banana pro