Why Your Amazon Product Photo Looks Like It’s Floating—and How to Fix It
A product can be cleanly cut out and still look wrong on a white listing image if its contact shadow disappears. This guide shows Amazon sellers how to restore a believable shadow while keeping the photographed product intact and the background suitable for the listing.
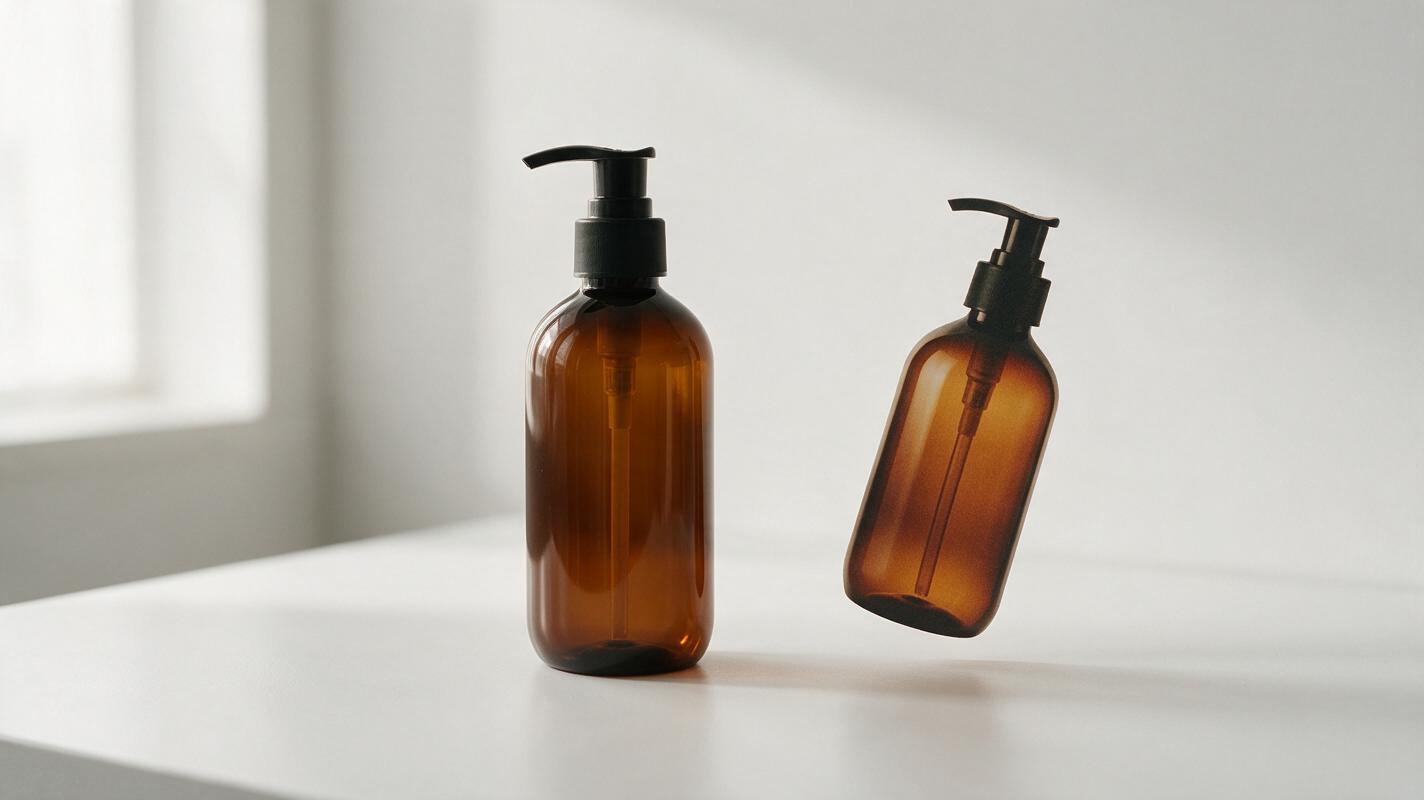
Table of contents
A clean cutout can still look unconvincing
Your Amazon product photo has a white background and tidy edges, yet the item seems to hover above the page. The likely problem is the missing contact shadow: the small, relatively dark area where the product meets its surface. You can restore that visual cue without asking AI to redraw the product, its label, or its packaging.
This matters most for bottles, boxes, shoes, and other items photographed standing upright. A plausible shadow helps buyers read their shape. It should support the real photograph—not become a dramatic effect or obscure what is being sold.
Find the surface the product actually touches
Before adding a shadow, look at the original photograph. Identify every genuine contact point: the base of a jar, the sole of a shoe, or the lower corners of a carton. If the source image already has a useful shadow, preserve it where possible. Cutting the product out too tightly often removes the very detail that makes it look grounded.
Zoom in around the base and ask:
- Does the product rest on a flat surface, lean against something, or hang freely?
- Where is the darkest contact area in the original shot?
- Which direction does the photographed light appear to come from?
- Would a shadow hide a required product detail, such as a printed base or accessory?
If the item was photographed hanging, a floor shadow would invent a different physical setup. In that case, improve the cutout and lighting match rather than forcing a shadow beneath it.

Build a shadow from the photographed footprint
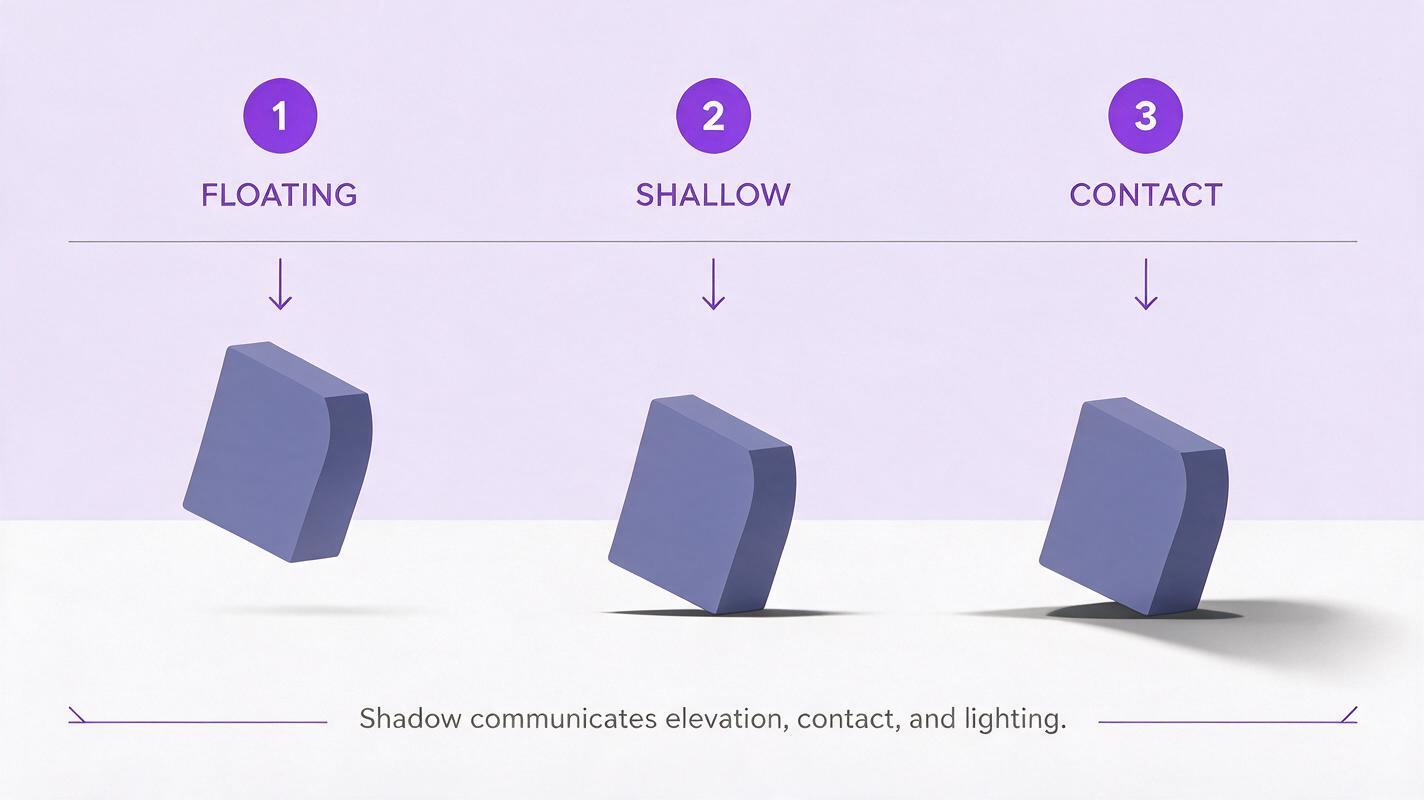
For a product that stands on a surface, start with its actual footprint—not a generic oval centered under the image. On a separate layer in your editor, paint or shape a narrow, soft contact shadow directly beneath the points that touch the ground. Keep it darkest at contact, then let it fade quickly outward.
A second, broader shadow may help if the original photograph shows directional light. It should be lighter and softer than the contact shadow and extend away from the light source. Compare the result at thumbnail size: the product should look settled, but the shadow should not be the first thing you notice.
| Visible problem | Likely cause | Useful correction |
|---|---|---|
| The product still floats | The shadow starts below the base with a white gap | Move the darkest part up to the real contact points |
| The product looks pasted onto a gray platform | The shadow is too dark or evenly shaped | Reduce opacity and vary its shape around the footprint |
| The shadow looks like a spotlight effect | Its direction conflicts with the source lighting | Match the photographed light or use only a restrained contact shadow |
| The base looks muddy | The shadow overlaps visible product pixels | Place it behind the cutout and inspect the lower edge |
Do not assume that a blur filter alone will make a shadow realistic. Placement and shape matter more than softness.
Use AI for a shadow reference, not a replacement product
If you are unsure what a grounded result should look like, use an ai image generator with Nano Banana Pro to explore lighting ideas. Treat the output as a visual reference, not as a final listing image: generated versions may change a cap, seam, logo, or package proportion even when the prompt asks them not to.
For a reference image, supply the actual product photograph if your chosen interface supports image input and try this prompt:
Study the uploaded product photograph as a lighting reference. Show a plain white tabletop and white background under soft studio lighting. Suggest a subtle contact shadow only where the photographed product touches the surface. Do not add props, text, labels, extra items, or a dramatic cast shadow. This output is for shadow-placement reference, not for replacing the photographed product.Then reproduce the useful shadow shape in your editor beneath the original product pixels. If the model invents a different base shape, disregard that part of its output. A generated shadow cannot verify how the actual item was lit.
Keep the evidence separate: the photograph establishes what the product looks like; the shadow treatment only helps it sit naturally on the page.
Check the white background after compositing
A subtle shadow and a white background can coexist, but a generated cream-colored studio scene is not the same as a white main-image background. Inspect a large empty area with your editor’s color picker and check the current requirements for the marketplace and product category before upload. Do not rely on an AI preview to determine compliance.
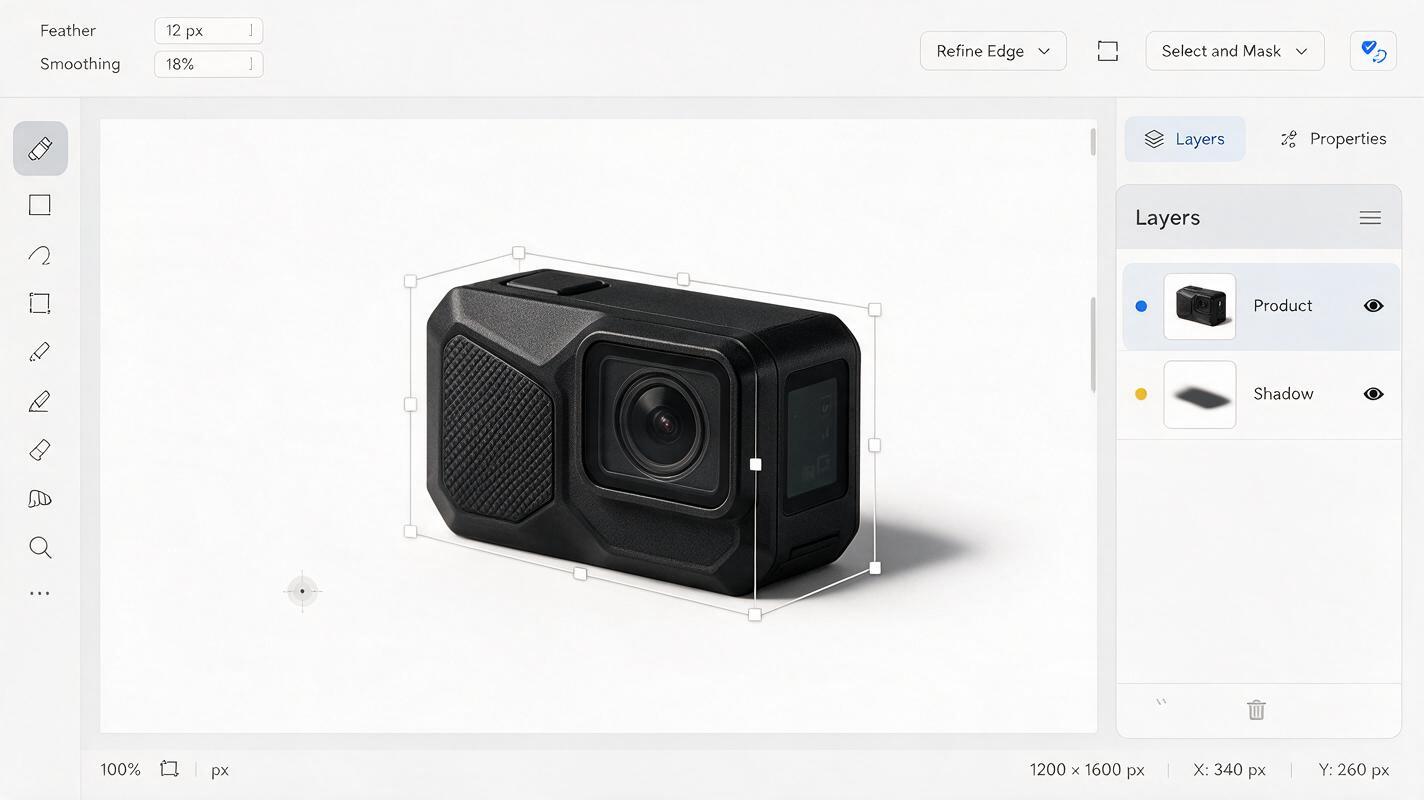
Also inspect the file against both white and dark editor backgrounds. On white, look for gray halos left by background removal. On dark, look for white fringe around the product. Those edge defects can make a good shadow look artificial.
Finally, compare the edited image against the source photograph at full resolution. Check the label, color, finish, silhouette, included parts, and lower edge. If any product detail changed during AI editing, return to the photographed cutout and keep only the shadow treatment you can control.
Choose the final image for the listing
Export a high-resolution version, then view it at the size shoppers will actually see in search results and on a phone. A shadow that looks elegant at 200% zoom may disappear at thumbnail size; one that looks subtle on a large monitor may form a distracting gray patch on mobile.
Place the candidate beside your other listing images. The product should remain the clear subject, with no implied accessories or altered finish. If a realistic shadow requires extensive reconstruction because the source photograph has poor lighting or an obscured base, reshooting the product on a clean surface may be faster and more trustworthy.
Have a suitable source photo? test this prompt yourself for a lighting reference, then build the final shadow beneath the verified photograph.
Final checklist
- The shadow touches the product at its real contact points.
- Its direction is consistent with the photographed lighting.
- The original product pixels, label, color, and included parts remain unchanged.
- The background and image content meet the current requirements for the listing.
- No fringe, gray halo, or heavy shadow appears at mobile viewing size.
Keywords
Amazon product photo shadow, floating product photo, white background product photography, AI product photo editing, product contact shadow, Amazon listing images