Animate Image to Video: Bring Product Photos to Life for Social Media
Learn how to turn static product photos into scroll-stopping social video clips using AI animation. This guide covers photo prep, animation style selection, copyable prompts, and polishing techniques for e-commerce brands.
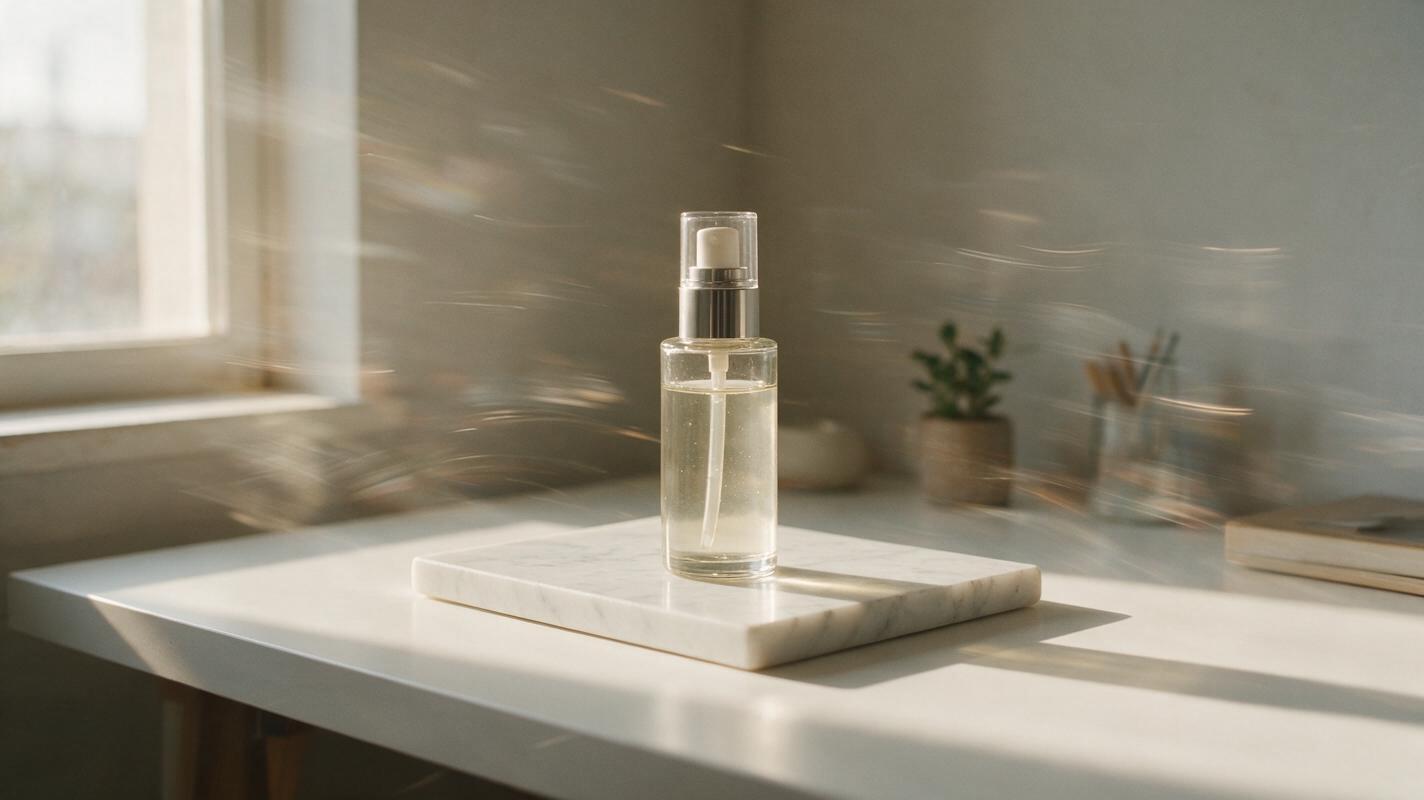
Table of contents
Turn Static Product Photos Into Engaging Video Clips
Static product photos only hold a viewer's attention for a fraction of a second on social feeds. When you animate image to video — adding subtle zoom, slow camera movement, or atmospheric effects — you turn a flat image into a clip that feels alive and stops the scroll. This works especially well for e-commerce brands that already have great product photography but lack the time or budget for full video shoots.
Unlike motion transfer or character animation, product photo animation is about restrained, realistic movement. The goal is to make a good photo feel cinematic, not to create something that looks obviously AI-generated. This guide walks through a practical workflow for animating product photos that you can use for Instagram Reels, TikTok, product pages, or ad creative.
MagicBoat's image to video tools support several animation styles from a single reference image, with multi-model options so you can pick the look that best fits your brand.
What you need to get started
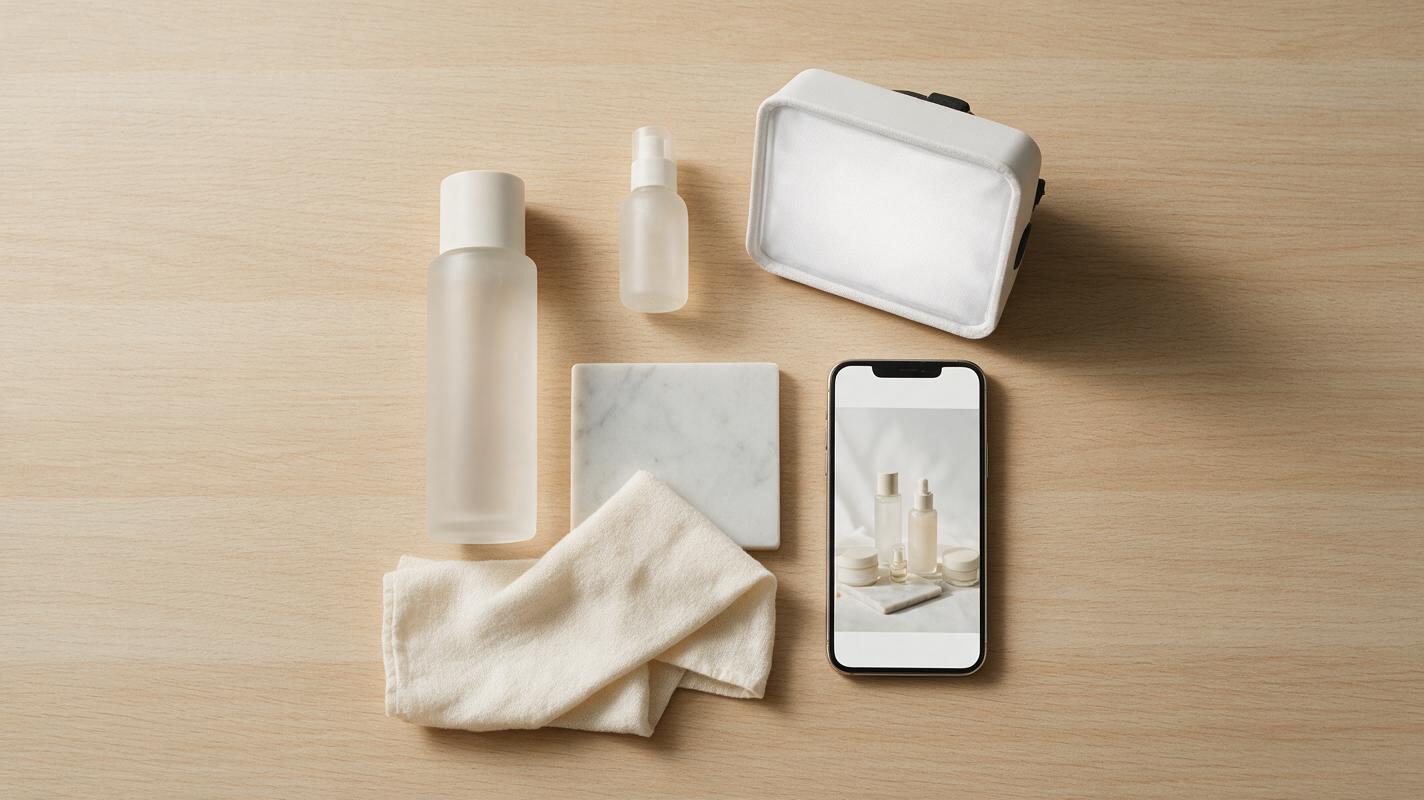
Before diving into animation, gather these assets and set clear expectations. Not every product photo works well for animation, and choosing the right starting image saves time later.
- A high-resolution product photo — 1024px or wider on the shortest side, shot in good light, with the product clearly separated from its background.
- A defined animation goal — know whether you want subtle zoom, slow panning, parallax depth, or atmospheric effects like floating dust or gentle steam.
- Brand constraints — aspect ratio (9:16 for Reels/TikTok, 1:1 for feed posts), duration (usually 3–6 seconds for social), and any color grading rules defined in your ai video presets.
- Optional: background assets — if you want to composite your product onto a new background, basic video matting prep helps get a clean cutout first.
Rule of thumb: If your product photo is blurry, heavily compressed, or has a messy background, clean it up before animating. AI animation amplifies existing issues — it doesn't fix them.
Step 1 — Prep your product photo for clean animation
Start with the best possible source image. Open your product photo in an editor and check three things: composition, background, and resolution.
For composition, make sure the product sits comfortably in the frame with room for the camera to move. If you're animating a 1:1 square photo into a 9:16 vertical video, you'll need extra space at the top and bottom — either by extending the background or by accepting a tighter crop. It's almost always better to start with a landscape or square original and let the animation tool handle the vertical framing.
For background cleanup, if your product sits on a busy desk or has distracting elements behind it, use video matting or a background removal tool to isolate the product first. This is especially important if you plan to composite the product onto a new background or apply atmospheric effects that need to interact with the edges cleanly.
For resolution, upscale the photo if it's below 1024px on the shortest side. An ai video enhancer pass after animation will help with final sharpness, but starting with a clear source image gives dramatically better results.
Step 2 — Choose the right animation style for your product
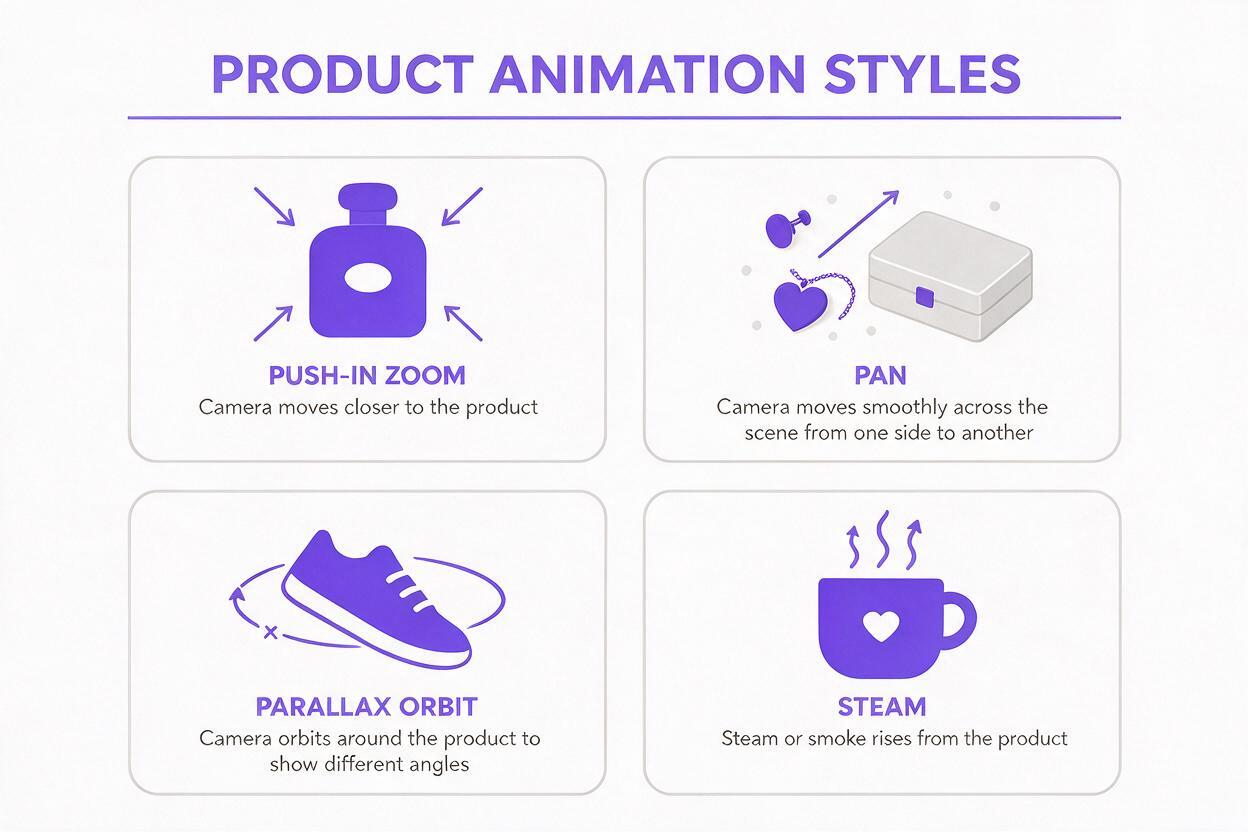
Not every animation style fits every product. Pick one based on what you're selling and what emotion you want to convey. Here are the four most reliable styles for product content:
| Animation style | Best for | Duration tip |
|---|---|---|
| Slow push-in zoom | Beauty, skincare, luxury goods | 4–5 seconds, subtle 10–15% zoom |
| Slow pan across | Flat lays, multiple products, accessories | 3–4 seconds, left-to-right or diagonal |
| Parallax depth | Products with foreground/background layers | 4–6 seconds, gentle camera drift |
| Atmospheric effects | Food, beverages, candles, skincare | 3–5 seconds, steam / dust / light particles |
For most product social content, the slow push-in zoom is the safest starting point. It mimics the classic Ken Burns effect but with smoother, more organic motion generated by AI. Save the more dramatic effects for specific campaigns where they serve a clear creative purpose.
Step 3 — Write prompts that deliver clean, usable motion
The biggest mistake people make when they animate image to video is writing prompts that ask for too much. Too much movement, too many effects, or unrealistic camera behavior leads to distorted products, melted edges, and unnatural motion. Keep it restrained.
Here are copyable prompts for the four most common product animation styles. Each assumes you're using the product photo as a direct reference image:
Slow push-in zoom (skincare bottle)
Subtle cinematic push-in shot of a glass skincare bottle on a marble countertop. Very slow, smooth camera movement forward, 10% zoom over 4 seconds. Soft natural window light from the left. No distortion, product stays perfectly sharp. Realistic, photorealistic, no extra objects added.Slow diagonal pan (flat lay jewelry)
Gentle diagonal pan across a flat lay of gold jewelry on a cream linen surface. Slow camera movement from top-left to bottom-right over 3.5 seconds. Soft overhead light. All products remain in focus, no warping, no added elements. Photorealistic product photography style.Parallax depth (sneaker on pedestal)
Cinematic parallax shot of a white sneaker on a concrete pedestal. Very slow camera orbit to the right, subtle depth between shoe and background wall. Soft studio lighting. Product geometry stays perfectly consistent, no stretching. Photorealistic, 4K quality.Atmospheric steam (hot coffee mug)
Close-up of a ceramic coffee mug with gentle wispy steam rising slowly. Very subtle push-in camera movement. Warm morning light from a window. Steam is thin and realistic, not thick or cartoonish. Mug stays sharp, no distortion. Photorealistic food photography style.test this prompt yourself with your own product photo to see how reference-guided animation preserves your original product design while adding natural motion.
Step 4 — Polish your animated clip for social media
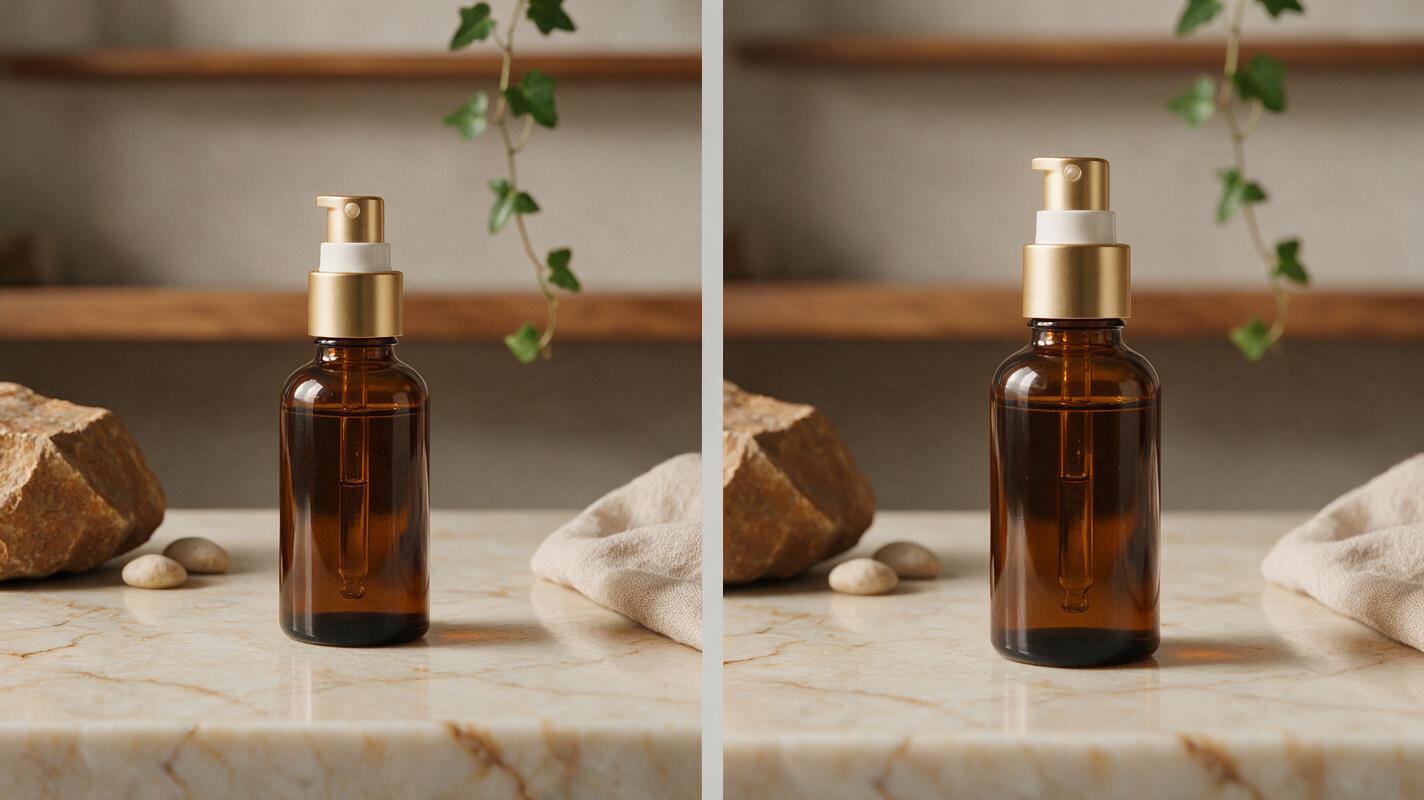
After generating the initial animation, you'll usually want to run a quick polish pass before publishing. This is where an ai video enhancer makes a noticeable difference, especially if you started with a lower-resolution source image.
First, trim the clip to remove any awkward frames at the start or end where the motion hasn't settled into a smooth pace. Most AI animation tools produce their steadiest motion in the middle 60–70% of the clip. A 4-second clip trimmed down from a 5-second generation almost always looks cleaner.
Next, apply light enhancement. Focus on three things: sharpness on the product itself, stable colors that match your brand palette, and removal of any compression artifacts that showed up during generation. Be conservative with enhancement — over-sharpening creates halos around product edges, and over-denoising can make surfaces look plastic.
Finally, if you're making multiple clips from different product photos, apply your ai video presets for consistent color grading, timing, and aspect ratio across the whole batch. This is especially important for brands running multiple ad variants or posting daily social content.
Step 5 — Export and test across platforms
Different social platforms reward different video characteristics. Export your animated clip in the right format for where it's going, and don't assume one export works everywhere.
For TikTok and Instagram Reels, export at 9:16 vertical, 1080×1920, 30fps. Keep the product centered or slightly above center, since bottom-third UI elements can cover part of the frame. Add text overlays and music in the platform's native editor rather than burning them in, so you can A/B test different captions.
For Instagram feed posts, export at 1:1 square or 4:5 portrait. These formats work well with slower zoom animations because the product stays visible throughout the entire motion.
For product pages or website hero sections, export at 16:9 landscape and keep the animation loopable. A 3-second push-in zoom that fades back to the start works well as a subtle hero background that doesn't distract from copy or CTAs.
Final checklist
- Source photo is 1024px+ and has clean edges and a clear subject
- Animation style matches the product category and brand tone
- Prompt is specific about camera movement and explicitly forbids distortion
- Clip is trimmed to remove unstable start/end frames
- Light enhancement pass sharpens the product without creating artifacts
- Export dimensions and aspect ratio match the target platform
- Brand colors and timing are consistent across all variants
Keywords
animate image to video, image to video, photo to video, ai video generator, ai video enhancer, video matting, ai video presets