How to Animate a Product Photo with Image to Video
Turn one polished product photo into a short commercial shot by separating camera movement, product movement, and environmental motion in your prompt. The fastest workflow is to prepare a clean source image, generate several short image-to-video variations in Seedance or Kling, and assemble only the most stable moments.
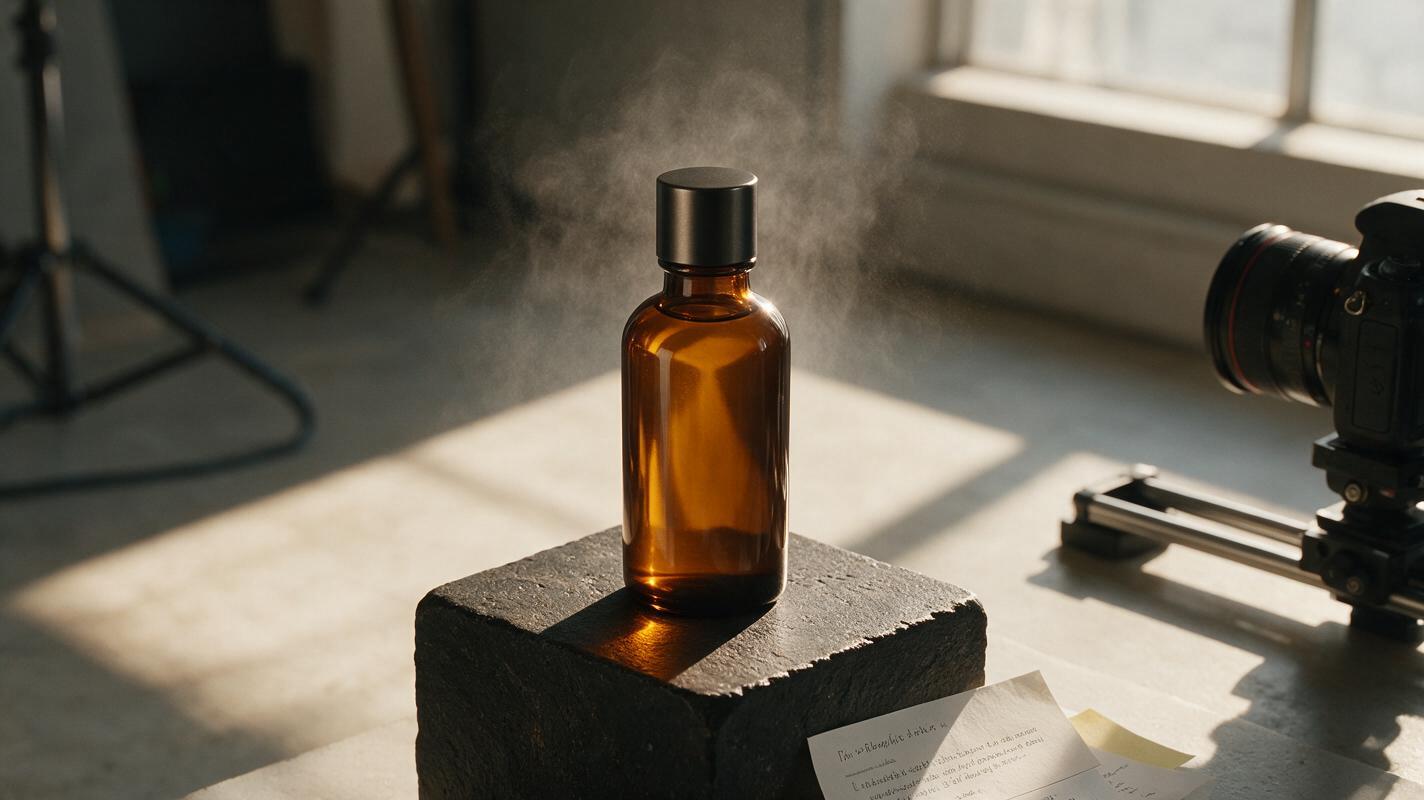
Table of contents
Turn one product image into a controlled commercial shot
TL;DR: Start with a clean product photo, choose one restrained camera move, and describe environmental motion separately from the object itself. Generate several short clips with image to video, then keep the variation with the most stable packaging, edges, reflections, and label text.
This tutorial focuses on product shots rather than character animation. You will learn how to make a bottle, watch, cosmetic jar, shoe, or packaged item feel cinematic without asking the model to redesign it in every frame.
Why product photos often deform when animated
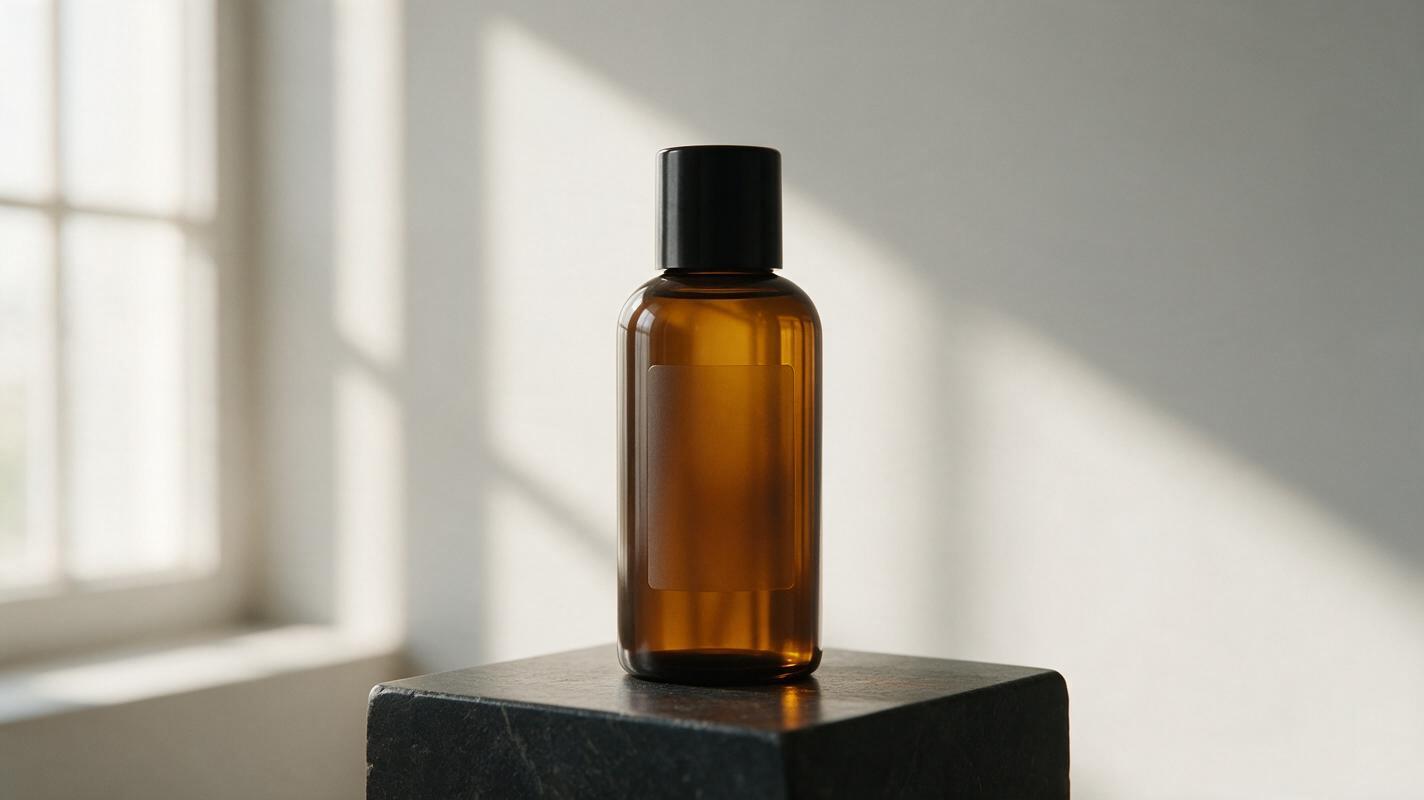
A still product image contains one approved view, but a video model must infer what the object, background, and lighting should look like a moment later. Problems appear when the prompt asks it to invent too much at once.
- Labels crawl or dissolve: printed letters shift because text is treated as visual texture rather than fixed typography.
- Geometry changes: bottle shoulders narrow, watch faces become oval, or packaging corners bend during a large camera move.
- Reflections behave like liquid: highlights slide independently of the product and make glossy surfaces look soft.
- The object moves when only the camera should move: a requested orbit may cause the product to rotate, tilt, or drift.
- The background becomes distracting: smoke, splashes, particles, and fabric all move simultaneously, competing with the product.
The safest product animation changes one major thing at a time. A subtle push-in with one background effect is usually more usable than an orbit, splash, rotation, focus pull, and lighting transition combined.
Three ways to animate a product photo
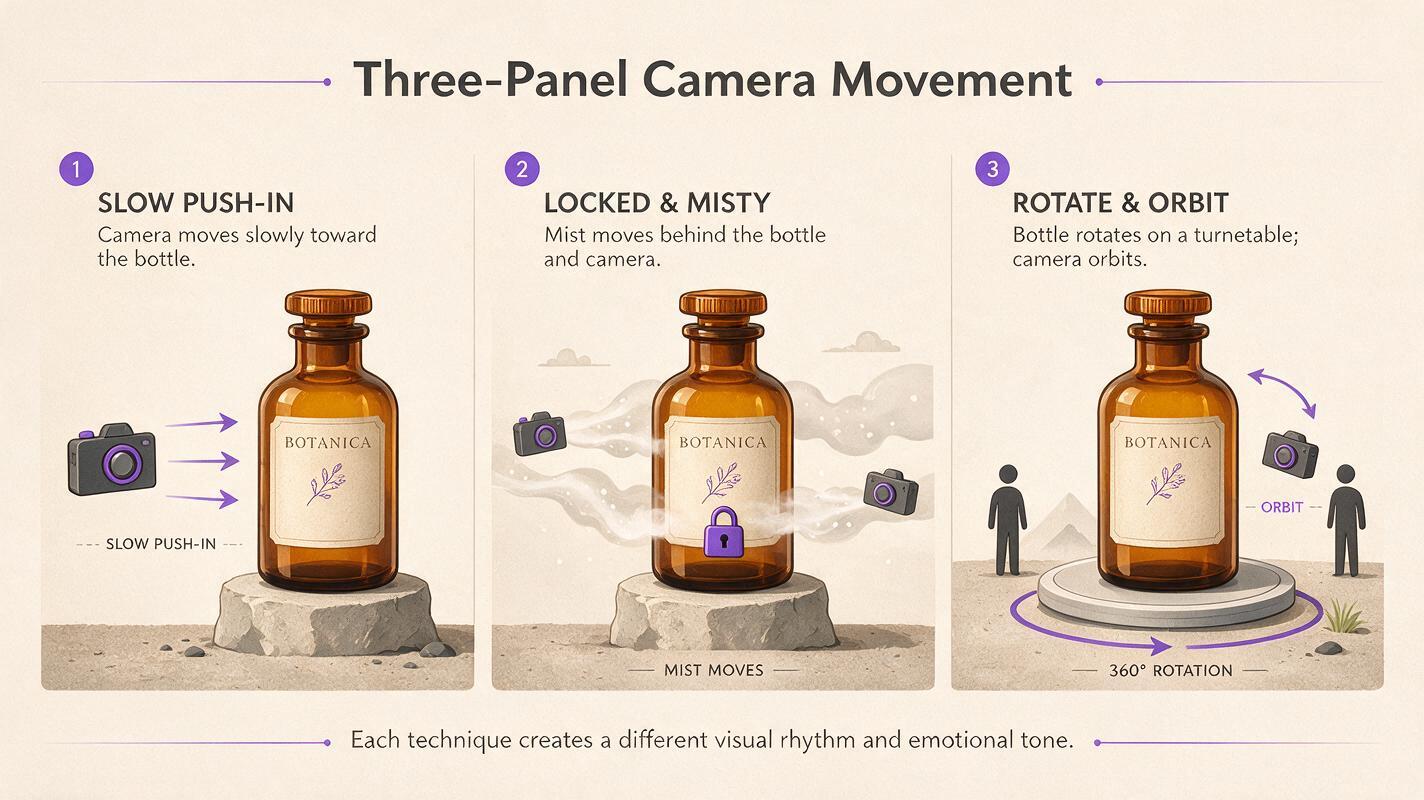
- Camera-first animation: keep the object stationary while the camera pushes in, slides sideways, or performs a restrained arc.
- Environment-first animation: lock the camera and product while moving steam, condensation, fabric, shadows, water, or airborne particles.
- Product-action animation: request one small physical action, such as a lid lifting or a turntable rotating. This is the most difficult approach because hidden surfaces must be invented.
For a first attempt, use the camera-first method. It creates depth and energy while requiring less structural invention from the model.
How MagicBoat handles the product-video workflow
MagicBoat brings image-generation and video-generation models into one account, which makes it practical to test different stages without rebuilding the project elsewhere. Seedream, Flux, or GPT Image can help create or refine a clean product keyframe. Seedance and Kling can then animate that frame through an ai video workflow.
The useful advantage is comparison. The same reference image and nearly identical motion prompt can be tried with more than one available model. One result may preserve rigid geometry better, while another may produce more appealing atmospheric motion. Model availability and individual controls can change, so use only the settings presented for the model you select.
| Stage | Suitable model group | Main goal |
|---|---|---|
| Source-frame creation | Seedream, Flux, GPT Image | Clean composition, material definition, usable negative space |
| Still-image animation | Seedance, Kling | Camera motion, environmental movement, short product shots |
| Prompt-led concept test | Text-to-video models available in MagicBoat | Explore an idea before preparing the final product reference |
| Finishing | External video editor if needed | Trim unstable frames, add verified typography, sound, and branding |
Step 1 — Prepare a motion-friendly product image
Choose a source image with a clearly defined silhouette, enough space around the product, and lighting that already looks close to the intended final shot. A front three-quarter view is often safer than a perfectly frontal package because it provides visible depth without requiring a full rotation.
Before animation, check the image for warped letters, asymmetrical caps, broken jewelry links, duplicated controls, or inconsistent reflections. Video generation usually amplifies defects rather than repairing them.
If you need to generate the source frame, use a prompt that defines the physical arrangement before the mood:
Premium amber skincare bottle standing upright on a dark stone pedestal, front three-quarter view, centered rigid silhouette, intact cylindrical cap, readable blank cream label area, soft window light from camera left, controlled warm reflection on the glass, charcoal studio background, subtle shadow beneath the bottle, realistic commercial product photography, no hands, no extra bottles, no floating objectsDo not ask the image model to produce final legal copy, ingredient lists, or a real brand mark. Create a clean label area and add exact typography during editing.
Expected result: one polished keyframe in which the product occupies most of the composition but still has room for a small camera move.
Step 2 — Decide what must remain locked
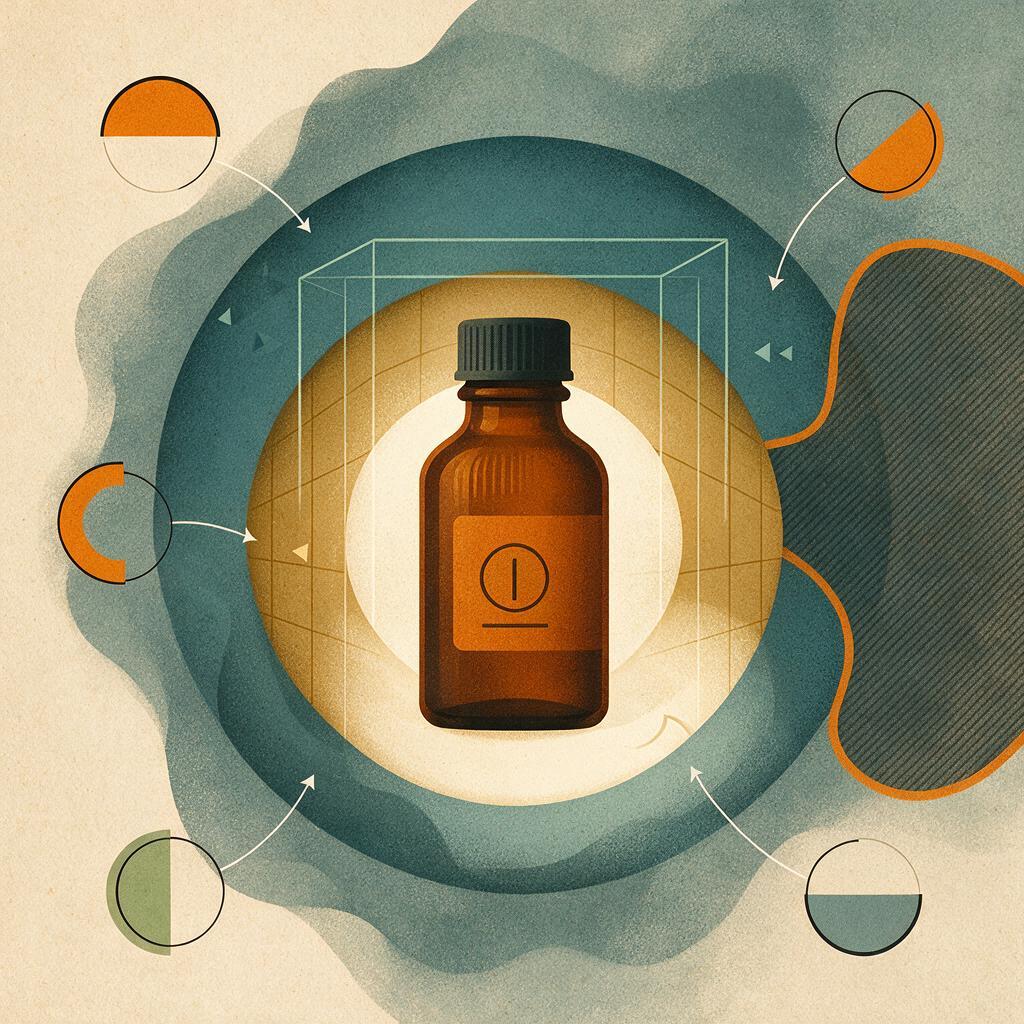
Write a short continuity specification before writing the motion prompt. This prevents descriptive details from changing between attempts.
LOCKED SUBJECT
- Amber cylindrical glass bottle
- Straight vertical silhouette
- Cream rectangular label area
- Black cap remains closed
- Bottle stays centered on the pedestal
- No change to shape, color, proportions, or packaging
The lock list should describe visible facts, not abstract quality words. “Premium” does not tell the video model what to preserve; “black cap remains closed and aligned” does.
For reflective products, also identify the dominant light direction. If the source has a bright highlight on the left side, asking for a light sweep from right to left can create conflicting reflections. Keep the motion compatible with the original illumination.
Expected result: a compact reference block you can reuse across prompt variations without accidentally changing the product design.
Step 3 — Choose one primary motion
Select a move that supports the source angle. A push-in works with almost any image. A lateral slide needs visible foreground or background layers to reveal parallax. A small arc needs enough three-dimensional information for the model to infer the product’s side.
| Motion | Best use | Risk level |
|---|---|---|
| Slow push-in | Packaging, cosmetics, food, watches | Low |
| Gentle pull-back | Revealing a styled set | Low |
| Short lateral slide | Scenes with foreground depth | Moderate |
| Small camera arc | Rounded products with visible side surfaces | Moderate |
| Full orbit | Only when unseen surfaces can be invented safely | High |
| Product rotation | Simple, symmetrical, minimally labeled objects | High |
Use a push-in for the first generation. Save ambitious rotations for later tests after you know the model can preserve the object.
Expected result: one clear motion instruction, not a list of competing camera moves.
Step 4 — Build a layered image-to-video prompt
Structure the prompt in five layers: subject lock, camera, environmental motion, lighting behavior, and exclusions. This helps separate what moves from what remains fixed.
The amber skincare bottle remains perfectly upright, centered, closed, and unchanged on the dark stone pedestal. The camera performs a very slow, smooth cinematic push-in with minimal perspective change. A faint layer of cool mist drifts gently behind the bottle, never crossing the label. The existing warm highlight on the left glass edge shimmers subtly while the studio lighting remains consistent. Realistic commercial product footage, restrained motion, stable rigid geometry. No product rotation, no cap movement, no label deformation, no added objects, no sudden camera movement.For Seedance or Kling prompts, direct spatial language is more useful than a long list of cinematic adjectives. State where the mist appears, which direction it travels, and whether it may overlap the subject.
A practical formula is:
[locked product state] + [one camera move] + [one secondary motion] + [consistent light behavior] + [specific exclusions]Expected result: a short shot with a stable hero object, visible depth from the push-in, and just enough background motion to prove that the frame is animated.
Step 5 — Generate short variations before adding complexity
Use the prepared product image as the visual input and keep the first attempts short. Generate several variations with the same core prompt rather than rewriting everything after one failure. Video generation is variable, so comparison is part of the workflow.
Change only one phrase between tests:
- Variation A: “very slow, smooth cinematic push-in.”
- Variation B: “locked camera; only faint mist moves behind the bottle.”
- Variation C: “slow lateral camera slide from left to right with subtle background parallax.”
If the label bends during Variation C but remains stable in A and B, the perspective change is the likely cause. Reduce the slide rather than adding more descriptive language.
When comparing Seedance and Kling, reuse the same source image, motion concept, framing, and approximate clip length wherever the available controls permit. This makes the comparison about motion interpretation rather than unrelated setup changes.
Expected result: a small set of comparable clips that reveals the safest motion for the specific product image.
Step 6 — Inspect the product frame by frame
Do not judge only by watching the clip once at normal speed. Pause at the beginning, middle, and end, then inspect rigid details.
- Does the cap retain the same width and alignment?
- Do vertical packaging edges remain straight?
- Does the label stay attached to the surface?
- Does the base remain in contact with the pedestal?
- Do shadows move consistently with the camera and lights?
- Does mist pass behind the product as requested?
Reject a visually exciting clip if the product changes identity. In commercial work, stable structure is more important than spectacular background motion.
If only the final frames deform, trim the shot before the failure. A stable two-second section can be more useful than a longer clip containing one obvious geometry error.
Expected result: one selected take with no distracting structural change during the portion you intend to publish.
Step 7 — Assemble a three-shot product sequence
One long generation does not need to carry the entire advertisement. Build a compact sequence from independently generated shots:
- Establishing shot: locked camera with environmental movement.
- Hero shot: slow push-in toward the product.
- Detail shot: a tighter crop emphasizing the cap, material, dial, stitching, or surface texture.
Use the same source frame or closely matched crops so lighting and design remain coherent. Keep motion direction consistent across cuts. For example, if the hero shot drifts left to right, avoid following it immediately with a detail shot moving strongly right to left unless the reversal is intentional.
Add exact product names, prices, disclaimers, and calls to action in the editor instead of embedding them in generated frames. This preserves spelling and makes revisions straightforward.
Expected result: a brief, editable product-video sequence that feels more deliberate than one overloaded continuous generation.
Keep the same product look across a campaign
Save a reusable reference package containing the approved source frame, lock list, core motion prompt, aspect ratio, and final color reference. For a new scene, change the environment while preserving the physical description of the product.
For example, the amber bottle can move from a stone pedestal to a bathroom shelf, but its material, cap, label placement, camera-facing angle, and highlight direction should remain explicit. Reusing the actual product reference is more reliable than describing it from memory.
Alternative: use text to video for concept exploration
If you do not yet have a product image, use text generation to test broad concepts such as “warm sunrise bathroom shelf” or “dark mineral studio with drifting vapor.” Treat these clips as visual planning rather than final product footage, because the generated object may not match a specific package design.
Once the direction is approved, create a controlled still frame and switch to image-guided animation. This separates art-direction discovery from product-preservation work.
Alternative: use motion transfer for human interaction
When the essential action is a hand lifting, presenting, or applying a product, a motion-led workflow can be more suitable than asking a still image to invent complex hand contact. Record simple movement with clear visibility and avoid fingers crossing the product label whenever possible.
Human-object interaction remains difficult: fingers may merge with handles, packaging may compress, and grip placement may change. Consider cutting between a stable generated product shot and a separately produced hand shot rather than forcing both into one clip.
Where this workflow falls short
- Exact typography is fragile. Small label copy can shimmer even when the main object remains stable.
- Large rotations require unseen geometry. A single photo cannot reveal the back, underside, or hidden side of a product.
- Transparent materials are difficult. Glass, liquid, refraction, highlights, and background movement must remain physically related.
- Mechanical actions may be inconsistent. Hinges, pump dispensers, folding parts, and watch mechanisms need precise constraints that a single image may not provide.
- Prompts cannot guarantee compliance. Packaging and regulated product claims should be checked and added through conventional editing.
FAQ
Should the camera move or should the product rotate?
Move the camera first. Keeping the product stationary reduces the amount of hidden geometry the model must invent. Product rotation is better reserved for simple, symmetrical objects or references that clearly establish multiple sides.
How can I stop label text from changing?
Use a larger, cleaner source image, minimize perspective changes, keep the label area facing the camera, and avoid long clips. For exact wording, replace or overlay the label in post-production rather than relying on generated text.
Are Seedance prompts different from Kling prompts?
The same layered structure works for both: lock the subject, define one camera move, describe one secondary motion, preserve lighting, and list concrete exclusions. Test concise and detailed versions because models can differ in how strongly they follow individual clauses.
Can I animate a transparent bottle or glass jar?
Yes, but begin with minimal motion. A locked camera with subtle background movement is safer than an orbit because transparency requires the product, internal contents, reflections, and background refraction to remain coordinated.
What aspect ratio should I use?
Match the intended platform from the start. Vertical framing suits many short-form placements, while horizontal framing provides more room for lateral camera motion and environmental context. Avoid aggressive cropping after generation because it may remove the negative space planned for copy.
How many generations should I test?
There is no universal number. Produce enough controlled variations to compare motion stability, changing only one important instruction at a time. Stop when you have a structurally sound clip that serves the edit rather than chasing increasingly elaborate movement.
Final checklist
- Start with a clean, high-quality product reference.
- Write down the shape, color, cap, label, and position that must remain locked.
- Choose one primary camera move.
- Add no more than one secondary environmental motion at first.
- Keep mist, water, fabric, or particles away from critical label details.
- Compare short variations using the same source frame.
- Inspect the beginning, middle, and end for geometry drift.
- Trim unstable frames and add exact typography during editing.
Keywords
image to video, product photo animation, AI product video, Seedance prompts, Kling prompts, prompt engineering, AI video workflow. Create your first AI video free and test the camera-first prompt with your own product photo.