How to Animate a Travel Map for YouTube Without Distorting It
A travel-map reveal should take viewers from a real location to a vivid scene without inventing roads, borders, or place names. This tutorial keeps the map in the editor and uses Runway to animate a separate destination image for a faceless YouTube video.
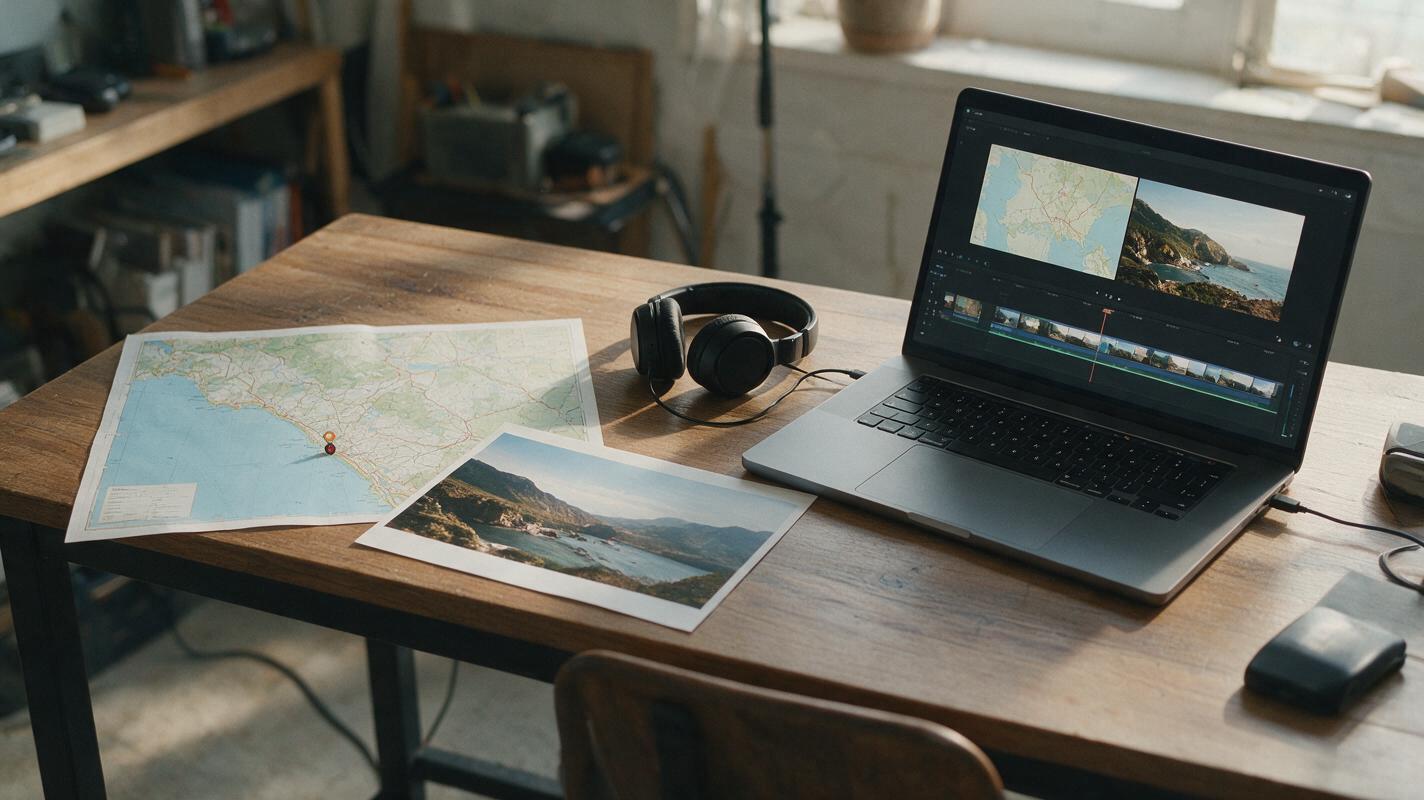
Table of contents
Make the destination move, not the map
An animated travel map can help viewers understand where a story happens. The problem is that generating the whole map as video may bend coastlines, change labels, or move a route you meant to keep accurate. A safer approach is to hold a verified map steady, animate a separate image of the destination with Runway, and join the two in your editor.
The result is a short map-to-scene reveal suited to a faceless travel video, location-based story, or documentary chapter. It gives viewers a clear location first and atmosphere second—without asking a video model to redraw geography.
Choose a map that stays factually accurate
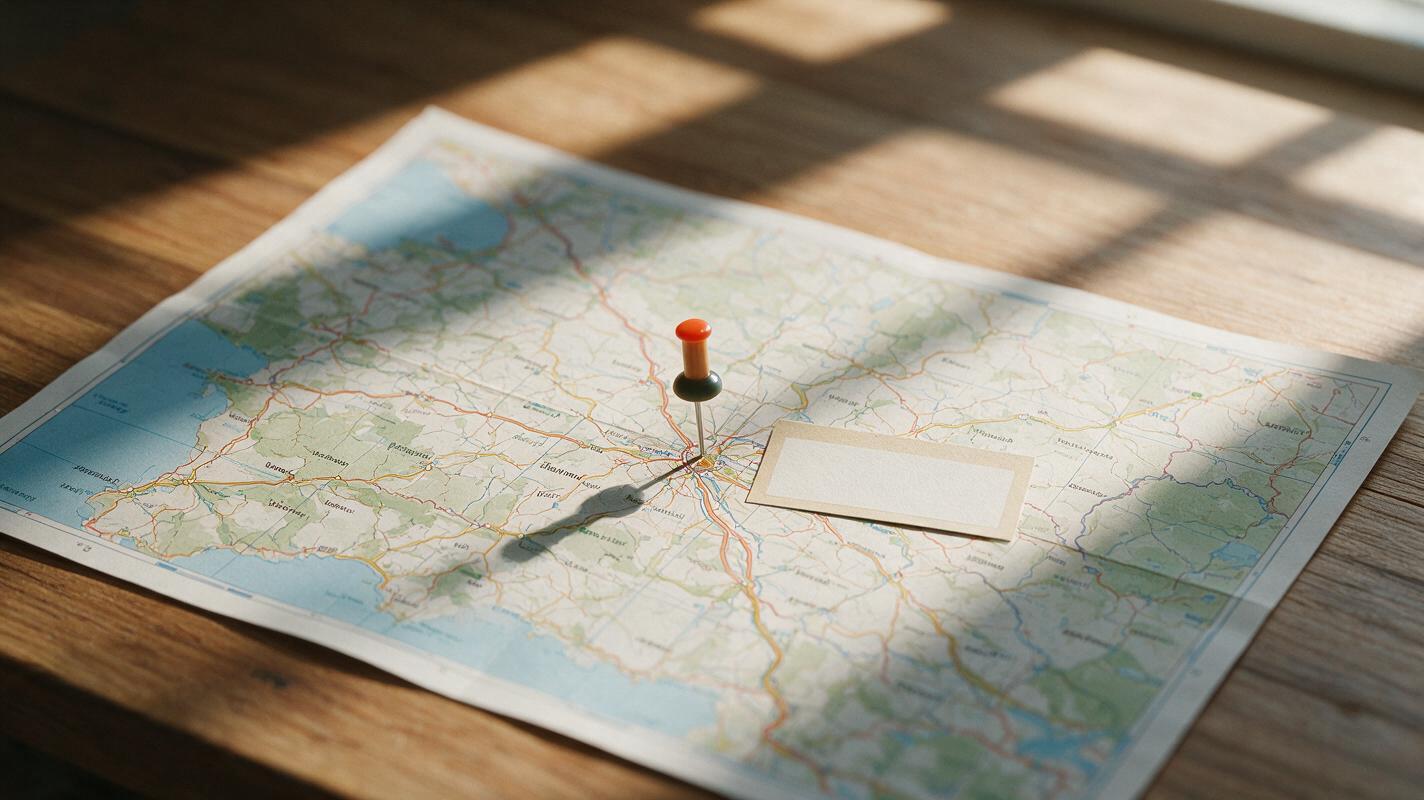
Start with a map asset you are permitted to use. A map exported from a tool with suitable usage rights, or one you designed from appropriately licensed geographic data, gives you a reliable base. Check its labels and boundaries against the location you discuss; an attractive map is not a substitute for a correct one.
In the editor, place the map on a 16:9 canvas and mark your destination with a pin or simple circle. Add the place name as editable text rather than baking it into a generated image. If your story follows a route, draw that route yourself over the verified map. This lets you correct a spelling, move a pin, or remove a questionable claim without regenerating footage.
Accuracy rule: Treat the map as information and the generated destination shot as illustration. Do not present an invented street view or landmark as footage of a real place.
For a concrete example, imagine a video about a weekend rail trip ending in a coastal town. The map establishes the town’s real location. The animated shot that follows can evoke an arrival at the coast, but it need not claim to show the station, shoreline, or weather on your actual trip.
Prepare a destination image with a clear point of motion
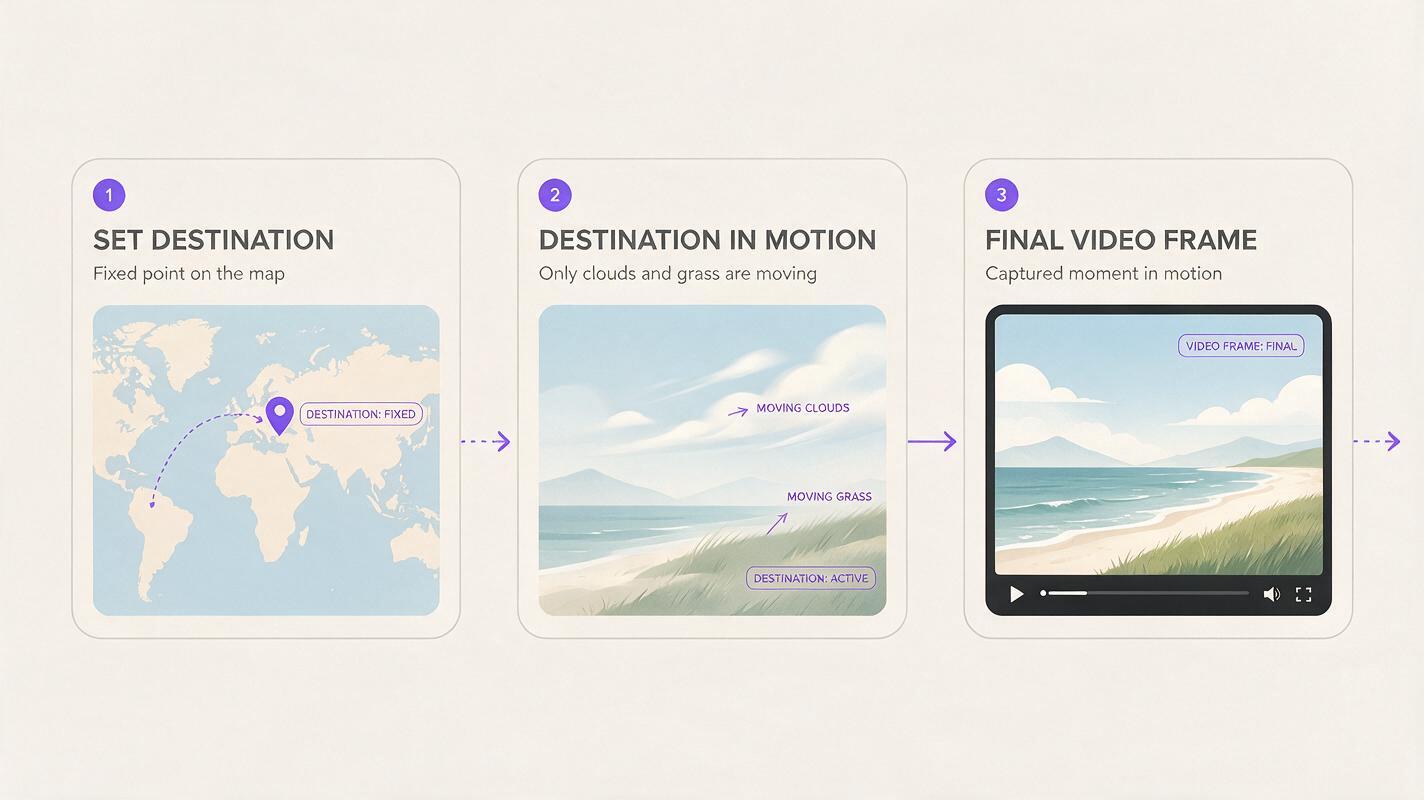
Pick a still image that matches the narration’s next idea: a licensed photograph of the place, your own photo, or an unmistakably illustrative scene. Look for a stable subject and one modest motion cue, such as drifting cloud, moving grass, or a slow camera approach. Avoid crowded signs, tiny faces, and intricate architecture that might visibly change during animation.
Crop the still to your video’s aspect ratio before uploading it. Keep important subjects away from the edges so a gentle camera move has room to breathe. If the image depicts a real location, inspect the source before use and keep any factual labels in the editor rather than asking the model to render them.
Animate the destination, not the geography
Upload the destination still to Runway and use image to video to request restrained motion. Availability and controls can vary by interface, so select the image-led generation option available to you and review the output before building the transition around it. Keep the map out of the generation input.
This prompt gives the model a single job: animate the scene while preserving its main features.
Use the supplied image as the visual reference. Create a brief, calm establishing shot for a travel story. Slow forward camera movement; subtle natural motion in clouds or vegetation only. Preserve the main subject, building shapes, horizon, and overall composition. No new landmarks, signs, labels, people, or dramatic weather changes. No text or map graphics.Generate a few candidates and watch each from beginning to end. A polished first frame is not enough: check whether a roof changes shape halfway through, a wave appears to pass through a wall, or the camera motion suddenly accelerates. Choose the most stable clip, even if its movement is less dramatic.
| If you notice… | Try instead… |
|---|---|
| Buildings or cliffs deform | Request less camera movement and use a simpler source image. |
| Signs or place names change | Crop them out of the input and add verified text in the editor. |
| The shot feels motionless | Name one small moving element, such as clouds or grass, rather than requesting action everywhere. |
| The scene looks like evidence of your trip | Use your own footage, or clearly frame the generated shot as an illustration. |
Assemble the map-to-scene reveal
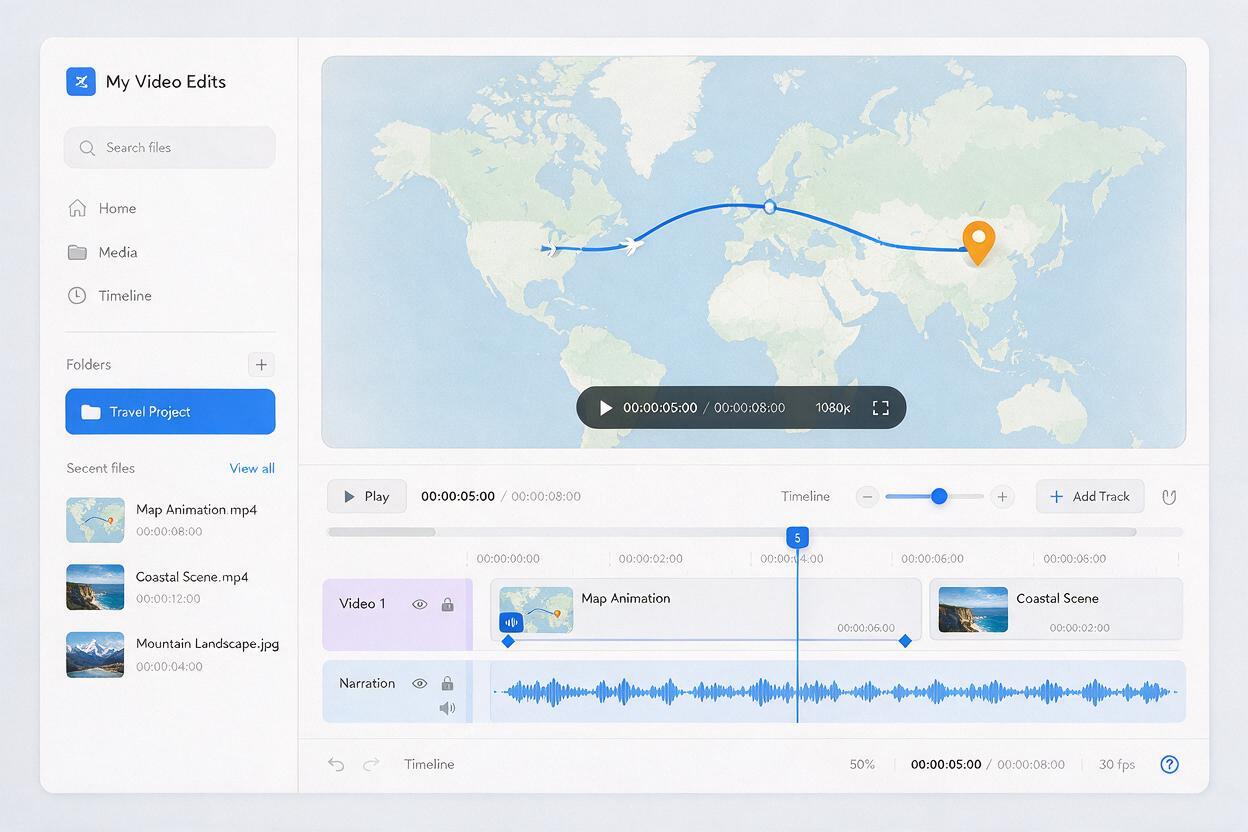
Keep the verified map as a normal still layer in your editing timeline. Animate its scale and position with the editor’s keyframes, moving gently toward the destination pin over roughly two seconds. Because the editor transforms the existing image rather than generating new map frames, the place names and geography remain under your control.
At the closest point, cut to the Runway destination clip. A sound cue or the next phrase of narration can hide the cut; you do not need a model-generated morph. For a cleaner visual match, position the map pin and the main subject of the destination shot in approximately the same part of the frame. For example, place the pin right of center, then choose an arrival shot whose focal point also sits right of center.
If a straight cut feels abrupt, use a very short dissolve or let a foreground element briefly fill the frame. Watch the sequence at normal playback speed. The viewer should have enough time to read the location before the image changes, but not so long that the map becomes a pause in the story.
Check the finished sequence against the narration
Play the reveal with sound, not just as a silent visual. Does the pin appear when the voice names the destination? Does the scene communicate the next idea, or is it merely scenic? A line about arriving by train, for instance, may be better served by a station photo than a beautiful but unrelated beach.
Export a short test and view it on a phone. Confirm that the destination label remains readable, the pin does not cover it, and the animated scene contains no distracting distortions. If the video claims to show an actual stop on your journey, replace illustrative generation with authentic footage or a properly sourced photo.
Final checklist
- Use a map you have the right to publish, and verify its location details.
- Keep pins, route lines, and place names editable in your video editor.
- Animate a separate destination still in Runway, not the factual map.
- Reject clips that invent landmarks or change recognizable features.
- Check the cut, narration timing, and phone-size readability before publishing.
Have a map and destination image ready? test this prompt yourself, then build the reveal around the most stable result.
Keywords
animate travel map, YouTube map animation, Runway image animation, faceless travel video, travel video B-roll, map-to-scene transition