Why AI Anime Capes Clip Through Bodies—and How to Fix It
Anime capes often pass through arms, torsos and weapons when an AI video model cannot infer the garment’s attachment points or depth order. This guide shows how to prepare a collision-safe illustration, prompt Luma with a clear motion contract and repair isolated clipping without regenerating the entire shot.
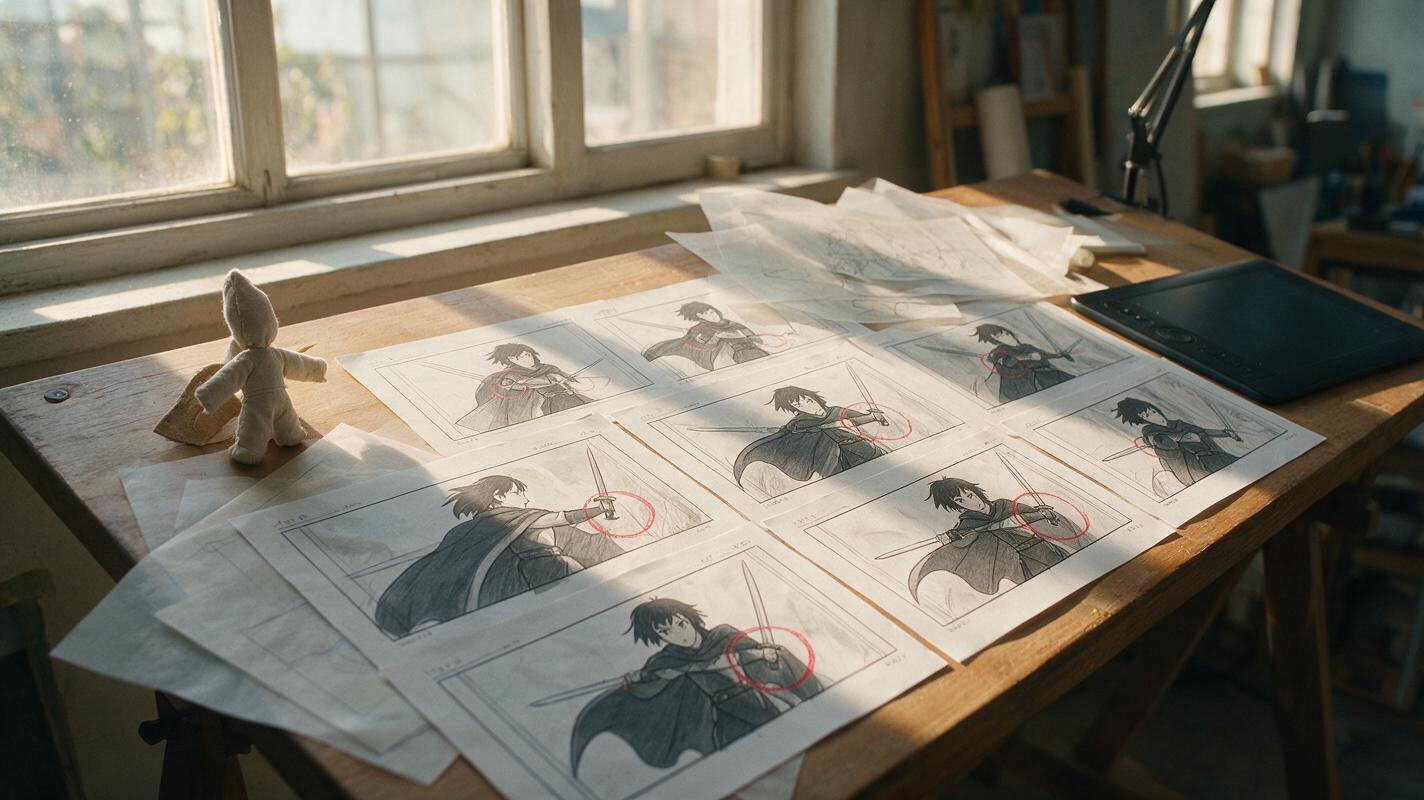
Table of contents
Stop the cape from passing through the character
A cape that cuts through an arm, torso or sword can ruin an otherwise convincing anime shot. The problem usually begins before generation: the source image does not clearly establish where the cape is attached, which body parts sit in front of it or how the cloth should react when the character moves.
The reliable fix is to treat the cape as a connected garment with boundaries, not as a decorative shape. This workflow uses Luma for controlled motion, but the same preparation and prompting principles can improve other reference-based animation models.
Why AI-generated capes ignore the body
A human animator understands that cloth cannot move through solid anatomy. A generative model instead predicts changing pixels from the visible evidence and prompt. If a cape overlaps the shoulder, arm and weapon in one flat illustration, the model may not know which edge belongs to which object.
Four ambiguities cause most failures:
- Unclear attachment points: the cape appears to float behind the neck instead of connecting to clasps, a collar or shoulder armor.
- Weak depth order: the arm and cape share similar colors or line weight, so their front-to-back relationship changes during motion.
- Excessive body rotation: the torso turns farther than the single reference image can support.
- Overpowered wind: the prompt asks every section of cloth to billow independently, producing folds that cross the body.
Useful rule: if you cannot trace the cape from one attachment point to its free edge without guessing what passes behind the body, the video model will probably have to guess too.
Build a collision-safe source frame
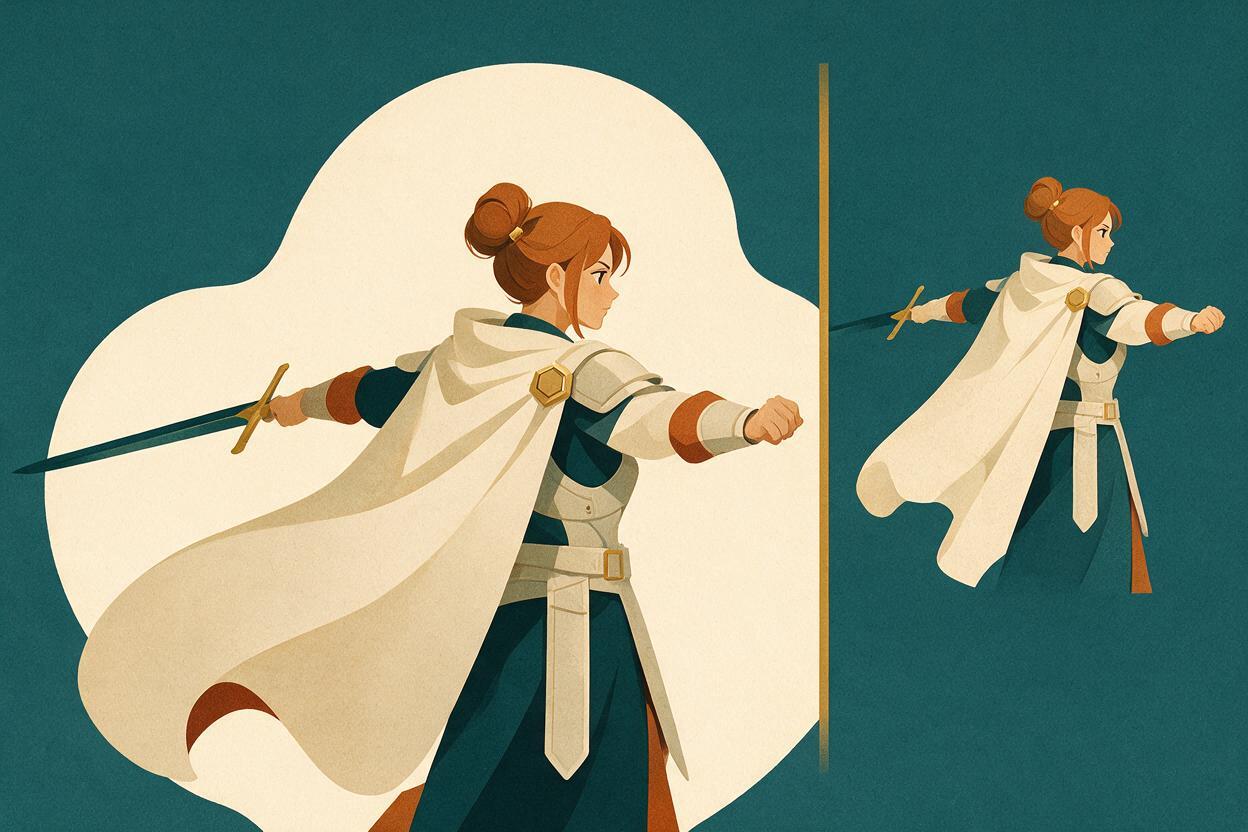
Start with a three-quarter or side-facing pose in which the cape silhouette is easy to read. A straight frontal pose can hide too much of the garment behind the torso, while an extreme back view may obscure the hands and weapon.
Inspect the illustration at the shoulder, elbow, waist and weapon contact zones. These are the places where clipping is most likely to begin. Improve the source frame before sending it into image to video generation.
- Show at least one visible clasp, collar seam or shoulder attachment.
- Separate the outer cape edge from the arm with a small negative-space gap.
- Keep the weapon silhouette distinct from folds and trailing fabric.
- Avoid tangents where the cape edge merely touches a wrist, blade or belt.
- Preserve one continuous hem instead of dividing it into unrelated ribbons.
If the illustration needs editing, change only the ambiguous contact zone. Do not redesign the entire costume. For a damaged edge or hidden clasp, use ai image generator for a localized repair while preserving the character’s face, palette, line work and proportions.
Write motion as a cloth-and-body contract
A strong prompt gives the body a primary action and assigns the cape a delayed response. It also states what must remain behind or in front. This is more useful than adding broad phrases such as “epic flowing cape,” which increase motion without defining physical relationships.
Use this structure:
Anime character in a three-quarter stance.

PRIMARY ACTION:
The character turns the upper torso slightly to camera left while keeping both feet planted.

CAPE ATTACHMENT:
The cape remains attached at both shoulder clasps and follows the shoulder rotation as one connected garment.

CLOTH RESPONSE:
The upper cape moves with the shoulders. The lower hem follows with a short delay, forming two broad folds.

DEPTH AND COLLISION:
The right arm stays in front of the cape. The cape passes behind the elbow, torso and sword hilt at all times. No fabric intersects the body or weapon.

CAMERA:
Locked medium shot, no zoom, no orbit.

PRESERVE:
Same face, costume design, line art, body proportions, sword shape and background.
The prompt describes only a slight torso turn because a single illustration contains limited information about hidden anatomy and costume surfaces. For a large spin, divide the performance into separate shots with prepared start frames rather than forcing a full rotation into one clip.
Control the cape by zones instead of individual folds
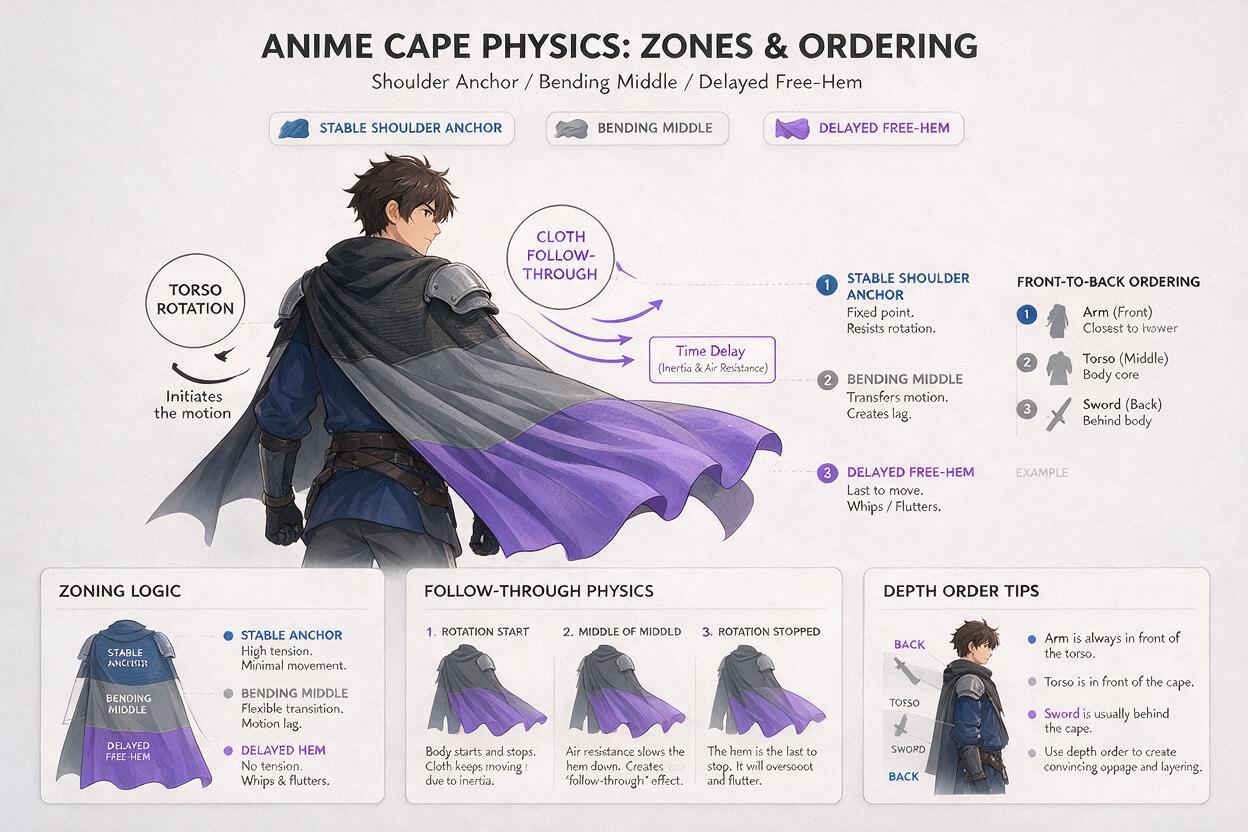
Divide the garment conceptually into three zones. The anchor zone includes the collar and shoulders. It should remain stable and follow the torso closely. The middle zone carries the main bend. The free zone includes the lower hem and can show the greatest delay.
| Zone | Desired behavior | Common failure | Prompt correction |
|---|---|---|---|
| Anchor | Moves with shoulders | Detaches or slides | “Remains fixed to both shoulder clasps” |
| Middle | Forms broad connected folds | Crosses the arm or torso | “Stays behind the right arm and ribcage” |
| Free hem | Follows with delayed motion | Splits into extra fabric | “One continuous hem with two broad folds” |
Avoid micromanaging six or seven fold directions. Anime cloth reads through silhouette, timing and a few strong shapes. Too many competing instructions often create visual noise and unstable topology.
Match the camera to the available visual evidence
A locked camera is the safest choice for testing cape motion. It lets you see whether clipping comes from the garment itself rather than from changing perspective. Once the motion works, introduce a gentle push-in or lateral move only if it supports the shot.
Keep the first generation short and ask for one restrained action. Suitable tests include a slight torso turn, a sword lift, a single step or a wind gust while the body remains still. Avoid combining a spin, jump, weapon swing, camera orbit and violent storm in the same attempt.
Generate the smallest useful performance first. More motion does not reveal whether the setup works; it creates more places for the setup to fail.
Diagnose the failure before regenerating
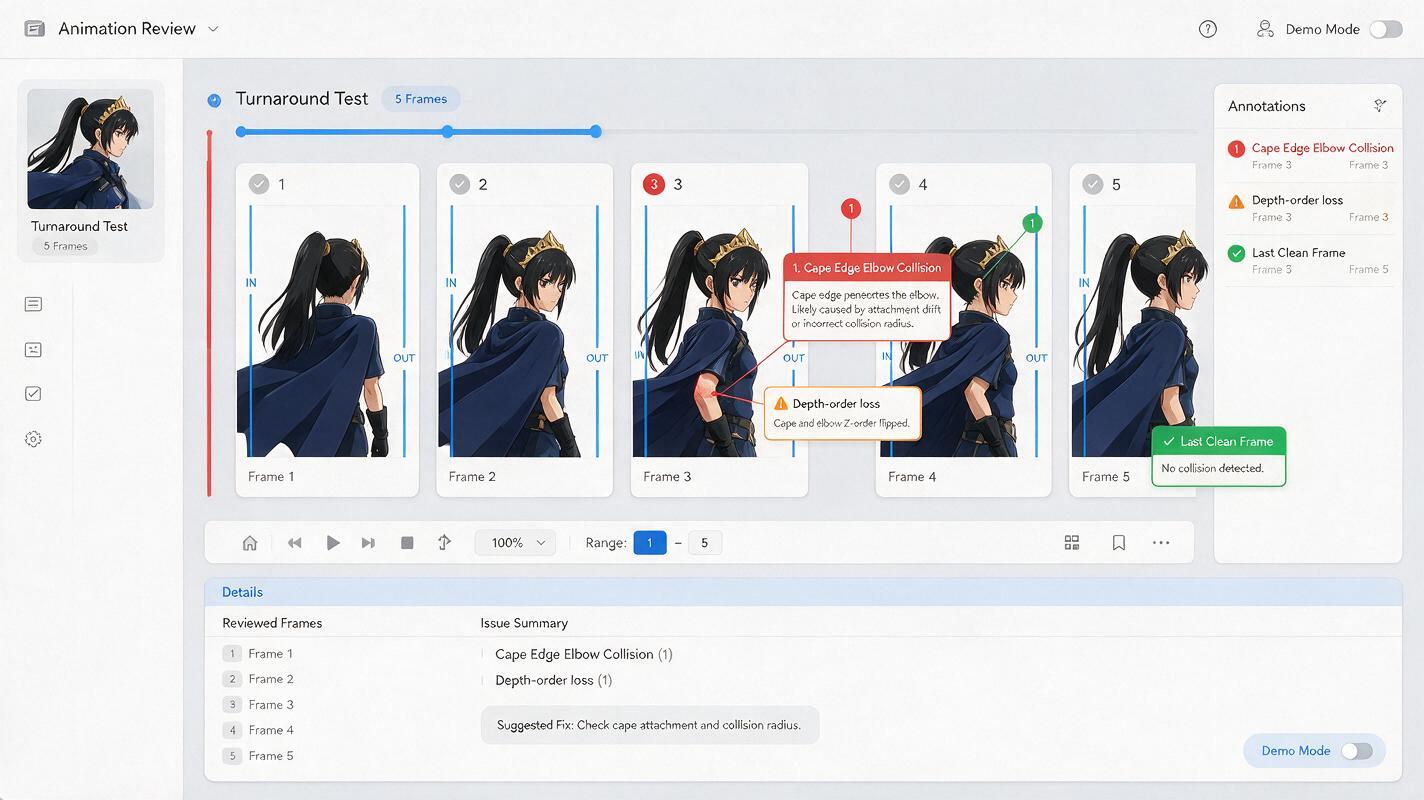
Review the clip frame by frame around the first visible error. The frame where the cape is fully inside the torso is less informative than the earlier frame where its edge begins to lose depth order.
| What you see | Likely cause | Best next change |
|---|---|---|
| Cape enters the elbow during a turn | Arm depth was not defined | State that the arm remains in front and reduce rotation |
| Shoulder clasp drifts down the chest | Attachment zone is visually weak | Clarify the clasp in the source frame |
| Hem becomes multiple tails | Too many fold or wind instructions | Request one continuous hem and two broad folds |
| Cape wraps around the sword | Weapon and cloth silhouettes overlap | Increase their starting separation |
| Whole costume melts during motion | Action exceeds reference coverage | Shorten the action or prepare another angle |
Change one variable per test. If you simultaneously repaint the source, rewrite the action and add camera movement, you will not know which adjustment solved the collision.
Repair a good clip without discarding it
Do not regenerate an entire shot when only a few frames fail. First identify a clean frame before the intersection and another after the cape separates correctly. Then choose the least destructive repair.
- Trim the shot: cut before the collision if the action still reads.
- Use a reaction cut: hide the damaged interval with a face, hand or environmental insert.
- Patch the cape: reconstruct the correct cloth edge over the affected frames while leaving the face and body untouched.
- Regenerate a short segment: use the last clean frame as the new source and request only the remaining movement.
- Composite separated layers: place a clean character layer above the cape when the intended depth order stays constant.
Layer compositing is especially effective when the arm must remain in front of the cape for the whole shot. It replaces uncertain generative depth with a deliberate 2D animation decision.
Reusable prompt for a wind-driven cape shot
Anime medium shot of the same character standing still.
A gentle wind moves from camera right to camera left.
The cape stays firmly attached at both shoulders.
The upper cape remains close to the back.
The lower half lifts slightly and settles in one smooth wave.
The cape always remains behind the arms, torso and weapon.
One continuous hem, two broad folds, no extra fabric.
The character's face, hands, costume details and body proportions remain unchanged.
Locked camera, stable background, restrained motion.
Run a short test before increasing wind strength or body movement. You can try this prompt for free, then adjust only the action, cape direction and required depth order for your character.
Final checklist
- The cape has visible attachment points at the collar or shoulders.
- The arm, weapon and cape silhouettes do not begin as ambiguous tangents.
- The body performs one restrained primary action.
- The upper cape follows the torso while the hem responds later.
- The prompt explicitly defines which objects remain in front.
- The camera stays locked during the first motion test.
- The first frame of clipping is diagnosed before another generation.
- Localized repair is preferred when most of the clip already works.
Keywords
anime cape animation, cape clipping fix, anime image to video, 2D character animation, Luma anime animation, cloth motion prompt, character consistency