Why AI Anime Turnarounds Redesign Outfits—and How to Fix It
Anime character turnarounds often lose costume details when the model invents unseen side and back views. This guide shows how to use Seedream 4.5 with structure-first references, explicit garment anchors, controlled view changes, and targeted repairs to build a consistent production-ready turnaround.
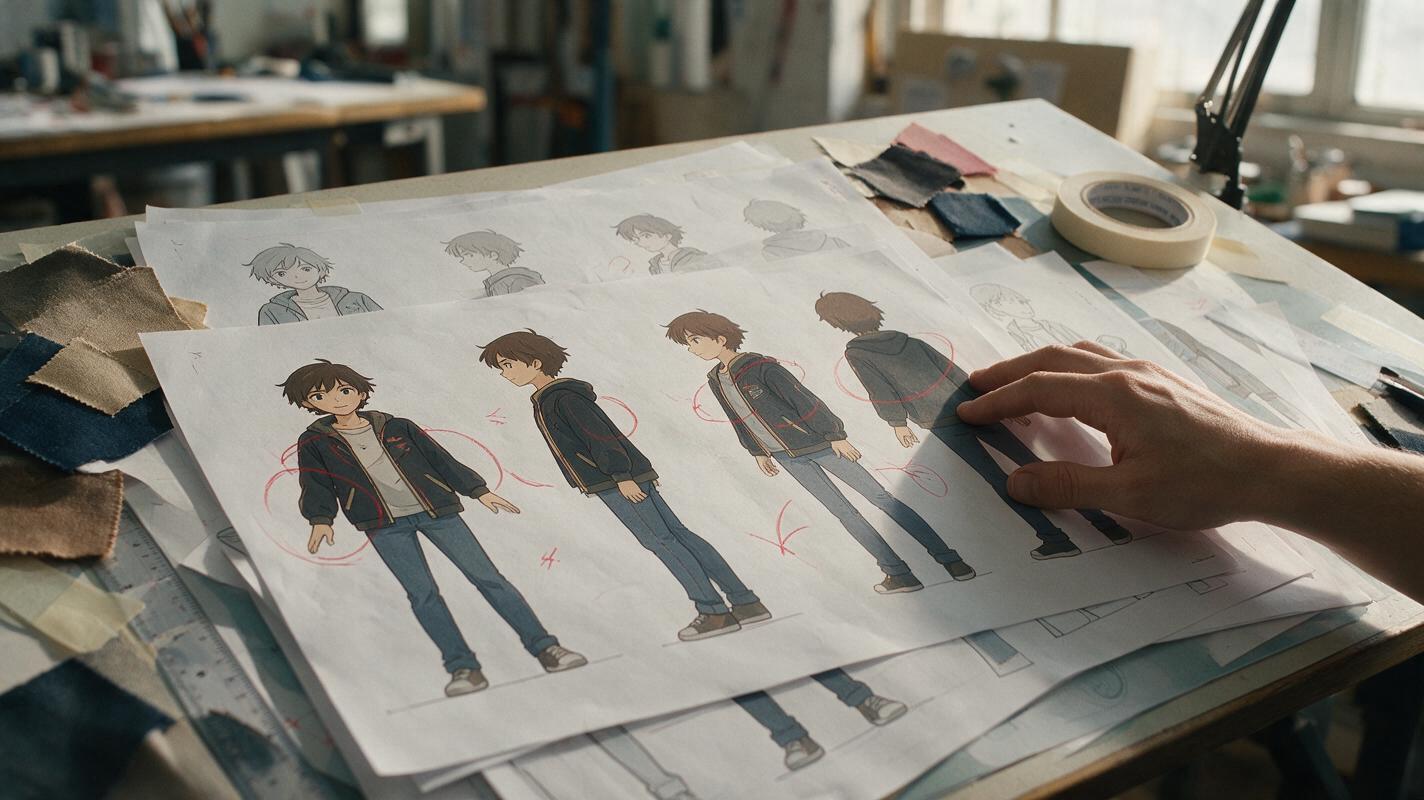
Table of contents
Keep the costume consistent from front, side, and back
An anime turnaround fails when changing the viewing angle also changes the character design. A front-view jacket gains a hood in profile, a back bow disappears, or asymmetrical accessories jump to the wrong side. The underlying problem is not simply weak prompting: the model must reconstruct surfaces that were never visible in the original illustration.
The most reliable solution is to treat the turnaround as a design reconstruction task rather than requesting several loosely related character portraits. With seedream 4.5, you can begin from a clear reference, define garment construction explicitly, generate adjacent angles in controlled passes, and repair only the regions that drift.
Why an unseen angle invites a costume redesign
A single front-facing image does not explain what happens behind the character. The model has to infer whether a collar continues around the neck, where straps attach, how a coat overlaps at the side seam, and whether an ornament is centered or offset.
Several ambiguities commonly produce inconsistent turnarounds:
- Hidden construction: the source never reveals the back closure, shoulder seams, or rear hairstyle.
- Decorative shorthand: small symbols, piping, and buckles look plausible from the front but have no defined three-dimensional placement.
- Loose angle requests: phrases such as “show the same character from every side” leave pose, camera height, and rotation increments unspecified.
- Style competing with identity: dramatic lighting, wind, perspective, and action poses encourage reinterpretation.
- Independent generation: producing every cell from text alone gives the model repeated opportunities to redesign the character.
A turnaround is a technical reference document. Neutral presentation and visible construction are more valuable than cinematic polish.
Build a reference that explains the costume
Start with the clearest available full-body image. The character should stand upright with arms slightly separated from the torso so the waist, sleeves, and side seams remain visible. Use flat or soft lighting, a plain background, and minimal foreshortening.
Before generating new views, write a compact design inventory. Describe features by attachment and location rather than by mood:
- cropped navy jacket ending above the hips;
- two silver clasps centered on the front opening;
- white piping following the collar and both sleeve cuffs;
- red utility pouch attached only to the character’s left belt;
- single shoulder guard attached to the right shoulder;
- long black braid emerging from the center back of the head;
- split coat tail with two equal rear panels.
Left and right must refer to the character’s body, not the viewer’s screen. This distinction becomes critical when generating rear and three-quarter views.
Convert visual details into garment anchors
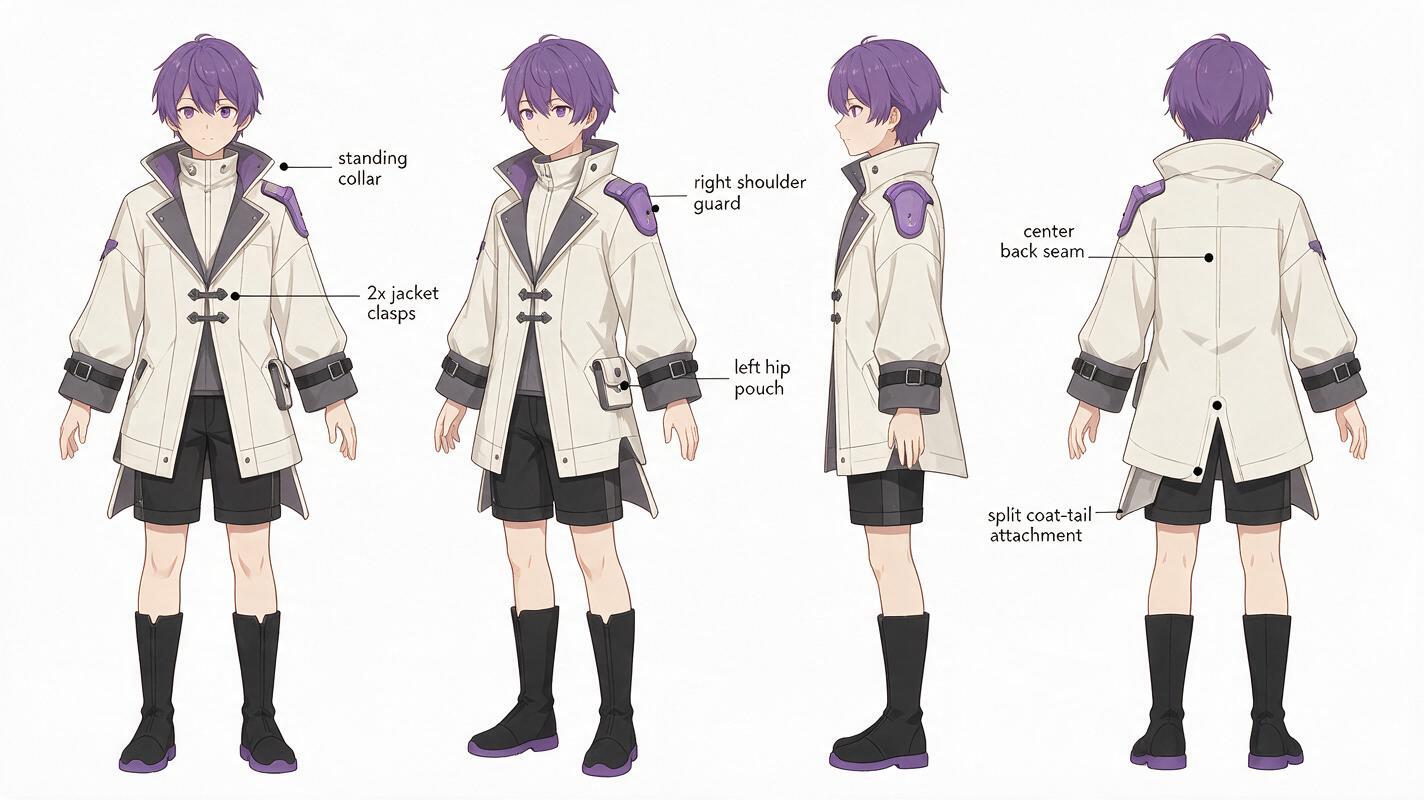
A garment anchor is a feature whose placement can be checked from multiple angles. Useful anchors include a shoulder seam, belt buckle, side pouch, collar opening, stripe endpoint, or the attachment point of a cape.
| Weak description | Production-oriented anchor | What it prevents |
|---|---|---|
| Fancy jacket | Waist-length jacket with a center opening and two front clasps | Changing length and closure |
| Red accessory | Rectangular red pouch fixed to the character’s left hip | Side swapping |
| Detailed collar | White-trimmed standing collar continuing around the back of the neck | Collar redesign |
| Long coat tails | Two separate panels attached at the rear waist seam | Invented cape shapes |
| Arm armor | One guard on the right shoulder; left shoulder uncovered | Accidental symmetry |
Mark these anchors directly on a duplicate reference if necessary. A simple callout sheet can explain ambiguous construction more effectively than adding another paragraph of adjectives to the prompt.
Generate adjacent angles instead of the whole sheet
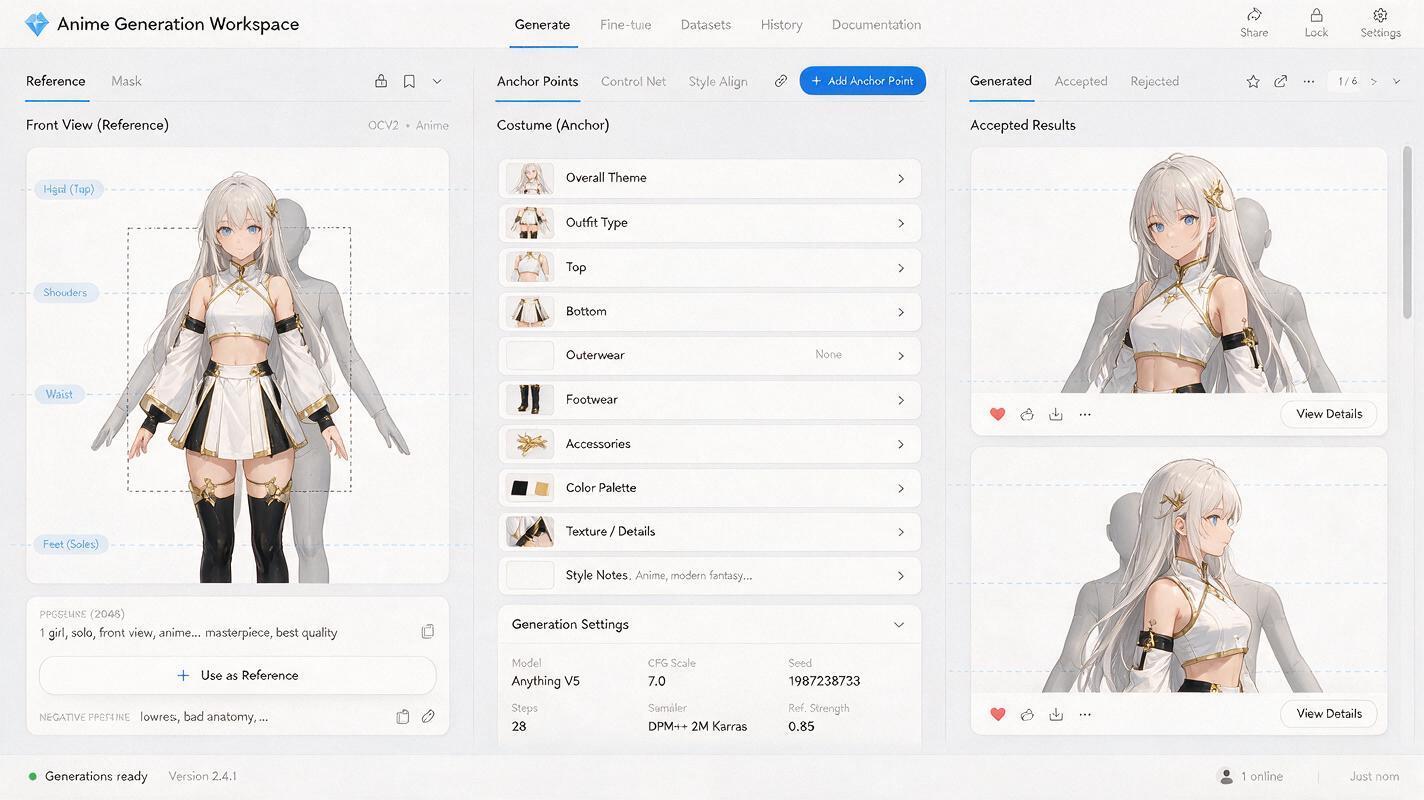
Do not ask for front, profile, three-quarter, and rear views in one initial generation. Multi-cell sheets often introduce inconsistent scale, cropped limbs, and design drift between cells. Use the reference-editing workflow of an ai image generator to create one adjacent angle at a time.
Begin with the front view, then request a front three-quarter view. Use that accepted result to clarify the profile, and use the profile plus your design inventory to establish the rear three-quarter view. Generate the direct back view only after the intermediate views agree on garment depth and attachment points.
Use the supplied anime character reference as the fixed design source.
Create a full-body front three-quarter turnaround view, rotated about 45 degrees.
Preserve the exact face, hairstyle, body proportions, palette, jacket length,
collar construction, sleeve cuffs, belt position, footwear, and line style.

Costume anchors:
- red rectangular pouch remains attached to the character's left hip
- single shoulder guard remains on the character's right shoulder
- two silver clasps stay centered on the jacket opening
- white collar trim continues around the neck
- split coat tail begins at the rear waist seam

Neutral upright pose, arms slightly away from torso, feet parallel,
eye-level orthographic presentation, plain light background, soft even lighting.
No action pose, no wind, no perspective distortion, no extra accessories,
no mirrored asymmetrical details, no costume redesign.
“Orthographic presentation” is a useful visual instruction, but do not assume it guarantees mathematically exact orthographic projection. Check the resulting proportions manually.
Define the back before asking the model to reveal it
If the original artwork contains no rear information, there is no canonical back design for the model to recover. You must design it. Decide how the collar closes, where straps terminate, what the coat panels look like from behind, and whether hair obscures any important details.
Create a temporary back-construction note before generating the final rear view:
Rear construction specification:
- jacket back is one uninterrupted navy panel
- one vertical center seam from collar base to waist
- shoulder guard strap crosses under the right arm only
- no emblem or decoration on the back
- two coat-tail panels attach below the waist seam with a narrow gap
- braid falls over the center seam but does not merge with the collar
- belt continues at the same height around the body
This is also the right point to remove contradictions. If a sword scabbard, backpack, or long hair covers the attachment area, generate a clean construction view without that object first. Add the overlapping prop only after the costume itself is stable.
Repair drift without regenerating the character
When one feature is wrong, isolate it. Regenerating the entire profile because a cuff stripe disappeared can alter the face, anatomy, palette, and silhouette while fixing one minor error.
Use a tight edit region and identify both the correction and the surrounding material that must remain unchanged:
Correct only the selected left-hip area.
Restore the same rectangular red utility pouch shown in the front reference.
Attach it to the belt at the character's anatomical left side.
Match its exact size, red color, black flap, and silver buckle.
Preserve the torso, hand, jacket hem, belt, pose, background, and line art.
Do not add a pouch to the opposite hip.
Repair in this order: large silhouette errors, garment construction, asymmetric anchors, color blocks, and finally tiny decorations. There is little value in restoring a button before correcting a coat that has changed length.
Audit the completed turnaround as one object
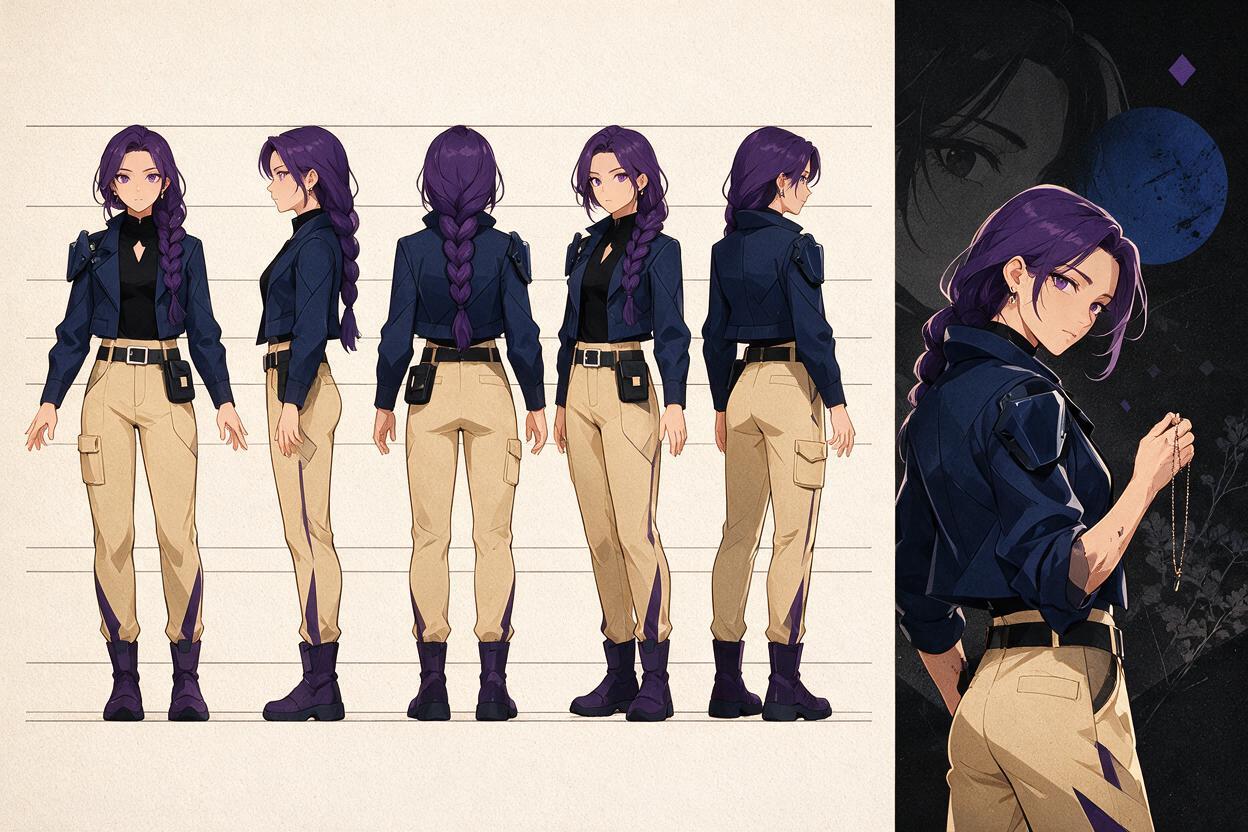
Place all accepted views on a shared canvas at equal height. Add horizontal guides through the top of the head, chin, shoulders, waist, knees, and soles. Then compare the character across the entire sheet rather than judging each image separately.
- Proportions: Does head size remain stable? Do the waist and knees stay at the same height?
- Silhouette: Does the jacket end at the same body landmark in every view?
- Anchor travel: Does the hip pouch move naturally around the body instead of switching sides?
- Construction: Do collar, seams, straps, and coat tails connect logically between angles?
- Palette: Are canonical colors preserved under the same neutral lighting?
- Identity: Do the eye shape, jaw, hairline, and distinctive hair masses remain recognizable?
Flip rapidly between neighboring views. This exposes jumps in shoulder width, hair volume, hem length, and accessory placement that are easy to miss on a polished sheet.
Prepare the sheet for animation and future generations
Once the views pass inspection, save two versions. Keep a clean presentation sheet for artists and a labeled generation sheet containing concise callouts for asymmetrical details, hidden attachments, and fixed colors.
The sheet becomes more useful when it also includes:
- a neutral front and profile face close-up;
- separate front and back views of important props;
- flat color swatches sampled from the accepted design;
- a small diagram defining anatomical left and right;
- notes identifying details that may be simplified at long shot distance.
A strong turnaround does not eliminate every future variation, but it gives later illustration and animation passes a much clearer identity target. When your reference, garment anchors, and prompts are ready, try these models for free and compare each new angle against the same approved sheet.
Final checklist
- Use a neutral full-body source with visible costume construction.
- Define hidden rear details instead of letting the model invent them repeatedly.
- Describe accessories by attachment point and anatomical side.
- Generate adjacent angles individually rather than requesting a full grid at once.
- Keep pose, lighting, camera height, and scale deliberately plain.
- Repair local errors with tight selections instead of replacing complete views.
- Audit proportions, silhouette, palette, and anchor travel on one canvas.
- Save both clean and annotated versions of the approved turnaround.
Keywords
anime character turnaround, anime character consistency, consistent anime character, Seedream 4.5, anime outfit reference, character reference sheet, AI anime generator