Anime Music Video Beat Sync: Turn a Song Into a Visual Shot Map
A strong anime music video follows musical phrases, transitions, and emotional peaks instead of cutting randomly on every beat. This guide shows creators how to convert a song into a practical shot map, generate animation-ready keyframes, animate them with Seedance, and edit the resulting clips without losing visual clarity.

Table of contents
Make Every Cut Feel Connected to the Song
An anime music video can contain beautiful AI-generated shots and still feel disconnected from its soundtrack. The usual problem is not the animation model. It is the absence of a visual plan that distinguishes major transitions, recurring rhythms, vocal phrases, and quiet moments.
Instead of generating a collection of unrelated clips, turn the song into a visual shot map first. Each musical section should have a narrative purpose, a dominant type of motion, and a small number of memorable sync points. This gives Seedance clearer source images to animate and gives the editor footage that was designed for the final cut.
The goal is not to cut on every beat. The goal is to make important musical changes produce equally important visual changes.
Build a Beat Map Before Generating Any Animation
Listen to the full track without designing shots. Mark only the moments that change how the song feels: the entrance of a vocal, a drum fill, a harmonic lift, a pause, a chorus impact, or the final sustained note.
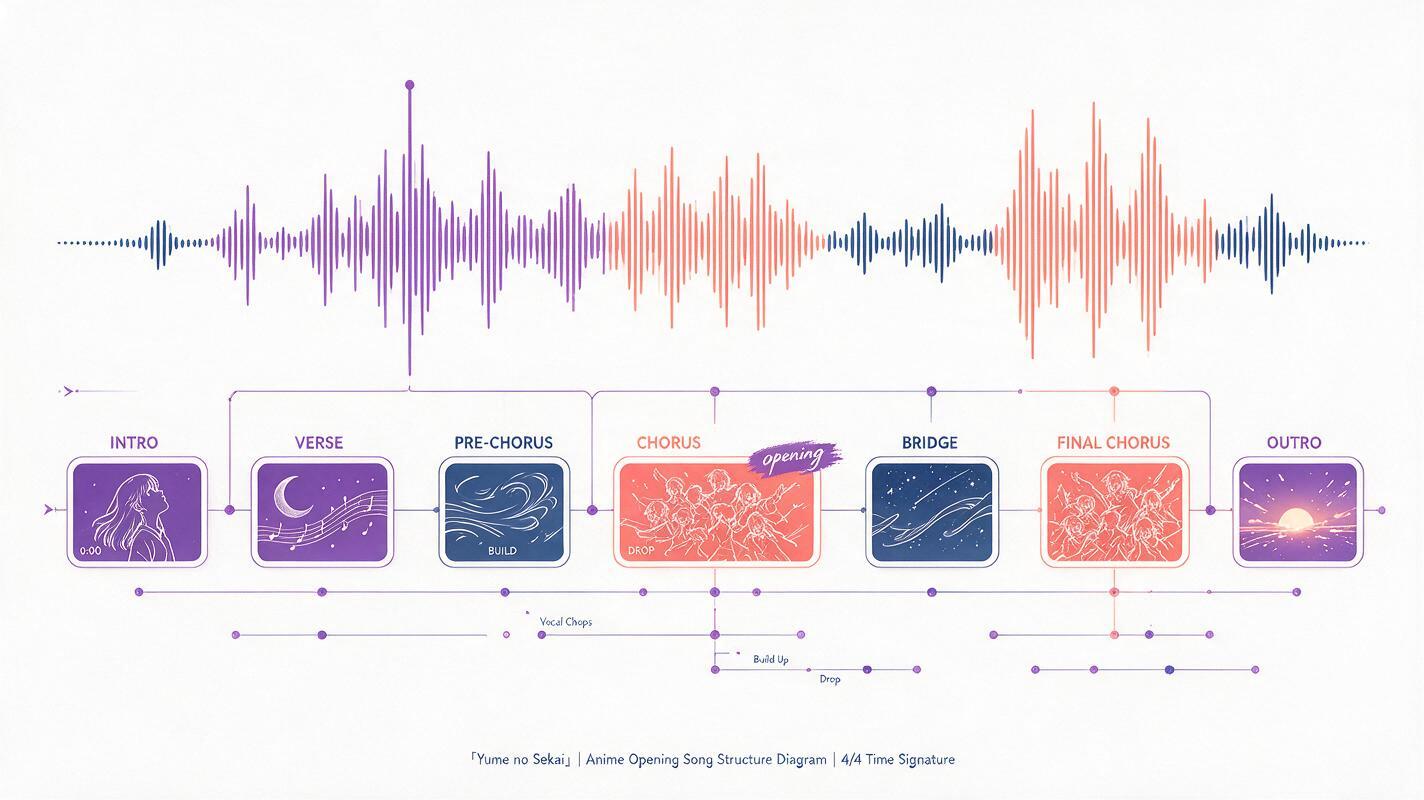
Then divide the song into musical regions. A typical map might include an intro, verse, pre-chorus, chorus, bridge, final chorus, and outro, but use the structure that actually exists in your track. Give each region a dramatic function rather than treating it as a time range alone.
| Musical region | Dramatic function | Useful visual treatment |
|---|---|---|
| Intro | Establish atmosphere and unanswered questions | Slow environmental reveal, silhouette, restrained camera motion |
| Verse | Introduce character, place, or conflict | Medium shots, symbolic details, controlled acting |
| Pre-chorus | Build anticipation | Shorter shots, rising movement, tighter framing |
| Chorus | Deliver the visual promise | Hero poses, action, transformations, wide compositions |
| Bridge | Change perspective or reveal emotion | Memory imagery, contrasting palette, visual pause |
| Final chorus | Resolve or intensify the central idea | Return to established motifs with stronger motion |
| Outro | Leave a final emotional image | Held composition, environmental movement, fade or match cut |
For a three-minute track, resist filling the map with dozens of equal-strength markers. Select approximately five to twelve primary sync points, then add secondary cuts around them. Primary points deserve a new composition or action. Secondary points can use a gaze shift, camera accent, lighting change, or cut within the same scene.
Translate Musical Events Into Visible Changes
Every marked event needs a visual response that viewers can read immediately. Match the scale of that response to the musical event.
- Kick or bass impact: use a landing, weapon stop, foot plant, or decisive cut.
- Snare accent: use a pose snap, eye opening, hand movement, or angle change.
- Cymbal rise: use accelerating wind, upward camera movement, gathering particles, or expanding light.
- Vocal entrance: reveal the singer, protagonist, or central narrative image.
- Brief silence: hold the character still, remove effects, or cut to a stark composition.
- Chorus arrival: change at least two visual properties, such as framing and motion, rather than adding particles alone.
A useful ai storyboard can place these events on cards before production. Each card should record the lyric or musical cue, the intended shot, the character state, and the transition into the next image.
00:00–00:08 — Intro
Music: isolated piano, no percussion
Visual: empty station platform at dusk
Motion: rain and distant train lights only
Transition: protagonist enters frame on first low drum

00:08–00:16 — Verse entrance
Music: vocal begins
Visual: medium profile of protagonist walking
Motion: restrained coat and hair movement
Sync point: eye turn on the final word of the phrase
Assign One Dominant Motion to Each Shot
Trying to synchronize character action, camera movement, clothing, hair, particles, and background objects inside one short clip often produces visual noise. Choose one dominant motion that carries the musical idea. Everything else should support it at lower intensity.
For example, a chorus shot might center on the character drawing a sword. The camera can move slightly and the coat can react, but neither should compete with the weapon path. In a quiet verse shot, the dominant motion might be a slow head turn while the camera remains fixed.
| Shot purpose | Dominant motion | Supporting motion | Avoid |
|---|---|---|---|
| Character introduction | Head turn or entrance | Light hair movement | Fast orbiting camera |
| Chorus impact | Attack, leap, or transformation pose | Directional effects | Unrelated background motion |
| Emotional pause | Breath or gaze shift | Rain, dust, or fabric settling | Constant facial changes |
| Final image | Environmental motion | Small camera retreat | Starting a new action before the cut |
Design Keyframes for the Final Edit
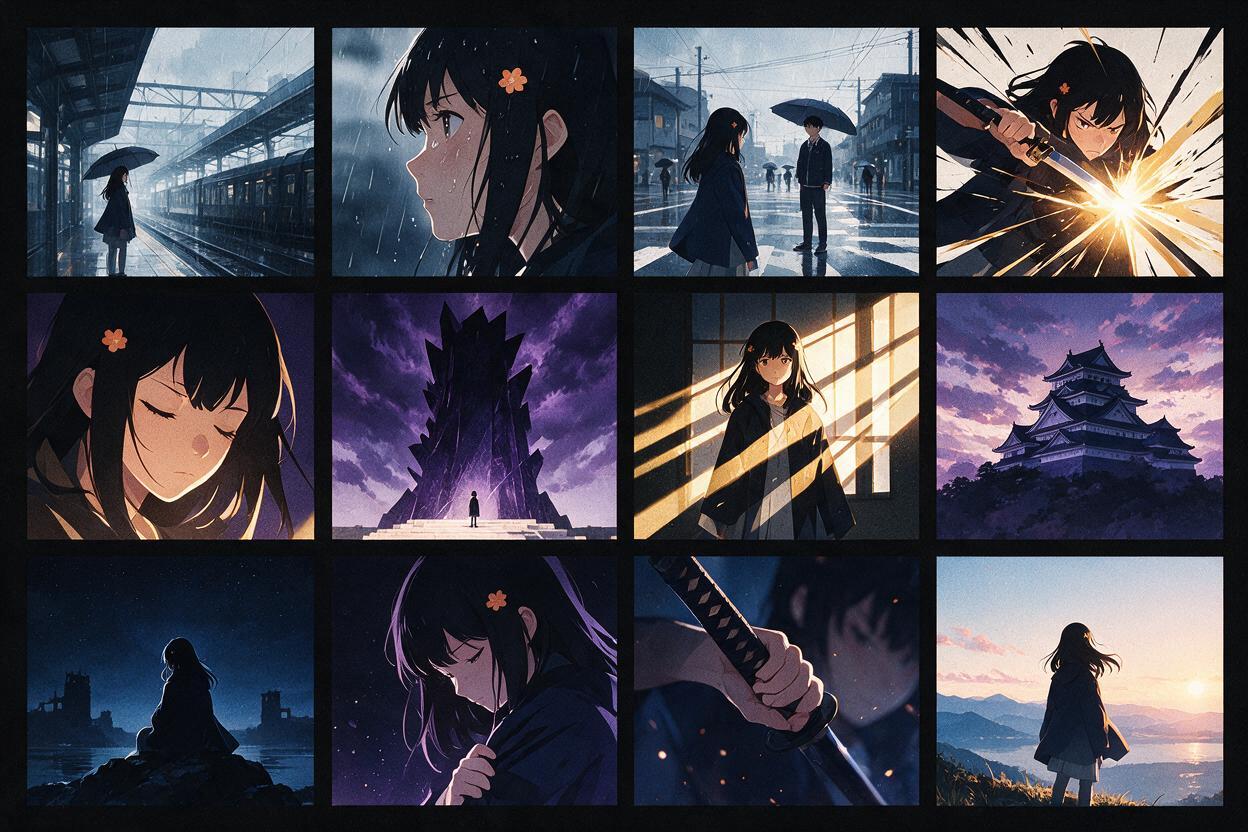
Generate or draw the key image for each primary sync point before animating anything. This lets you inspect the entire visual rhythm as a sequence of still frames. If three consecutive images use the same character scale, camera side, and color balance, the chorus may feel flat even after motion is added.
Vary compositions deliberately:
- Alternate wide, medium, and close framing according to emotional intensity.
- Reserve the strongest silhouette for the largest musical payoff.
- Keep screen direction consistent during connected action.
- Repeat a location or prop when the song returns to an earlier motif.
- Leave clean negative space when lyrics, credits, or a title will be added later.
A storyboard contact sheet is valuable here. View all keyframes at thumbnail size. Faces and small effects may disappear, but shot hierarchy, color progression, and repeated compositions become easy to judge.
Animate Short, Controlled Seedance Shots
Once the keyframes work as a silent sequence, use Seedance for image to video generation. Short clips are easier to assign to specific phrases than long clips containing several actions. They also give the editor cleaner in and out points.
Write prompts around visible action rather than musical terminology. A video model does not need to interpret phrases such as “move on the snare.” It needs a precise description of what happens inside the shot.
Anime cinematic medium shot, the same young swordswoman stands in profile
on a rain-soaked station platform. She remains still at first, then turns her
eyes toward camera and slowly raises her chin. Her tied hair and coat hem move
slightly in the passing wind. Fixed camera, stable facial features, consistent
costume, restrained motion, no scene change, no new objects.
Generate a neutral amount of movement first. Speed can be adjusted during editing, while excessive generated motion is difficult to remove. If an animation contains one usable second followed by deformation, preserve the usable section rather than forcing the entire clip into the timeline.
Cut to Phrases Instead of Chasing Every Beat
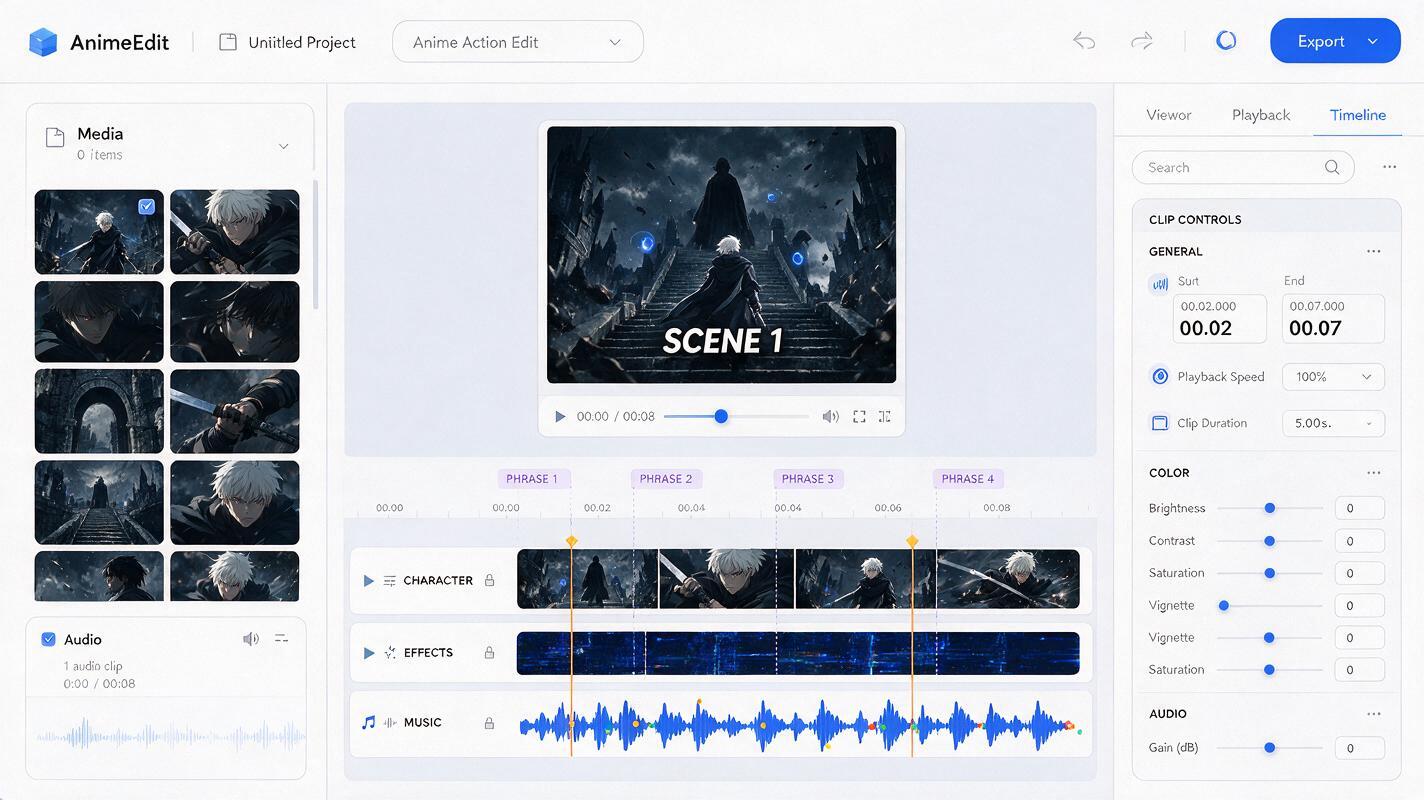
Beat sync becomes tiring when every percussion hit causes a hard cut. Let some shots span several beats, then use internal motion to acknowledge smaller accents. A character can complete a turn on one beat, pause through the next, and cut to a wide shot when the vocal phrase ends.
Use three levels of synchronization:
- Structural sync: a new scene, palette, or visual motif arrives with a new song section.
- Action sync: a landing, reveal, eye opening, or weapon stop aligns with a strong accent.
- Texture sync: rain flashes, particles, cuts within a montage, or minor gestures follow secondary rhythm.
Structural sync should be the clearest. Action sync creates memorable moments. Texture sync adds energy but should not dominate the whole video.
If everything is synchronized at maximum intensity, nothing feels like the climax.
Repair Common Beat-Sync Problems
| Problem | Likely cause | Practical repair |
|---|---|---|
| The chorus feels no bigger than the verse | Only the effect density changed | Change framing, motion scale, or location at the chorus entrance |
| Cuts feel late | The visible action starts after the edit point | Trim earlier so anticipation begins before the accent and impact lands on it |
| The sequence feels frantic | Every beat receives a hard cut | Keep major cuts for phrase boundaries and use internal motion for smaller beats |
| Character identity drifts | Each shot was designed independently | Reuse a canonical reference sheet and repeat fixed costume descriptors |
| Shots cannot be rearranged | Each clip contains several narrative actions | Generate one dominant action per clip with clean handles before and after it |
| Effects obscure the character | Audio intensity was translated only into particles | Use pose, scale, camera angle, and contrast before increasing effects |
Use a Reusable Shot-Map Template
Duplicate this compact record for every planned shot. It keeps musical intent, visual continuity, and generation instructions in one place.
TIME RANGE:
MUSICAL SECTION:
LYRIC OR AUDIO CUE:
NARRATIVE PURPOSE:
SHOT SIZE AND ANGLE:
CHARACTER STATE:
DOMINANT MOTION:
SUPPORTING MOTION:
CAMERA BEHAVIOR:
CONTINUITY REQUIREMENTS:
ENTRY FRAME:
EXIT FRAME:
TRANSITION TO NEXT SHOT:
Complete the map for the entire song, but generate only a small test group first: one restrained verse shot, one build shot, and one chorus payoff. If those three levels do not feel different, revise the visual hierarchy before spending time on the remaining clips.
Final Checklist
- Mark musical transitions before planning individual cuts.
- Choose a dramatic purpose for every section of the song.
- Reserve major visual changes for primary sync points.
- Assign one dominant motion to each generated shot.
- Review keyframes together as a thumbnail contact sheet.
- Describe visible action rather than asking the model to understand a beat.
- Use phrase-level cuts and save rapid editing for selected peaks.
- Test the verse, build, and chorus before generating the full sequence.
When the shot map has a clear visual rise from intro to payoff, try these models for free and build the first three-shot timing test before producing the complete anime music video.
Keywords
anime music video, AMV beat sync, anime shot map, Seedance, anime storyboard, image to video, AI anime video