How to Create a Believable AI Walking Video Without Warping
Create a believable AI walking video by starting with a full-body anchor frame, limiting the movement to one clear path, and prompting gait mechanics separately from camera motion. This tutorial compares image-to-video generation with motion transfer and shows how to diagnose sliding feet, rubbery legs, unstable clothing, and changing body proportions.
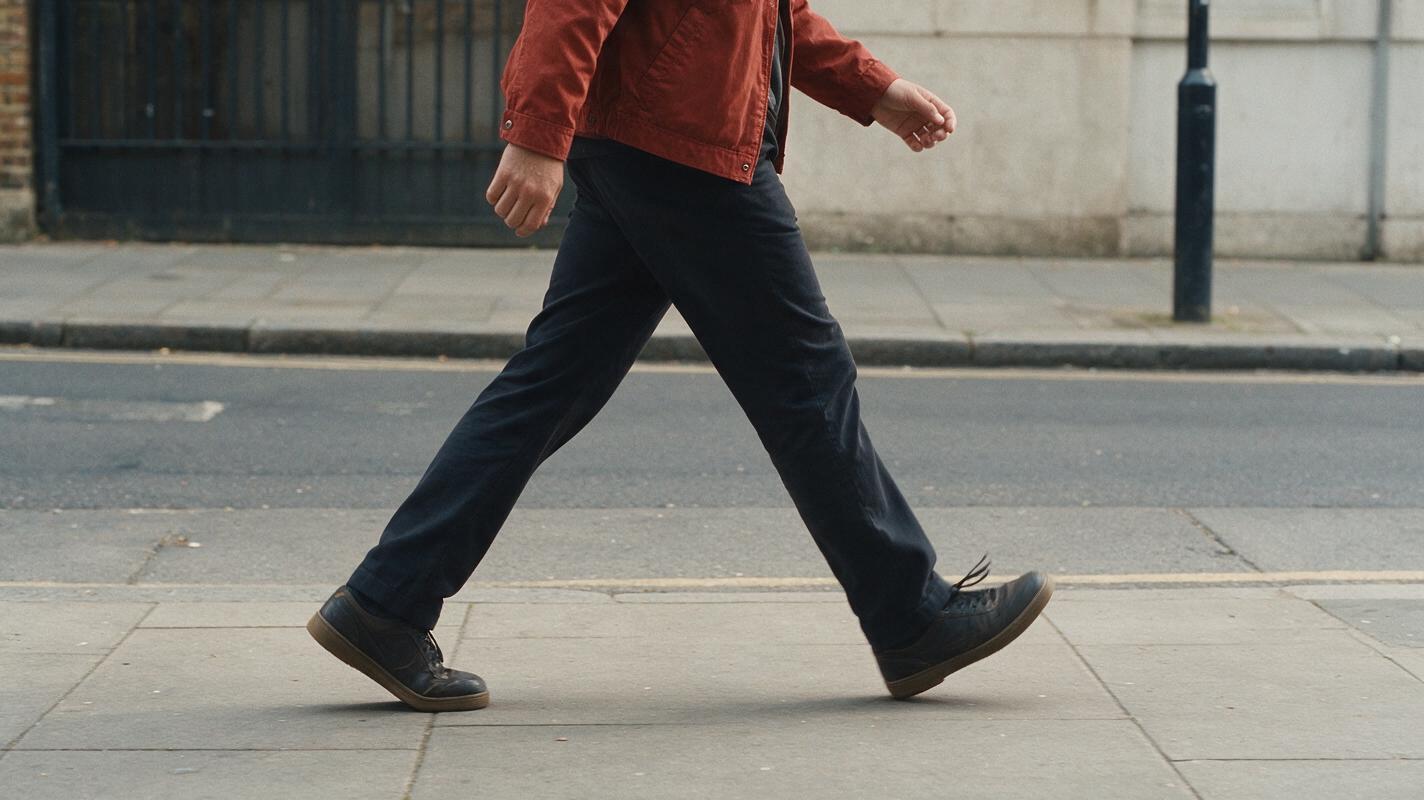
Table of contents
TL;DR
The fastest way to create a believable AI walking video is to begin with a clean full-body image, keep the character's entire stride visible, and use image to video with a short motion prompt that describes direction, pace, foot contact, and camera behavior separately. If generated walking still produces sliding feet or unstable limbs, use a real walking clip as a motion reference instead of asking the model to invent the gait.
Walking looks simple, but it is one of the clearest tests of temporal consistency. A useful workflow therefore treats the walk, camera, environment, and edit as separate decisions rather than compressing everything into one cinematic prompt.
Why AI walking videos warp, slide, or float
A convincing walk is a repeating physical sequence. One foot supports the body while the other moves forward, the hips shift over the planted leg, the arms counter-swing, and the character's body advances through space. A video model must preserve all of those relationships across many frames.
When the generation loses that structure, the mistake is immediately visible. Common symptoms include:
- Foot sliding: the planted shoe moves across the floor while it should remain fixed.
- Floating: the body travels forward without enough vertical weight shift or ground contact.
- Leg fusion: the legs overlap and temporarily become one shape during a crossing stride.
- Changing proportions: thighs, calves, shoes, or the torso become longer or shorter between frames.
- Clothing turbulence: a coat, skirt, or loose trousers move independently of the body and obscure the gait.
- Camera conflict: the prompt asks the character to approach the lens while the camera simultaneously circles, zooms, and retreats.
A detailed visual description does not guarantee better motion. For walking shots, fewer actions and clearer spatial constraints usually make the result easier to evaluate and regenerate.
Three ways to generate a walking shot
There are three practical approaches, each suited to a different level of control.
| Approach | Best for | Main limitation |
|---|---|---|
| Text to video | Fast exploration when the exact character design is flexible | Identity, wardrobe, and gait must all be invented at once |
| Image to video | A designed character with a controlled starting composition | The model must infer hidden poses and later foot positions |
| Motion transfer | A specific pace, gesture, turn, or performance | The source motion must be compatible with the target body and framing |
This guide uses image-led generation as the main workflow because the starting frame gives you direct control over character design, wardrobe, location, scale, and screen direction. Motion transfer is covered as the fallback when gait accuracy matters more than generative freedom.
How MagicBoat handles walking-video workflows
MagicBoat brings image generation and video generation models into one account, so you can create an anchor frame with options such as Seedream, Flux, or GPT Image, then test that same frame with video models such as Seedance or Kling. This is useful because walking quality can vary with composition, visual style, requested motion, and model behavior.
You can also switch to motion transfer when a generated gait is not controlled enough. Instead of rewriting the prompt indefinitely, record a clean reference performance and use its visible body movement to guide the character.
The important principle is to compare models with the same input. Keep the anchor image, duration, aspect ratio, and core motion instruction unchanged during the first test. Otherwise, you cannot tell whether an improvement came from the model or from a different shot design.
What you need before generating
- A clear description or reference for the character.
- A location with a visible, mostly level walking surface.
- A chosen direction: toward camera, away from camera, or across the frame.
- A simple wardrobe that leaves the legs readable for the first test.
- An optional phone recording of the desired walk for motion transfer.
- A basic editor for trimming and assembling the final clips.
Do not start by planning a long continuous journey through several environments. First produce one stable shot containing a few readable steps. Once that works, build the longer sequence from separate clips.
Step 1 — Define one walking beat
Write the shot as a physical beat rather than a story paragraph. Specify where the character begins, which way they move, how fast they walk, and where the shot ends.
Shot beat:
A courier begins at the left third of the frame.
They walk calmly from left to right along a dry pavement.
The pace is steady and natural, with relaxed arm swing.
The camera remains at waist height and tracks parallel.
The shot ends before the courier reaches the right edge.
This beat removes several common ambiguities. The model does not need to decide whether the performer turns, accelerates, approaches the lens, or changes direction.
Expected result: a shot plan with one movement path, one pace, and one camera behavior.
Step 2 — Create a motion-friendly anchor frame
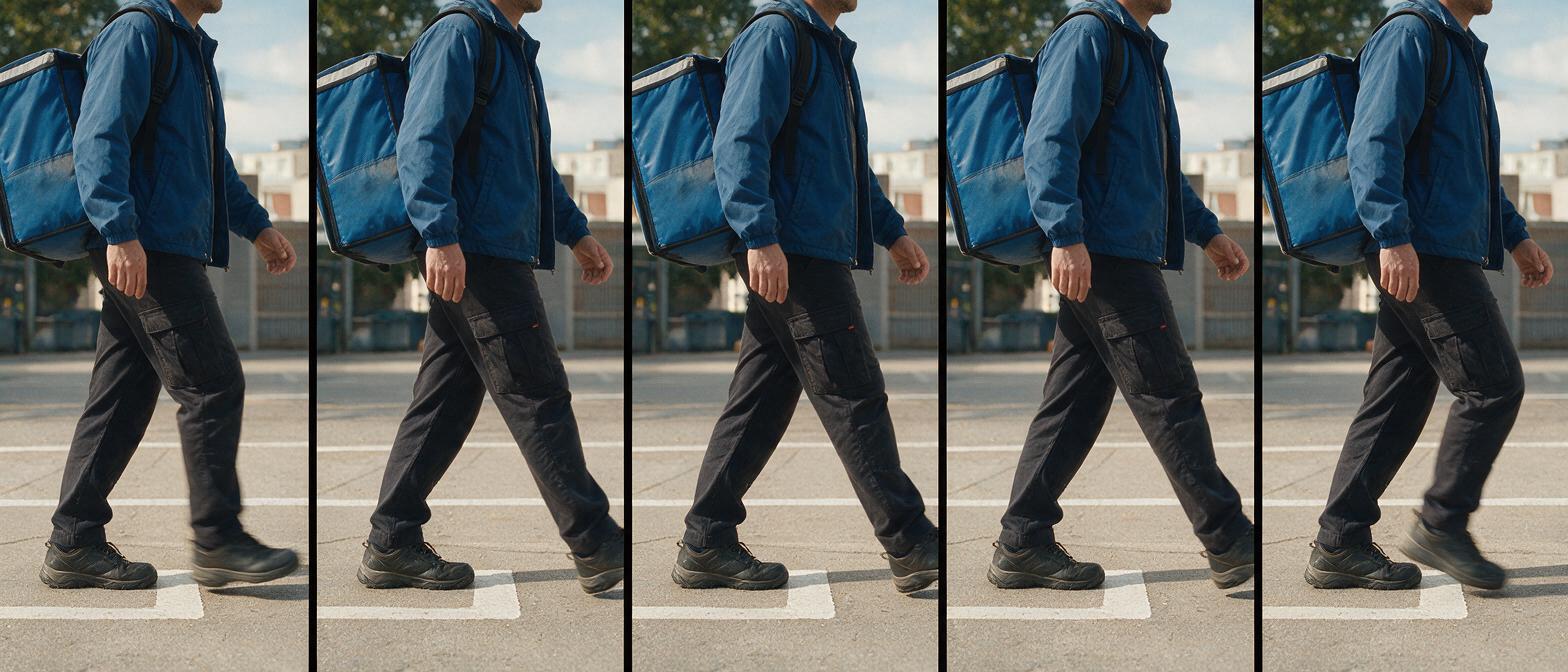
Generate or choose a full-body starting image. Both feet should be visible, with space below the shoes and open room in the direction of travel. Avoid placing the character directly against furniture, crowds, railings, or complex shadows that could merge with the legs.
A neutral standing pose is safer than freezing the character at the widest point of a stride. Extreme poses can force the model to resolve difficult balance and limb-crossing problems immediately.
Full-body editorial photograph of an adult bicycle courier standing on a quiet city pavement, simple rust-red jacket, straight dark trousers, practical low-profile shoes, relaxed neutral stance, both arms visible, both feet fully visible, clear separation between the legs, open walking space to the right, level pavement, soft overcast daylight, realistic body proportions, eye-level camera, natural documentary photographyIf you need a side-profile walk, begin with the torso and feet oriented mostly sideways. If the character faces the camera in the anchor but must immediately walk sideways, the model has to invent a turn before it can establish the gait.
Expected result: a readable full-body frame with uncomplicated leg silhouettes and enough negative space for movement.
Step 3 — Match the composition to the walking direction
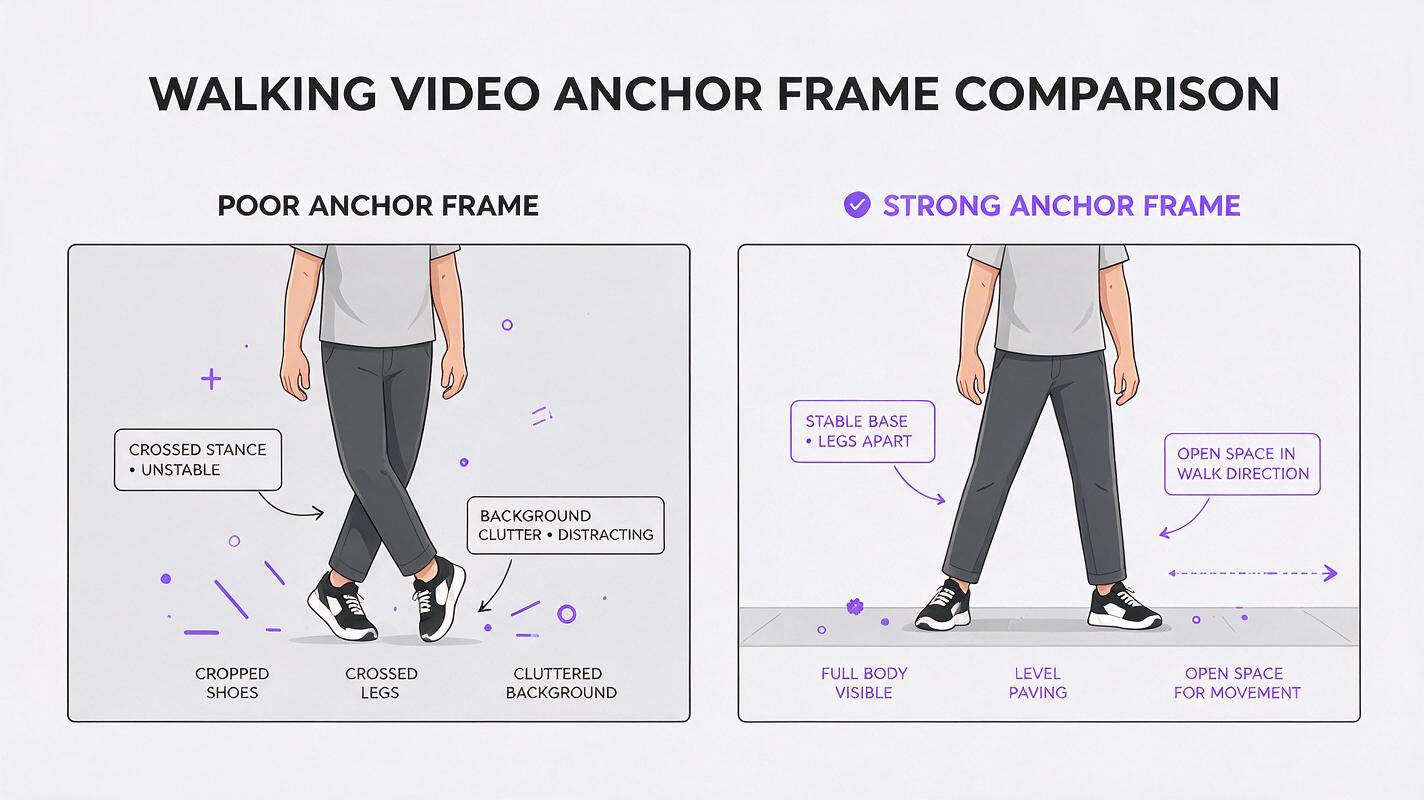
Composition affects motion stability. A character crossing the frame needs lateral space, while a character approaching the camera needs visible depth in the environment.
| Walking direction | Recommended composition | Watch for |
|---|---|---|
| Across the frame | Full body, profile or three-quarter profile, open space ahead | Leg overlap and inconsistent tracking speed |
| Toward the camera | Centered path, symmetrical ground plane, moderate distance | Rapid body enlargement and facial drift |
| Away from the camera | Clear vanishing point with the character below the horizon | Shrinking limbs and changing shoulder width |
| Camera following behind | Stable rear view with an unobstructed path | Excessive camera bounce or side-to-side drift |
For a first attempt, use a lateral crossing shot. It makes foot contact, stride length, and forward progress easier to inspect. Keep the horizon level and avoid a very wide lens, which can exaggerate body proportions near the frame edges.
Expected result: a frame whose empty space clearly communicates where the character will move.
Step 4 — Separate body motion from camera motion
Use a structured prompt with distinct clauses. Begin with the character action, add physical gait cues, define the camera, and finish with stability constraints. Do not begin with mood adjectives or an extended description of the character; the anchor frame already carries that information.
The courier walks steadily from left to right at a relaxed pace. Natural heel-to-toe steps, clear foot contact with the pavement, subtle vertical weight shift, relaxed opposing arm swing. The camera tracks parallel at matching speed, maintaining a full-body profile and constant distance. Stable body proportions, consistent clothing, level ground, no turn, no running, no sudden camera movement.Words such as heel-to-toe, foot contact, and weight shift describe visible mechanics. They are more useful than vague instructions such as “walk realistically.” However, do not overload the prompt with anatomical detail. The aim is to establish a few strong constraints, not to simulate every joint.
Expected result: a prompt that gives the model one gait and one camera relationship to maintain.
Step 5 — Test Seedance and Kling with the same input
Run the anchor frame and core prompt through the available Seedance and Kling options without changing the shot design between tests. Use the same output orientation and a comparable clip length where the available settings permit it.
Label the outputs by model and take. Then evaluate motion rather than judging only the opening frame. A visually attractive clip is not automatically the best walking plate if the feet slide or the character changes height.
Controlled comparison checklist:
- Same anchor frame
- Same walking direction
- Same core prompt
- Same framing target
- Comparable duration and aspect ratio
- One generation per model before rewriting
After the first comparison, make only one prompt change at a time. For example, replace a moving camera with a locked camera, or reduce a brisk walk to a calm walk. Changing the location, wardrobe, gait, and camera together destroys the value of the test.
Expected result: comparable clips that reveal which model handles this specific character and composition more reliably.
Step 6 — Inspect the walk frame by frame
Review each result at normal speed first, then slowly. Focus on support mechanics rather than small texture fluctuations.
- Find a moment when one shoe appears planted.
- Advance several frames and check whether that shoe stays attached to the same point on the ground.
- Inspect the opposite leg as it passes the supporting leg.
- Check whether the hips remain connected to the torso without stretching.
- Compare the character's height and shoulder width at the beginning and end.
- Watch the hands separately for fused fingers or contact with clothing.
A small amount of shoe blur may be acceptable during a moving step. Sliding is different: the foot remains visually planted but drifts along the surface. If that happens throughout the clip, trimming will not solve the underlying gait.
Expected result: a clear diagnosis identifying whether the main problem is foot contact, limb structure, body scale, camera motion, or wardrobe instability.
Step 7 — Regenerate by fixing one failure at a time
Match the correction to the symptom. Avoid adding a long negative-prompt list before you know what failed.
| Failure | First correction to try |
|---|---|
| Feet slide | Use a locked or simpler tracking camera and emphasize clear ground contact |
| Legs merge | Use a cleaner side profile, slower pace, or clothing with stronger leg separation |
| Body floats | Add subtle vertical weight shift and visible heel-to-toe steps |
| Character grows too quickly | Replace the approach shot with a lateral crossing shot |
| Coat or skirt mutates | Shorten the garment, simplify its silhouette, or reduce wind |
| Camera shakes | Request a locked camera before attempting a tracking shot |
When the lower body works but the camera does not, preserve the action wording and simplify only the camera clause. When the camera works but the legs fail, change the pose, pace, or viewing angle rather than adding more cinematic language.
Expected result: a second test that directly addresses the diagnosed failure without introducing unrelated changes.
Step 8 — Build a longer walk from short usable clips
Do not require one generation to carry an entire walking sequence. Create editorial coverage: a wide establishing shot, a lateral full-body walk, a medium tracking shot, and a detail such as shoes crossing a painted line.
Keep the character moving in the same screen direction unless the edit clearly establishes a new orientation. If the first clip moves left to right and the next moves right to left without a motivated angle change, the character may appear to reverse course.
Trim clips before visible deformation begins. Cut during an arm swing, passing stride, foreground occlusion, or camera movement. These moments make small differences in pose less noticeable than a cut made when both feet are static and fully visible.
Use generation to create strong individual shots; use editing to create duration. A sequence of controlled clips is usually more manageable than one overloaded prompt.
Expected result: a longer walking sequence assembled from stable sections rather than a single deteriorating take.
Alternative: use motion transfer for a specific gait
Switch to motion transfer when the walk itself carries meaning: a limp, runway stride, cautious approach, comic shuffle, dance-like entrance, or a timed turn. Record the performance with the full body visible, a steady camera, even lighting, and no obstructions crossing the limbs.
Match the source performer and target character as closely as practical in framing and body orientation. A front-facing source clip is a poor guide for a target image designed as a strict side profile. Likewise, a long coat in the target may hide leg positions that are obvious in the source.
For best readability, begin with:
- A single performer.
- A level floor and uncluttered background.
- No camera zoom during the performance.
- The hands separated from the torso when possible.
- A few clean steps rather than a long route.
Motion transfer improves control over timing and pose, but it does not remove every rendering problem. Inspect feet, hands, clothing edges, and facial detail after transfer just as carefully as a generative clip.
Keep the same walk across multiple shots
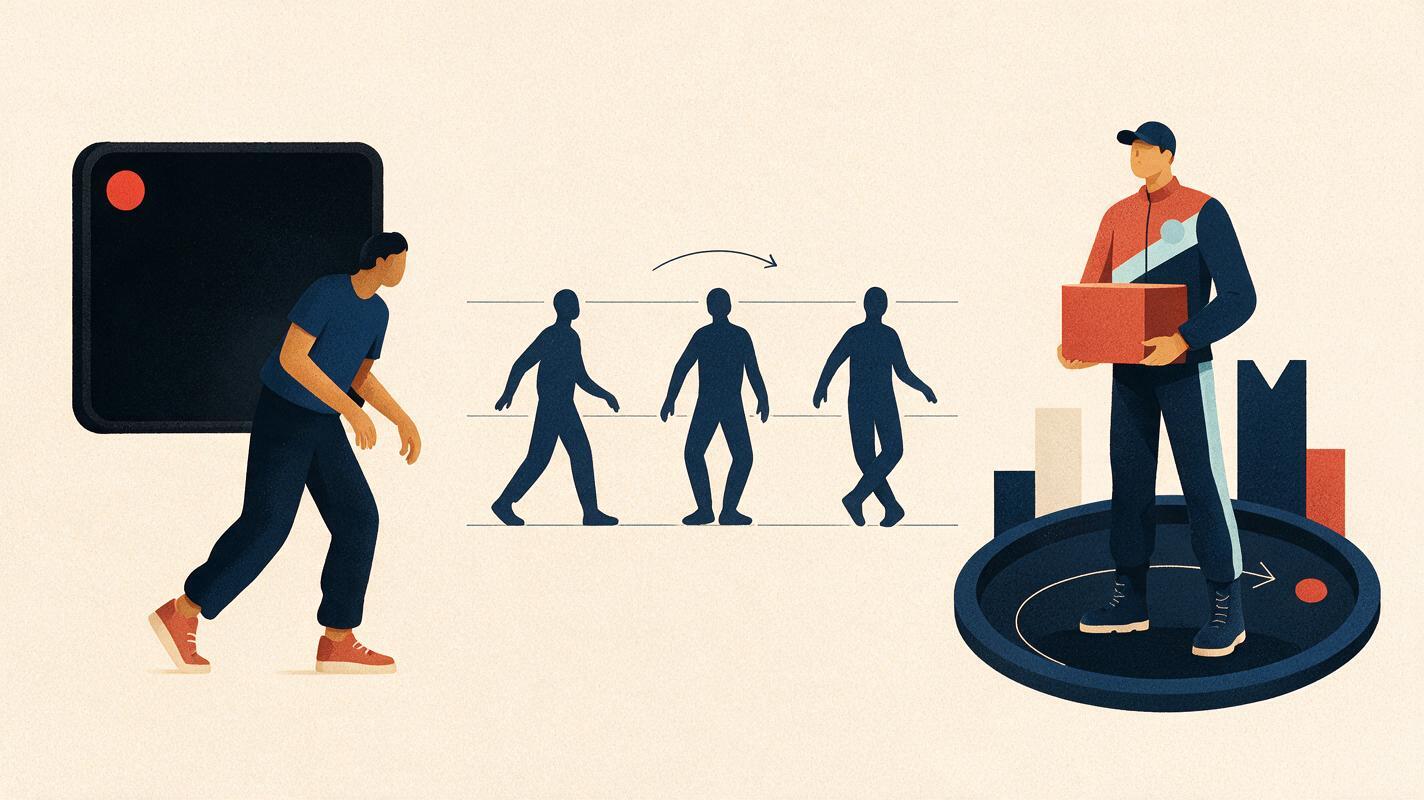
To make several angles feel like one continuous performance, define a reusable gait specification. Keep pace, posture, arm swing, and emotional energy separate from camera language.
Reusable gait specification:
calm purposeful walk
medium-length stride
upright posture
relaxed shoulders
subtle opposing arm swing
steady pace without acceleration
firm but natural foot contact
Reuse that block across prompts, then change only the shot clause: locked wide profile, medium parallel track, rear follow, or shoe detail. If exact timing must repeat across shots, derive the variations from the same source performance rather than relying on separate text generations.
Where this workflow falls short
Even a carefully controlled workflow cannot guarantee anatomically perfect walking. Occlusion remains difficult when legs cross, hands pass over clothing, or the character moves behind foreground objects. Reflective floors and moving shadows can make foot contact harder to judge and harder for the model to preserve.
Unusual body designs may also need specialized testing. Very long garments, nonhuman limbs, extreme footwear, backpacks with loose straps, and characters carrying large objects add secondary motion that competes with the gait. Start with a simplified version, confirm that the walk works, and then introduce one complex element at a time.
Motion transfer can preserve the source timing more closely, but large differences between the source performer and target character may still cause distorted joints or unstable silhouettes. Face correction can repair identity drift, but it cannot fix incorrect leg mechanics or a sliding body.
FAQ
Is text to video or image to video better for walking?
Image-led generation is usually easier when the character design, wardrobe, and composition matter because those elements are already established. Text-led generation is useful for quick exploration, but the model must invent both appearance and movement.
What is the easiest walking angle for a first test?
A full-body lateral crossing shot is the easiest to evaluate. It exposes the stride, foot contact, arm swing, and forward progress without the rapid scale changes of a walk toward the camera.
Should I ask for a tracking camera?
Start with a locked camera if gait stability is the priority. Once the walking motion works, test a parallel tracking camera that maintains a constant distance. Avoid combining tracking, orbiting, zooming, and handheld shake in one short shot.
Can a negative prompt prevent malformed legs?
Negative terms may help in workflows that support them, but composition and action design have greater practical value. A readable full-body anchor, slower pace, simple silhouette, and clear direction reduce the conditions that cause leg fusion.
When should I use motion transfer instead?
Use it when you need repeatable timing, a recognizable style of walking, a turn at a precise moment, or multiple shots derived from the same performance. It is also the logical fallback after repeated generative clips fail in different ways.
Can face swap fix a walking clip?
Face swap can address facial identity drift in an otherwise successful clip, provided you have permission to use the identity. It does not correct sliding feet, fused limbs, changing body proportions, or unstable clothing.
Final checklist
- Use a clean full-body anchor with both feet visible.
- Leave open space in the walking direction.
- Choose one pace, one path, and one camera behavior.
- Describe foot contact and weight shift without overloading the prompt.
- Compare models with the same image and core instructions.
- Inspect planted feet, crossing legs, proportions, hands, and clothing.
- Fix one diagnosed problem per regeneration.
- Assemble longer walks from short, stable clips.
- Use motion transfer when the exact gait or timing matters.
- Create your first ai video free and test the walking prompt now.
Keywords
ai walking video, image to video, motion transfer, ai video workflow, Seedance prompts, Kling prompts, prompt engineering