Best AI Tools to Turn a Script Into a Storyboard and Video
This guide compares top AI tools that convert written scripts into visual storyboards and finished videos, walks through a practical end-to-end pipeline, and shares pro tips for consistent, professional results without a full production crew.
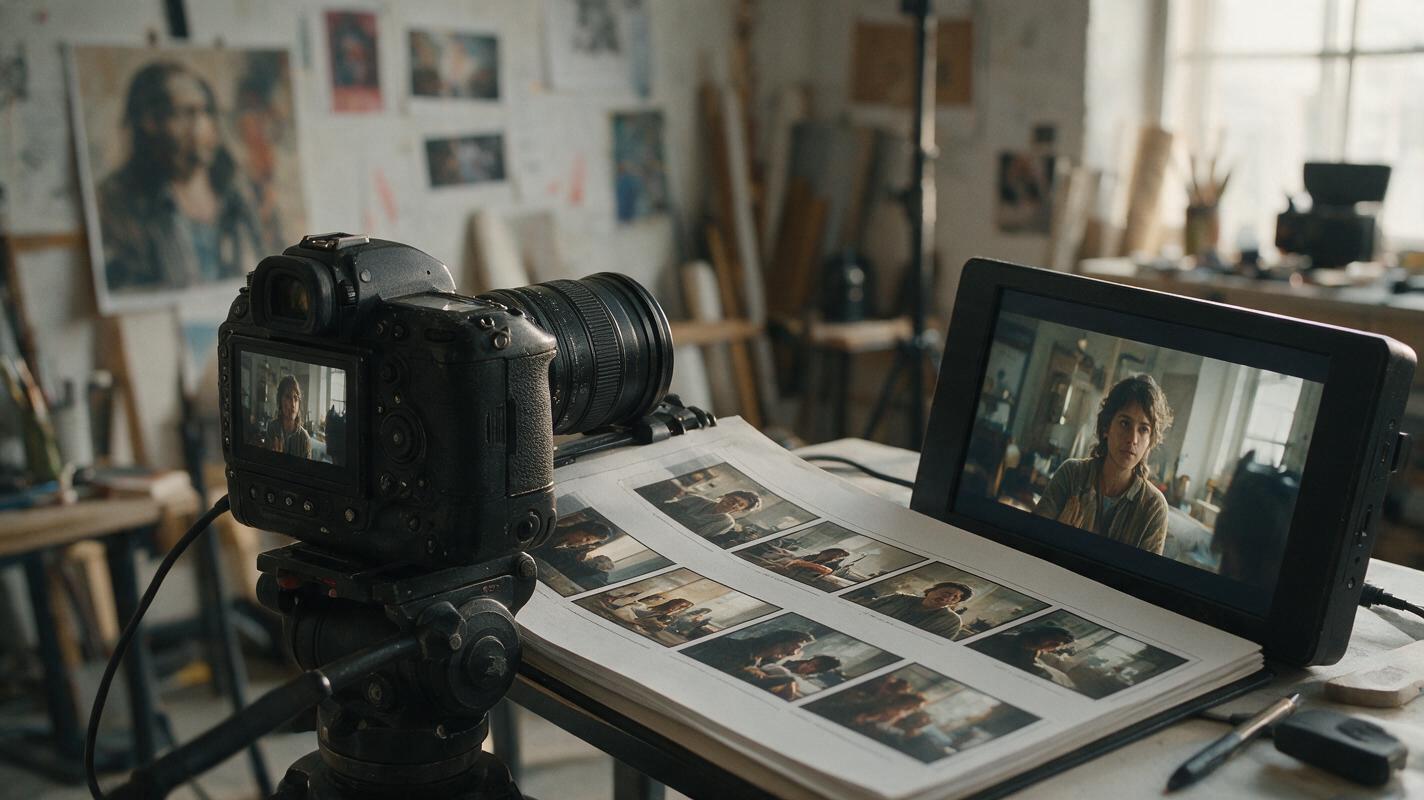
Table of contents
If you've ever stared at a finished script and wondered how to turn pages of text into actual visual footage without hiring a full production crew, AI tools that bridge script, storyboard, and video are changing what's possible for independent creators and small teams.
The promise is simple: feed in your script, and AI helps generate visual storyboards, then animated or live-action-style video clips. The reality is more nuanced — results vary widely between tools, and knowing which part of the pipeline to automate (and which to keep manual) makes the difference between amateur output and something genuinely watchable.
What Script-to-Storyboard-to-Video AI Actually Does
Before comparing tools, it helps to understand the three distinct stages this pipeline covers. Most AI tools specialize in one or two stages, and the best results usually come from chaining specialized tools together rather than relying on a single all-in-one solution.
Script-to-storyboard AI reads your screenplay or script text and generates visual panels — each one representing a shot or scene. These tools parse scene headings, action descriptions, and dialogue, then produce illustrated frames with composition, camera angles, and character placement. Quality ranges from rough thumbnail sketches to cinematic, production-ready frames.
Storyboard-to-video AI takes those static frames and animates them into short video clips. This stage uses image-to-video animation technology to add motion, camera movement, and basic action to each storyboard panel. Some tools can also generate clips directly from text descriptions of each shot.
Full script-to-video tools attempt the entire pipeline in one pass: you paste a script, and the tool generates a complete video with scenes, characters, dialogue, and even voiceover. These all-in-one solutions are convenient but tend to sacrifice control and consistency for speed.
Top AI Tools for Script to Storyboard to Video
Choosing the right tool depends on your project type, budget, and how much control you need over the final output. Here's how the leading options compare across the three pipeline stages.
| Tool | Script → Storyboard | Storyboard → Video | Full Script → Video | Best For |
|---|---|---|---|---|
| MagicBoat Story Create | Yes — multi-shot with style control | Yes — animate frames directly | Yes — full script import | Teams wanting one platform end-to-end |
| Runway | Limited — text-to-image per frame | Yes — Gen-2 image-to-video | No | Best-in-class video generation |
| Pika Labs | No | Yes — image and text to video | No | Fast stylized experimentation |
| Canva AI | Limited — basic scene templates | Limited — simple animations | Partial — template-based | Beginners and social content |
| Boords AI | Yes — dedicated storyboard tool | No | No | Professional storyboard teams |
MagicBoat's ai storyboard tool stands out for teams that want to keep everything in one workspace. You can import a full script, auto-generate storyboard panels with consistent characters and locations, refine individual frames with text prompts, and then animate each panel into video clips — all without switching platforms. The multi-model approach means you can pick the best generation model for each shot rather than being locked into one visual style.
For pure video quality from storyboards, Runway's Gen-2 and Pika Labs both produce strong results, but you'll need to manage the storyboard stage separately and handle character consistency manually across scenes.
Building Your Pipeline: From Script to Final Video
The most reliable way to get professional results is to break the process into stages rather than trying to generate everything in one click. Here's how to structure a pipeline that produces consistent, watchable footage.
Start with a properly formatted script
AI tools parse standard screenplay format best — scene headings in ALL CAPS, character names centered, dialogue below. If your script is in plain text or prose format, take a few minutes to format it properly first. This small prep step dramatically improves how accurately the AI interprets your scenes and shot breakdowns.
Generate your initial storyboard pass
Import the formatted script into your chosen tool and let it generate a first draft of panels. Don't worry about perfection at this stage — the goal is to get visual placeholders for every shot so you can see the pacing and flow. Look for obvious issues: wrong location, missing props, characters that don't match your description. Note which scenes need manual adjustment.
Refine storyboard panels one by one
This is where most of the creative work happens. For each panel that needs improvement, adjust the text prompt, change the camera angle specification, or upload a reference image to guide the style. Pay special attention to character consistency — use the same character reference across all panels featuring that person. For key scenes, you may want to generate several variations and pick the best one.
Animate storyboard panels into clips
Once your storyboard is locked, use animate image to video technology to add motion to your static frames. Start with subtle movement — slow camera pans, gentle zooms, environmental motion like leaves blowing or water rippling. Avoid asking for complex character action in this stage; the storyboard frame already establishes the composition, and adding too much movement can break the framing or introduce weird artifacts.
Edit, audio, and final polish
After generating all your clips, assemble them in sequence with your editing software. Add transitions between scenes, sync up dialogue or voiceover, and lay in music and sound effects. This editing stage is where your footage starts feeling like a real film rather than a collection of AI clips.
Finish with an enhancement pass. Run your final edited video through an ai video enhancer to clean up artifacts, stabilize jitter, and improve overall quality. A good ai video upscaler can also boost resolution if you're delivering in 1080p or 4K. Apply ai video presets for color grading consistency across all scenes — this is especially important if you used different generation models for different shots.
Pro Tips for Consistent, Professional Results
Even with the best tools, AI-generated video can feel disjointed if you don't actively guide the process. These tips will help you get output that looks intentional and professional.
- Lock your style early. Pick one visual style — whether cinematic, photorealistic, anime, or illustrated — and stick with it across every scene. Create a style reference prompt that you include with every generation request.
- Use reference images for characters. For any recurring character, create a reference sheet with front, side, and three-quarter views. Upload this reference with every generation request that features that person.
- Don't skip the storyboard stage. It's tempting to jump straight from script to video, but you'll waste more time fixing bad clips than you would refining storyboards first. Storyboards are cheap and fast to edit — video clips are not.
- Batch similar scenes together. If you have three scenes in the same location, generate all three at once using the same location reference and style settings. This ensures the environment looks consistent across all three scenes.
- Keep camera movement subtle. AI video tools struggle with fast camera movement — it often results in warped backgrounds, distorted objects, or temporal flicker. Slow pans and gentle push-ins almost always look better than dramatic handheld shots.
Rule of thumb: If you wouldn't shoot it with a real camera on a tripod, don't ask an AI to generate it. The more grounded your camera direction, the more believable the result.
Final Checklist
- Format your script properly before importing into any AI tool
- Generate a full storyboard pass before animating any clips
- Use character reference sheets for all recurring roles
- Apply consistent style prompts across every scene
- Animate storyboard panels with subtle, controlled movement
- Edit clips together with transitions, audio, and pacing
- Run a final enhancement pass to clean up artifacts and boost quality
- Export at your target resolution and aspect ratio
If you're ready to test this workflow yourself, you can try these models for free on MagicBoat — the storyboard and script-to-video tools are available without a subscription, so you can generate your first few scenes before committing to anything.
Keywords
script to video, ai storyboard, ai video tools, animate image to video, ai video presets, enhance videos with ai, ai video enhancer