Preview a Built-In Bookshelf in a Room Photo With Nano Banana Pro
See how a proposed built-in bookshelf could look on an actual wall without letting the concept image quietly change the room. This guide provides reusable Nano Banana Pro prompts for a first preview, controlled design variations, and a practical review before client presentation.
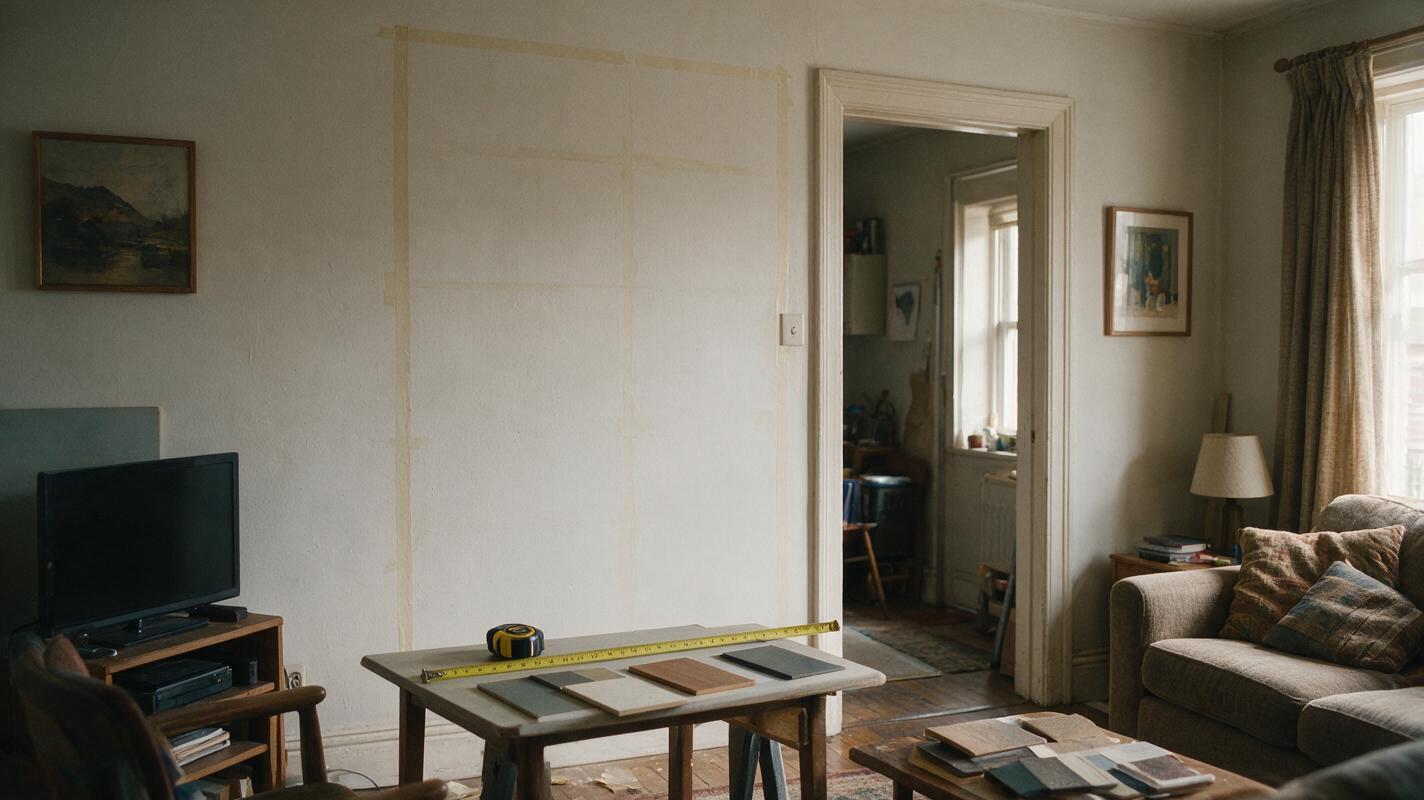
Table of contents
See the built-in before committing to the wall
A built-in bookshelf can look convincing in a mood board and still feel wrong in the room. The ceiling line, nearby doorway, existing outlets, and available depth all affect the result. With a straight, measured room photo, you can use Nano Banana Pro to preview a bookshelf in context—then compare a few focused alternatives without treating the generated image as a construction drawing.
The goal is a decision-ready concept: recognizable architecture, a plausible shelf footprint, and clear differences between options. The prompts below are written for a wall that will receive floor-to-ceiling shelving, but you can adapt the dimensions and constraints to a shorter alcove or media wall.
Prepare the wall photo and measurements
Photograph the wall as square-on as the room permits, from a position that includes the floor, ceiling, and both ends of the proposed installation. Keep the doorway, window, skirting, and nearby furniture in frame. A wide-angle view that bends vertical lines may make the concept look more spacious than the real room, so use a less distorted image when you have one.
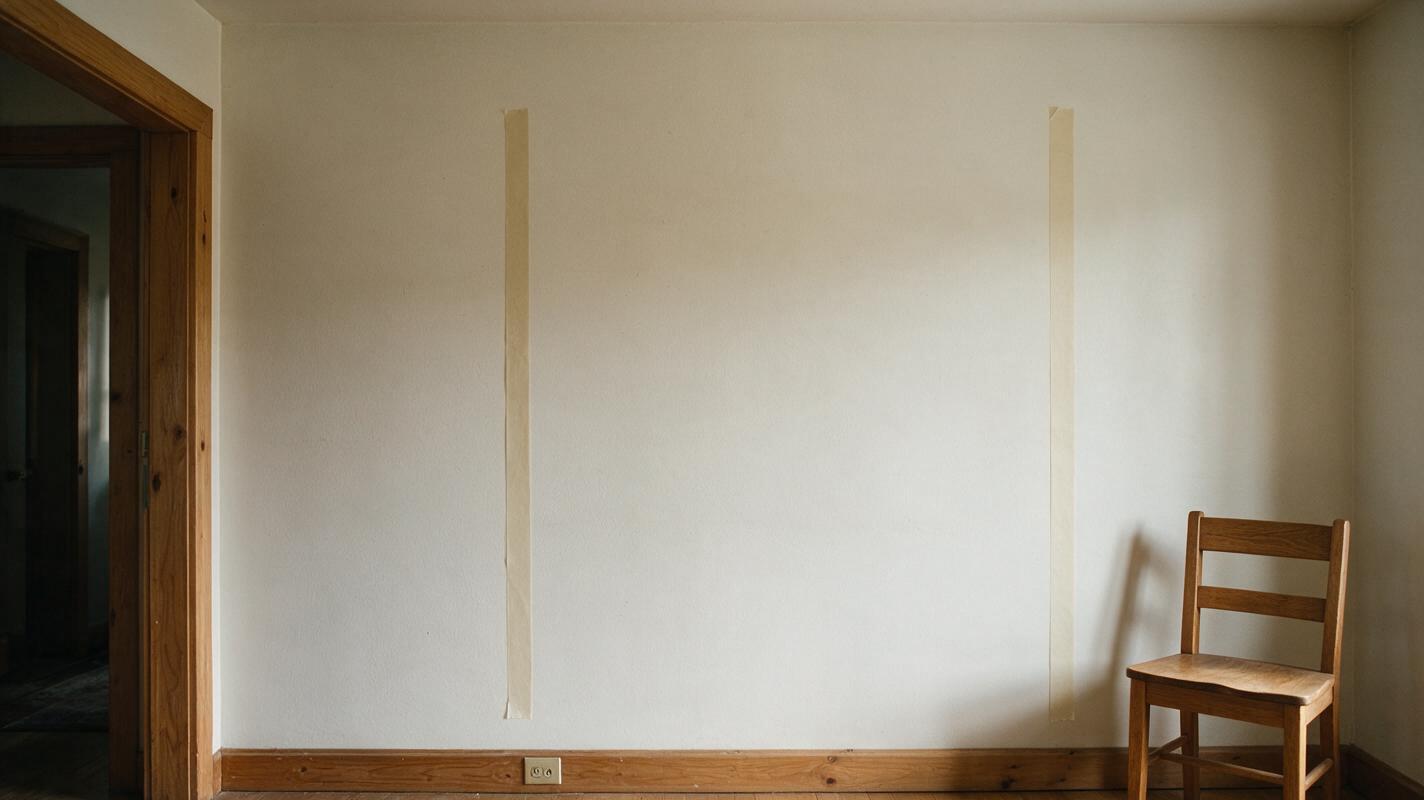
Before generating, record the wall width, ceiling height, maximum acceptable shelf depth, and the positions of anything that must remain accessible. A strip of painter’s tape marking the proposed left and right edges can make the intended footprint unambiguous. Remove it from the final presentation image only after you have checked the generated placement.
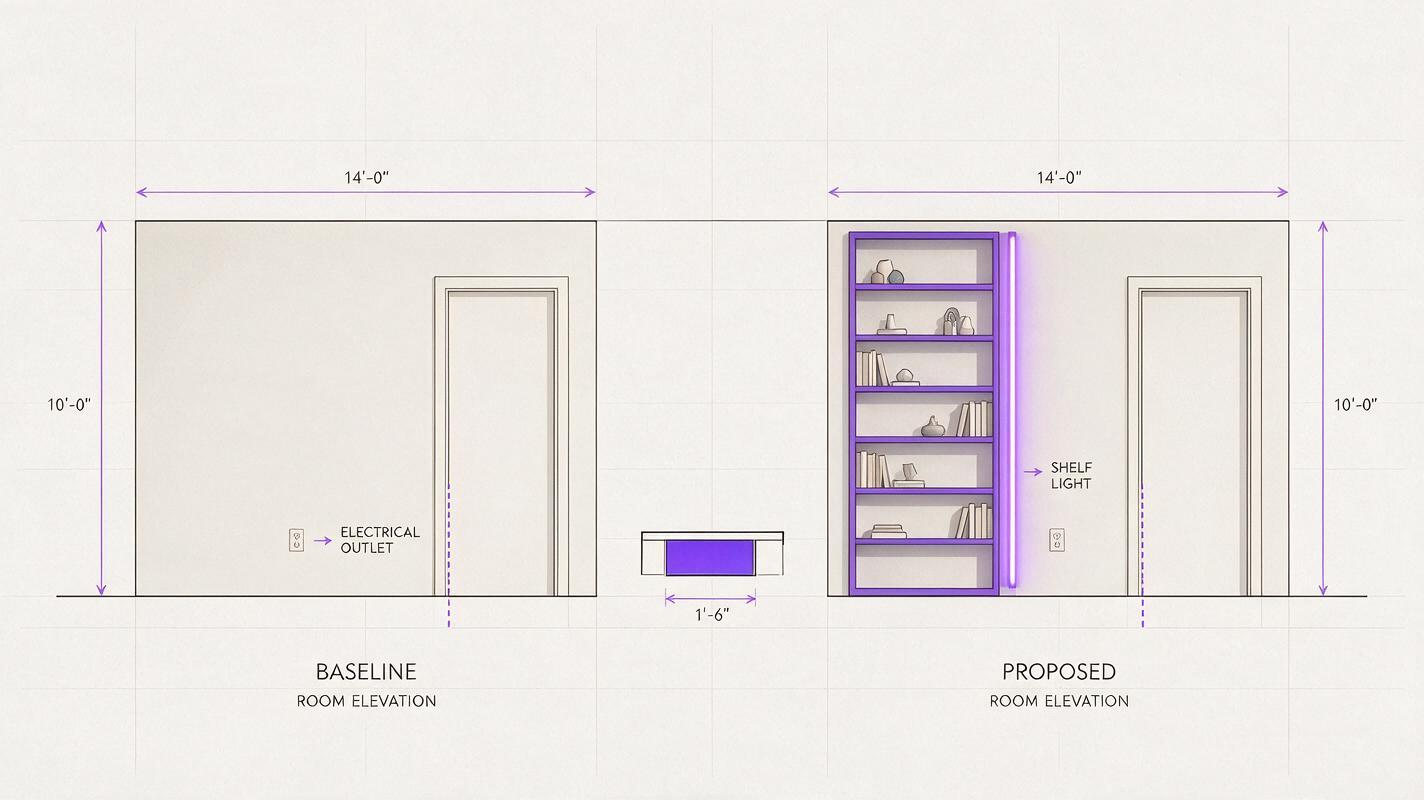
Important: A photograph cannot establish exact dimensions on its own. Supply measurements in the brief, then verify the concept against a measured drawing before discussing fabrication.
Keep the architecture fixed in the edit
Upload the original photo to Nano Banana Pro and ask for an edit of that image, not an entirely new room. An ai image generator can produce an attractive shelving scene from a written description, but the existing photograph is what makes this preview useful for a specific site.
Start with one restrained design. Replace the bracketed details rather than letting the model invent the installation limits:
Edit the uploaded room photo to preview a custom built-in bookshelf on the [wall or alcove]. The proposed unit is approximately [width] wide, [height] high, and no deeper than [depth]. Position it between [left boundary] and [right boundary]. Create simple painted shelving with closed base cabinets, consistent shelf spacing, and a recessed plinth. Match the photo's camera angle, daylight direction, shadows, and image texture. Preserve the existing ceiling, floor, doorways, windows, skirting, outlets, adjacent furniture, and every surface outside the proposed unit. Do not widen the wall, move an opening, or add another room. Show a plausible design concept, not a measured construction drawing.If your editing interface supports a selection or mask, restrict it to the intended installation area while leaving enough room for natural contact shadows. Otherwise, describe the left and right boundaries explicitly. Compare the result with the original photo before refining the finish: a beautiful render is not a useful preview if the model has moved a doorway or stretched the wall.
When the footprint reads correctly, test this prompt yourself with your actual dimensions and site constraints. Keep the unedited photo beside every output so changes to the room remain easy to spot.
Compare practical built-in options
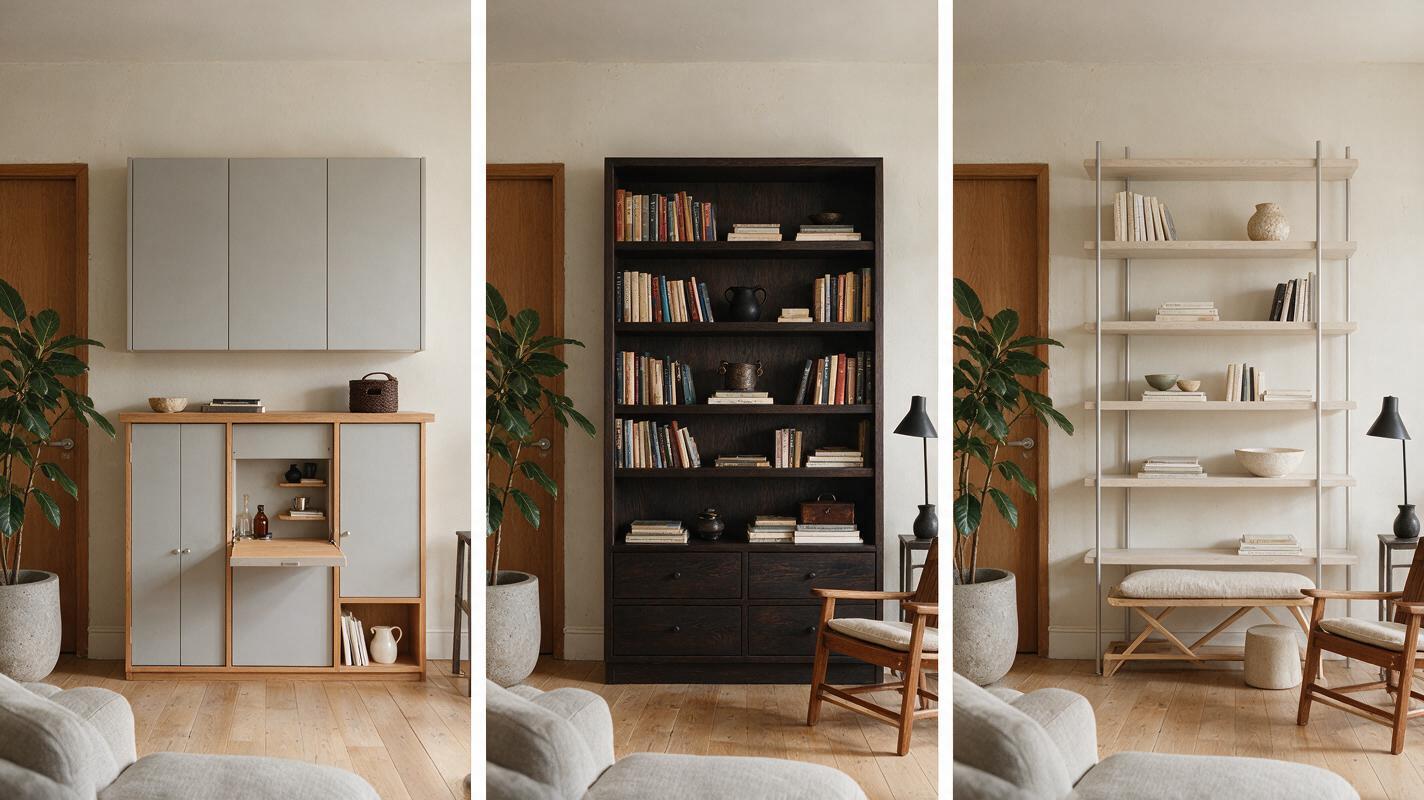
Once one concept preserves the room, make each subsequent variation answer a specific design question. Reuse the original photo and the same footprint for each option; repeatedly editing the latest generated image can compound small changes to the architecture.
| Option | Change in the prompt | Decision it helps with |
|---|---|---|
| Quiet storage | More closed base cabinetry, fewer displayed objects | Whether the wall should conceal everyday clutter |
| Library feel | More open shelving and a deeper painted finish | Whether the shelving should become the room’s focal point |
| Lightweight look | Thinner-looking shelves, pale finish, minimal styling | Whether a full-height unit feels too visually heavy |
Use a short variation prompt that changes only the decision under review:
Using the same uploaded room photo and the same bookshelf footprint, create a second concept. Keep the wall boundaries, camera position, cabinet depth, doorways, outlets, furniture, and lighting unchanged. Change only [the chosen design variable]. Keep the styling sparse enough to see the shelf layout. Do not add extra width or alter the room architecture.For a fair comparison, label the options by what actually changes—such as “closed storage” and “open display”—rather than presenting slightly different generated images as separate schemes. If the model changes several things at once, regenerate with a narrower instruction instead of asking the client to evaluate a moving target.
Check the preview before sharing it
Zoom into the junctions. Does the unit meet the ceiling and floor plausibly? Is the nearby door still usable? Are outlets, vents, switches, and access panels visible or accounted for? Look closely at shelf thickness, repeated objects, distorted cabinet fronts, and shadows that contradict the room’s light source.
Then check the design against the measurements. If the shelving must fit beside a doorway, the image is a conversation aid, not evidence that clearances work. A joiner or millworker still needs a site survey, construction details, material specifications, and an agreed approach to services and fixing.
Present the original photo, the selected concept, and the key assumptions together. A concise caption such as “Visual concept; shelf depth and outlet treatment subject to survey” keeps the image useful without implying that its hidden details have been resolved.
Final checklist
- Use a clear wall photo that shows the installation boundaries.
- Provide measured width, height, depth, and fixed-site constraints.
- Ask for a localized edit that preserves the rest of the room.
- Compare variations from the same original photo and footprint.
- Inspect architectural drift before judging finishes or styling.
- Confirm dimensions and buildability separately from the concept image.