Keep the Same Character After Occlusion in AI Video
When a character passes behind a pillar or another person, the reappearance can look like a new face. This tutorial uses an occlusion-aware character sheet, paired boundary frames, and a shot-by-shot review to preserve identity through the reveal.
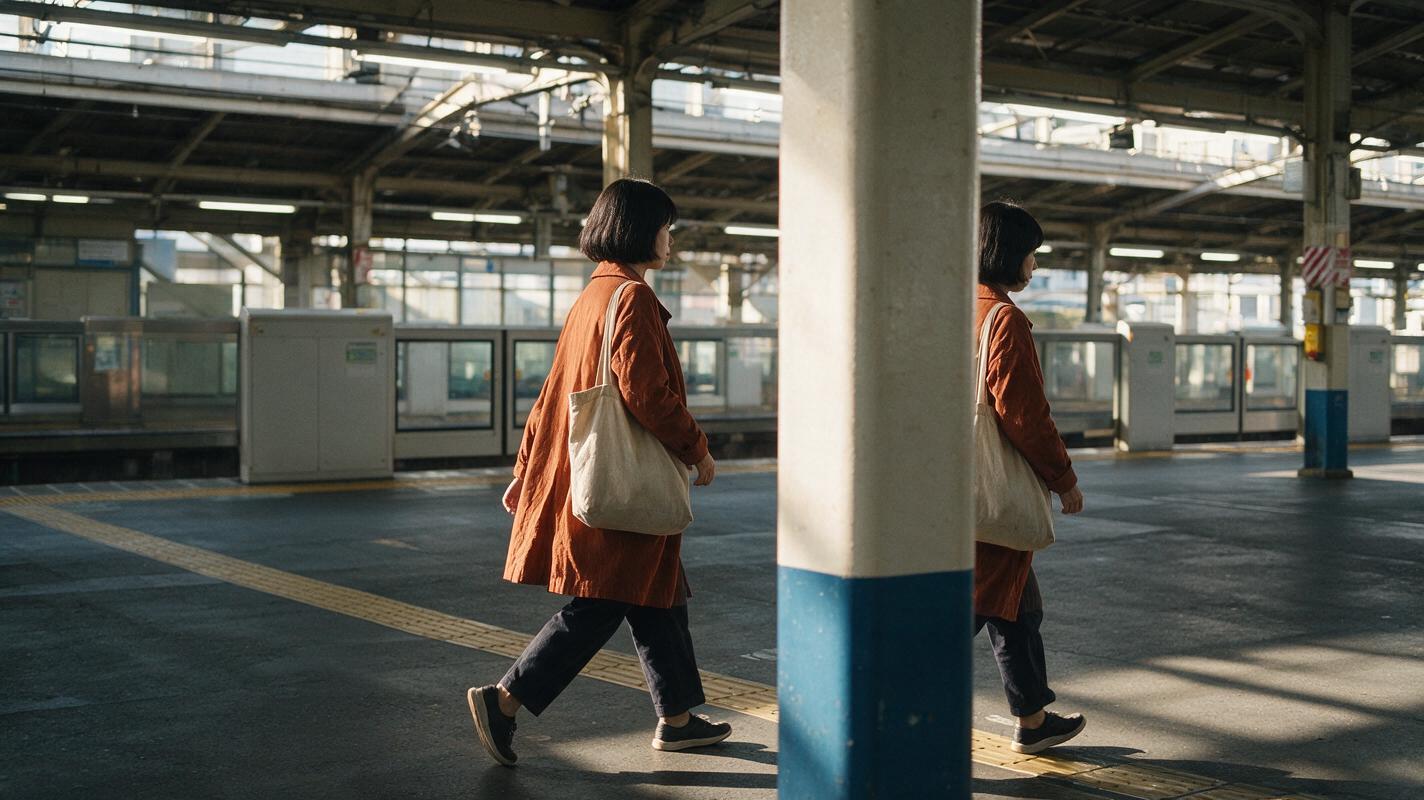
Table of contents
Keep the face anchored on both sides of the obstruction
A foreground object can hide a character for only a moment, yet the person who emerges may have a different face. To prevent that swap, approve what the character looks like immediately before and after the obstruction, then treat those two views as a matched pair.
This tutorial follows one fictional commuter walking behind a station pillar and emerging on the other side. The same method works for a passerby crossing the camera, a door briefly covering someone, or a character moving behind furniture. It addresses an occlusion reveal—not a change of outfit, age, lighting, or camera angle.
Step 1 — Build a character sheet that survives the hidden interval
Start with a clean character reference before drafting the station shot. You can make the reference with an ai image generator or use an image you have permission to reuse. Select one approved face rather than several near-matches.
The sheet needs a front view, a three-quarter view, and a compact full-body view. Keep the same haircut, outerwear, and carried item in each. Include a close view of the side of the face that will be visible at re-entry; a front portrait alone leaves too much of the reveal unspecified.
| Character-sheet field | Example to copy or replace |
|---|---|
| Identity anchor | Fictional adult commuter with an oval face, straight dark brows, and a small beauty mark beneath the left eye |
| Hair and clothing | Short black bob tucked behind the right ear; rust-colored coat with a wide collar |
| Carried item | Narrow canvas tote in the left hand |
| Approved views | Front, left three-quarter, right three-quarter, and full body |
| Allowed variation | Walking pose and gaze direction |
| Do not change | Facial proportions, beauty-mark position, hair length, coat, or tote hand |
Use the following prompt to draft the sheet, then inspect every view. If one portrait has different facial proportions, replace that view before using the sheet as a reference.
Create a neutral character reference sheet for one fictional adult commuter. Show front, left three-quarter, right three-quarter, and full-body views of the SAME person. Identity: oval face, straight dark brows, small beauty mark beneath the left eye, short black bob tucked behind the right ear. Outfit: rust-colored coat with a wide collar. Prop: narrow canvas tote carried in the left hand. Neutral background, even light, consistent facial structure and clothing across all views. No labels, text, logos, or interface elements.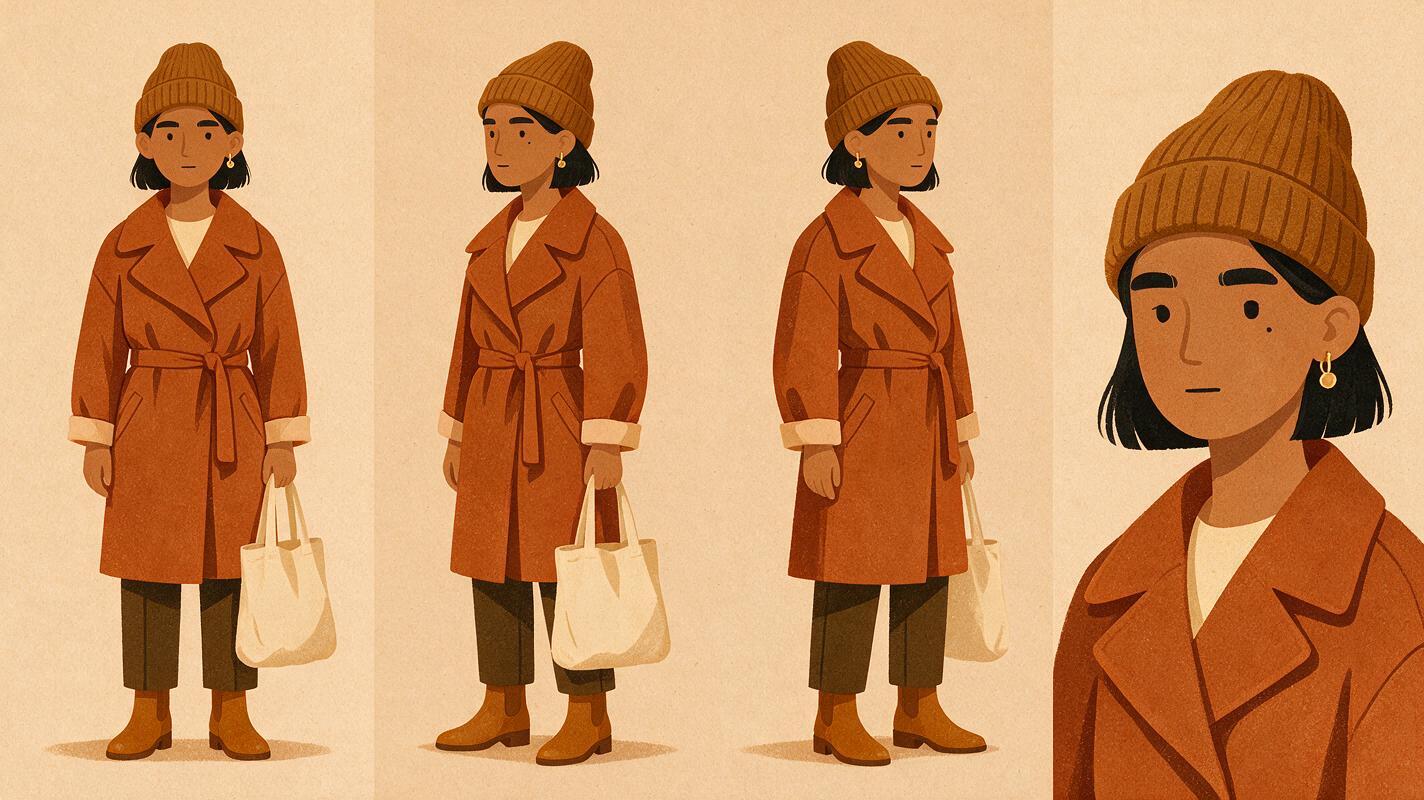
Step 2 — Plan the disappearance and re-entry as one event
Draw a simple storyboard reference with the camera, pillar, walking direction, and reveal side fixed. Mark three moments: the last unobstructed view, the fully hidden interval, and the first unobstructed view. The commuter must emerge at a plausible position for the distance traveled while hidden.
For this example, the camera remains still as the commuter walks left to right. Her left hand carries the tote before she reaches the pillar and when she comes out. The pillar hides her face and upper body, but it is not an invitation to redesign either one. If the tote or feet remain visible during the obstruction, their movement should continue in the same direction.
Continuity rule: Describe what the obstruction hides; do not describe it as a transformation or a new entrance.
Write the shot brief before generating frames. The explicit re-entry description matters because a prompt focused only on the reveal may accidentally introduce a second commuter.
One continuous station shot, fixed camera. The approved commuter walks left to right, carrying her canvas tote in her left hand. A foreground pillar briefly hides her face and torso. She continues the same walk behind it and emerges on the right as the SAME person, with unchanged face, short black bob, rust-colored coat, and tote hand. Maintain plausible walking speed and position. No second commuter, face replacement, costume change, camera cut, or new entrance.Step 3 — Pair the boundary frames before making the clip
Create or select a frame just before the commuter enters the pillar’s cover. Then prepare the first frame in which she is clearly visible again. Compare them side by side: facial proportions, beauty mark, hair outline, coat collar, tote hand, and apparent height should agree. The pose may advance, but identity should not.
If your chosen workflow accepts reference images or boundary frames, supply the approved character view alongside the relevant frame. If it accepts only a starting image, begin with the approved pre-occlusion frame and use the shot brief to specify the hidden interval and re-entry. Available controls vary by tool, so use the references your workflow actually supports rather than assuming a particular setting exists.
For a multi-shot sequence, approve the re-entry frame before planning the next angle. That frame becomes the handoff reference for the following shot, helping you keep a consistent character across scenes instead of correcting a changed face later. Once the paired frames agree, use an image to video workflow that fits your available references and generate the short passage around the obstruction.
Use the approved commuter reference and pre-occlusion frame. Animate a continuous left-to-right walk behind the fixed foreground pillar. During the hidden interval, preserve the commuter's identity, outfit, scale, walking direction, and tote in her left hand. On re-entry, match the approved post-occlusion frame: same facial proportions, beauty mark beneath the left eye, short black bob, and rust coat. Keep the camera fixed. Do not introduce another person at the reveal.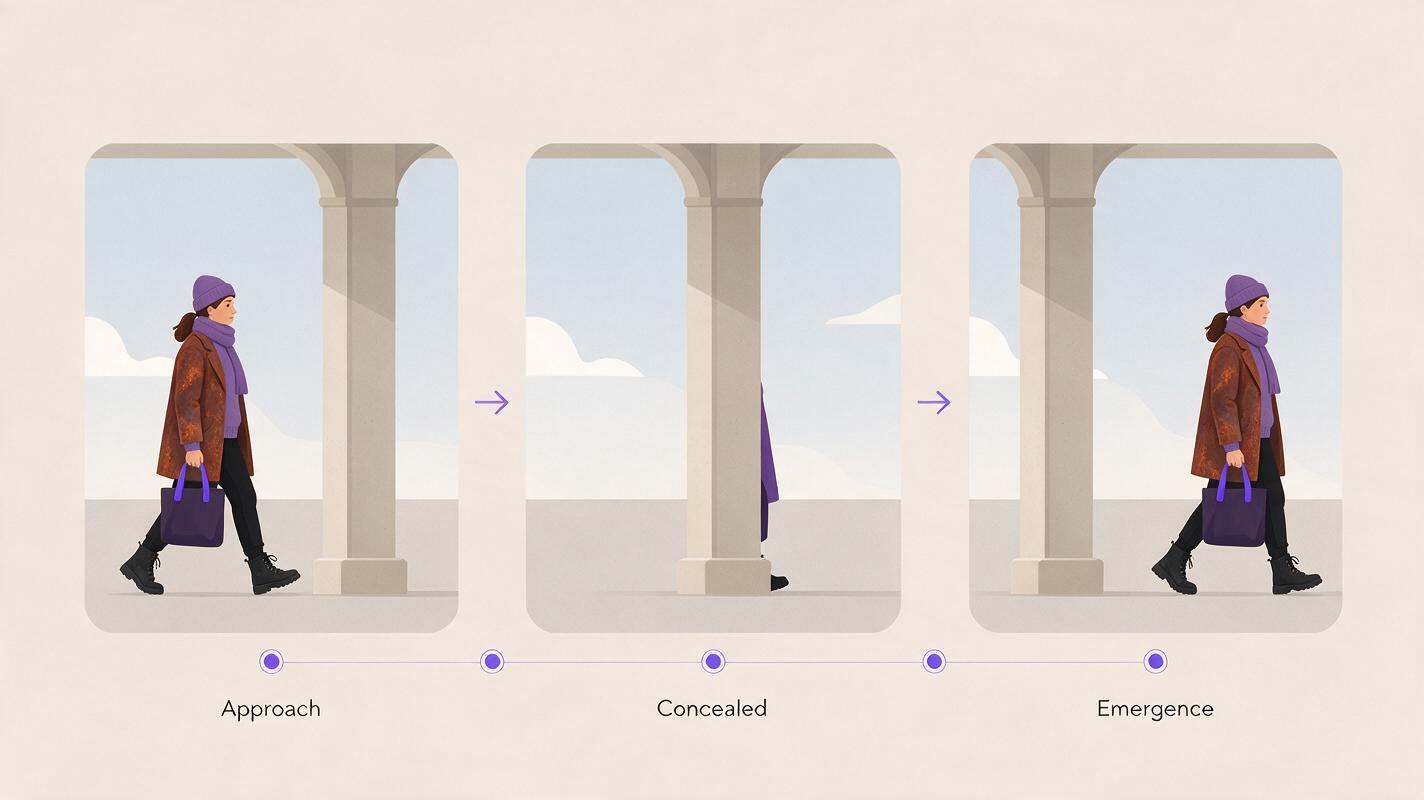
Step 4 — Inspect the first visible frames and repair the smallest error
Watch the clip at normal speed, then pause on the last visible frame before the pillar and the first few frames after it. A convincing reveal must match at the instant visibility returns, not merely by the end of the shot. Compare those frames with the sheet and the approved boundary pair.
| Failure at re-entry | Likely planning gap | Targeted fix |
|---|---|---|
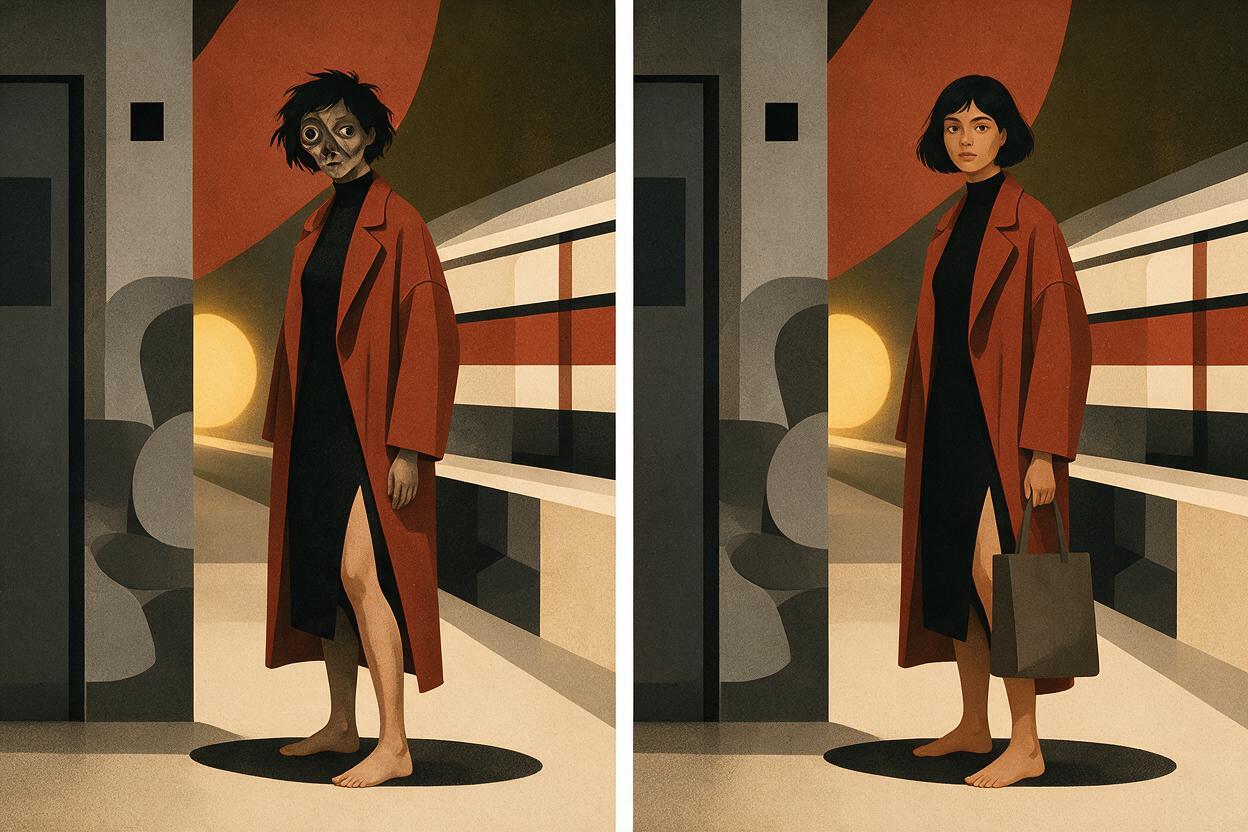
| Face looks like a different person | Re-entry view was not approved | Add a matching three-quarter reference and remake the re-entry frame |
| Character appears on the wrong side or at a new scale | Path behind the pillar was vague | Specify camera position, travel direction, hidden duration, and emergence point |
| Tote changes hands or vanishes | Prop state was omitted from the boundary pair | Show the left-hand tote in both frames and repeat it in the shot brief |
| Two commuters seem to occupy the transition | Reveal reads as a separate entrance | State that this is one continuous walk by one person; remove entrance language |
Change one variable at a time. If the face is wrong but position and timing work, revise the identity reference or re-entry frame rather than rewriting the entire scene. If the face matches but movement jumps, keep the approved face and repair the path. This makes the cause of each revision easier to judge.
The next shot should begin from an approved view of the commuter, not an unreviewed final frame. That handoff is what turns a successful reveal into a consistent character video rather than a single convincing moment.
FAQ
Can I use only one portrait as the character reference?
You can, but a portrait may not show the side of the face visible after the obstruction. An approved three-quarter view and paired boundary frames give you more specific material to compare.
Does the character need to remain partly visible behind the pillar?
No. A fully hidden interval is workable if the entrance and re-entry positions follow one plausible path. If a hand, foot, or bag remains visible, check that its movement stays continuous.
What if the face matches but the next scene does not?
Use the approved re-entry frame as the next shot’s identity handoff. Recheck the sheet’s stable details while allowing the new shot’s pose and composition to change.
Final checklist
- Approve front, three-quarter, and full-body views of one character.
- Define what is hidden, the walking path, and the emergence point.
- Match face, hair, coat, scale, and prop state across boundary frames.
- Inspect the first frames after re-entry before approving the next shot.
- Fix identity and motion errors separately.
Ready to test the paired-frame brief with your own character? test this prompt yourself.
Keywords
character consistency, character reference, consistent character video, consistent character across scenes, storyboard reference, multi-shot, keep the same face across video