How to Keep a Character Consistent Across AI Video Whip-Pan Cuts
A whip-pan cut can hide a location change, but it can also hide a change in the character’s face. This tutorial uses approved character references and boundary frames to preserve identity on both sides of a fast camera move.
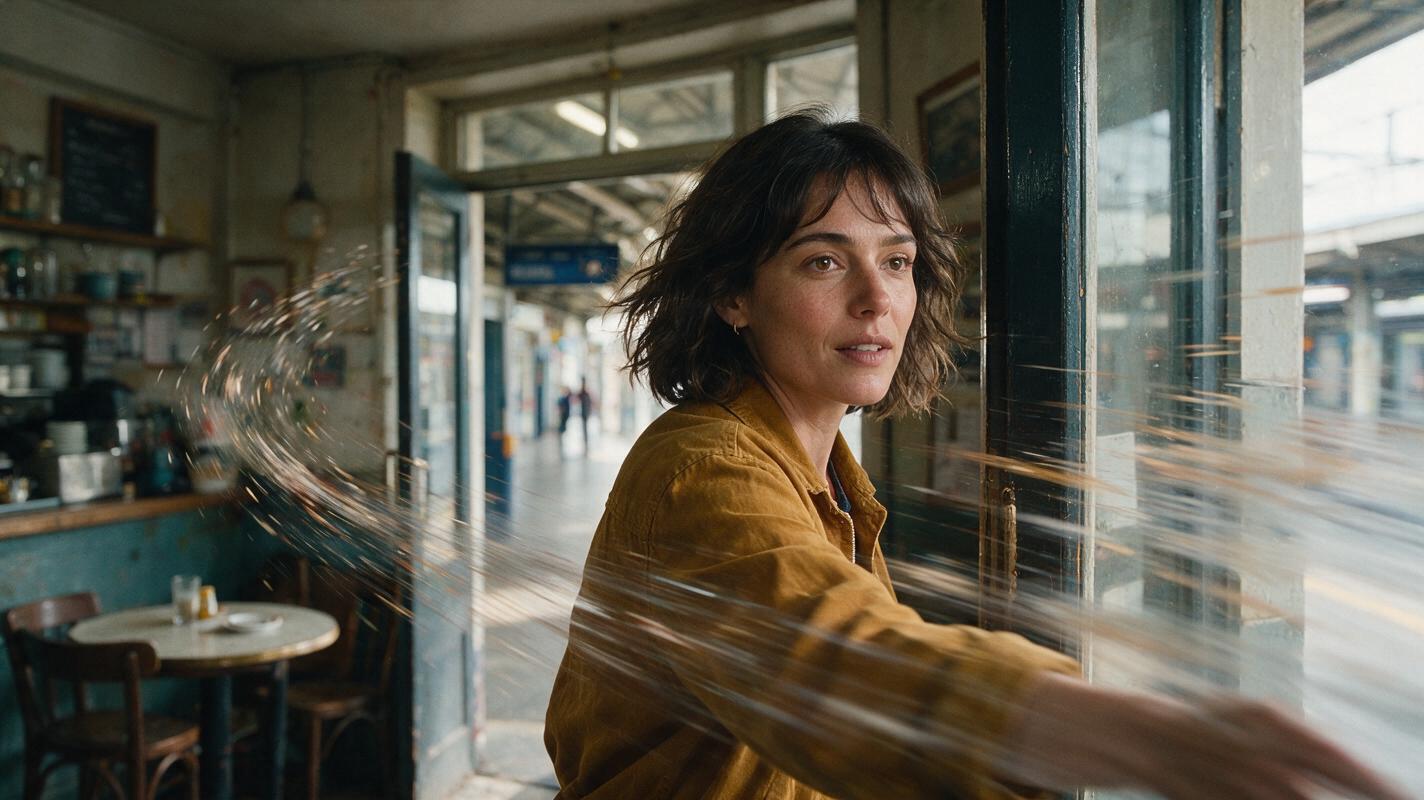
Table of contents
Keep the face stable when the camera moves fast
A whip pan makes a cut feel continuous. To keep the character continuous too, generate and approve the clear frames on either side of the blur before making either moving shot.
This tutorial follows one fictional character, Mara, from a café into a station corridor. The camera sweeps right at the end of the café shot; the corridor shot begins with a matching sweep and settles on Mara. The blur can disguise the location change, but it cannot prove that the person revealed afterward is still Mara.
Cover recreation prompt: Photorealistic editorial film still in a lived-in café with a station corridor glimpsed beyond a doorway; Mara, a woman with chin-length dark curls, a subtle notch in her left eyebrow, a small mole beneath her right eye, and an ochre jacket with teal lining, stands in clear focus as foreground lights streak horizontally during a rightward camera sweep. MANDATORY CAMERA: landscape 16:9, eye-level medium shot, realistic motion blur confined to the foreground and background, recognizable facial structure, natural window light, no text, logos, screens, or interface elements.
Step 1 — Approve the character before planning the blur
Make one three-view sheet for Mara. Treat her eyebrow notch and mole as identity anchors; treat the jacket as a wardrobe anchor. Hair can shift during motion, and lighting will change between locations, so neither should be the only evidence that the face matches.
| Character-sheet field | Approved description for Mara |
|---|---|
| Face | Oval face, subtle notch in left eyebrow, small mole beneath right eye |
| Hair | Chin-length dark curls with a loose side part |
| Wardrobe | Ochre jacket with visible teal lining; charcoal shirt |
| Do not change | Eyebrow notch, mole placement, facial proportions |
| May change with the shot | Hair movement, expression, light direction, background |
Visual asset — three-view character sheet. Keep the approved result as the master character reference. Do not replace it with a blurred frame from the finished cut.
Create a photorealistic three-panel character sheet of the SAME fictional woman, Mara. Left panel: front view. Center panel: true left-side profile. Right panel: back view. Mara has an oval face, chin-length dark curls with a loose side part, a subtle notch in her left eyebrow, and a small mole beneath her right eye. She wears the same ochre jacket with teal lining and charcoal shirt in all three panels. MANDATORY CAMERA/LAYOUT: landscape 16:9; three evenly sized, full-height panels; eye-level camera; consistent subject scale; neutral light-gray seamless background; soft even studio lighting. Preserve one person's anatomy, hairstyle, and clothing across views. No text, labels, logos, UI, or extra people.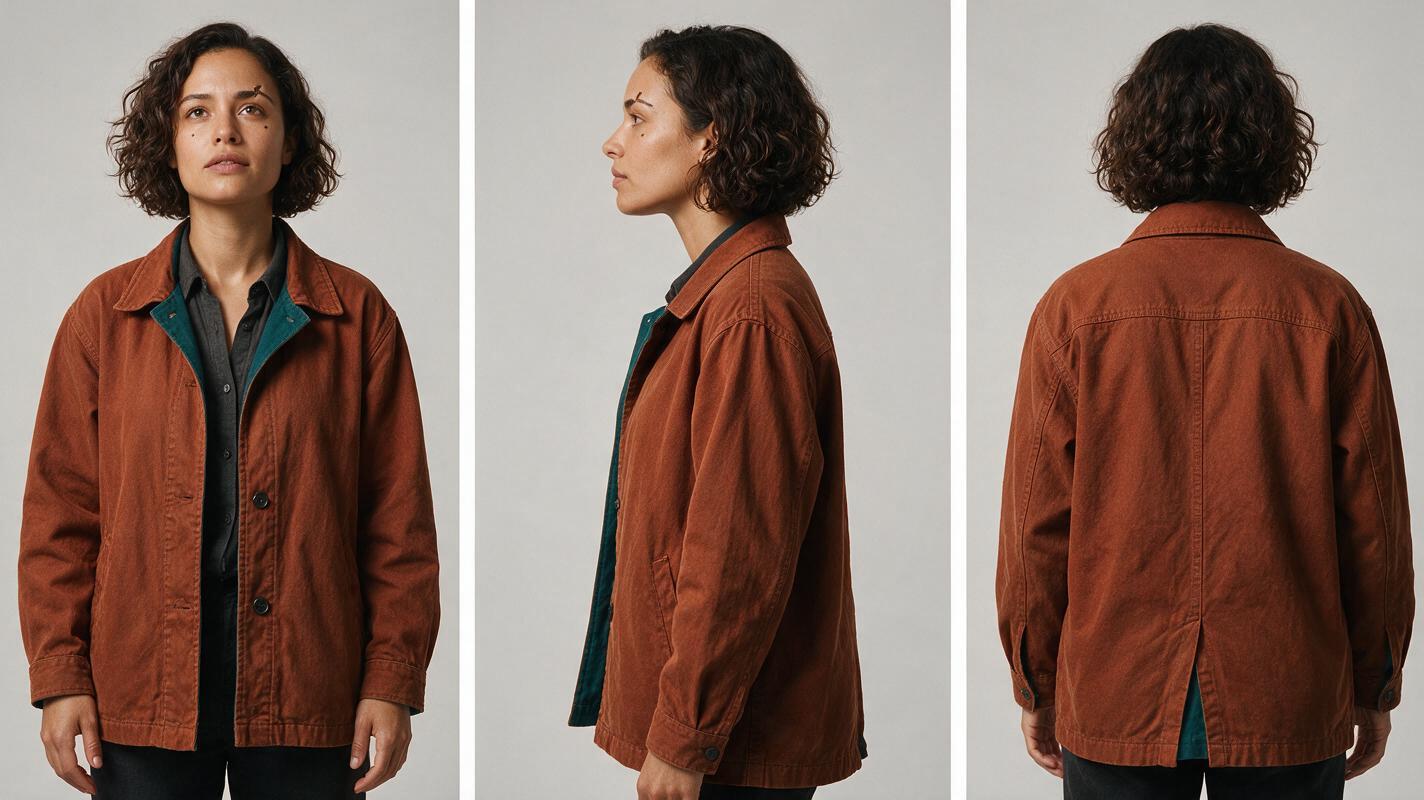
Step 2 — Build two clear boundary frames
Use an [ai image generator](https://www.magicboat.net/ai/en/draw) or another image tool to make a clear café frame and a clear corridor frame. Supply the same approved character sheet to both where the tool accepts references. If it does not, carry the sheet’s exact identity description into both prompts and compare the resulting faces before proceeding.
Match the screen direction, not the entire background: Mara should occupy a similar part of the frame as the camera settles, with the sweep traveling right in both shots. Give each location its own believable lighting. Forcing café lighting onto the corridor may make the cut look less natural without helping identity.
The frames to approve are the last clearly readable view of Mara in the café and the first clearly readable view of her in the corridor—not the blur between them.
Visual asset — boundary-frame pair. This neutral contact-sheet layout represents two stills to generate and inspect separately; it is not a product interface.
Create a two-panel photorealistic editorial-film contact sheet showing the SAME fictional woman, Mara, before and after a location-changing whip-pan cut. Left panel: a lived-in café, Mara near a doorway, face clearly visible, chin-length dark curls, subtle notch in left eyebrow, small mole beneath right eye, ochre jacket with teal lining. Right panel: a lived-in station corridor, Mara in matching screen position and at similar camera distance, with the same face, hair, and jacket. MANDATORY CAMERA/LAYOUT: landscape 16:9 overall; two equal cinematic frames with a clean narrow divider; eye-level medium three-quarter views; camera travel implied from left to right in both frames; realistic but distinct location lighting; faces sharp and unobstructed. No motion blur over either face, no text, arrows, logos, screens, or UI.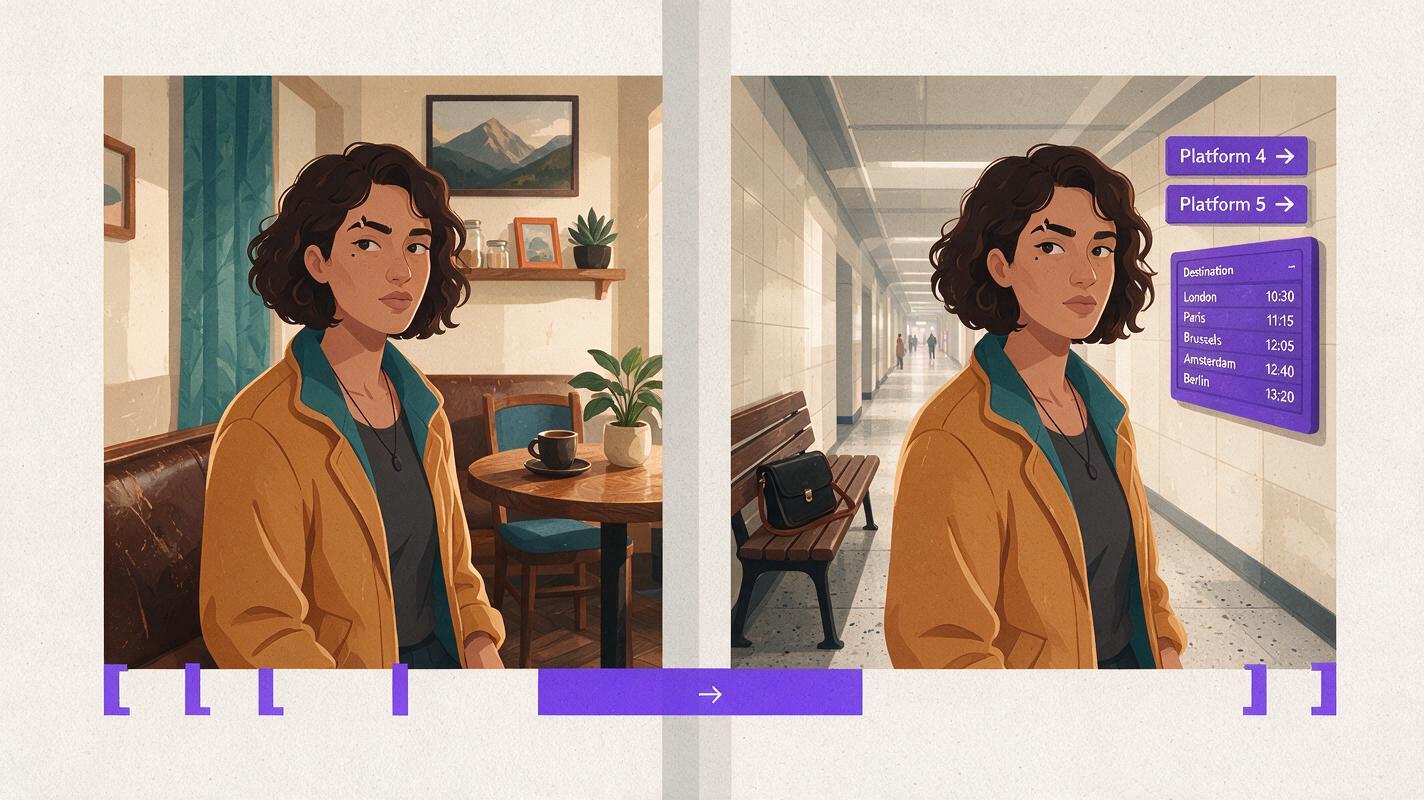
Step 3 — Animate toward and away from the approved frames
Create the café exit shot from its approved still, then create the corridor arrival from its approved still. An [image to video](https://www.magicboat.net/ai/en/video) workflow is useful here because each shot begins with a checked identity rather than asking one prompt to invent both sides of the transition. Review the reference controls your chosen model actually provides; a starting image and a persistent character reference are not necessarily the same feature.
Use separate, short motion instructions. For the café: “Mara turns toward a sound; the camera rapidly pans right past the doorway; preserve her face until it leaves view.” For the corridor: “The camera completes a rightward pan and settles on Mara; preserve her approved facial features as she comes into focus.” Keep the pan’s direction consistent. Do not ask for a full facial transformation inside the blur.
In the edit, place the cut where both shots have strong directional blur. Then inspect three points: the last clear café frame, the first clear corridor frame, and the first frame after the corridor camera settles. If Mara looks different at either clear point, regenerate that shot from its approved still rather than trying to hide the discrepancy with a faster cut.
Step 4 — Diagnose drift at the reveal
A whip pan often makes an identity error easy to miss on the first playback. Pause on the reveal and compare it with the sheet at the same apparent face angle. The common fixes depend on where the error begins:
- Different face immediately after the cut: Regenerate the corridor starting still from the approved sheet. More blur will not repair the reveal.
- Correct first frame, drifting face as the camera settles: Reduce the requested motion or shorten the generated shot. Review the settled frame before extending the sequence.
- Duplicated person in the pan: Simplify the background and state that Mara is the only person in the foreground. Avoid describing her as both leaving and arriving within one generated shot.
- Jacket or hair changes between locations: Repeat the approved wardrobe description in both still prompts. Allow natural hair movement, but check its length and part once motion stops.
- Pan reverses direction at the cut: Correct the camera instruction or choose a different edit point; identity continuity cannot rescue a visibly contradictory move.
Visual asset — failure and fix. The left pair shows a mismatched reveal; the right pair shows the same approved face on both sides. Use it as a visual diagnostic, not as evidence of any tool’s performance.
Create a photorealistic four-frame editorial comparison arranged as two pairs, without labels. In the left pair, a clear café frame shows Mara with chin-length dark curls, a subtle left-eyebrow notch, a small mole beneath her right eye, and an ochre jacket; the following station-corridor reveal incorrectly shows a different-looking woman with straight long hair and altered facial proportions. In the right pair, show the same café-to-corridor transition with Mara's approved face, hair length, eyebrow notch, mole placement, and jacket preserved in both clear frames. MANDATORY CAMERA/LAYOUT: landscape 16:9 overall; four equal film frames in one horizontal row; eye-level medium three-quarter views; comparable face size in every frame; cinematic editorial realism; believable café and station locations; faces sharp enough to compare. No captions, text, arrows, logos, screens, or UI.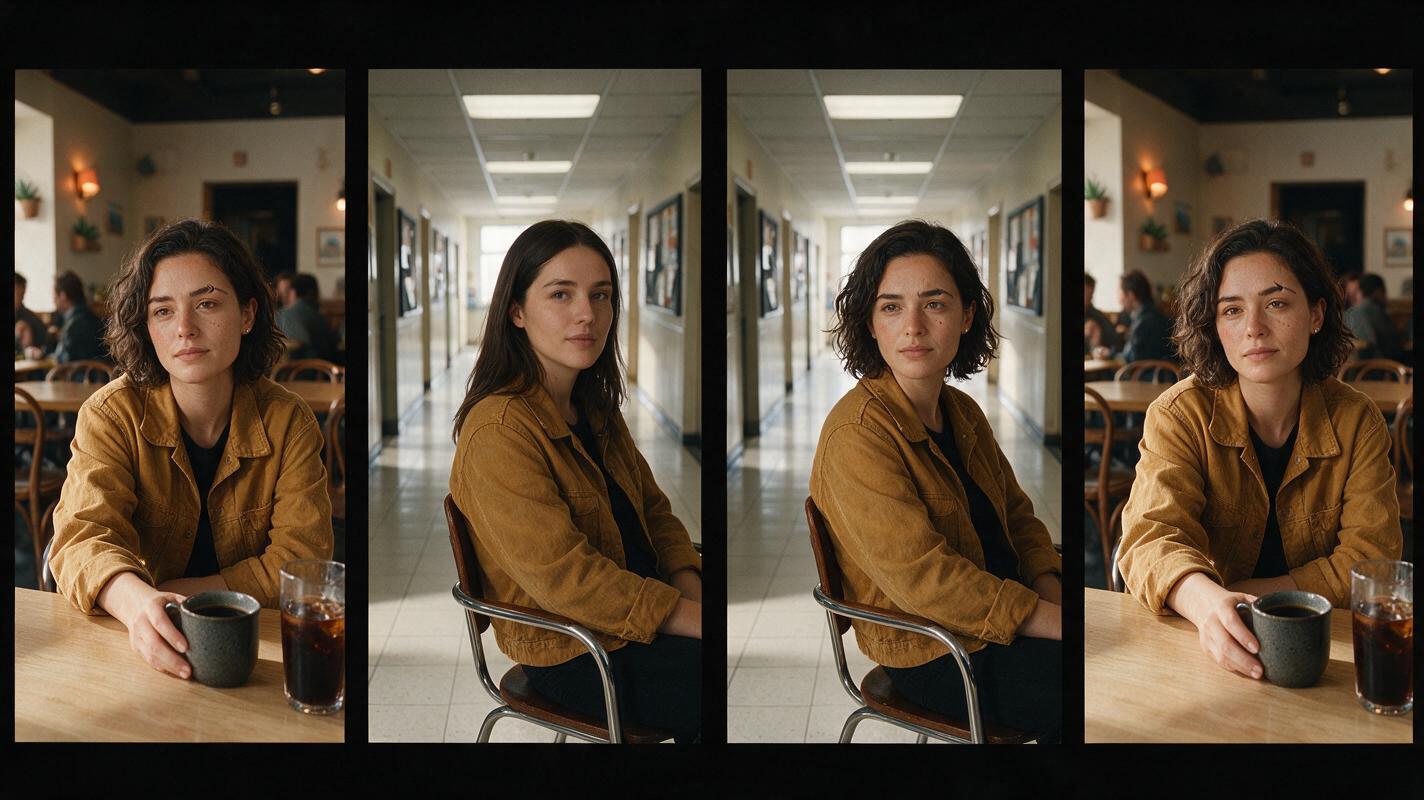
Final checklist
- Approve one front/side/back sheet before generating scene stills.
- Check the last clear frame before the pan and the first clear frame after it.
- Keep camera travel in the same screen direction across the cut.
- Compare the settled reveal with the sheet, not with a blurred frame.
- Regenerate the shot where drift begins rather than concealing it in the edit.
For a free starting point, [try these models for free](https://www.magicboat.net/) and keep your reference-still and moving-shot experiments in one workflow. Check the available models and usage terms before choosing a final production path.
FAQ
Can a whip pan hide a character mismatch?
It can hide the instant of the cut, but viewers will see the mismatch when the camera settles. Approve and compare the clear boundary frames first.
Should I use the final blurred frame as the next shot’s reference?
Usually not as your primary identity reference. Blur removes the facial details needed to judge identity. Use the approved sheet and a clear corridor still; use the blurred frame to match movement and timing.
What if the video tool does not accept a character sheet?
Generate and approve scene-specific stills using whichever reference-image controls are available, then animate those stills. If references are unavailable, repeat the same concise identity description and review each clear output before editing.
Sources
Keywords
character consistency, consistent character video, consistent character across scenes, character reference, multi-shot, storyboard reference, keep the same face across video