How to Generate Cohesive Food & Beverage Pairing Photos for Menus
Restaurant menus, tasting pages, and seasonal promotions rely on cohesive food and beverage pairing photos to convey value and intentionality, but AI-generated pairs often suffer from mismatched lighting, props, and styling. This guide shares a reference-locked workflow using Nano Banana Pro to create professional, consistent food and drink pairing assets for every marketing use case. It includes reusable prompt templates, fixes for common style mismatches, and repurposing tips for menus and social media.
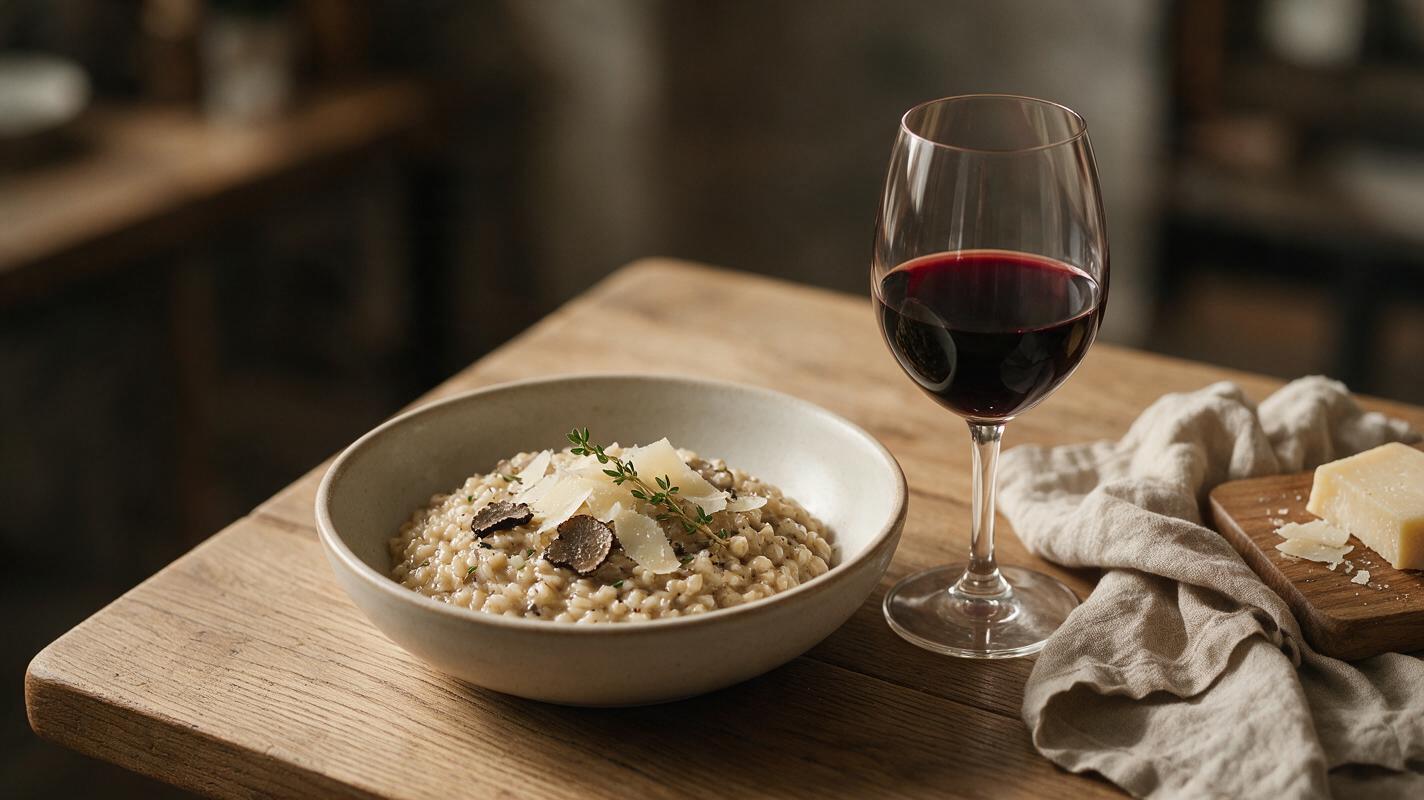
Table of contents
Why AI-generated food and drink pairings look disjointed
If you’ve ever tried to create a paired dish and drink photo for a tasting menu, happy hour special, or wine list feature, you’ve likely run into a familiar AI problem: the pasta looks warm and rustic on a wooden board, the wine looks bright and sleek on a marble counter, and together they feel like they came from two completely different shoots.
For restaurants and beverage brands, cohesive pairing visuals aren’t just a nice-to-have — they signal intentionality, elevate perceived value, and help guests imagine the full experience. Hiring a professional photographer for a single LTO pairing set can cost hundreds of dollars, and while ai image generator makes it fast to create individual food and drink photos, generating them separately often leads to subtle but distracting mismatches in lighting, background texture, prop style, and color grading.
The good news is you don’t need a full photoshoot to get consistent, professional-looking pairing photos. With a reference-locked workflow and the right prompting strategy, you can generate food and drink pairs that look like they were shot side-by-side, in the same space, with the same lighting.
Start with a shared style reference anchor
The single biggest mistake people make when generating pairing photos is writing separate prompts for the food and the drink. Even if you use similar wording, small variations in interpretation can lead to wildly different visual styles. The fix is to create one master style reference that defines every visual parameter for the set, then use that reference for every asset you generate.
Your master reference should include:
- Lighting direction and quality (e.g., soft warm side lighting, harsh midday top light, cool diffused front light)
- Background and surface (e.g., reclaimed oak table, white marble slab, dark slate board)
- Prop styling (e.g., linen napkins, vintage silverware, fresh herb sprigs, minimal props)
- Color palette (e.g., warm earth tones, bright neutral, moody dark)
- Camera angle and depth of field (e.g., 45-degree angle, shallow depth of field, overhead flat lay)
If you already have a professional photo from your menu that matches your brand style, use that as your reference. If not, generate a single test image with Nano Banana Pro that nails the exact vibe you want, then lock that in as your style anchor for all pairing assets.
Pro tip: For the most consistent results, use the same reference image for every pairing in a set — even if the dishes and drinks are different. This ensures the entire collection feels unified.
Write pairing prompts that lock composition and style
Once you have your style reference, you have two options for generating pairing assets: a combined hero shot with both food and drink in one frame, or separate individual shots that still match perfectly. Both approaches work, but they require slightly different prompting strategies.
Combined hero shot prompts
For a single image that shows both the dish and drink together (perfect for menu headers, social media carousels, or email campaign hero images), write a prompt that explicitly describes the pairing, the relationship between the two items, and all the style details from your reference.
Here’s a reusable template for Nano Banana Pro:
[Dish name] with [key details], paired with [beverage name] in [vessel type], placed on [surface] with [prop details], [lighting direction] lighting, [color palette] color palette, [camera angle] angle, shallow depth of field, photorealistic editorial food photography, style matched to reference imageFor a truffle risotto and pinot noir pairing, that becomes:
Creamy truffle risotto in a white ceramic bowl with parmesan shavings and fresh thyme, paired with a glass of pinot noir in a stemmed wine glass, placed on a reclaimed oak table with a crumpled linen napkin and a small wooden cheese board, soft warm side lighting, warm earth tone color palette, 45-degree angle, shallow depth of field, photorealistic editorial food photography, style matched to reference imageSeparate individual shot prompts
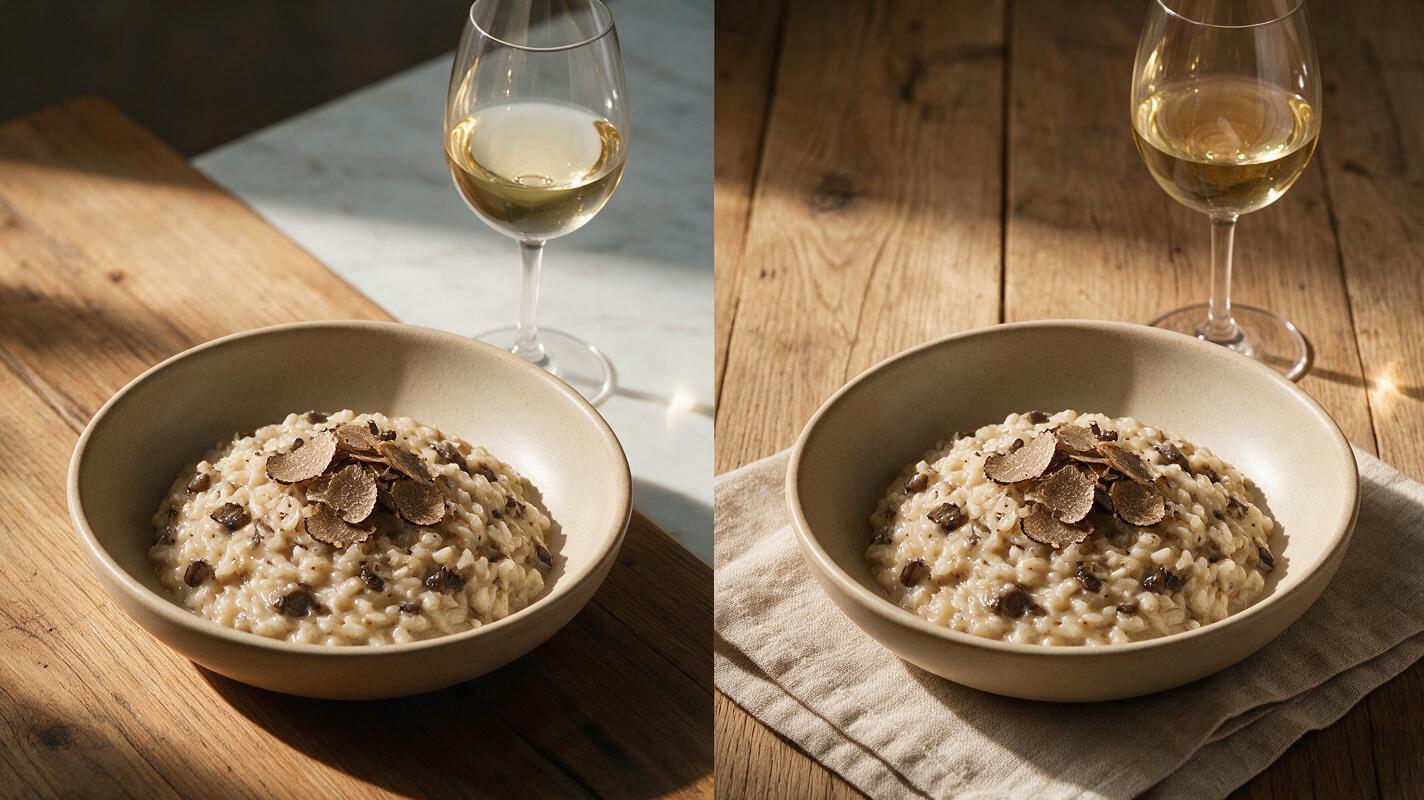
If you need individual photos of the dish and drink (for separate menu item pages, wine list entries, or social media graphics), generate them one at a time using the exact same style reference and identical style parameters. The key is to keep every style detail exactly the same — only change the subject of the photo.
For example, your dish prompt and drink prompt should share the exact same lighting, background, prop, and camera angle language. Swap only the food or drink description.
Pro tip: If your separate shots still have small style differences, run them through a style-matching pass with your master reference to unify the color grading and lighting.
Fix mismatched details with targeted inpainting
Even with a tight reference and consistent prompts, you may run into small mismatches that make the pair feel off. Common issues include:
- Glass reflections that don’t match the food’s lighting
- Drink garnishes that don’t coordinate with the dish’s herbs or toppings
- Slight differences in background texture or color
- Mismatched utensil or prop styles
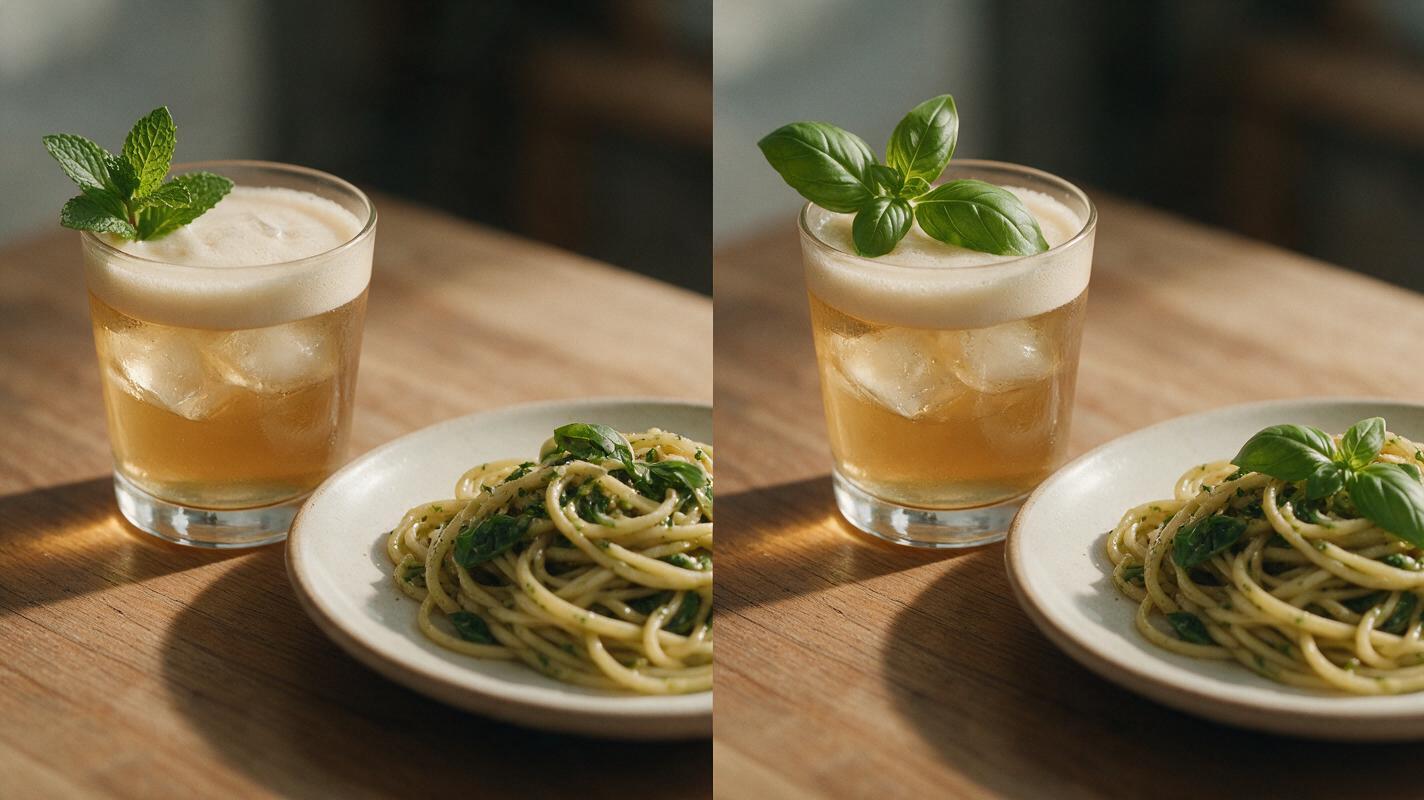
For these small fixes, use targeted inpainting to adjust only the problematic area without re-generating the entire image. For example, if your cocktail has a mint garnish but your pasta uses basil, use inpainting to swap the mint for basil to match. If the wine glass has a cool blue reflection but the food has warm golden lighting, paint over the reflection and re-generate it to match the warm tone.
The trick is to keep your inpainting prompts specific to the detail you’re fixing, and reference the style of the paired image to ensure consistency.
Adapt pairing assets for every marketing use case
Once you have a cohesive pair, you can repurpose it for every channel your brand uses, without losing that unified look.
- Menu headers: Use the combined hero shot as a banner for tasting menu sections or pairing pages.
- Item pages: Use the individual shots next to their respective menu descriptions, with a small callout that they’re part of a recommended pairing.
- Social media: Crop the combined shot into square format for Instagram feeds, vertical format for Reels thumbnails, or create a carousel with the pair shot followed by close-ups of each item.
- Email campaigns: Use the hero shot as the main visual for seasonal pairing promotions or happy hour announcements.
If you want to take your pairing content a step further, you can turn your image into a video for short-form social media — add a slow pan, a subtle steam effect, or a gentle pour to make the pairing feel more dynamic.
Key takeaways
- Never generate food and drink pairing photos separately with different prompts — use a single shared style reference to lock in lighting, background, and styling.
- For combined hero shots, describe both items and their relationship in one prompt, and tie every style detail back to your master reference.
- For individual shots, keep all style parameters identical and only change the subject of the photo.
- Fix small mismatches with targeted inpainting, referencing the paired image to keep details consistent.
- Repurpose your cohesive pair across menus, social media, and email to maximize value.
Ready to create your own cohesive food and beverage pairing photos? try these models for free to get started.
Keywords
food beverage pairing photos, restaurant menu photography, ai food photography, nano banana pro, menu visual assets, food drink pair marketing, ai image generator, tasting menu visuals