Comic Script to AI Storyboard: Panels That Read Clearly
Turn a comic or webtoon script into a readable visual plan before spending time on finished artwork. This workflow uses Seedream 4.5 to explore shot choices, panel rhythm, character blocking, and scene continuity without treating rough generations as final pages.
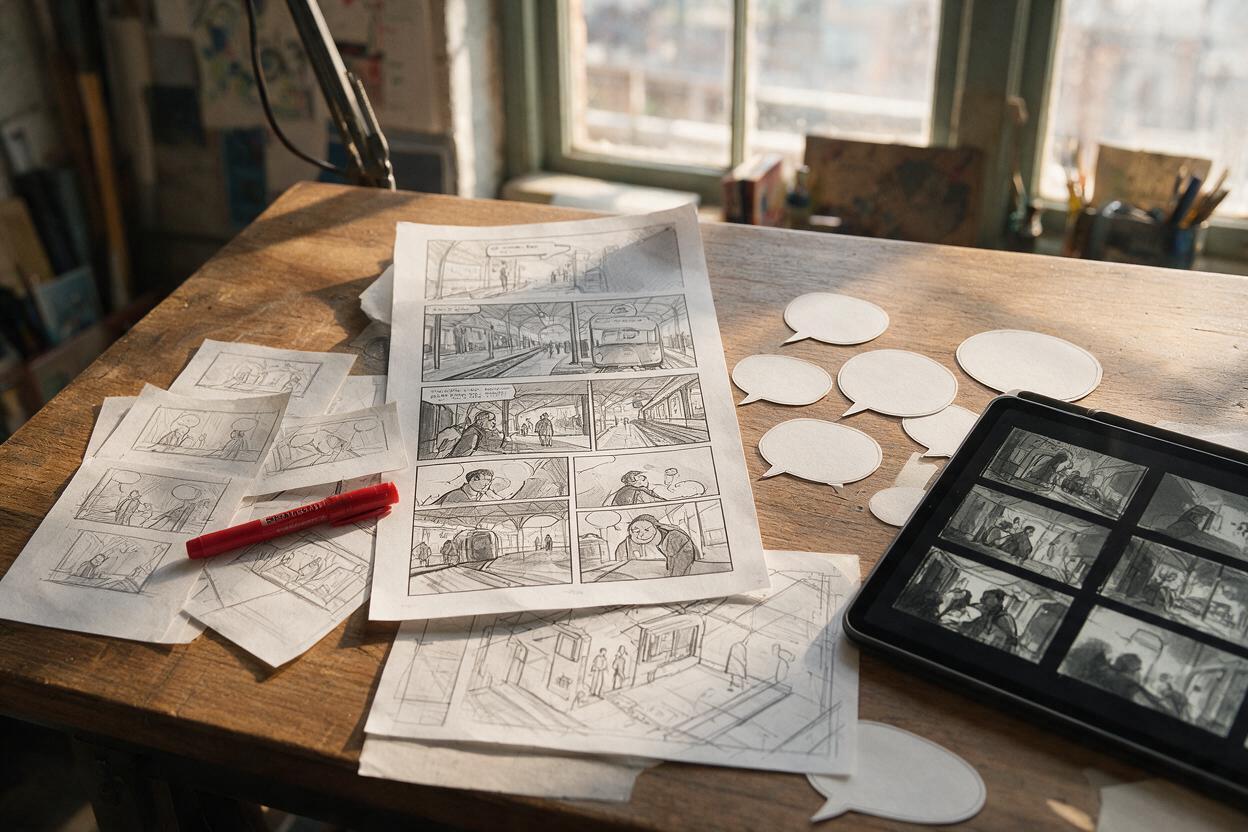
Table of contents
Turn story beats into readable panels
A useful comic storyboard does not need polished anatomy or finished line art—it needs to make the scene understandable at a glance. If your generated panels look attractive but fail to communicate who acts, where the reader should look, or how one beat leads to the next, the problem usually begins before rendering. The solution is to translate the script into visual beats, assign one clear purpose to each frame, and generate rough compositions rather than asking an image model to design an entire page at once.
This workflow uses Seedream 4.5 as a visual development model for testing compositions. The same planning method can support manga pages, vertical webtoons, illustrated storyboards, and dialogue-heavy comic scenes.
Reduce the script to visible actions
A prose scene may contain emotion, history, dialogue, and internal thought simultaneously. A panel cannot show all of them with equal weight. Before generating anything, rewrite the scene as a list of moments that can be seen.
Consider this short scene:
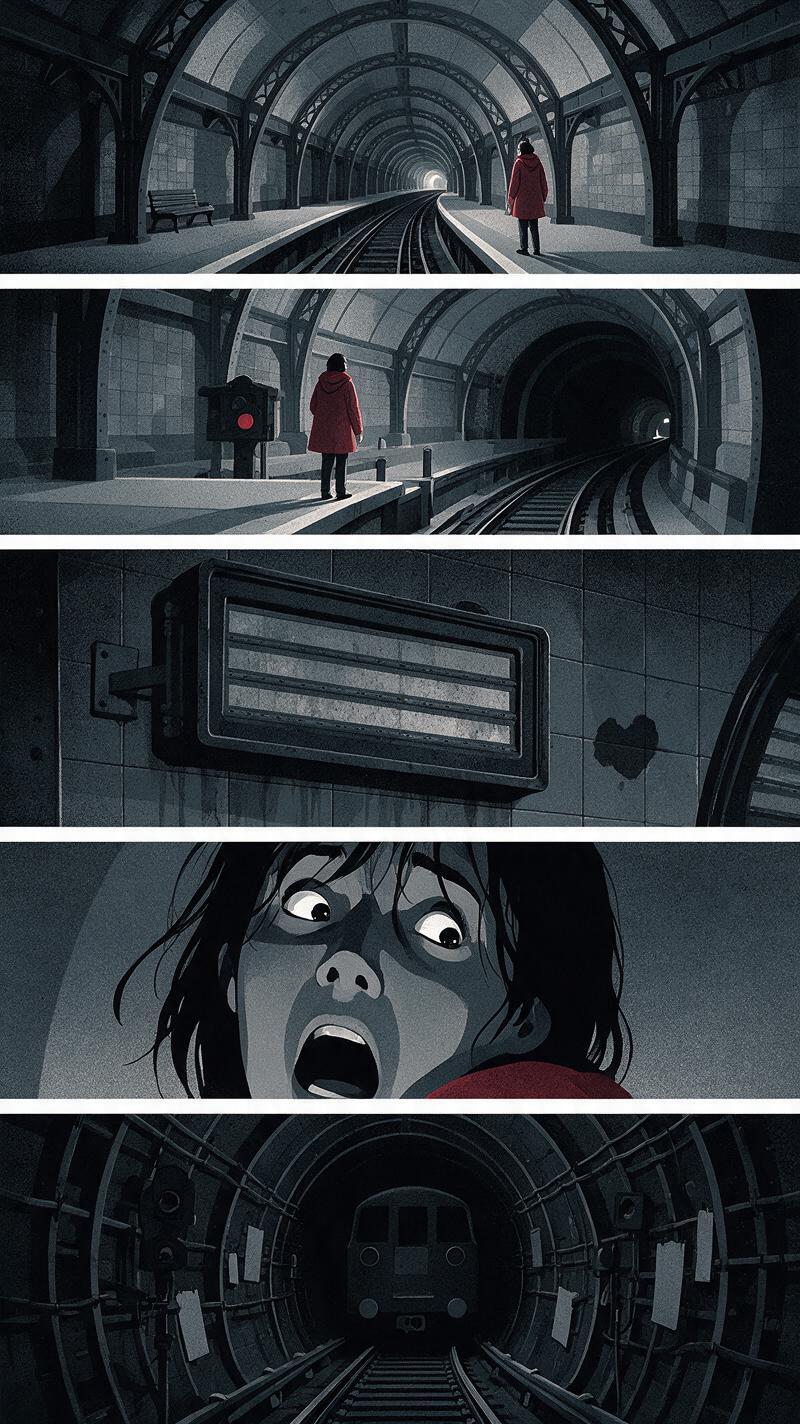
Mara enters the abandoned station, notices that the departure board displays her name, and hears a train approaching from a sealed tunnel.
The sentence contains at least four visual beats:
- Mara appears small inside an empty station.
- Her attention shifts toward the departure board.
- The board reveals her name.
- Light or vibration announces the unseen train.
Each beat changes either information, attention, emotion, or physical action. That change is a good reason to create a new panel. Background description that does not alter the beat can remain inside the composition prompt rather than becoming another frame.
Give every panel one storytelling job
Write a short function beside each proposed panel before choosing camera language. Useful functions include establishing a location, revealing an object, showing a reaction, changing power between characters, or creating suspense through withheld information.
| Panel job | Useful framing | What the reader learns |
|---|---|---|
| Establish the station | Wide shot | Mara is isolated and the location is unusually empty. |
| Direct attention | Medium shot from behind | Something above the platform has caught her eye. |
| Reveal the message | Insert shot | The departure board displays her name. |
| Show emotional impact | Close-up | Recognition turns into fear. |
| End with danger | Long view into the tunnel | An approaching light threatens to enter the scene. |
This separation prevents a common failure: requesting a wide shot, close emotional acting, readable signage, and a dramatic reveal in the same image. When every panel has one dominant job, composition prompts become shorter and results become easier to judge.
Build a shot list before generating images
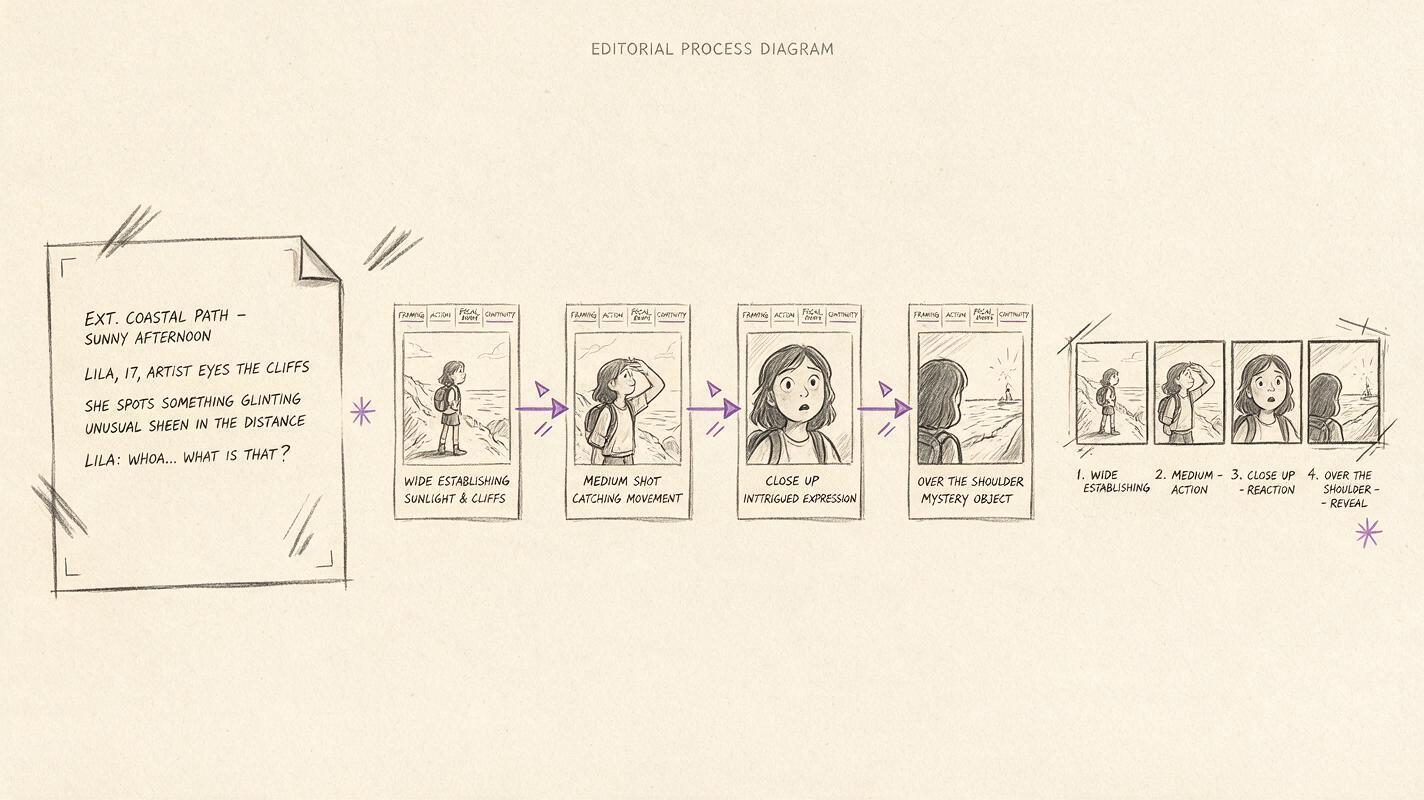
A shot list acts as the bridge between script and image prompt. Keep it compact enough to scan as a sequence. For each frame, record the story beat, shot size, character action, focal point, and continuity requirement.
PANEL A
Beat: Mara enters the abandoned station
Shot: extreme wide shot, eye level
Action: Mara pauses at the platform entrance
Focus: her small silhouette against the empty architecture
Continuity: red coat, satchel on left shoulder, cold green station lights

PANEL B
Beat: she notices the departure board
Shot: medium rear three-quarter shot
Action: head tilted upward, one hand gripping satchel strap
Focus: the board above her eyeline
Continuity: same platform, same lighting direction

PANEL C
Beat: the board reveals her name
Shot: tight insert shot
Action: flickering mechanical letters spelling MARA VALE
Focus: the name
Continuity: weathered board design from the establishing shot
If a panel has two competing focal points, split it or decide which one the reader must notice first. This is especially important in vertical webtoons, where a reveal can be delayed with spacing rather than compressed into a crowded frame.
Prompt Seedream 4.5 for composition, not finished art
Use Seedream 4.5 to explore each shot individually. At this stage, describe value structure, staging, eyeline, and negative space more strongly than surface detail. A rough monochrome storyboard style makes compositional problems easier to spot and reduces the temptation to approve an image merely because it is beautifully rendered.
A reusable prompt structure is:
Rough comic storyboard frame, [shot size and angle].
[Character] is [single visible action] in [location].
The visual focus is [one focal point].
Arrange the scene with [foreground, middle ground, background relationship].
Leave [specific area] open for dialogue or captions.
Clear silhouette, strong value grouping, readable staging,
grayscale pencil thumbnail, minimal detail, no speech balloons,
no decorative page border, one moment only.
For the opening station frame, that structure becomes:
Rough comic storyboard frame, extreme wide shot at eye level.
A lone young woman in a knee-length red coat pauses at the entrance
of an abandoned underground platform. Her small silhouette is the
visual focus against repeating columns and empty tracks. Place a dark
column in the foreground, the character in the middle ground, and a
sealed tunnel in the deep background. Leave the upper-left area open
for a caption. Clear silhouette, strong value grouping, grayscale
pencil thumbnail, minimal detail, no speech balloons, one moment only.
Generate several alternatives for the same beat rather than immediately moving forward. An ai storyboard becomes more useful when it gives you genuine editorial choices: distant versus intimate framing, symmetrical versus unstable staging, or an immediate reveal versus a delayed one.
Reserve space for dialogue before polishing
Speech balloons are compositional objects. If they are added only after the artwork is complete, they can cover faces, gestures, or clues. Mark dialogue zones during thumbnail generation even if the model is not asked to render text.
- Keep important faces and hands away from likely balloon areas.
- Place the first speaker where the natural reading order reaches them first.
- Leave extra vertical breathing room around pauses and suspense beats.
- Avoid putting essential background clues directly behind dialogue zones.
- Generate blank signage and add final lettering manually when exact text matters.
Practical rule: ask the image model to reserve space for lettering, not to typeset the finished comic.
For a left-to-right page, you might request “open negative space in the upper-left corner, clear of faces and hands.” For a vertical episode, specify whether the open area belongs above or below the action so the scroll rhythm remains intentional.
Control continuity with a scene anchor
Storyboard consistency is not the same as final character consistency. Readers can tolerate loose faces in thumbnails, but they still need stable spatial logic. Create a scene anchor describing the facts that must not change:
SCENE ANCHOR
Location: abandoned underground station, one platform, tracks on right
Architecture: tiled columns, low ceiling, mechanical departure board
Lighting: cold overhead green light, warm tunnel light introduced later
Character: Mara, red knee-length coat, dark bob haircut, satchel left shoulder
Screen direction: Mara moves from left to right toward the sealed tunnel
Paste only the relevant anchor details into each prompt. Repeating every detail can overload a simple insert shot, while omitting the anchor entirely can reverse the platform, move the tracks, or change the lighting logic.
Screen direction deserves particular attention. If a character travels left to right in one frame and suddenly faces the opposite direction without a motivated camera change, the sequence can feel as if they turned around. Draw a tiny overhead map when the scene includes entrances, exits, chases, or several speakers.
Judge the sequence as thumbnails
Place the generated frames together at approximately reading size. Do not inspect them only as separate large images. A successful sequence should remain understandable even when details disappear.
Check the storyboard in three passes:
- Silent read: hide the script and ask whether the physical action is clear.
- Value read: squint or reduce the frames to see whether the focal point still dominates.
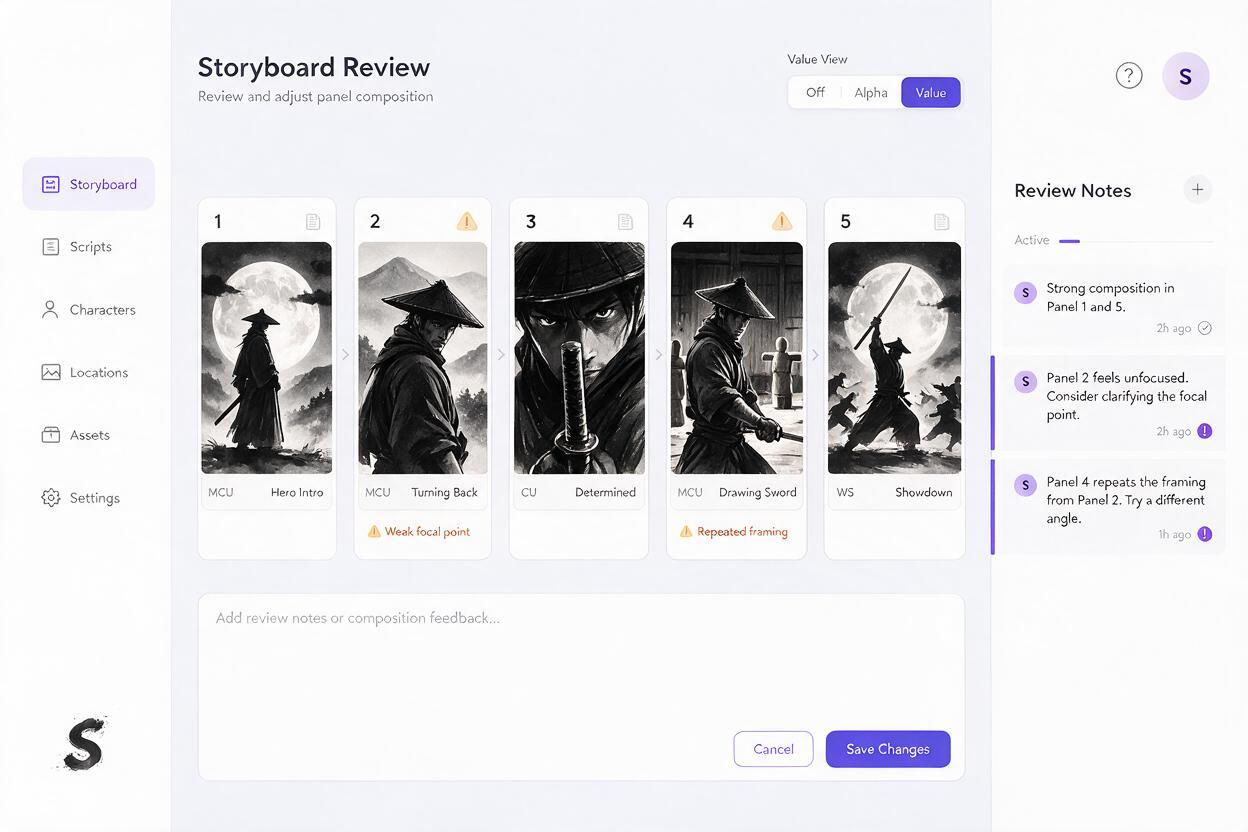
- Rhythm read: compare shot sizes and remove repetitive medium shots that flatten the scene.
When a beat fails, revise the shot instruction rather than adding more adjectives. “Show more tension” is vague. “Low-angle close-up, eyes directed beyond frame, tunnel light cutting across half the face” gives the model visible decisions.
| Storyboard problem | Likely cause | Better correction |
|---|---|---|
| The reveal has no impact | The object appeared clearly in an earlier frame | Hide it with angle, distance, or cropping until the reveal panel. |
| Every panel feels identical | Repeated medium framing | Alternate establishing, reaction, insert, and consequence shots. |
| The reader misses the clue | Several high-contrast details compete | Simplify the background and isolate the clue by value or placement. |
| Dialogue covers the acting | No lettering zone was planned | Regenerate with deliberate negative space. |
| The location becomes confusing | Screen direction or landmarks changed | Restore the scene anchor and overhead map. |
Move from approved boards to final artwork
Only promote frames that work as storytelling. Use the selected storyboard as a composition reference for the final illustration, then restore character design, costume detail, color, and line treatment with your normal production process. Do not expect a rough board to solve lettering, anatomy, acting, and final rendering simultaneously.
For important beats, keep two or three approved options and compare them inside the complete page or scroll. The best standalone image is not always the best panel; a quieter composition may create a stronger transition or preserve the impact of the following reveal.
Once your shot list and scene anchor are ready, test this prompt yourself with a short five-panel scene before attempting a full chapter.
Final checklist
- Each panel communicates one dominant story beat.
- The shot list states framing, action, focal point, and continuity.
- Generated images are rough enough to judge composition objectively.
- Dialogue and caption zones are reserved before final rendering.
- Character movement and screen direction remain understandable.
- Reveals are not accidentally shown in earlier panels.
- The sequence reads clearly at thumbnail size without the script.
- Final art begins only after the visual rhythm is approved.
Keywords
ai storyboard, comic script storyboard, webtoon storyboard, comic panel prompts, Seedream 4.5, visual storytelling AI, manga panel generator