How to Create Consistent AI Food Photo Sets for New Menu Launches
Generating multiple AI food photos that look like they came from the same photoshoot is a common pain point for restaurants launching new menus. This guide breaks down a reference-driven workflow with Seedream 4.5 to create cohesive food photo sets with matching lighting, backgrounds, props, and styling across every dish. Included are reusable prompt templates, troubleshooting tips for common consistency issues, and a final quality check to ensure all assets feel aligned.
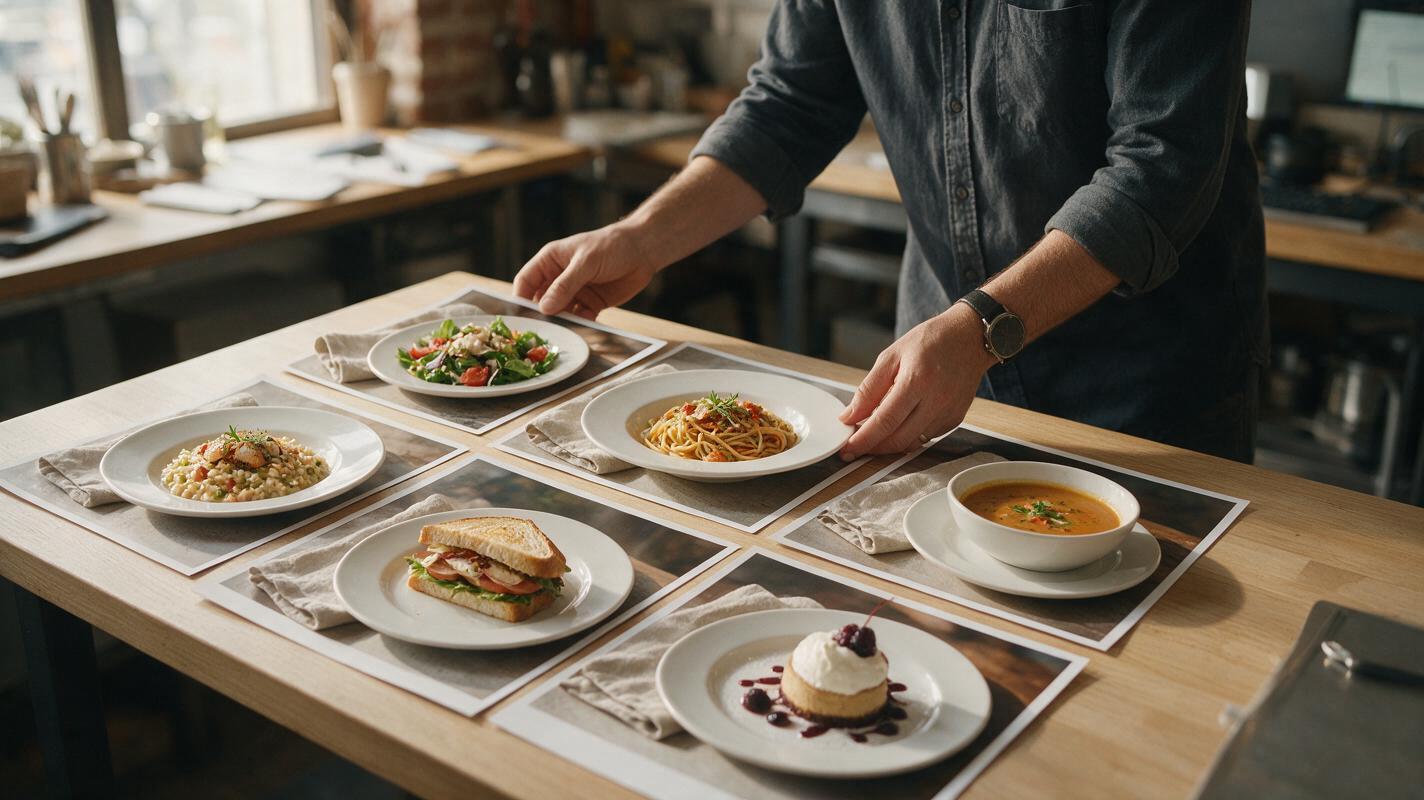
Table of contents
The hidden cost of mismatched AI food photos for menu launches
When you’re launching 5+ new menu items, the last thing you want is a set of photos that look like they came from 5 different photoshoots. Mismatched lighting, random plate styles, and inconsistent backgrounds make your menu feel unprofessional, confuse customers, and weaken your brand identity. Many food marketers turn to ai image generator tools to save on photoshoot costs, only to end up with a jumble of shots that don’t work together as a cohesive set.
The problem stems from how AI image models interpret prompts: small changes in wording, random seed variation, and implicit style biases can shift details from one generation to the next. For a single social media post, a minor inconsistency might not matter — but for a full menu launch, digital menu board, or printed menu, those small gaps add up to a disjointed customer experience.
Build a master style reference sheet first
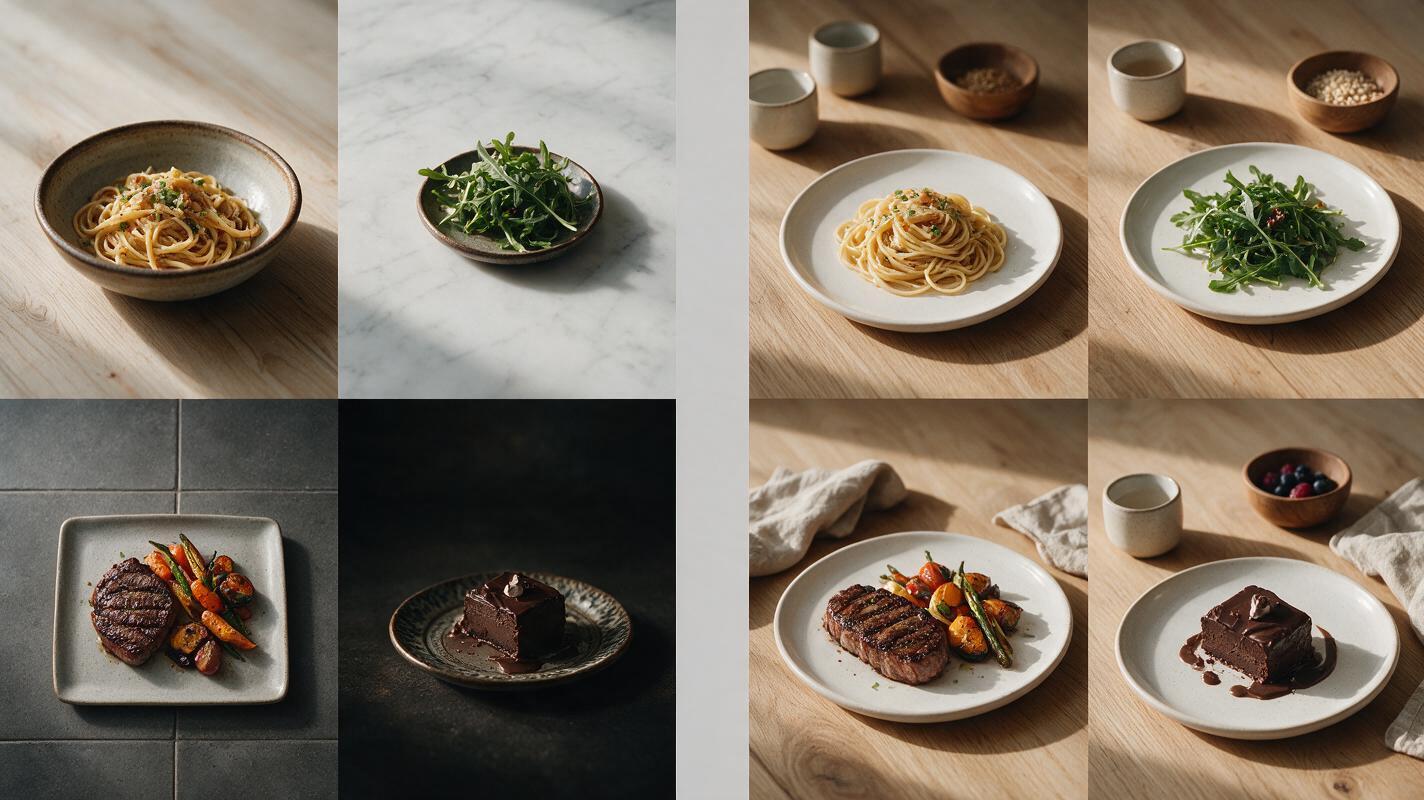
Start by creating one master reference photo that captures every stylistic detail you want repeated across your entire set. This single image acts as your visual rulebook, so you don’t have to retype dozens of style details for every dish — and you eliminate the risk of AI interpreting your prompts differently each time. seedream 4.5 excels at style reference alignment for food photography, making it easy to lock in lighting, background, and prop choices across multiple generations.
Your master reference should define:
- Background surface and texture (e.g., reclaimed oak table, matte white countertop, blue subway tile)
- Lighting direction, temperature, and softness (e.g., soft overcast window light from the left, 5500K cool neutral, minimal harsh shadows)
- Vessel style (e.g., hand-thrown ceramic bowls, matte black takeout containers, clear highball glasses)
- Fixed props (e.g., a crumpled linen napkin in the top right corner, a small brass spoon, scattered sea salt flakes)
- Camera angle and framing (e.g., 3/4 angle at eye level, tight crop with 10% negative space on the right)
- Depth of field and focus (e.g., sharp focus on the front of the dish, blurred bokeh background)
Generate your master reference using a dish you already have a clear vision for, and tweak it until every detail feels on-brand. Once you’re happy with it, you’ll use it as the style reference for every other menu item in your set.
Write style-locked prompts for each menu item
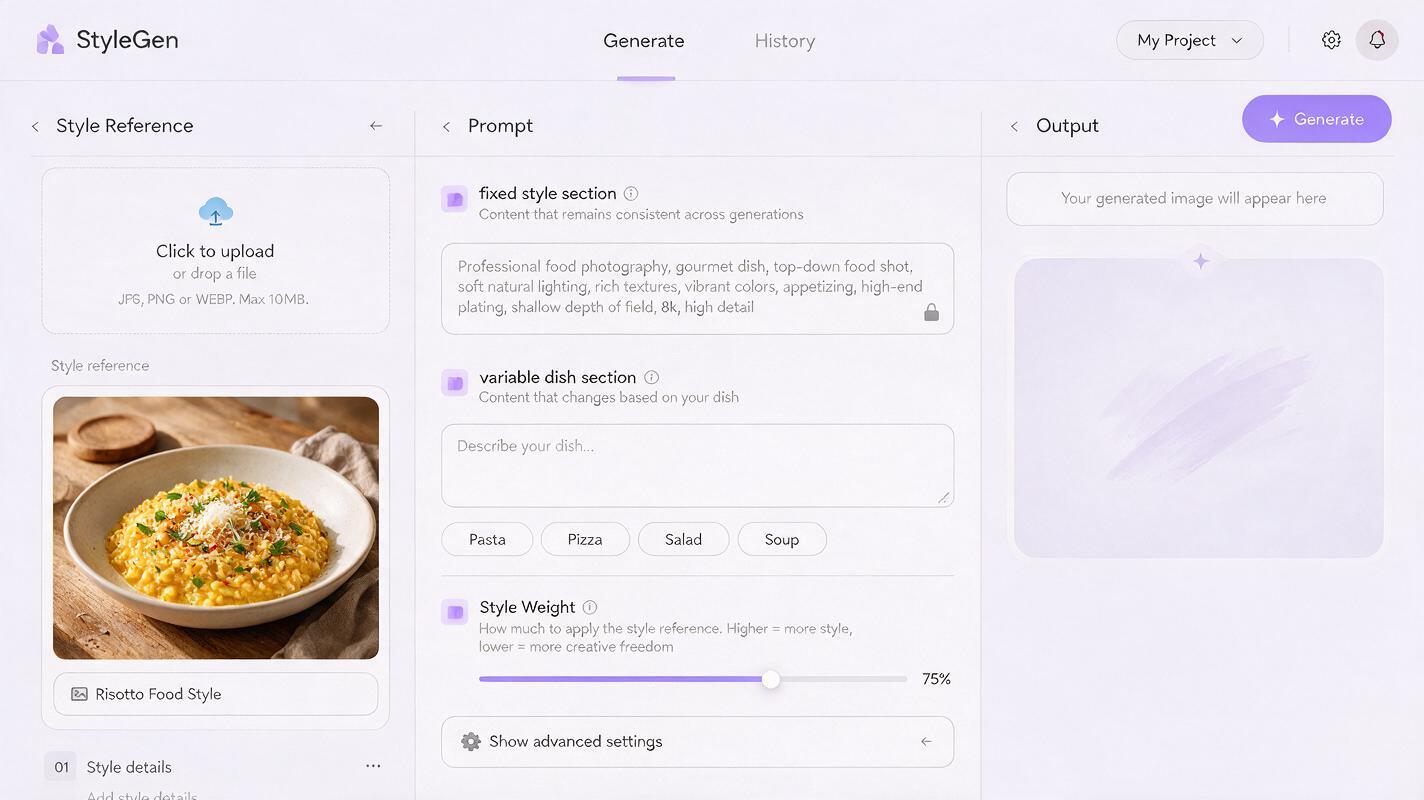
The biggest mistake people make when generating multi-dish sets is rewriting the entire prompt for each dish. Instead, split your prompt into two parts: a fixed style section that stays identical for every item, and a variable dish section that only describes the food itself.
Use this template as a starting point:
[Fixed style section — identical for all dishes]
Professional food photography, style matched to reference image, reclaimed oak table background, soft warm window light from upper left, 10-inch white ceramic dinner plate, crumpled beige linen napkin in top right corner, 3/4 eye-level angle, shallow depth of field, sharp focus on dish center, editorial quality, no text, no watermarks

[Variable dish section — changes per item]
Creamy truffle mushroom risotto topped with shaved parmesan and fresh thyme, golden crispy rice edges, melted cheese with slight stretch, garnished with 3 thyme sprigs
Pro tip: Avoid adding style adjectives (like “vibrant”, “cozy”, or “rustic”) to individual dish prompts. All style language should live in your fixed prompt portion to prevent accidental drift between items.
Set your style reference weight to 70-80% for the best balance. Too high, and the AI will copy the original dish from your reference instead of rendering the new one. Too low, and the lighting, background, or props will shift away from your master style.
Once you’ve built your fixed style prompt and master reference, test this prompt yourself to generate the first 2-3 dishes in your set and check for consistency early.
Fix small consistency gaps with targeted inpainting
Even with strict style locking, you’ll likely run into small consistency gaps from time to time. A background shade might be slightly off, a plate rim might be thicker than the reference, or a fixed prop might be missing entirely. These small issues are easy to fix with inpainting, no full regeneration required.
Common consistency gaps to fix with inpainting:
- Background color or texture mismatches across shots
- Vessel size, shape, or material that doesn’t match the master set
- Missing or misplaced fixed props (napkins, utensils, garnish accents)
- Shadow direction or hardness that conflicts with the reference lighting
- Garnish style that feels out of line with the rest of the set
When inpainting, use your master reference as the style guide for the masked area to ensure the fix matches the rest of your set perfectly. This is much faster than regenerating the entire image and gives you more precise control over small details.
Batch review for visual alignment
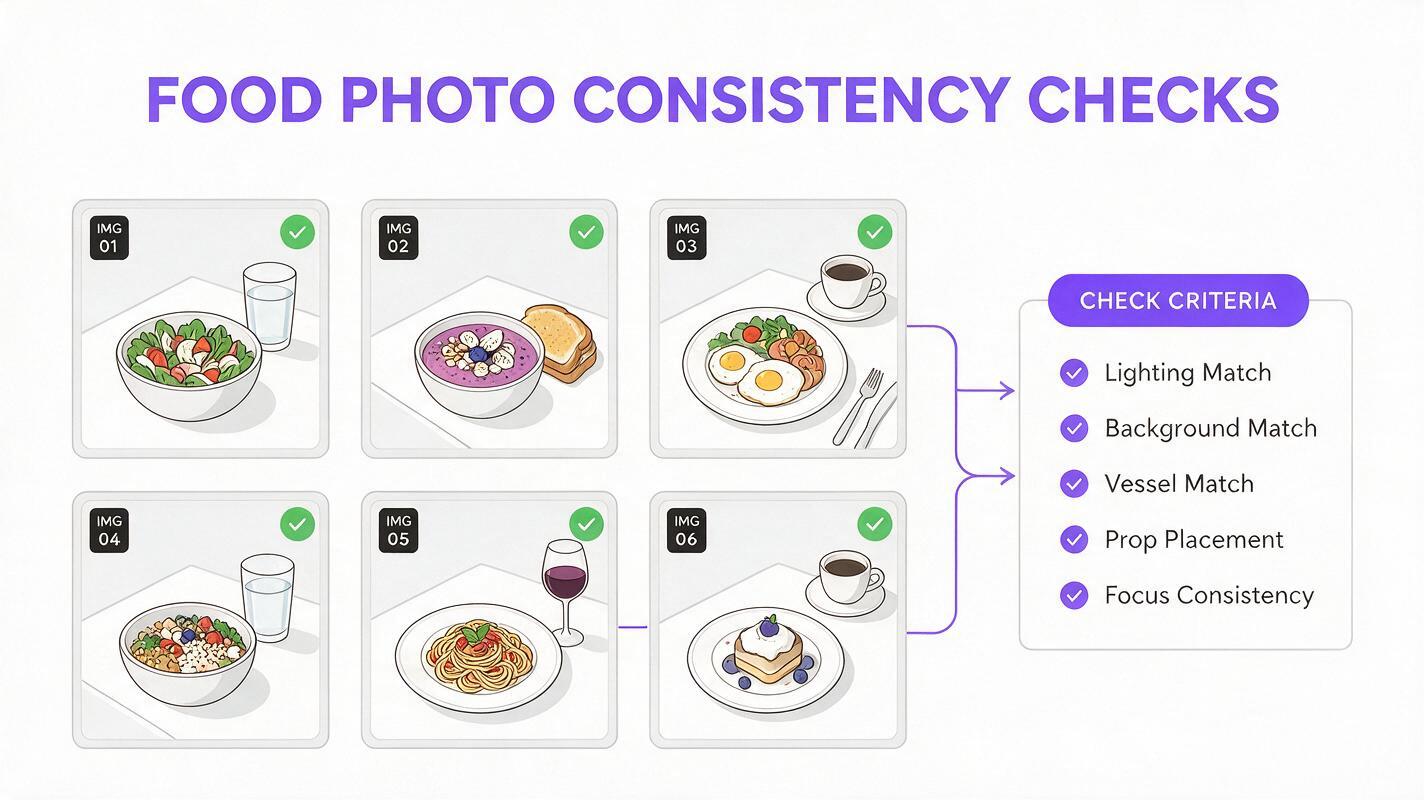
You can’t spot consistency issues by looking at photos one at a time. Once you’ve generated all your menu items, lay them out in a grid (3x2 for 6 items, 4x3 for 12 items) and review them side-by-side. Step back a few feet from your screen — anything that sticks out immediately is a problem worth fixing.
Use this quick review checklist for every set:
- Is the lighting temperature and direction identical across all shots?
- Do all plates, bowls, or glasses look like they’re from the same collection?
- Is the background uniform, with no random darker or lighter patches?
- Are fixed props in the same relative position in every frame?
- Is the focus and depth of field consistent across all images?
If one photo is drastically different from the rest, regenerate it with a fresh seed and the same reference and prompt. If only a small detail is off, use inpainting to correct it in 30 seconds or less.
Final checklist
- Master reference image defines all style rules (background, lighting, vessels, props, angle, focus)
- Every dish prompt uses the same fixed style section, with only the food description changed
- Style reference weight is set to 70-80% for consistent but accurate dish rendering
- Small consistency gaps are fixed with reference-guided inpainting
- All photos are reviewed side-by-side in a grid to catch outliers
- No text, watermarks, or unrelated objects appear in any final shot
Keywords
consistent ai food photography, menu launch visuals, seedream 4.5, food photo sets, restaurant marketing ai, ai image generator, menu photography tips